
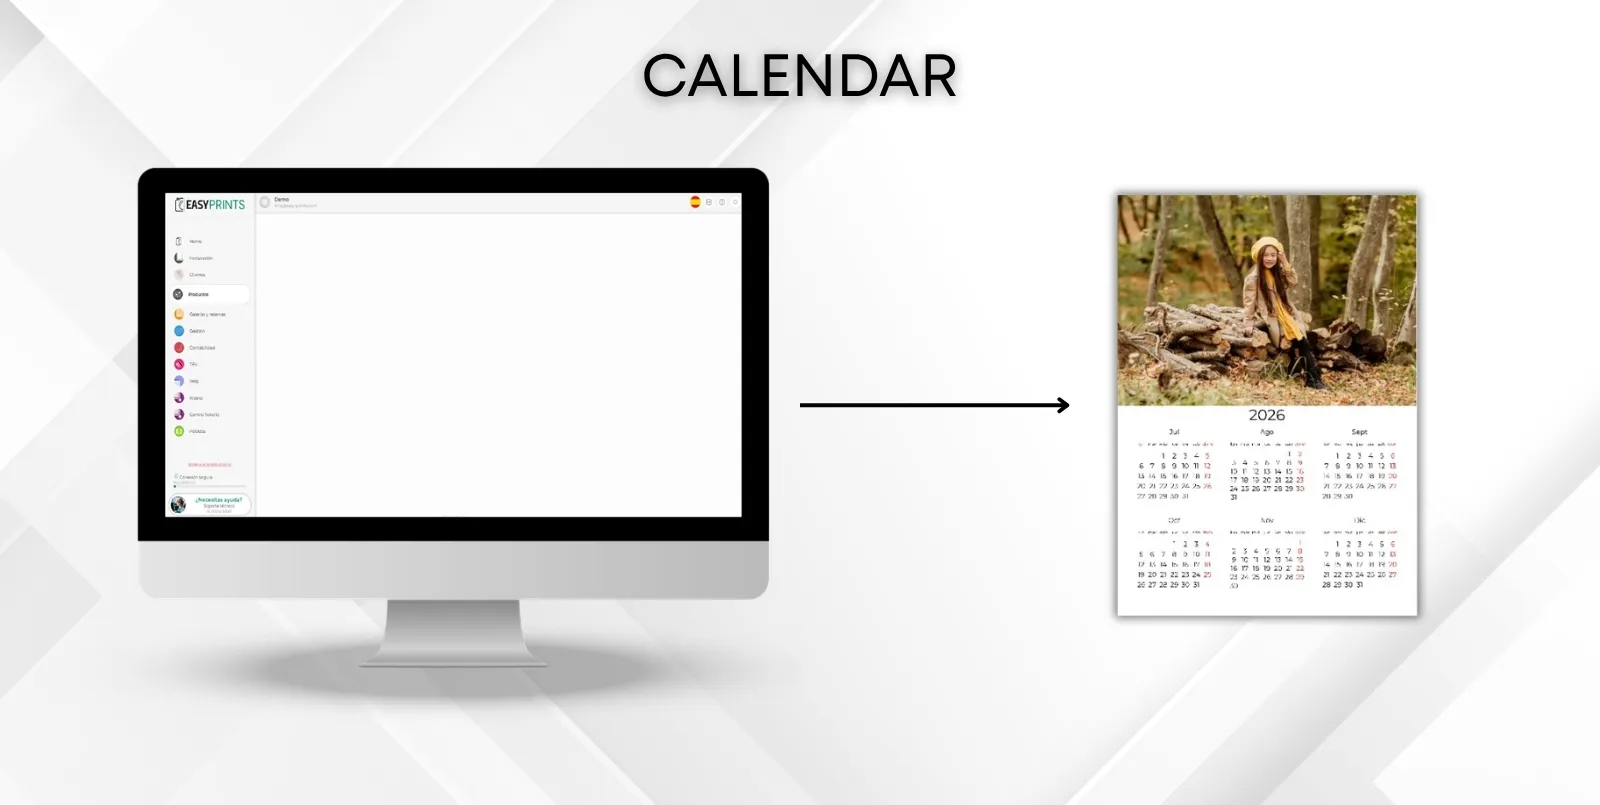
Create a calendar product
To create a calendar product, go to the Products category from the left-hand menu. Once inside, navigate to the Products section located in the top bar. Th…
Step 1
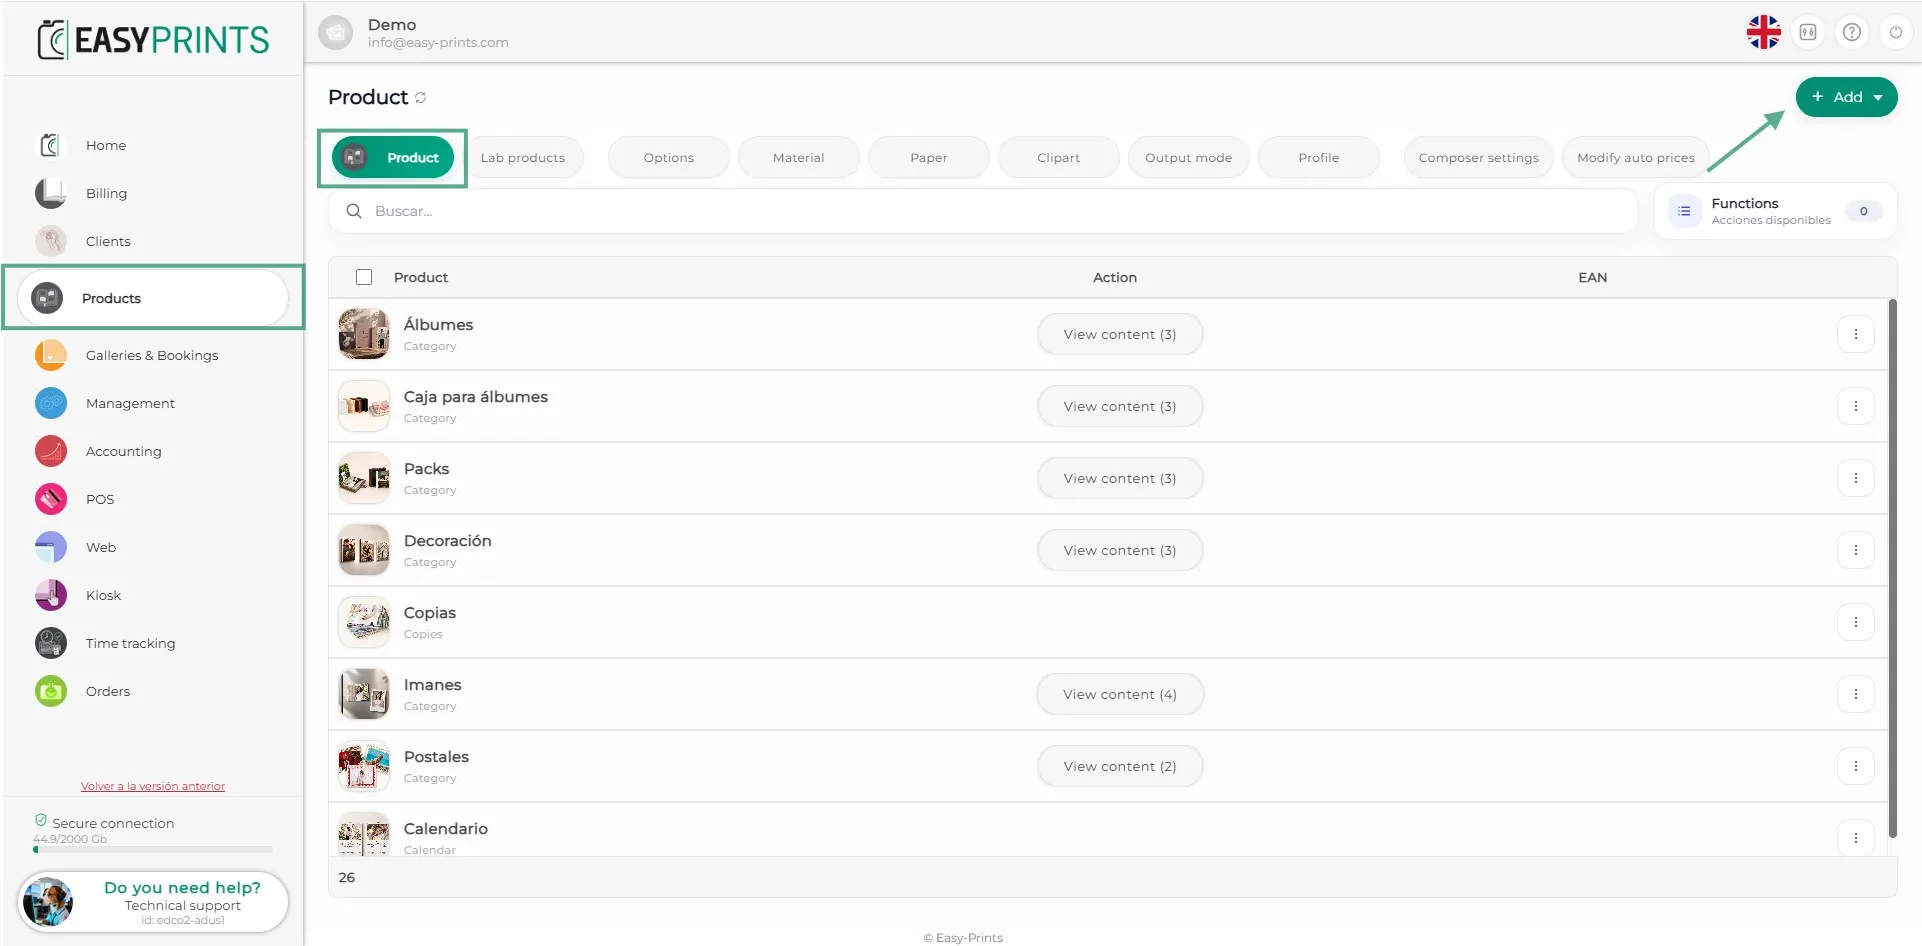
To create a calendar product, go to the Products category from the left-hand menu. Once inside, navigate to the Products section located in the top bar. Then, click the green + Add button located in the top right corner.
Step 2
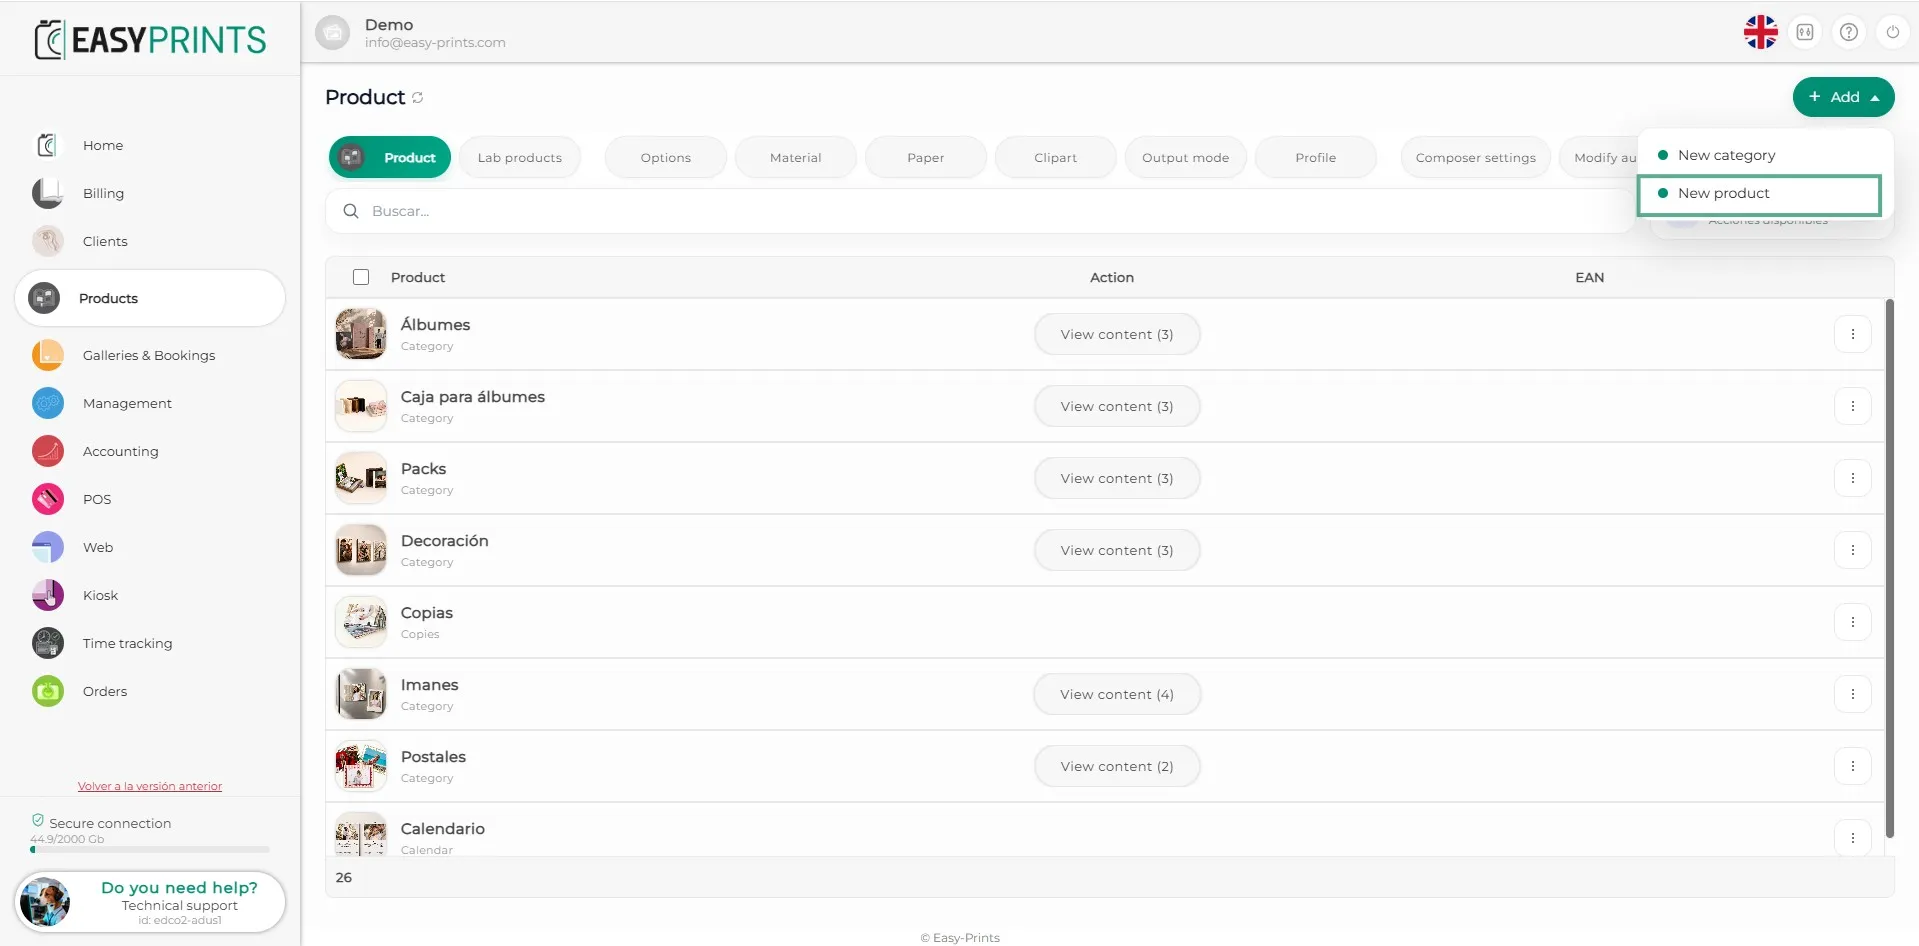
In the dropdown that appears when clicking + New, select the New product option.
Step 3
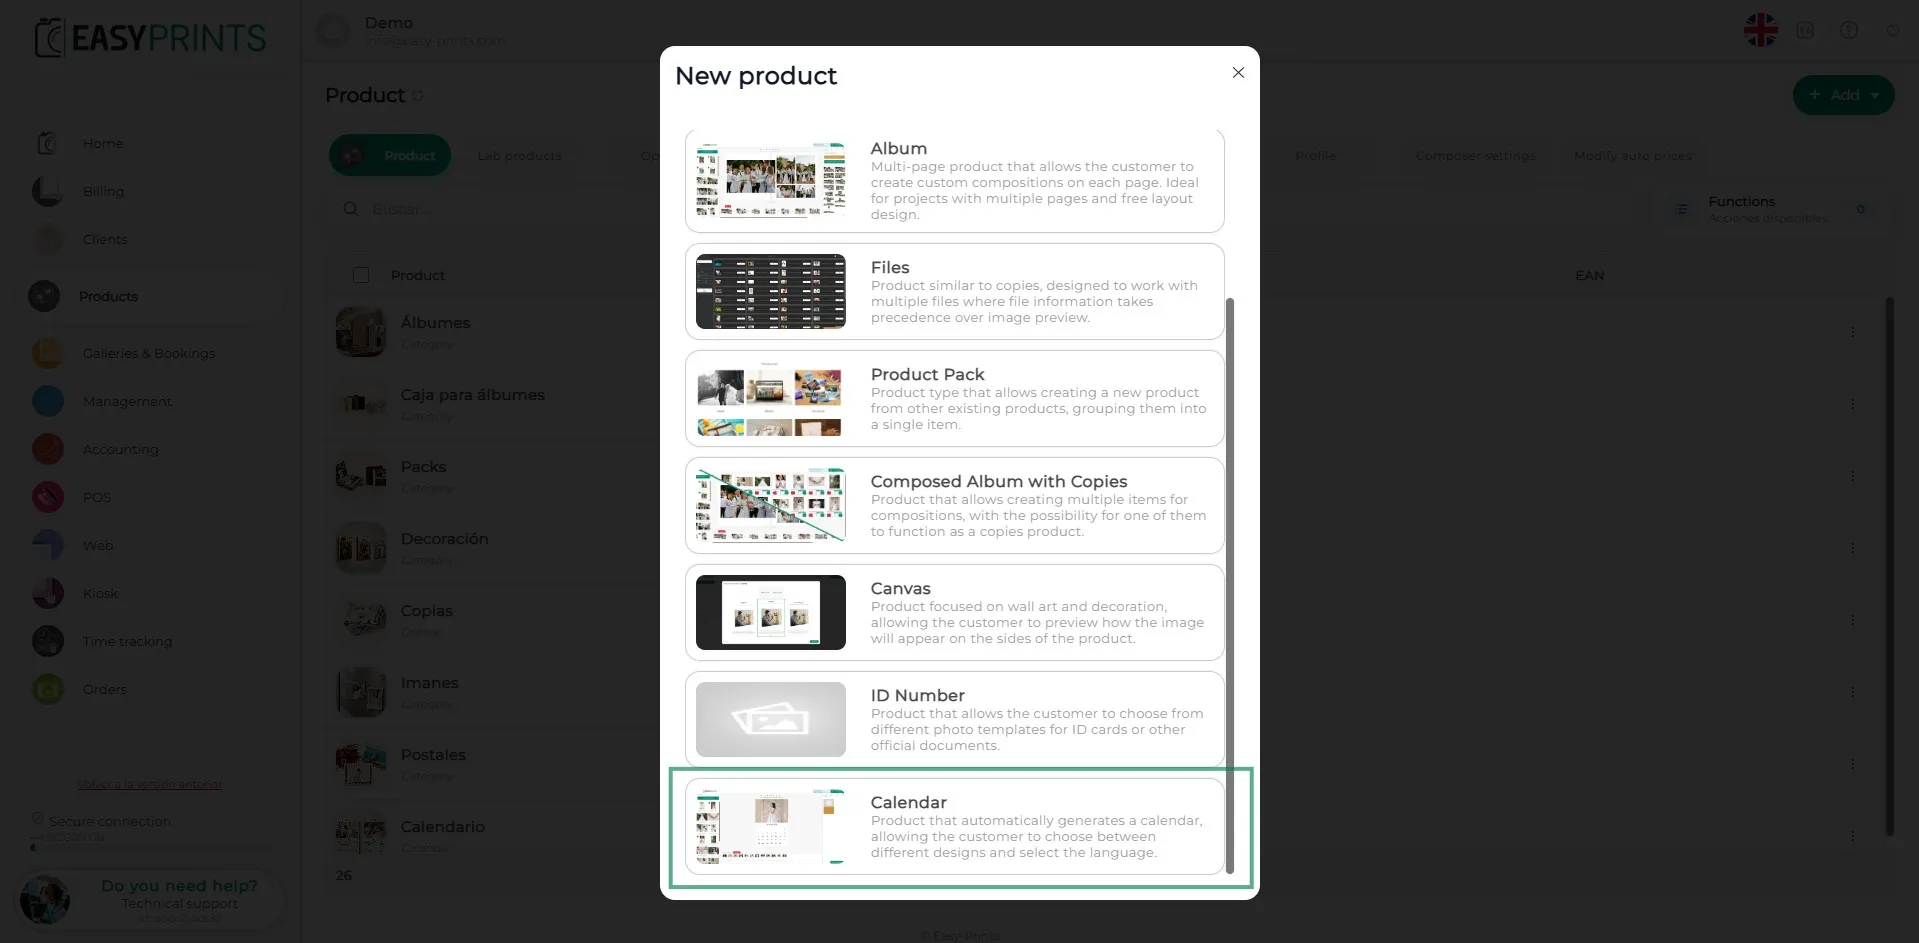
In the new window, select the Calendars option.
Step 4
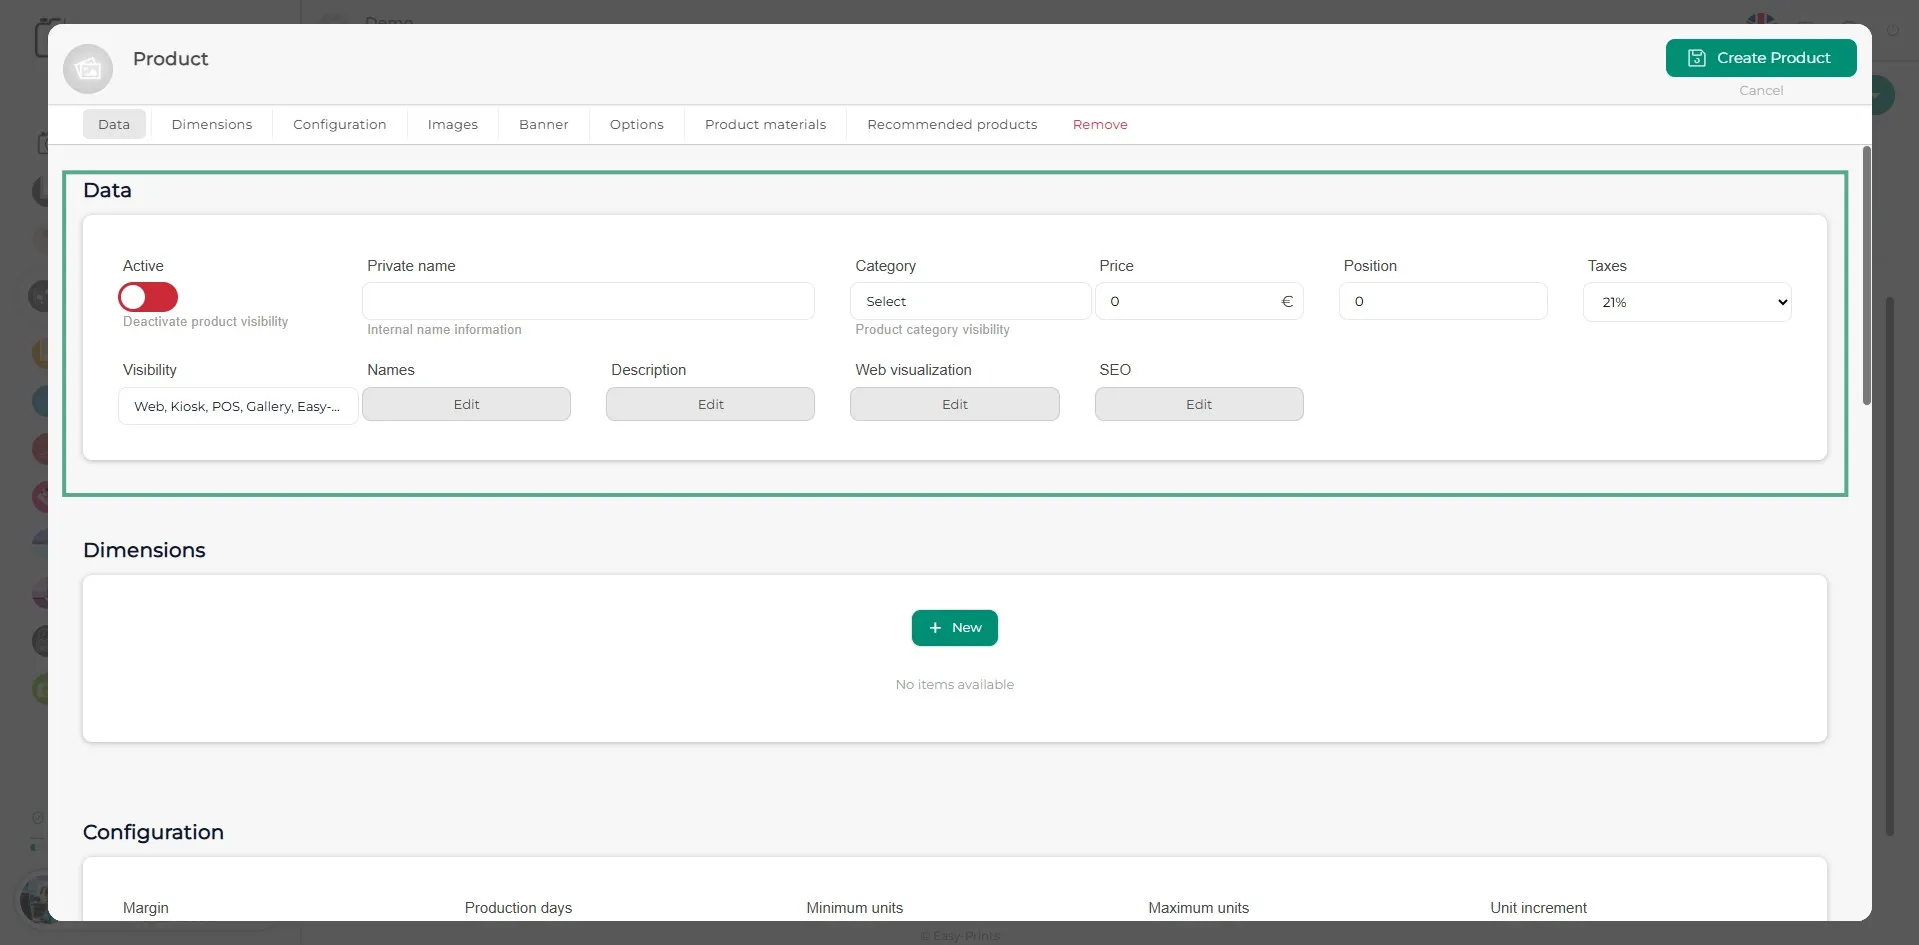
In the new product window, complete the fields in the Data section: from the internal name, through the product name (visible on the website) and its description, to the position, category, and more. Make sure to activate the product so it is visible.
Step 5
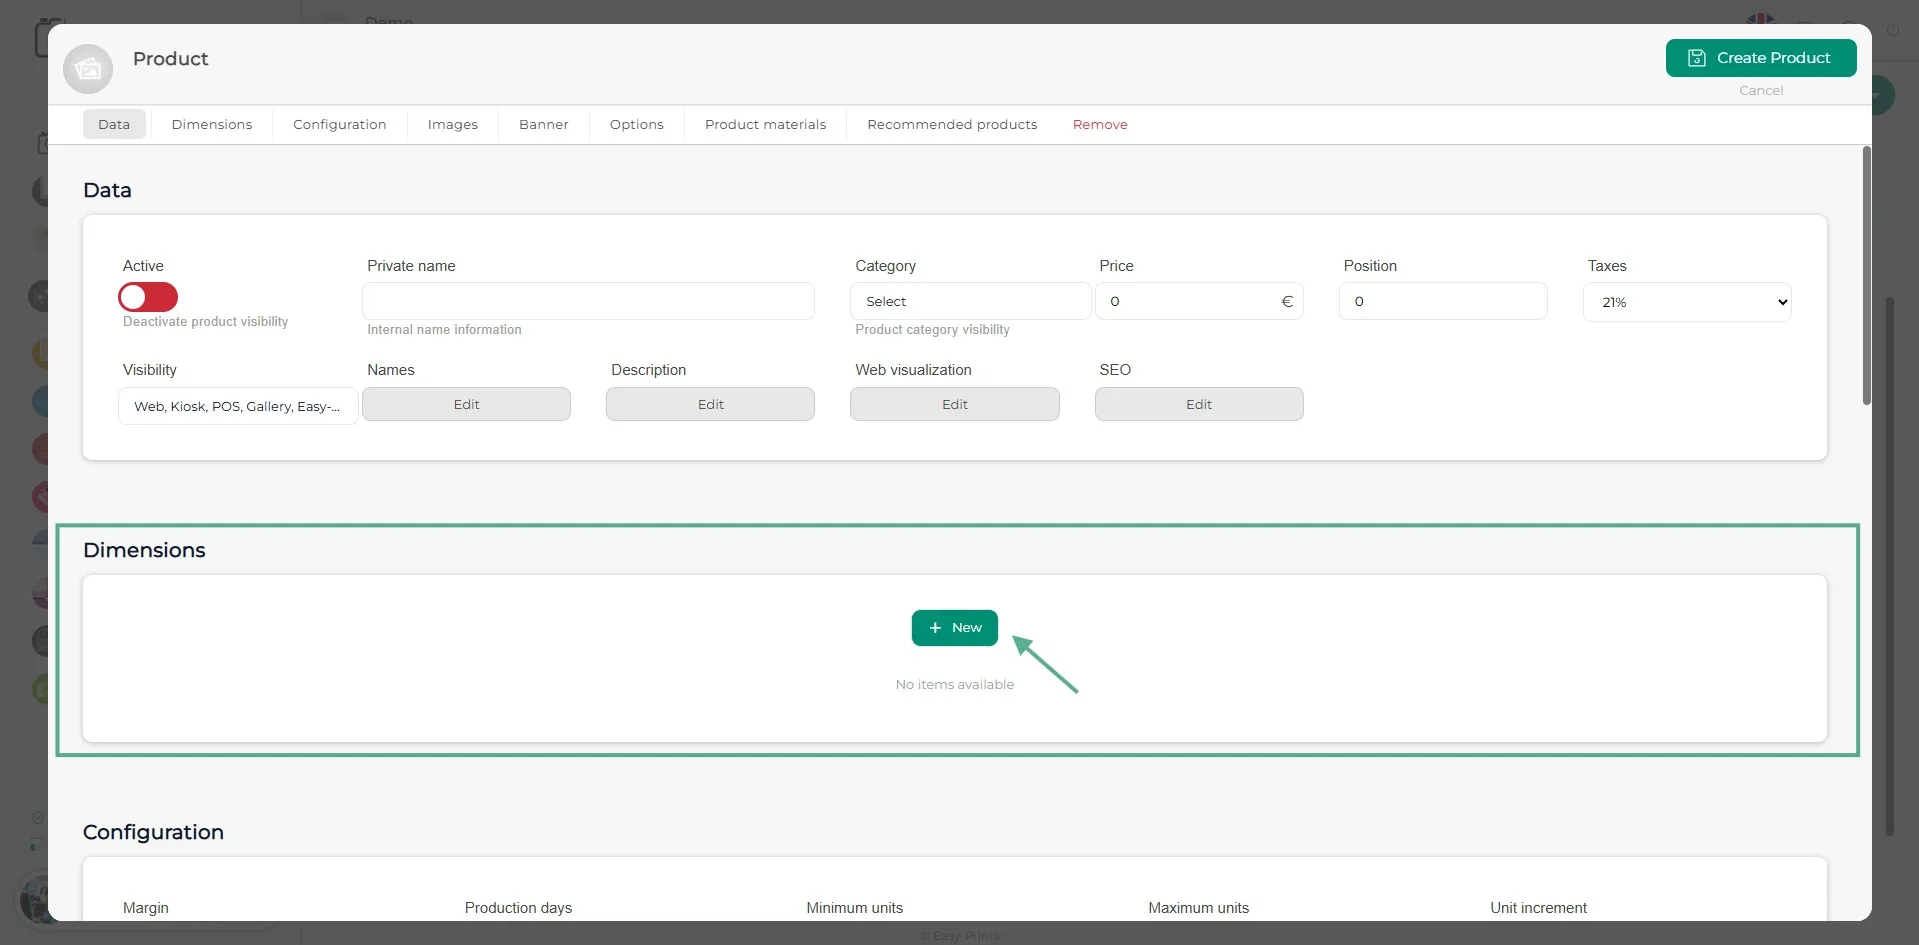
To add more details about the product, you will need to create a dimension by clicking the green + New button.
Step 6
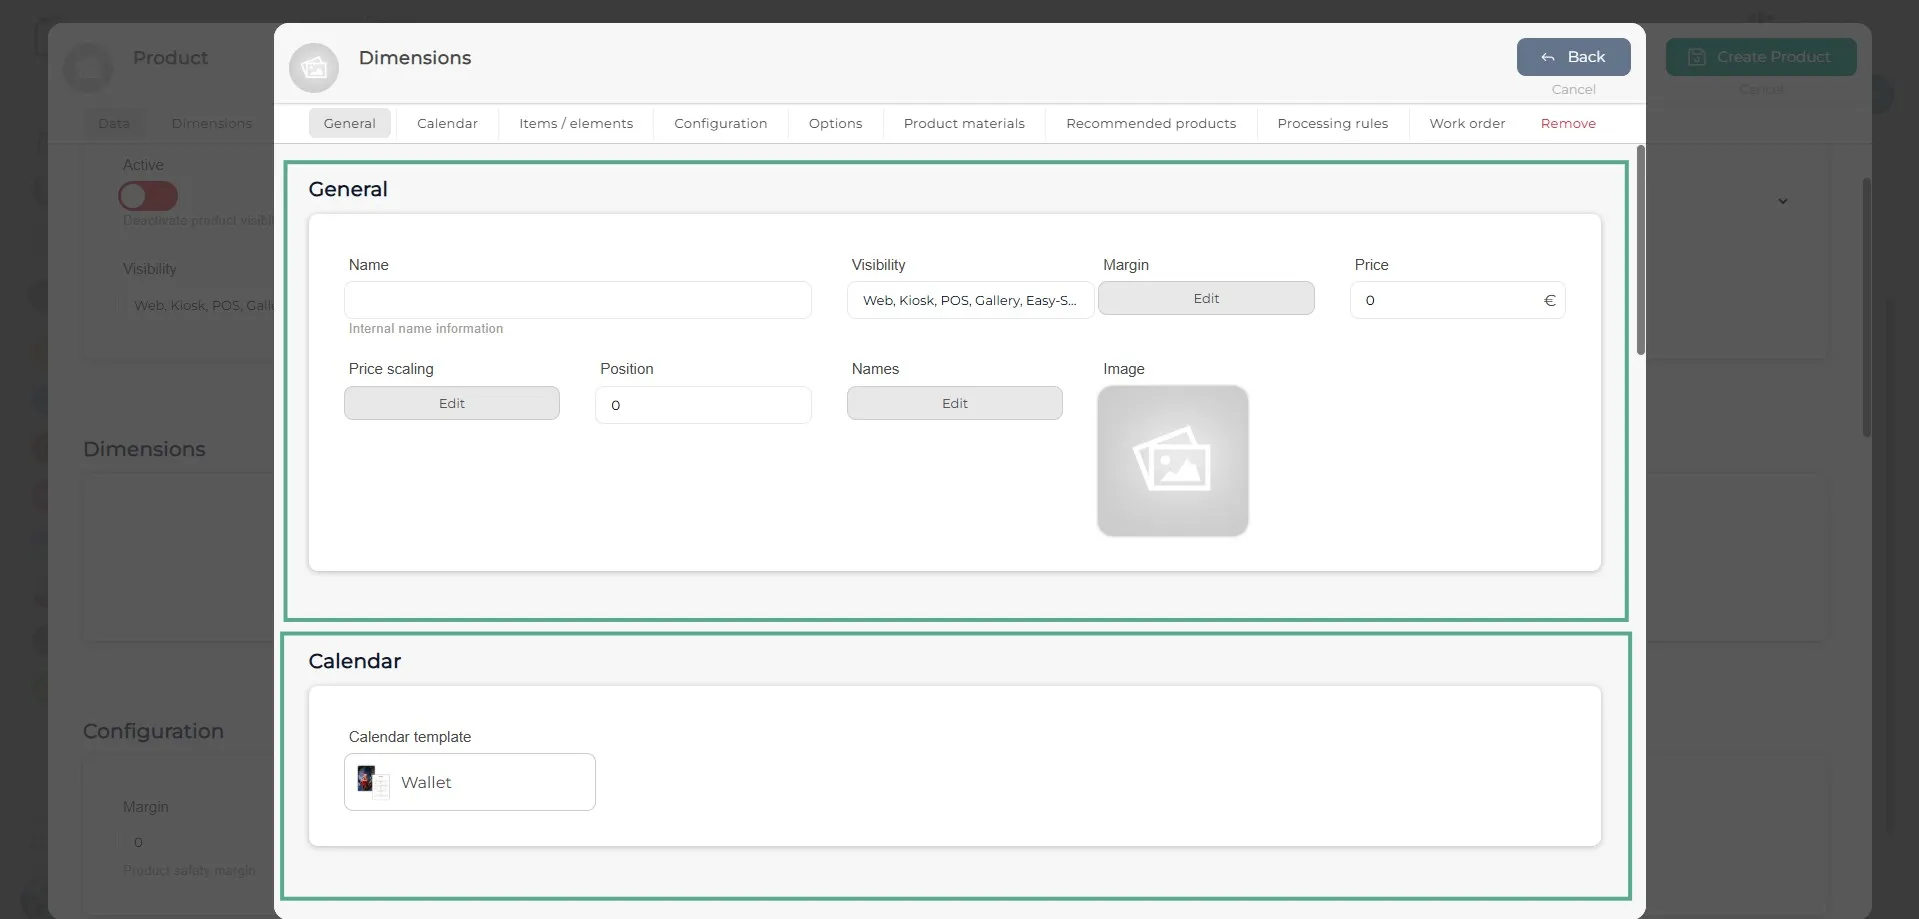
In the Dimension window, you will need to complete the fields in the Data section and select the type of calendar you want to create by clicking on the dropdown menu.
Step 7
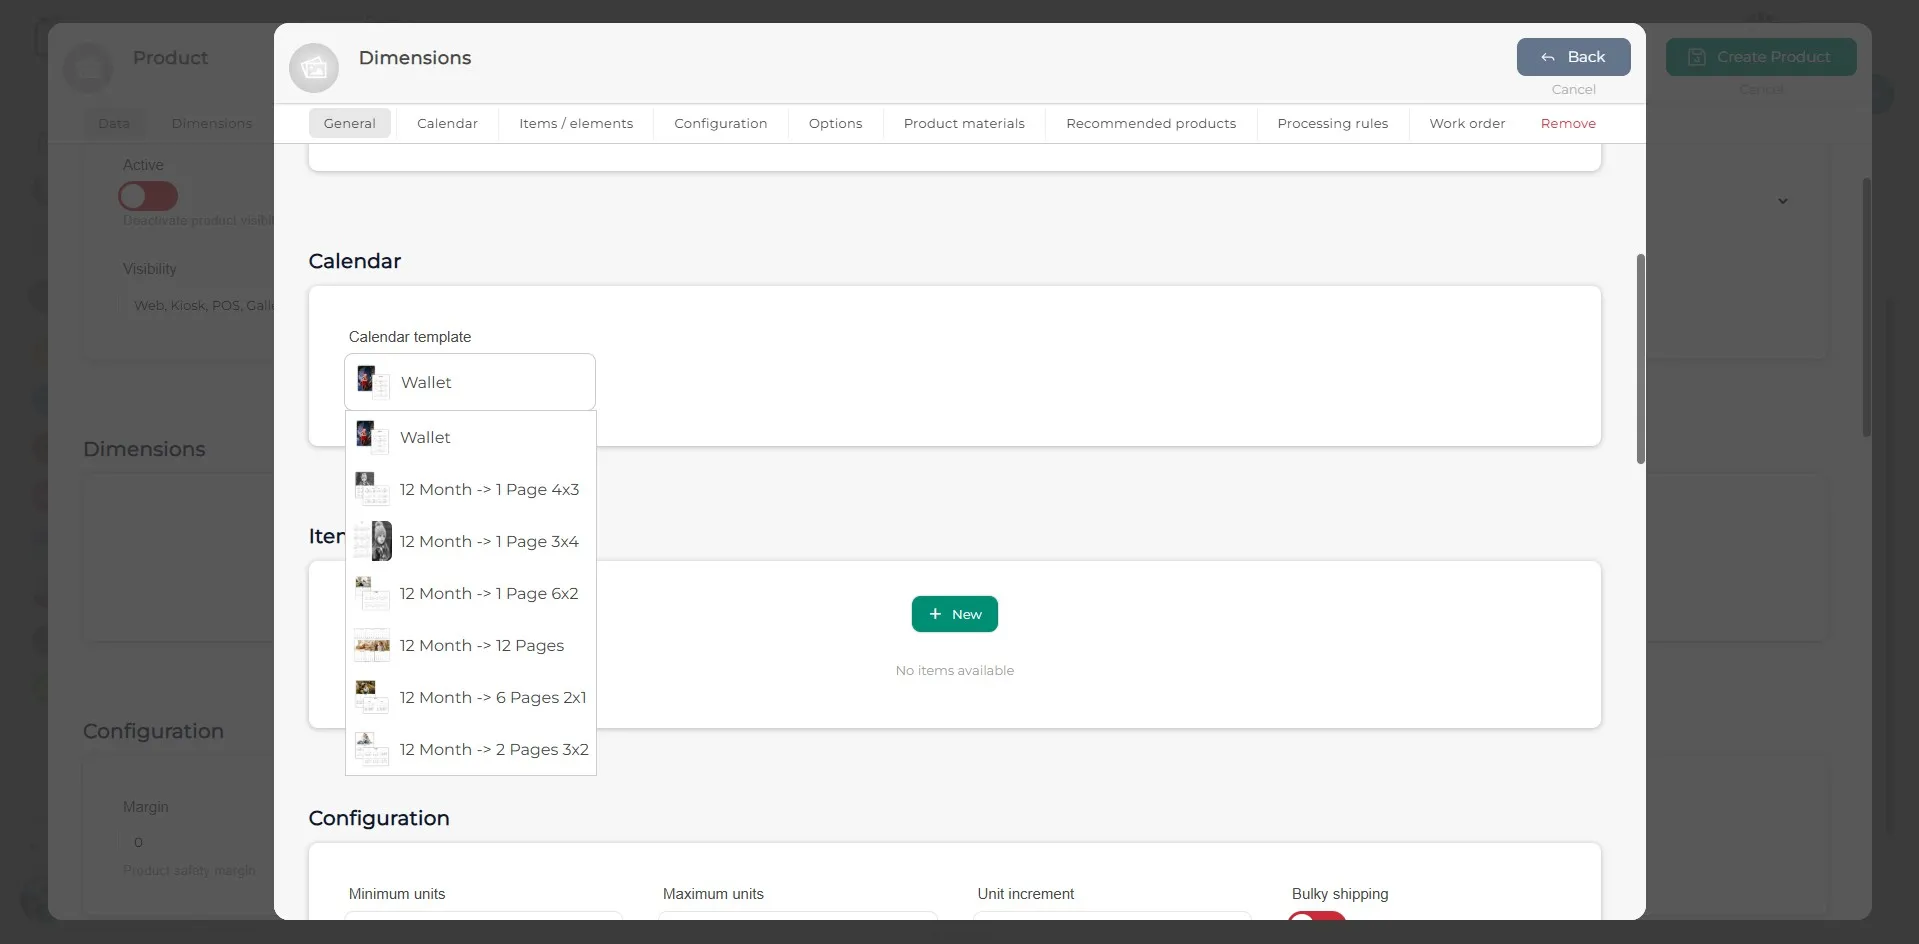
In the Calendar dropdown, you can choose between several types of wallet calendars. These include: Wallet calendar, 1 page 4x3, 1 page 3x4, 1 page 6x2, 1 page per month, 6 pages 2x1, and 2 pages 3x2.
Step 8
You will need to create an item in order to design the product, where you must define the characteristics of the product or calendar.
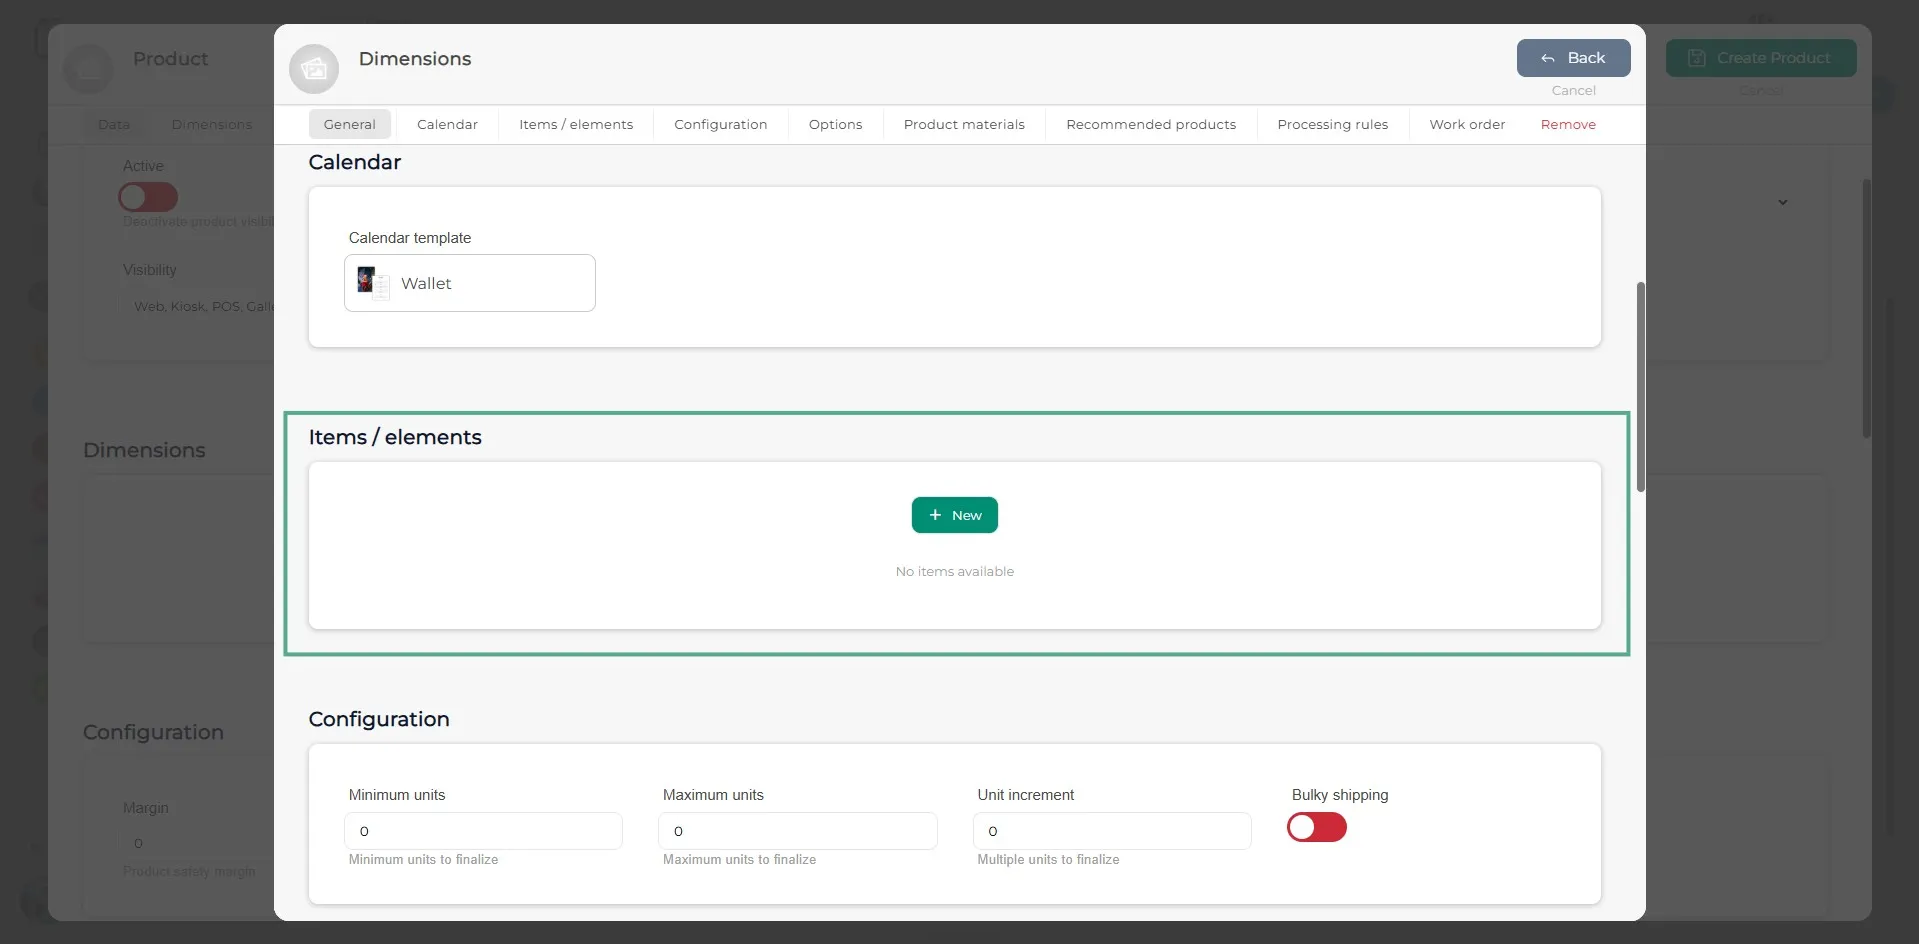
Step 9
Within the item, before accessing the Design section, you must complete the general product details, such as its size and configuration (minimum units, maximum units, etc.).
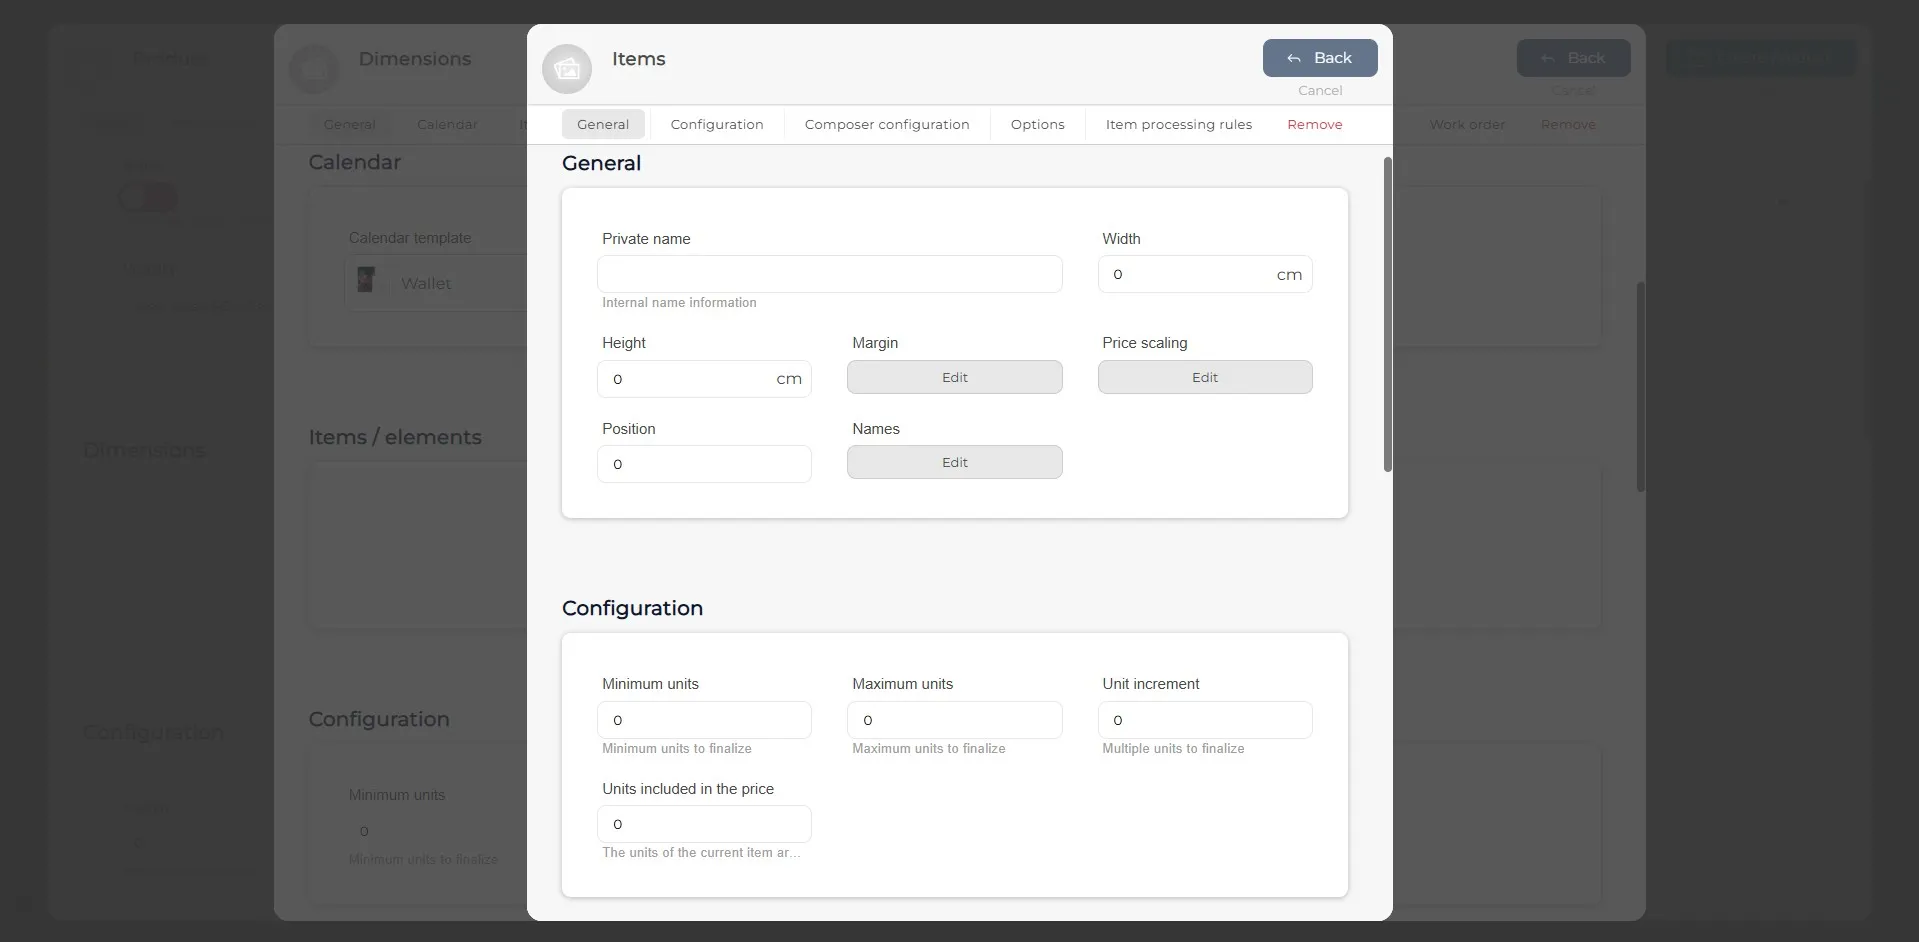
Step 10
To define the design, go to the Design section. In the item dropdown, you can choose between several options. Once the desired option is selected, navigate to the Design section.
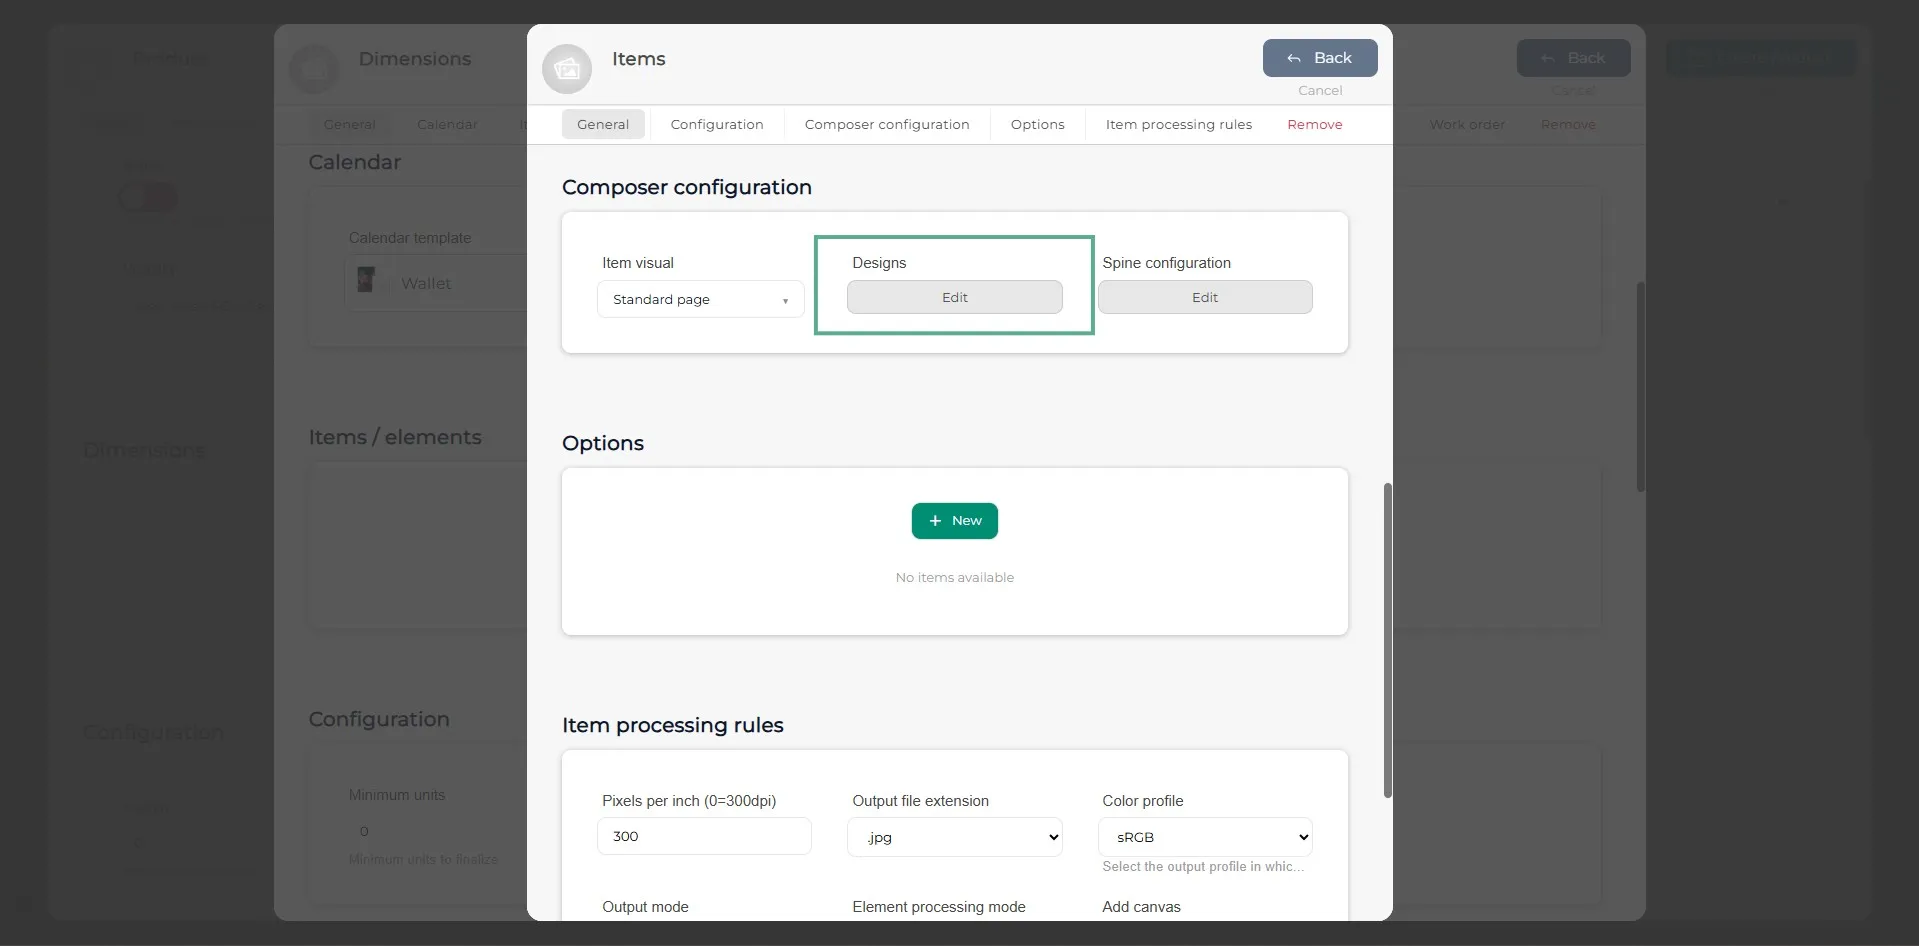
Step 11
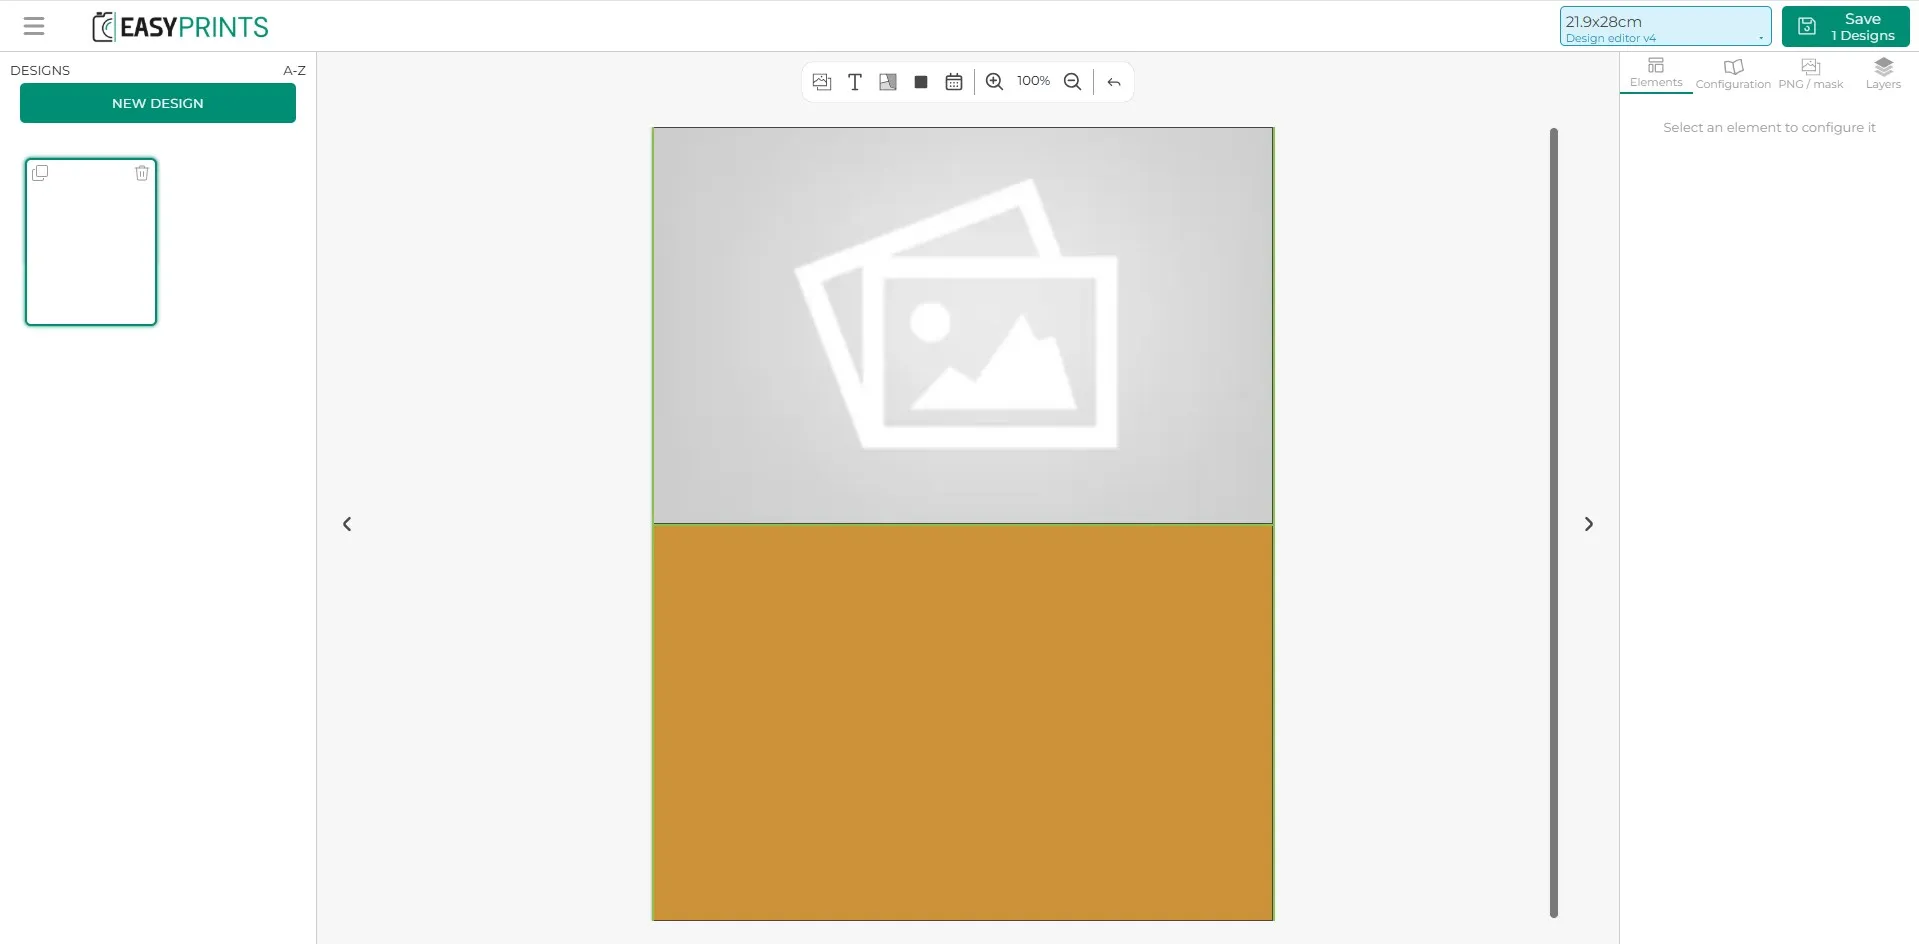
Within the product’s Design section, in the editor, you will find the Calendar option in the central toolbar. This option is represented by a calendar icon located in the center of the bar, as shown in the image. When you click this icon, an orange-yellow box will appear, which you can place anywhere in the design. Later, on the website, when the customer designs their calendar, they will see the layout you created, and the calendar area you added will be automatically filled with the calendar type selected in the dropdown.
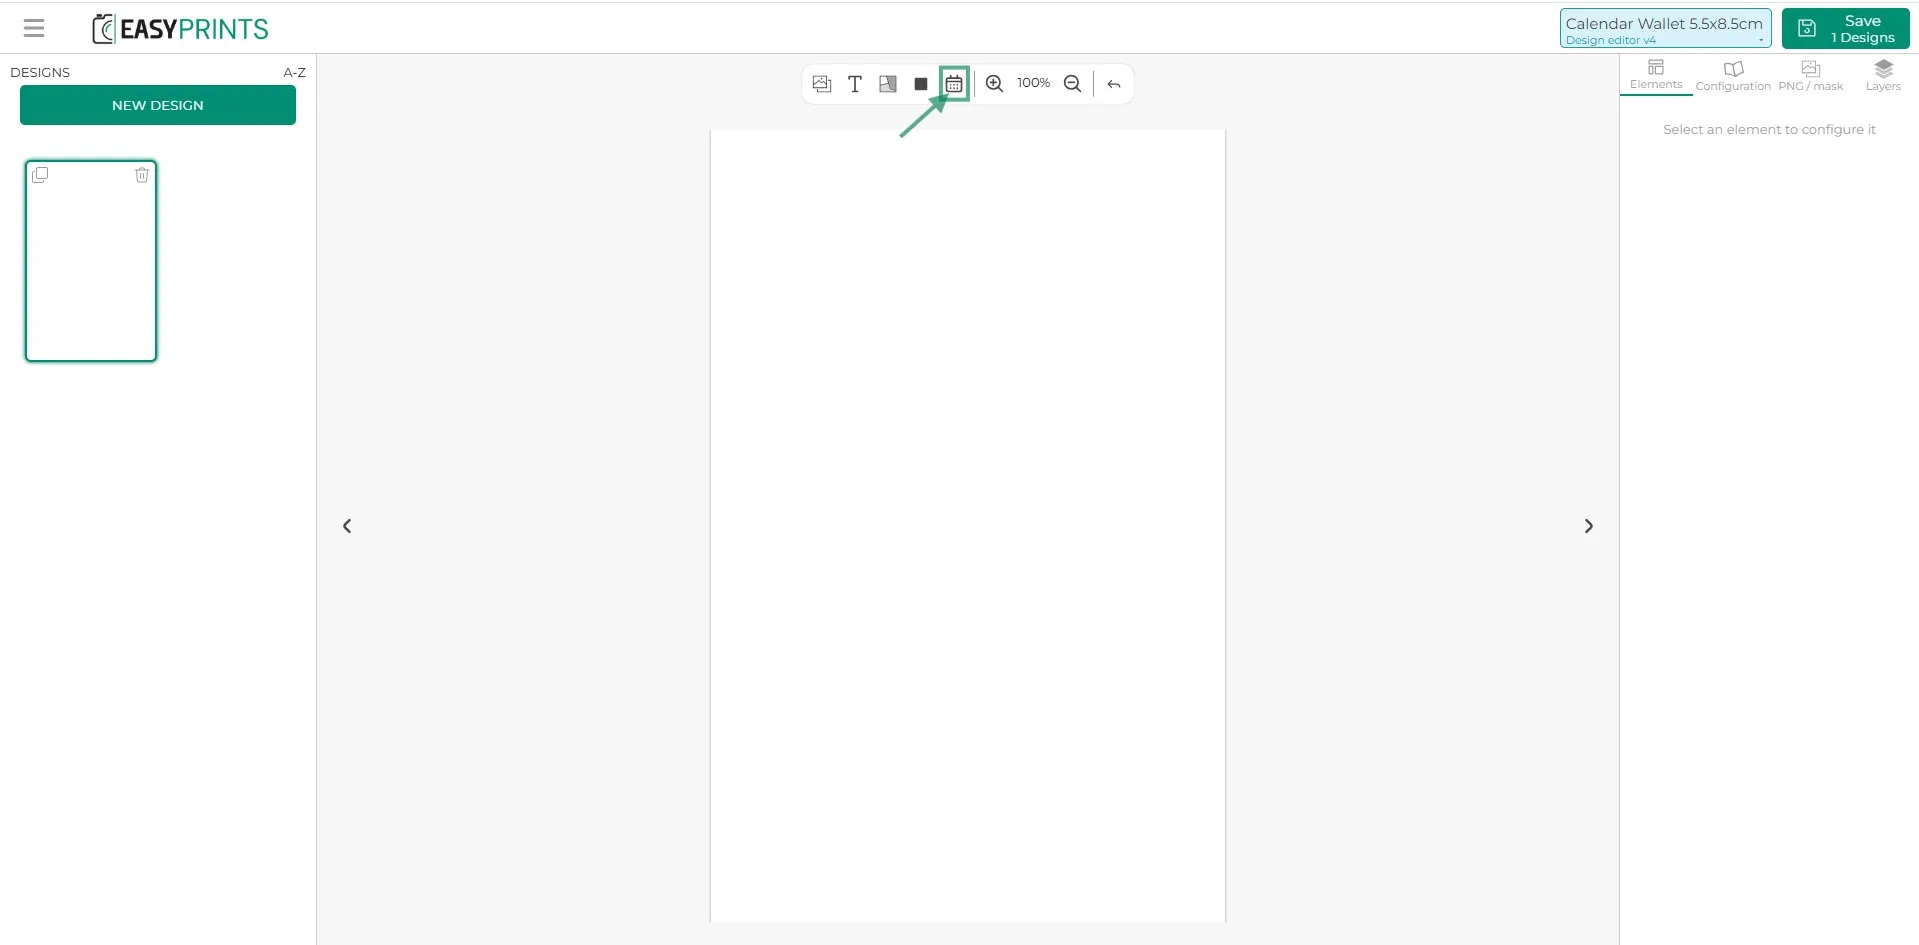
Step 12
Create the desired design for the selected calendar type.
Step 13
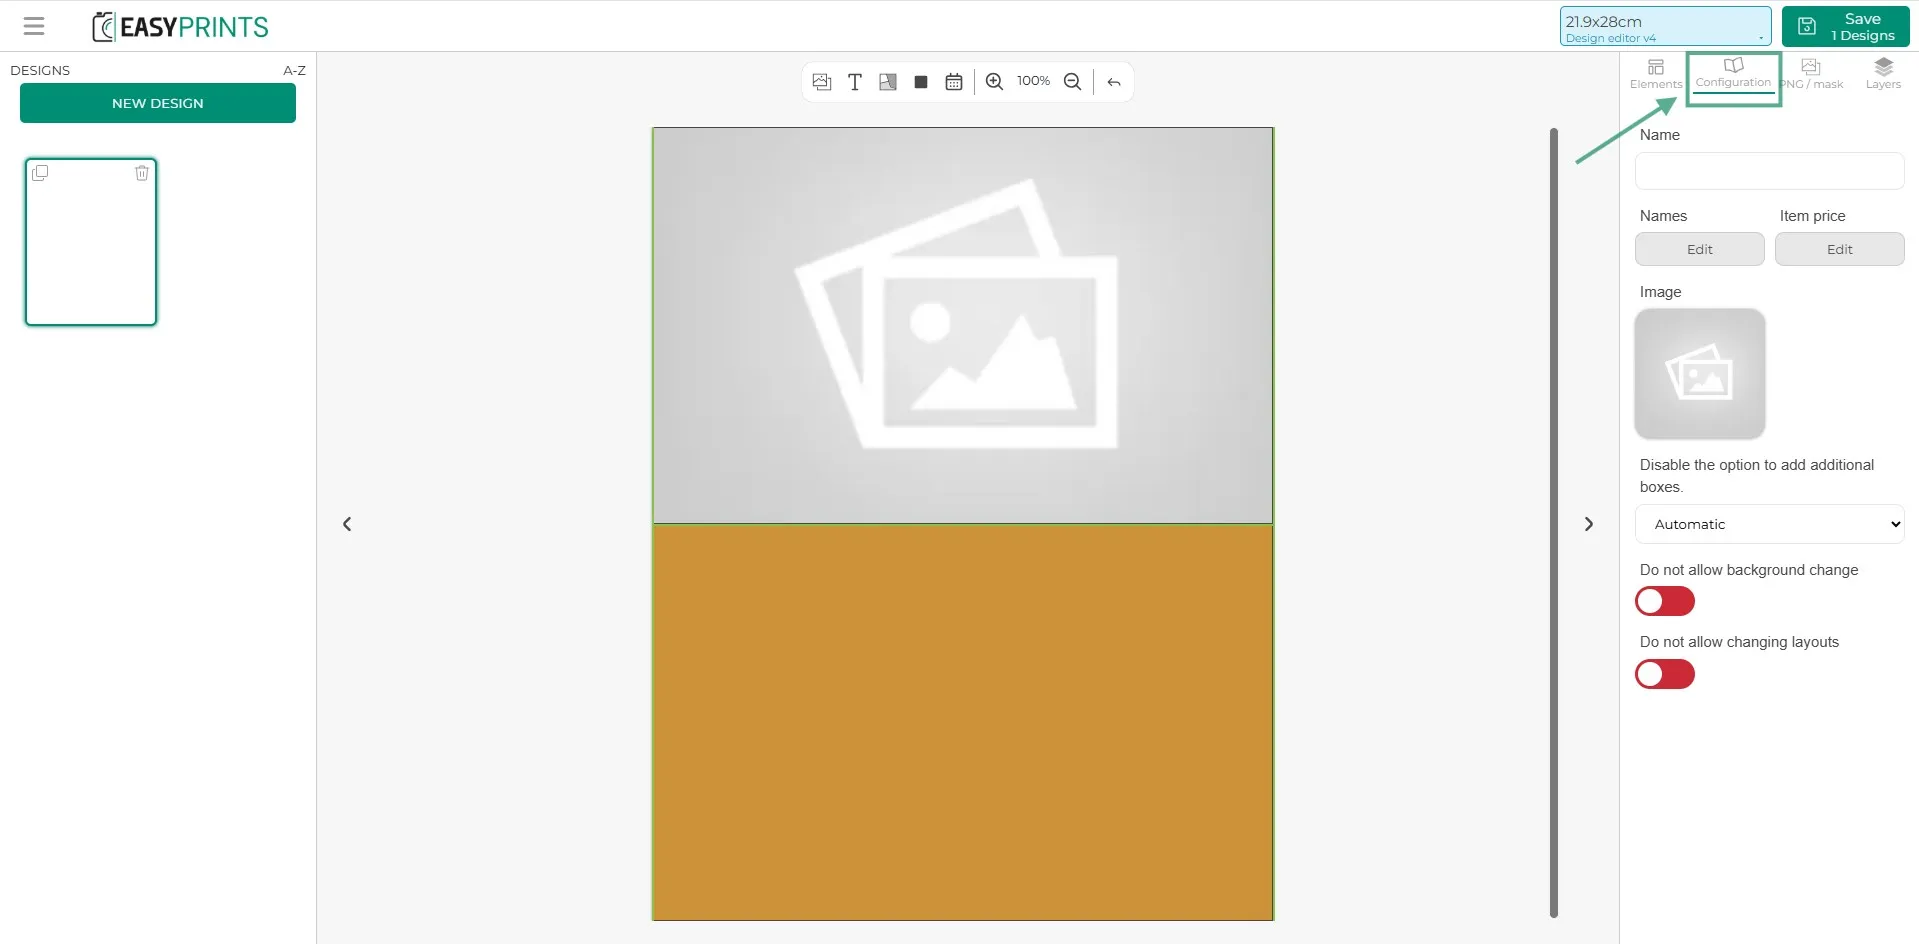
In the configuration section, located at the top right, you must assign a name to the created design (both the internal name and the name visible on the website) and add a representative image of the design. You can also enable or disable the options that allow the customer to automatically add boxes to the product, as well as allow or restrict background and layout changes.
Step 14
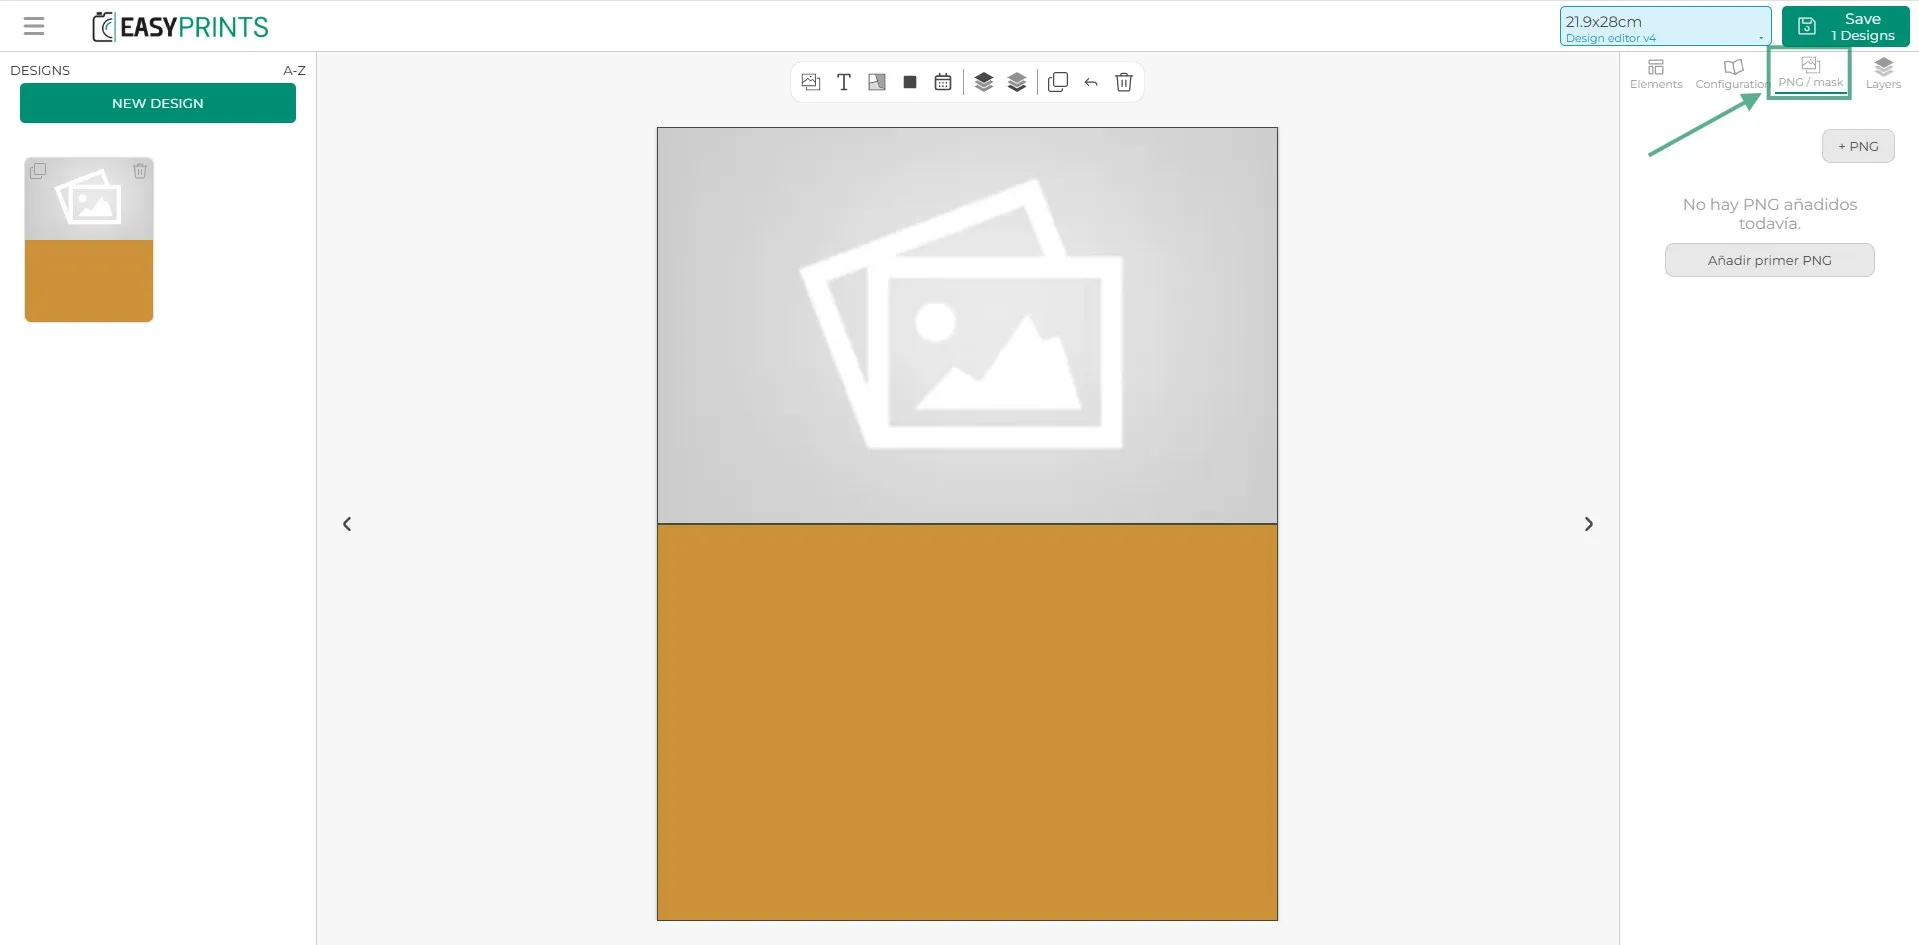
In the PNG section, located next to Configuration, you can add a PNG file if necessary.
Step 15
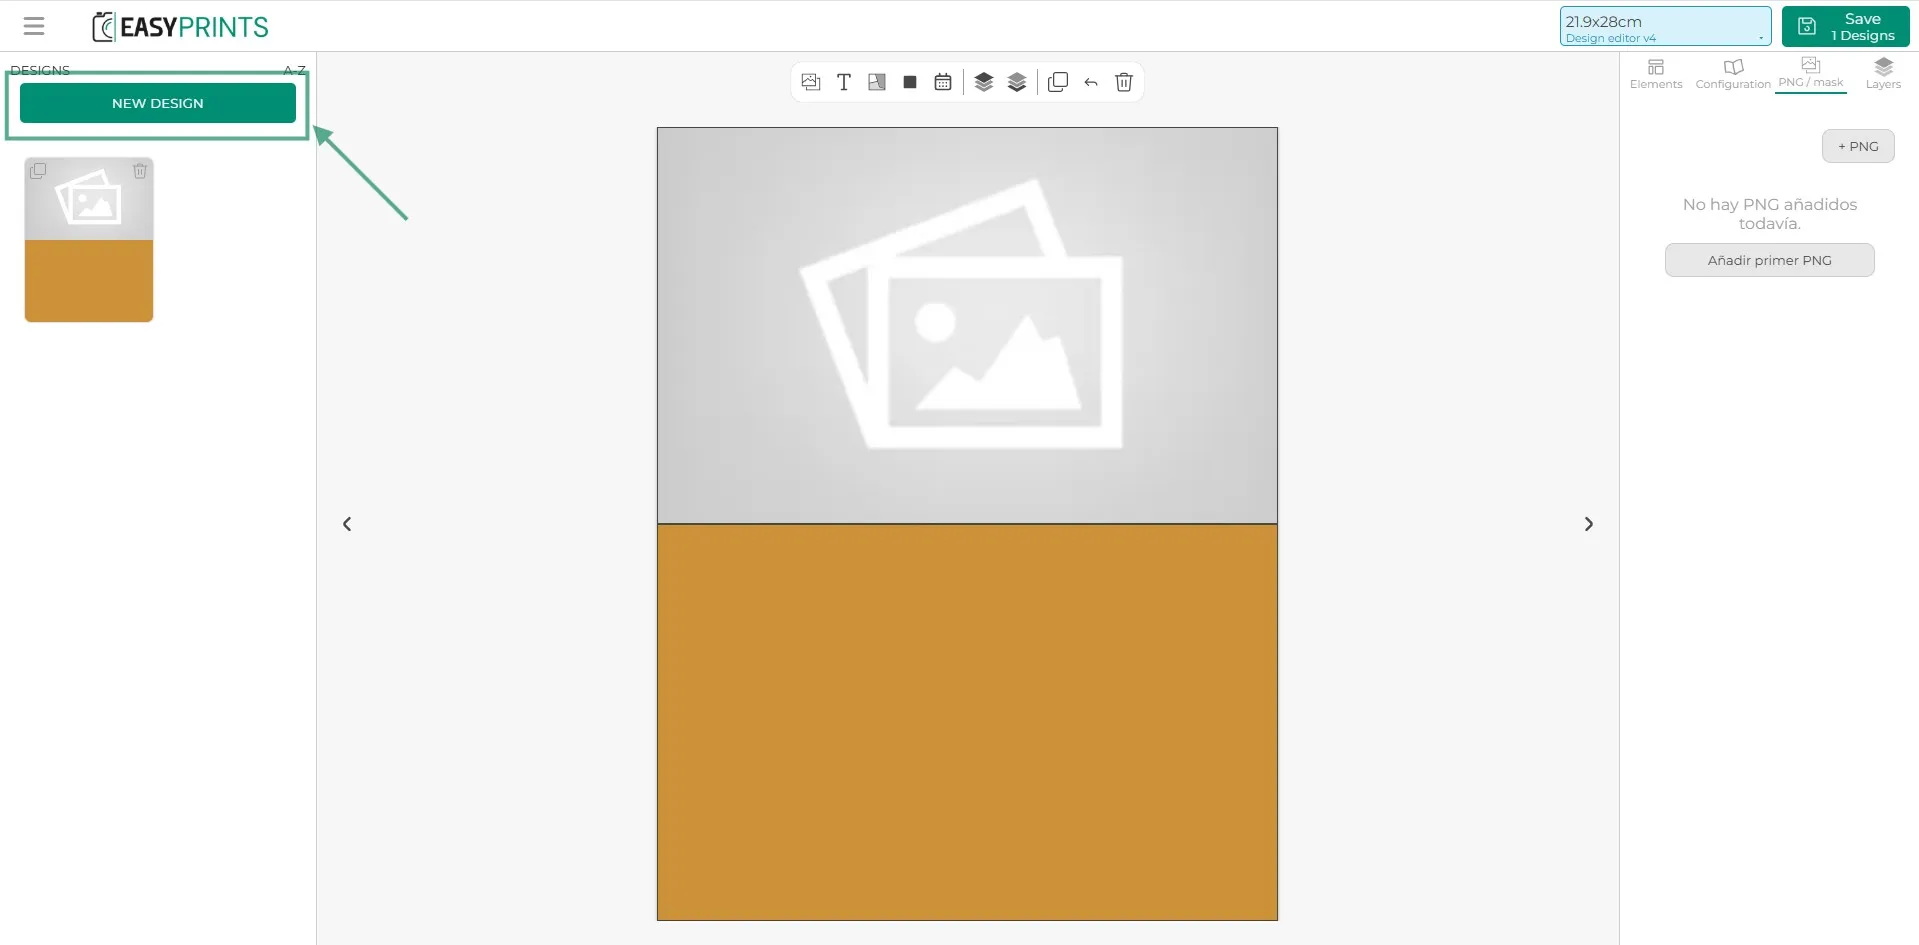
If you want to create more than one design, click on “New design” and repeat the previous steps.
Step 16
Save the design to continue with the product configuration.
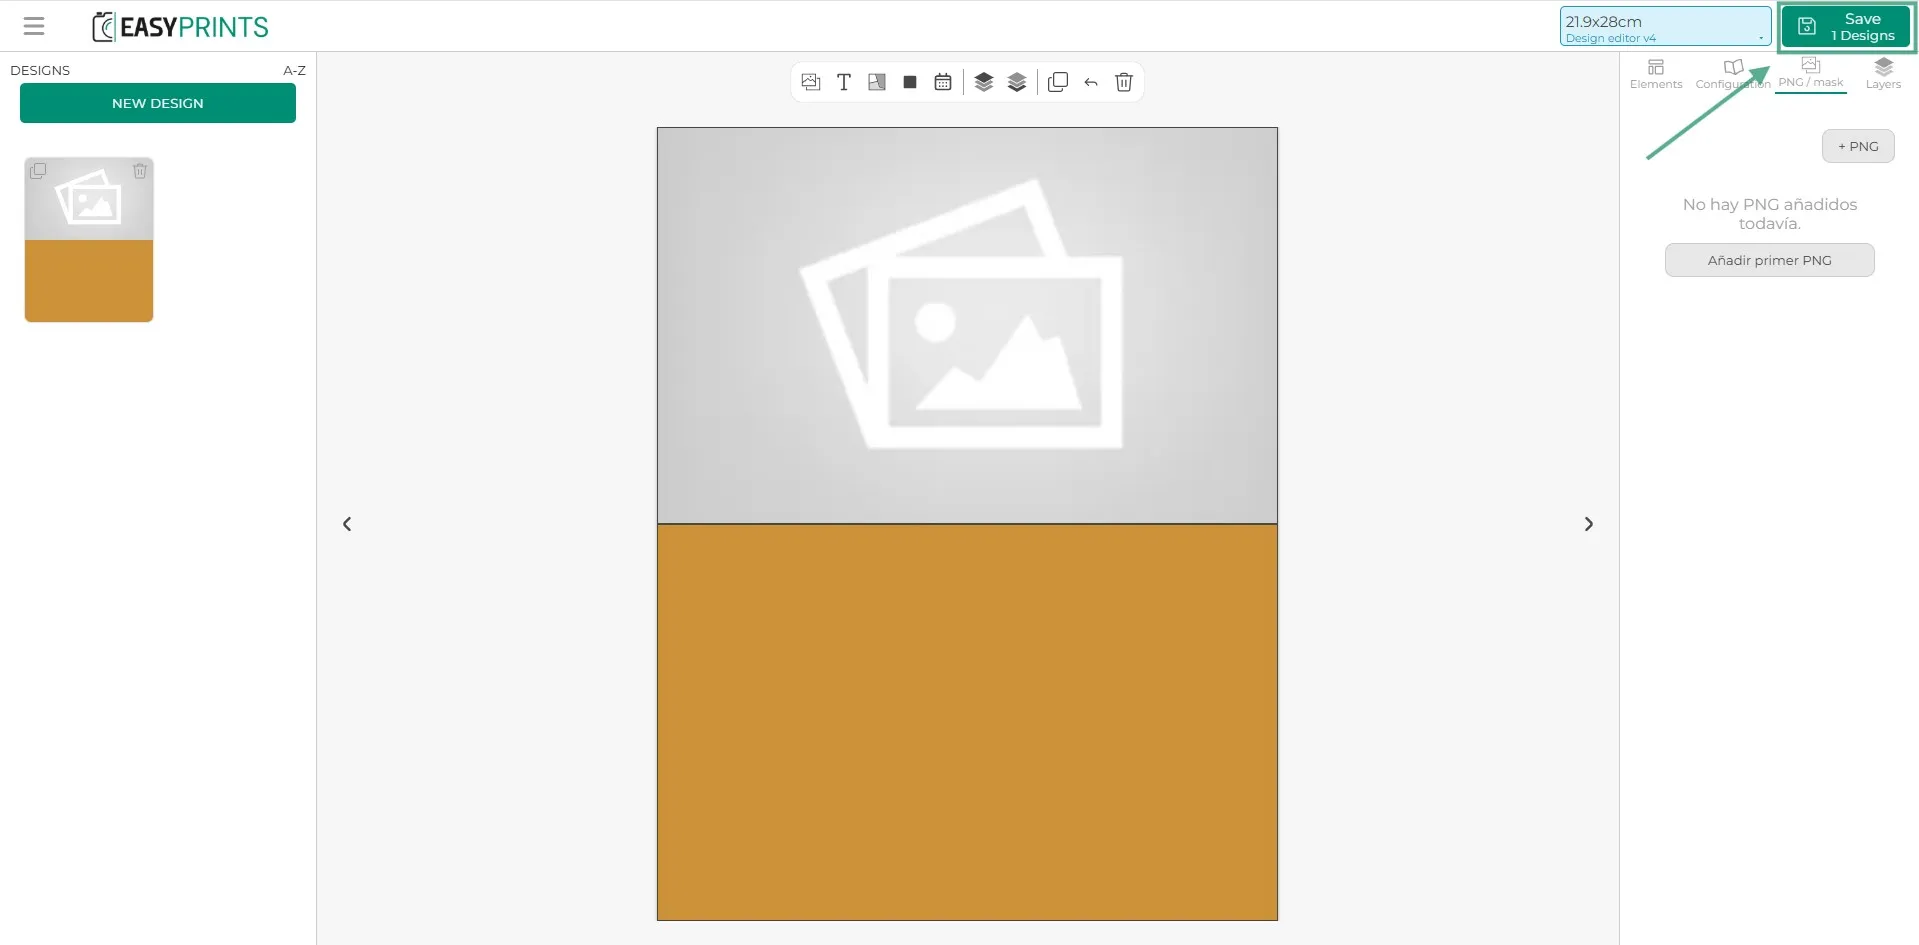
Step 17
Complete the steps in the Dimension section by specifying the minimum and maximum units of the product, the available options for that dimension, and, if applicable, the specific material you want to display to the customer without allowing them to change it.
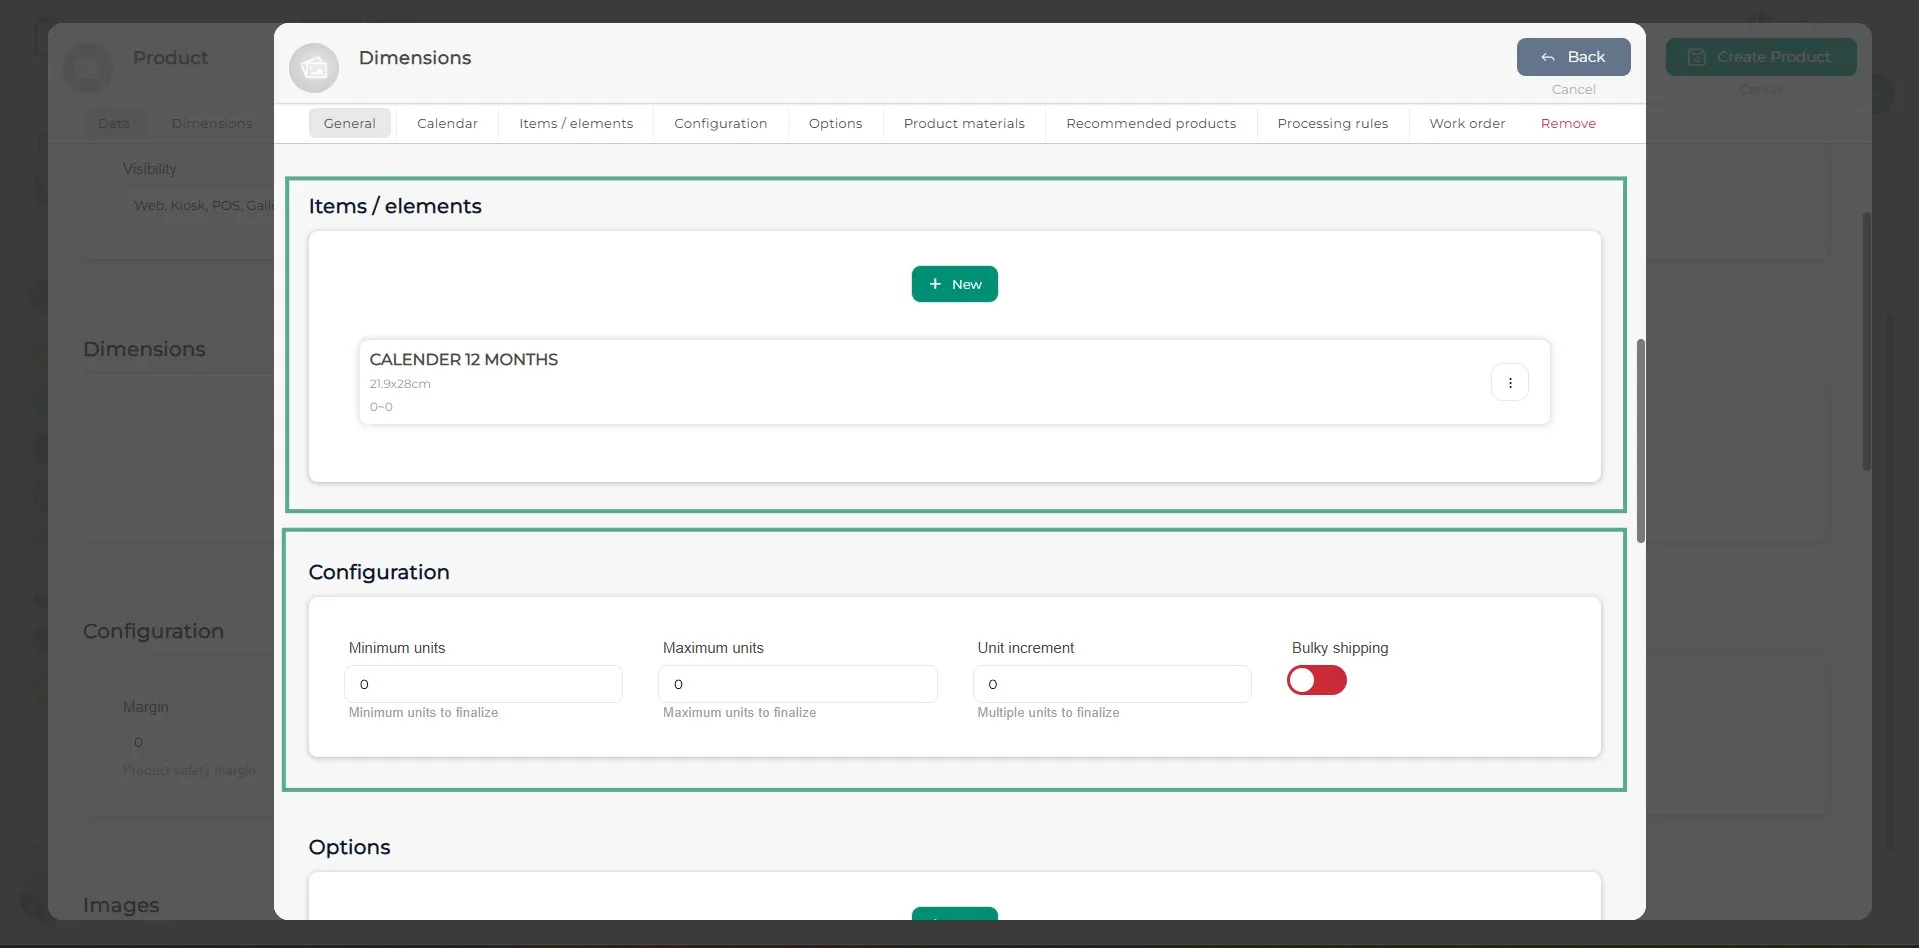
Step 18
Complete the processing rules by specifying the pixels per inch (default set to 300 DPI), the output file format (.jpg, .pdf, .png or .png + .eps), the color profile (sRGB, RGB or Adobe RGB), and the output mode. Once all fields are completed, click “Back”.
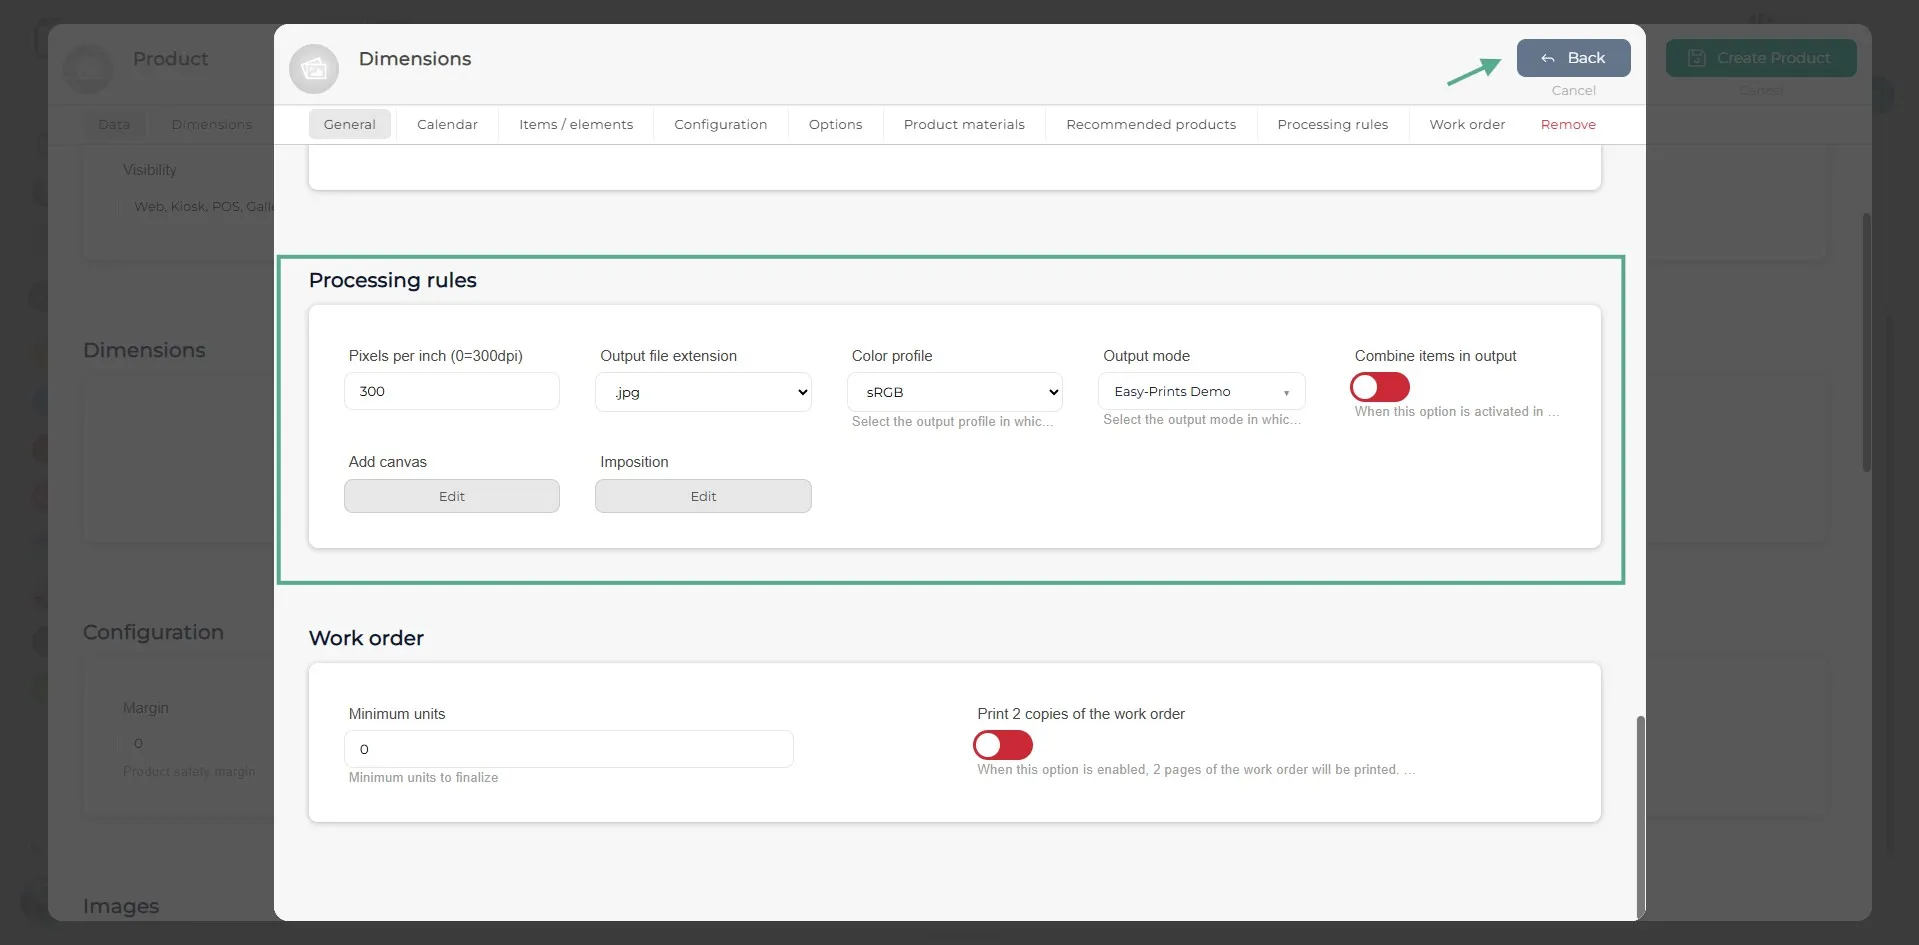
Step 19
Add as many dimensions as calendars you want to create. To create more calendars, follow the steps described above.
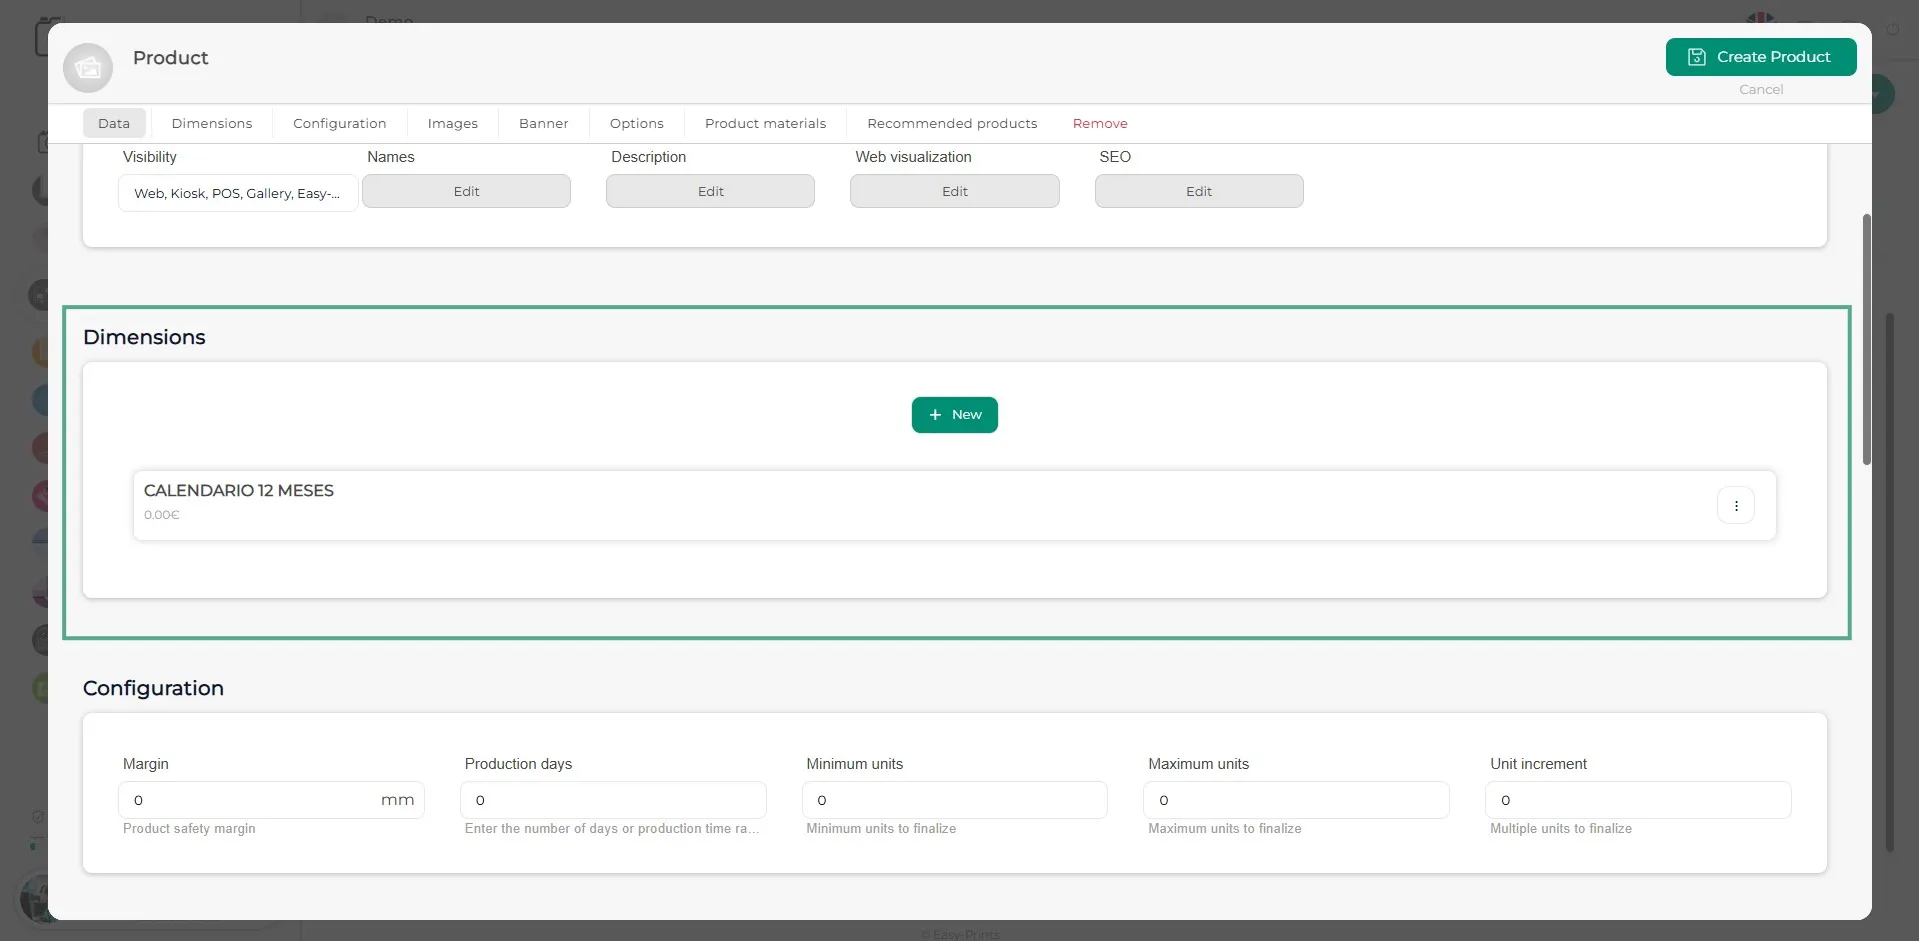
Step 20
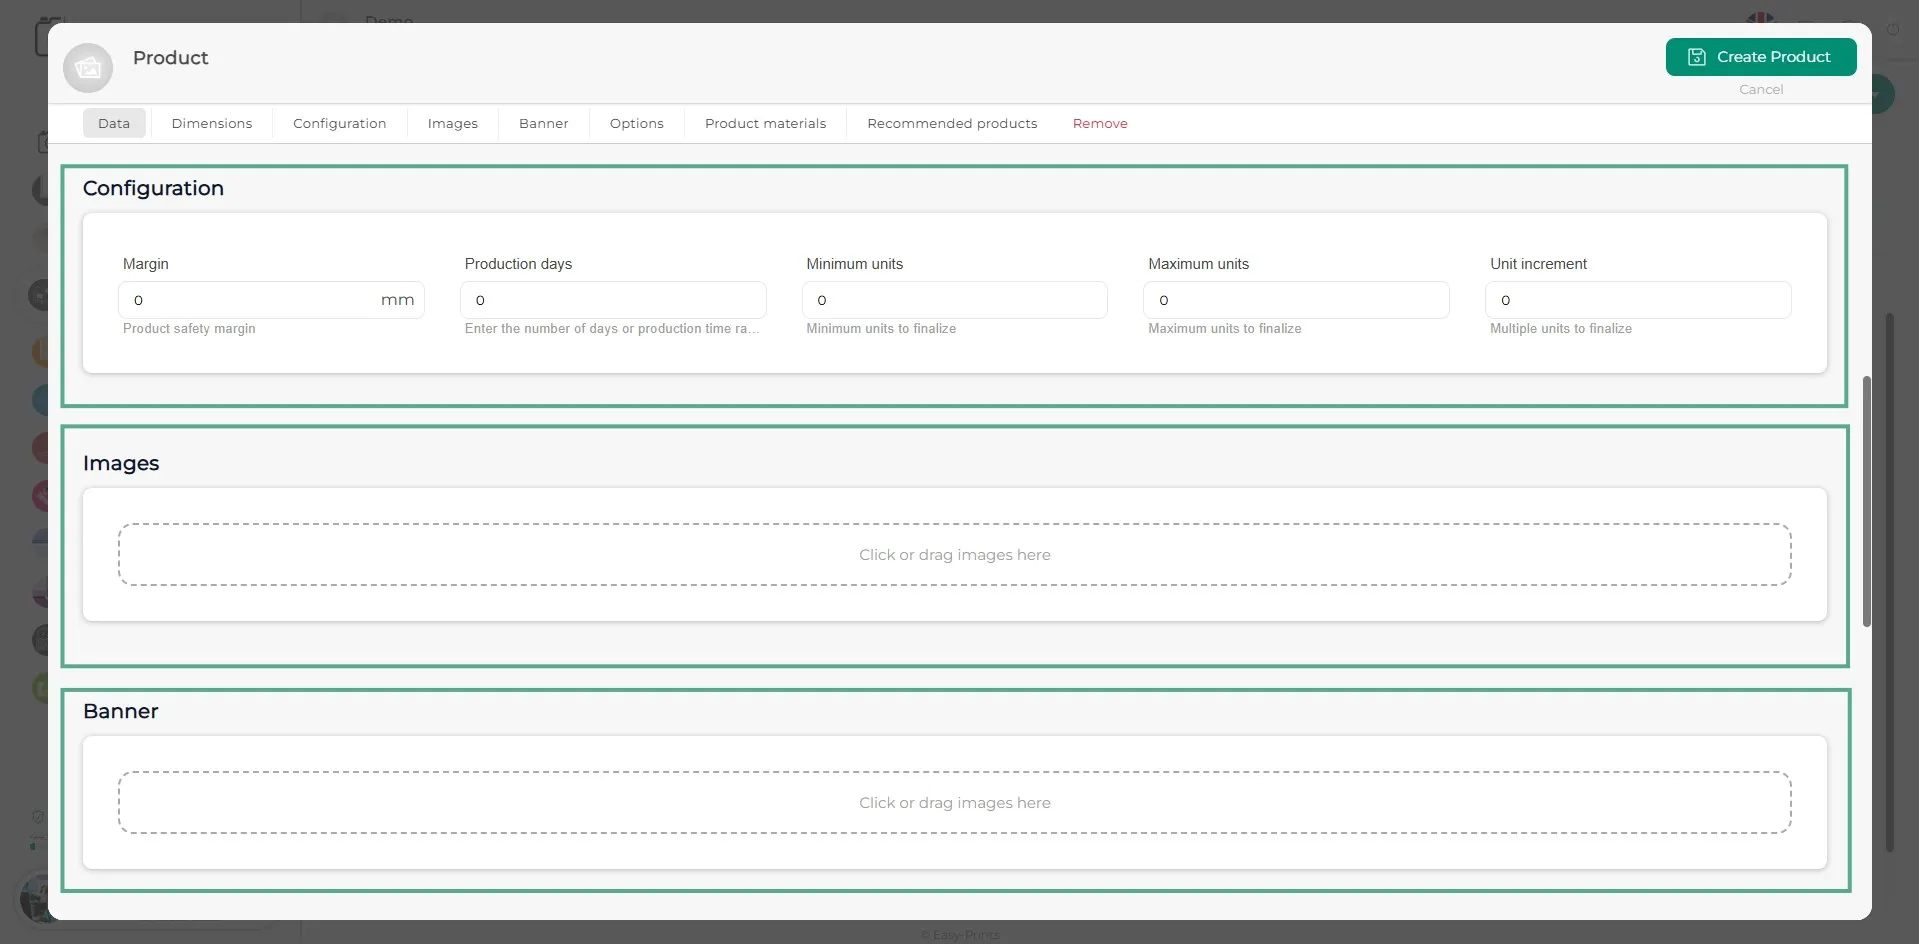
In the Configuration section, you must specify the product’s safety margin, the production time (calculated in working days, for example: 4–5), and the minimum and maximum units. In the Images section, you can upload as many images as you want. To do so, click on the indicated white box. For the banner, it is uploaded in the same way as in the Images section. A size of 600x1920 px is recommended. The banner is optional.
Step 21
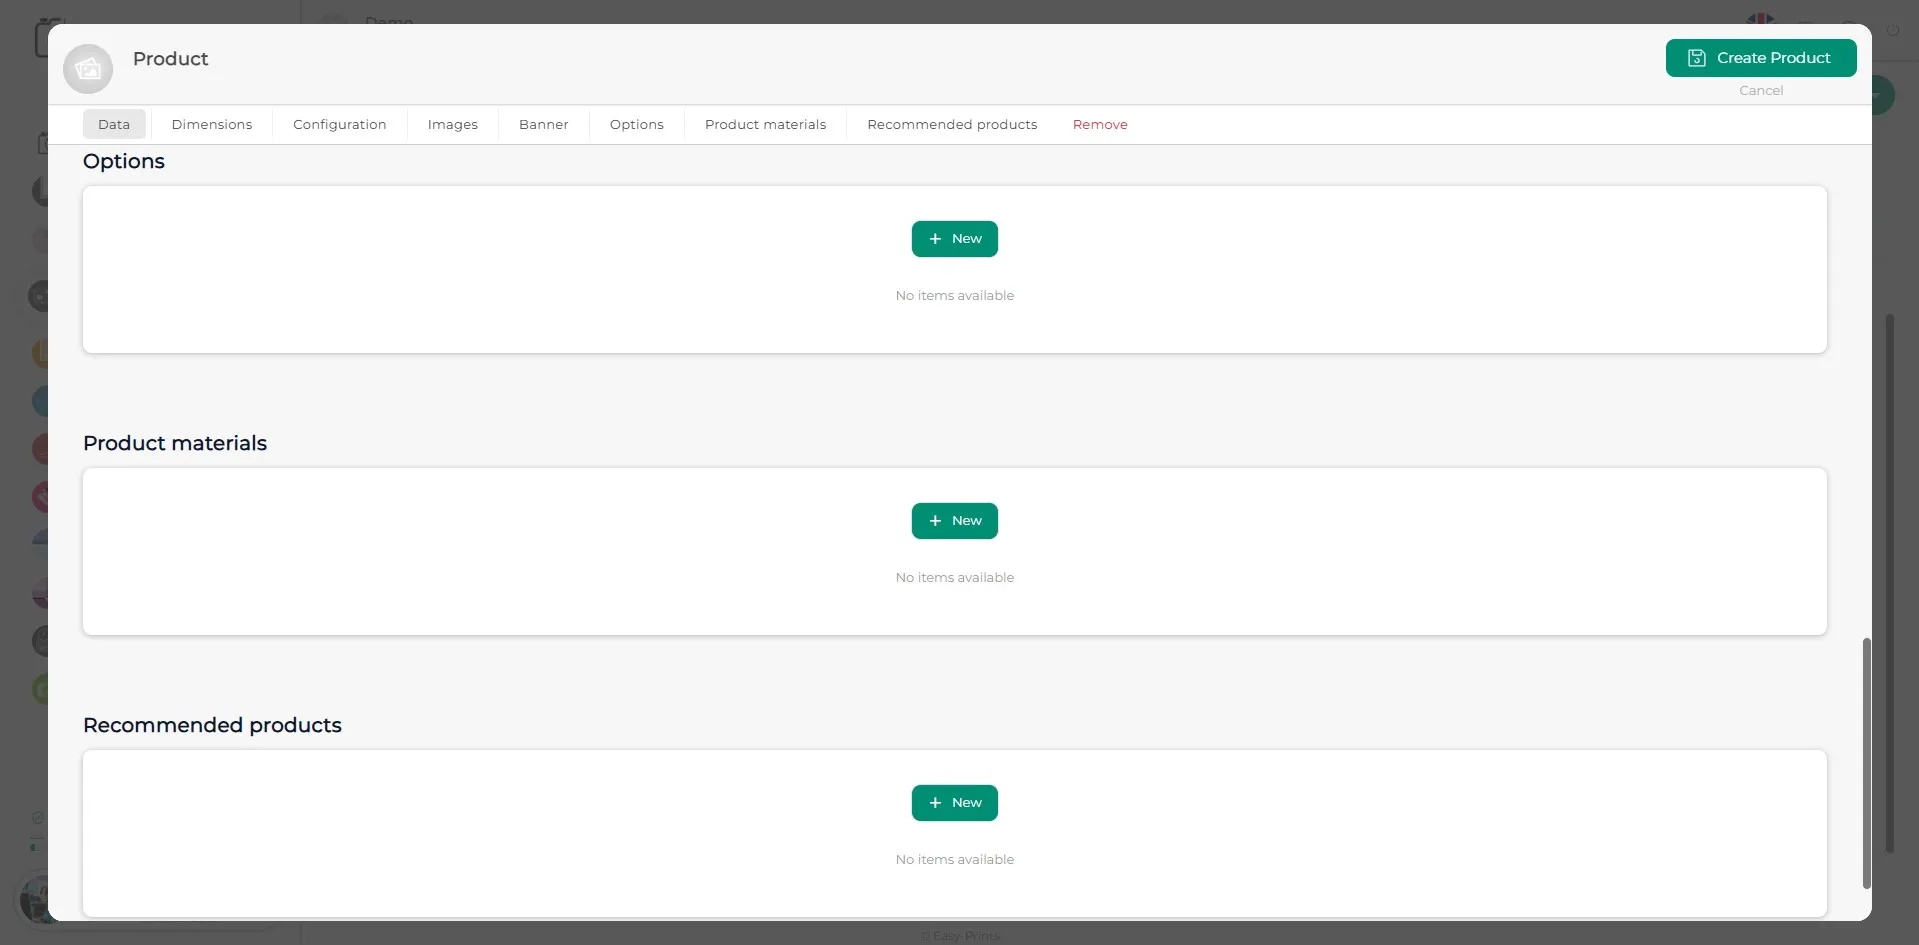
In this step, as shown in the image, you can also configure the options, product materials, and recommended products, just like in the Dimensions section. If all dimensions share the same options, materials, and recommended products, they can be defined directly in this section.
Step 22
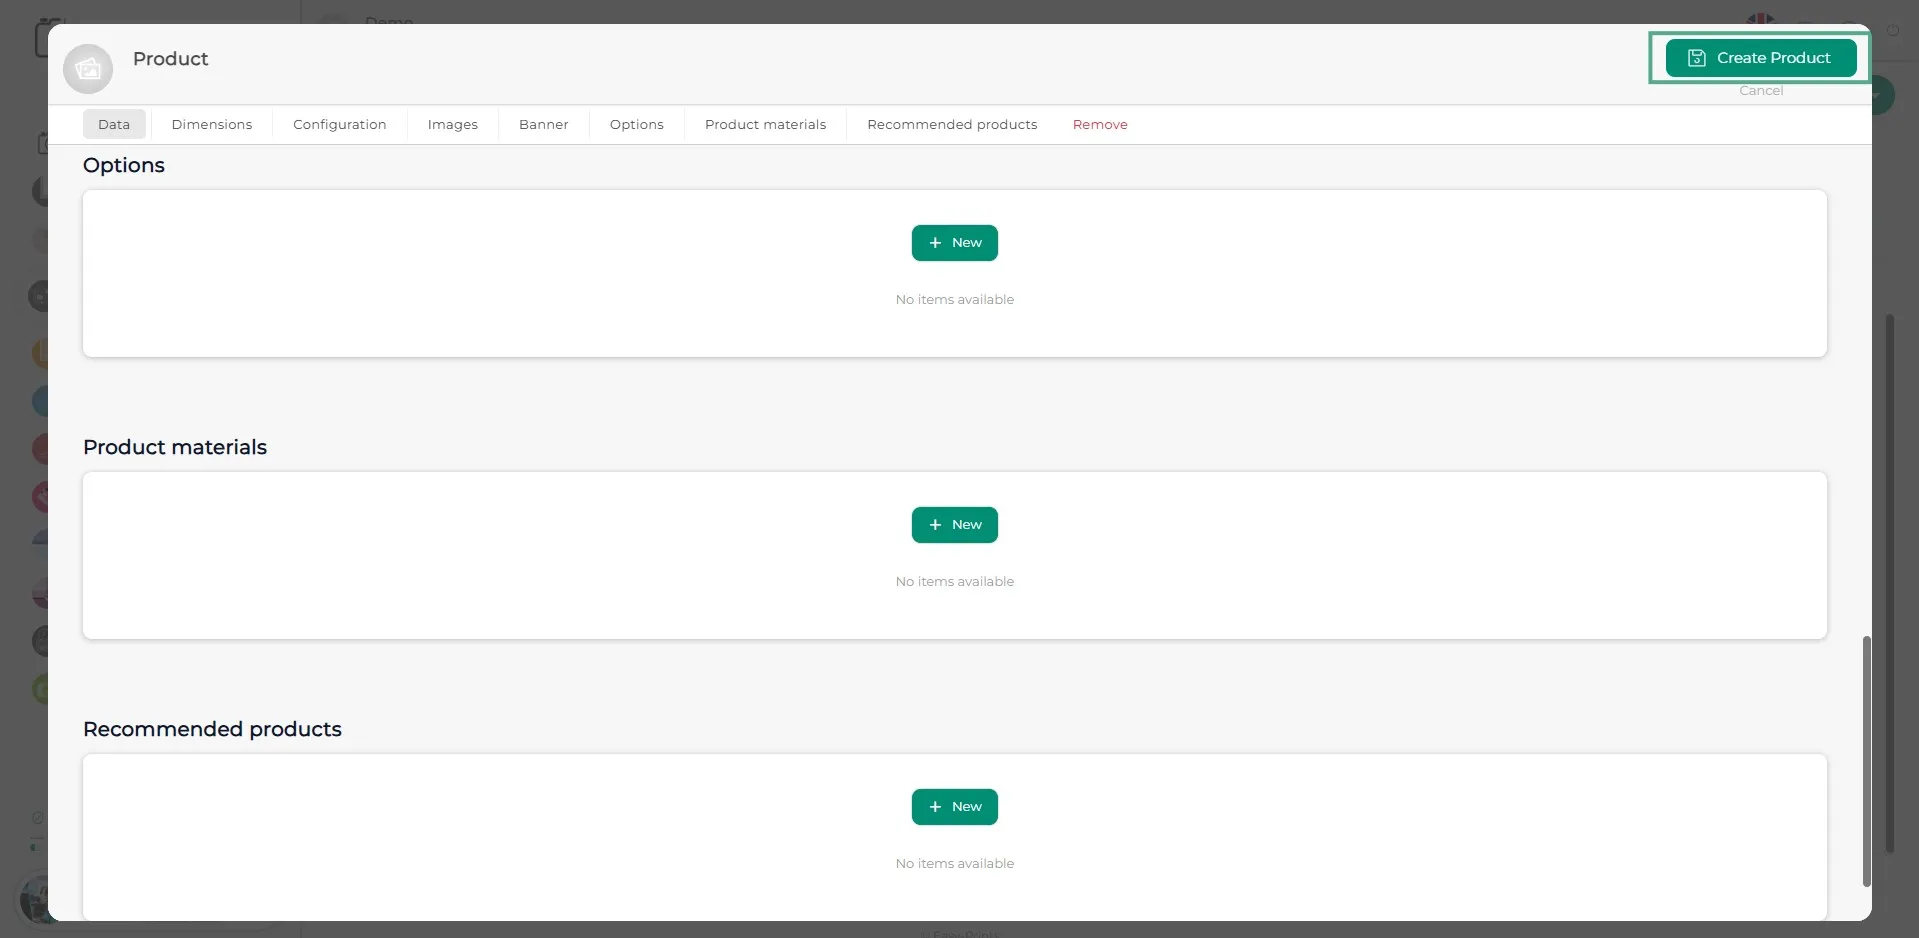
Finally, make sure to save the product by clicking the green “Save” button located at the top right.
Go back to the Help Center or contact Easy-Prints.
← Back to Help Center