
Canvas product
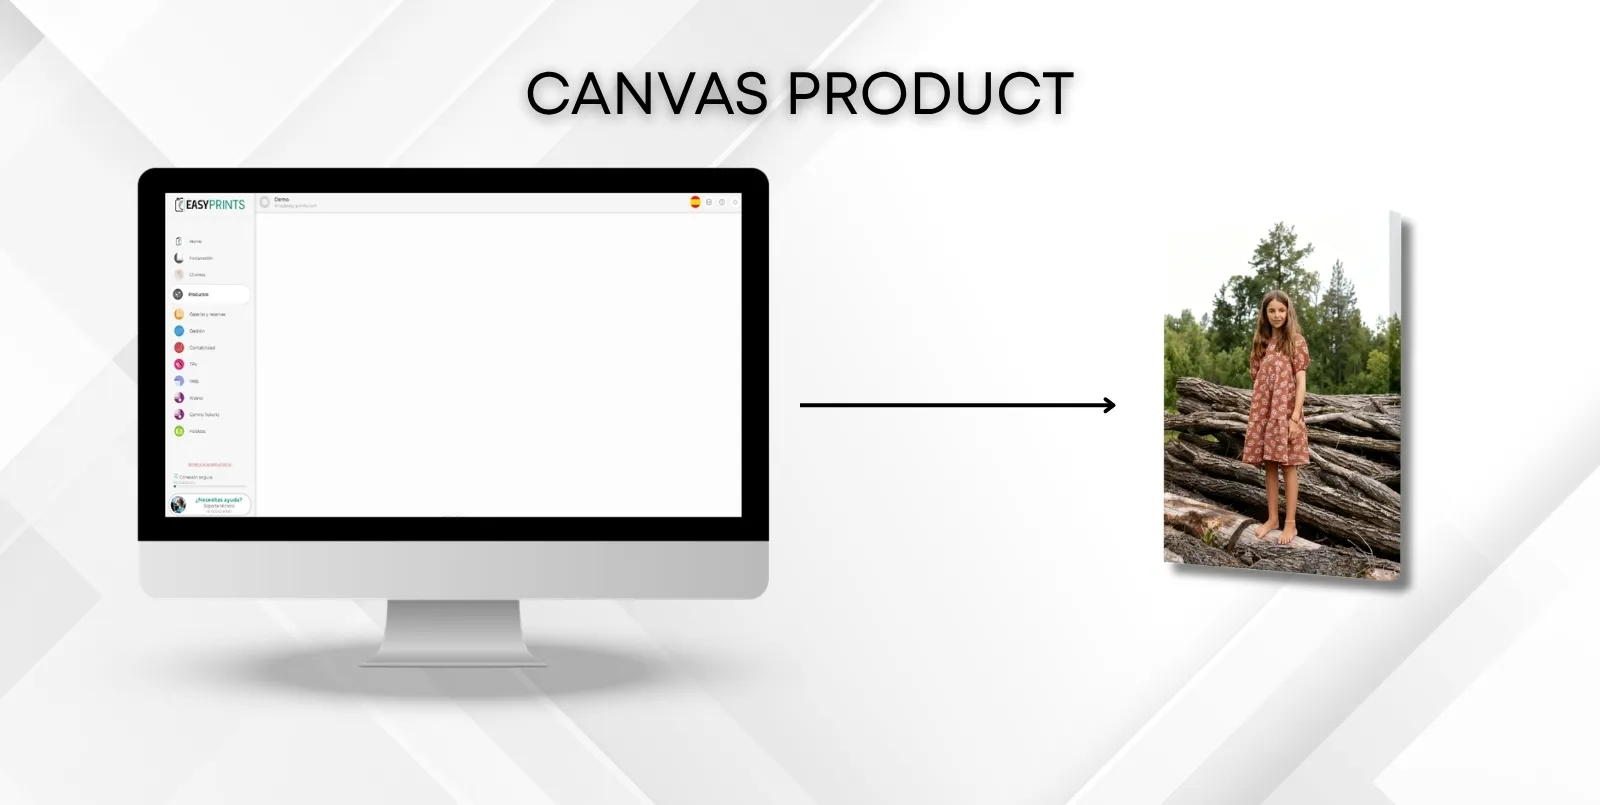
To create a canvas product, go to the Products category from the left-hand menu. Once inside, navigate to the Products section located in the top bar. Then…
Step 1
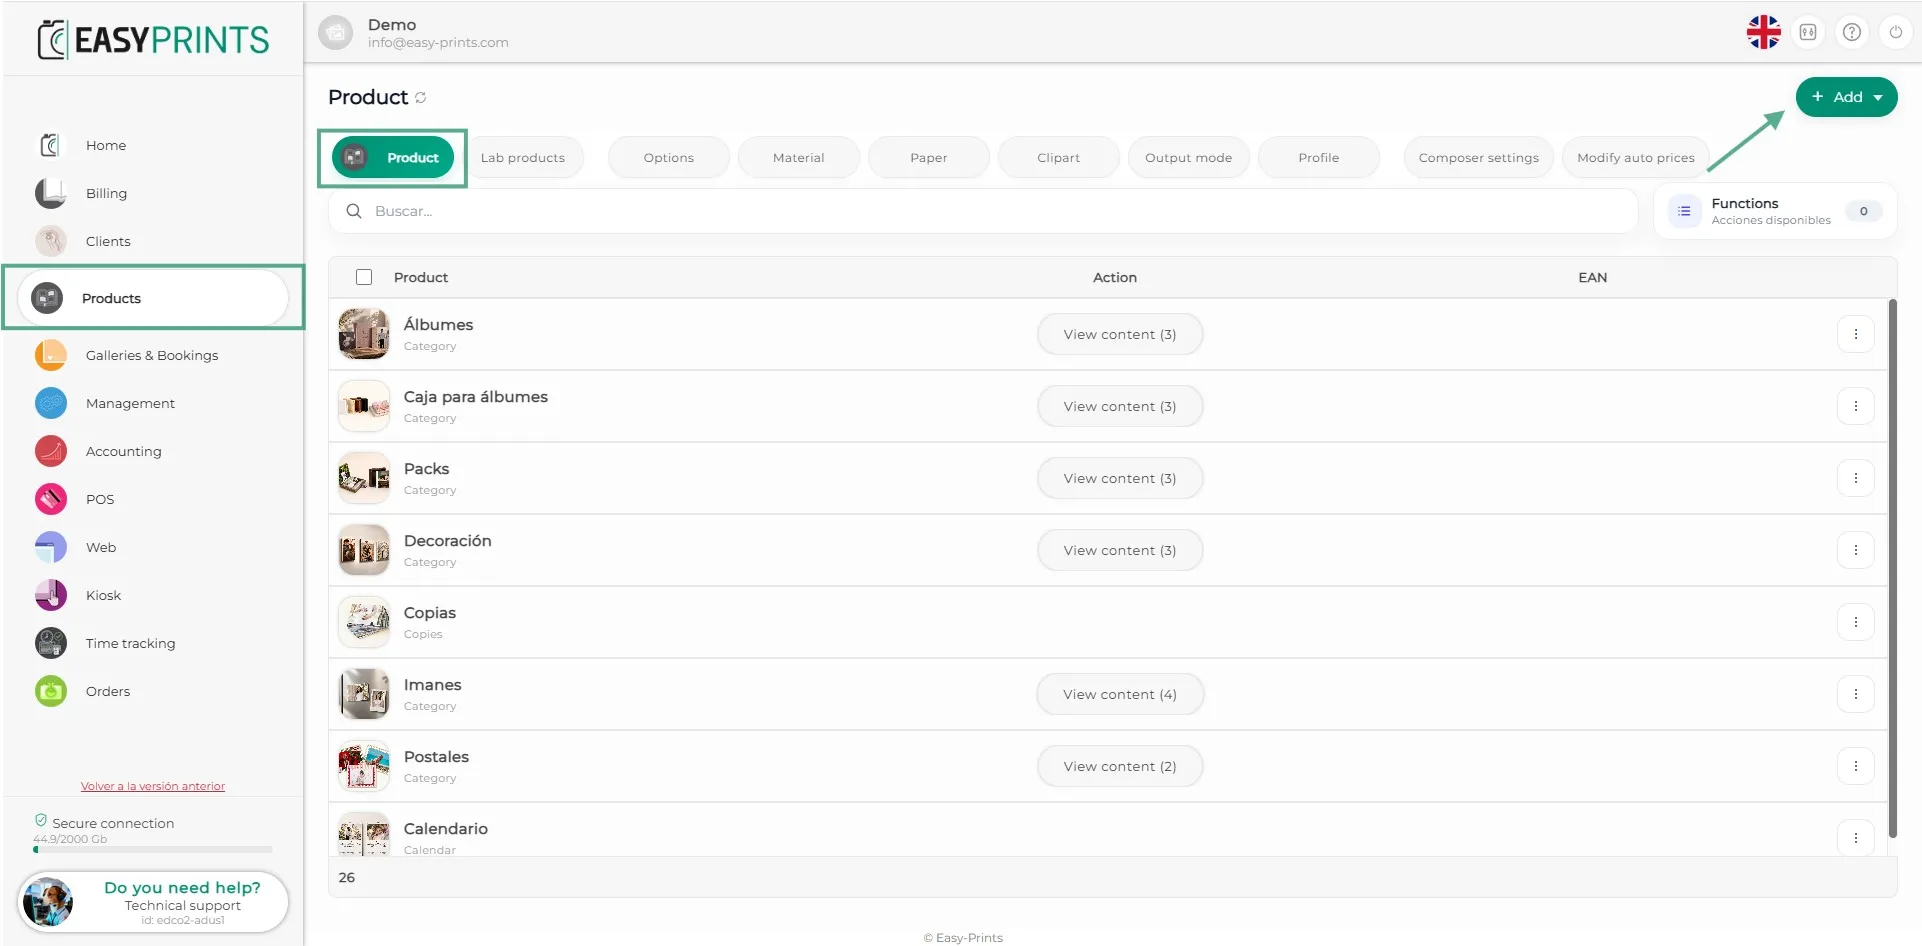
To create a canvas product, go to the Products category from the left-hand menu. Once inside, navigate to the Products section located in the top bar. Then, click the green + Add button located in the top right corner.
Step 2
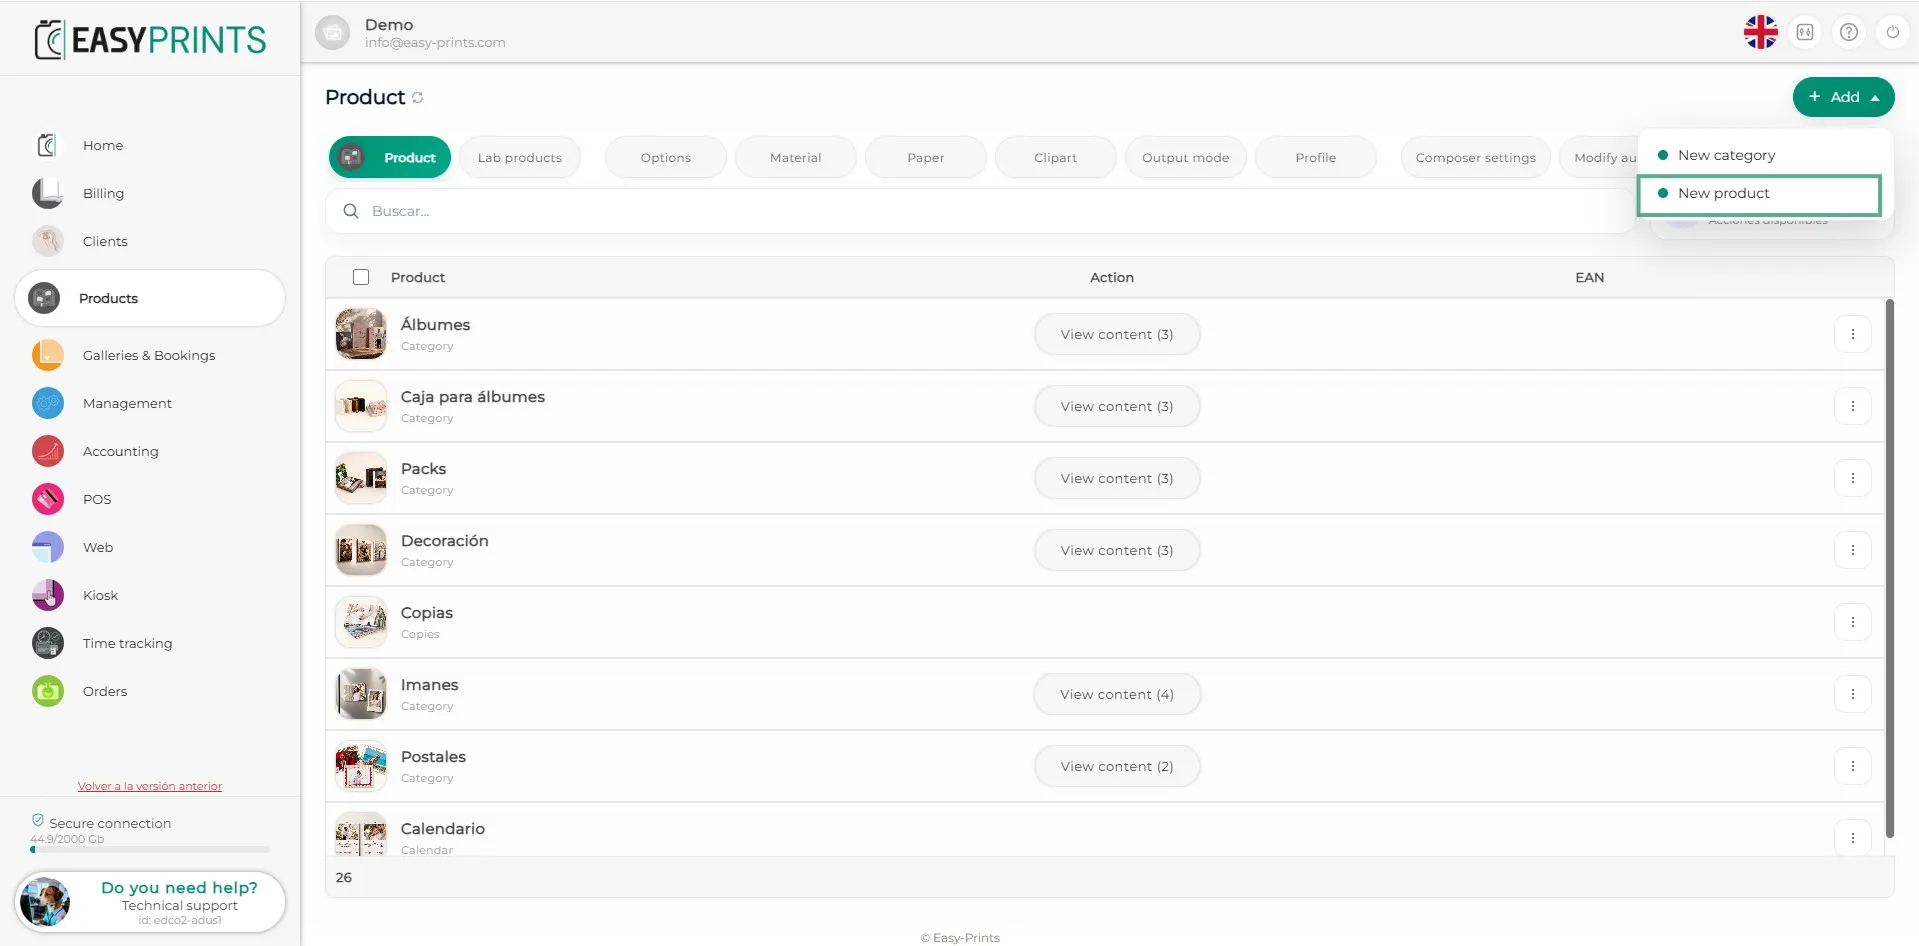
In the dropdown that appears when clicking + New, select the New product option.
Step 3
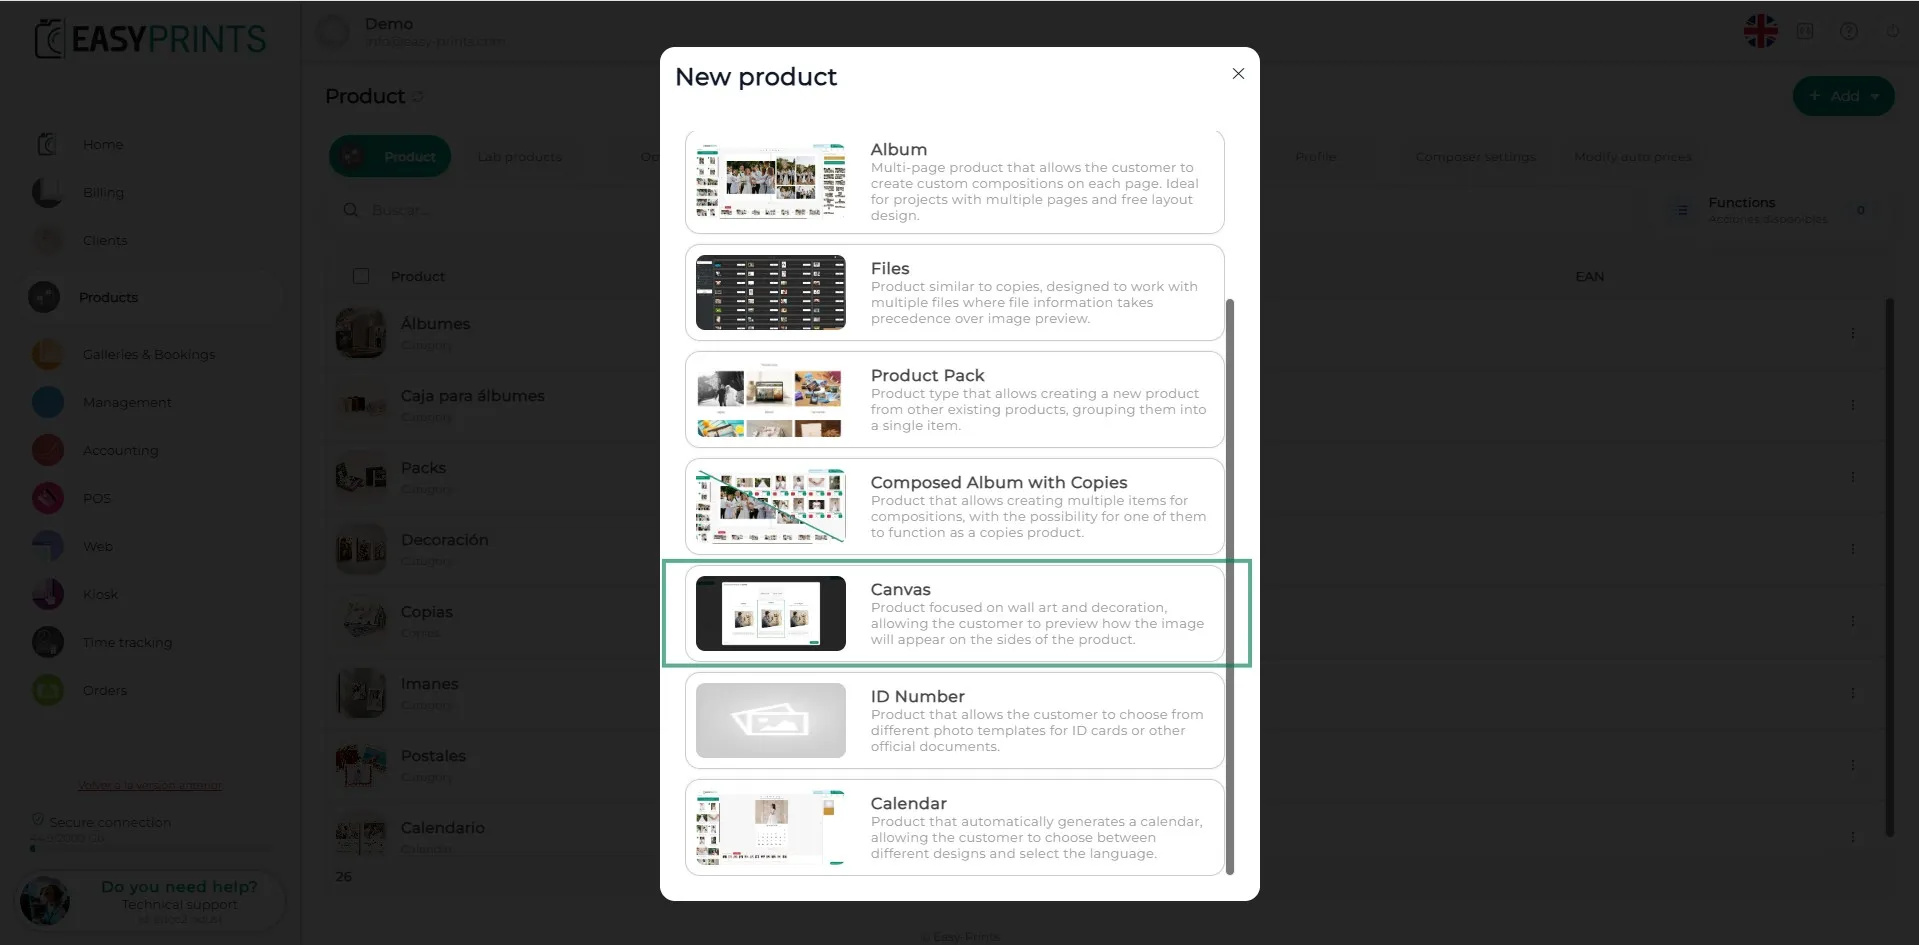
In the new window, select the Canvas option.
Step 4
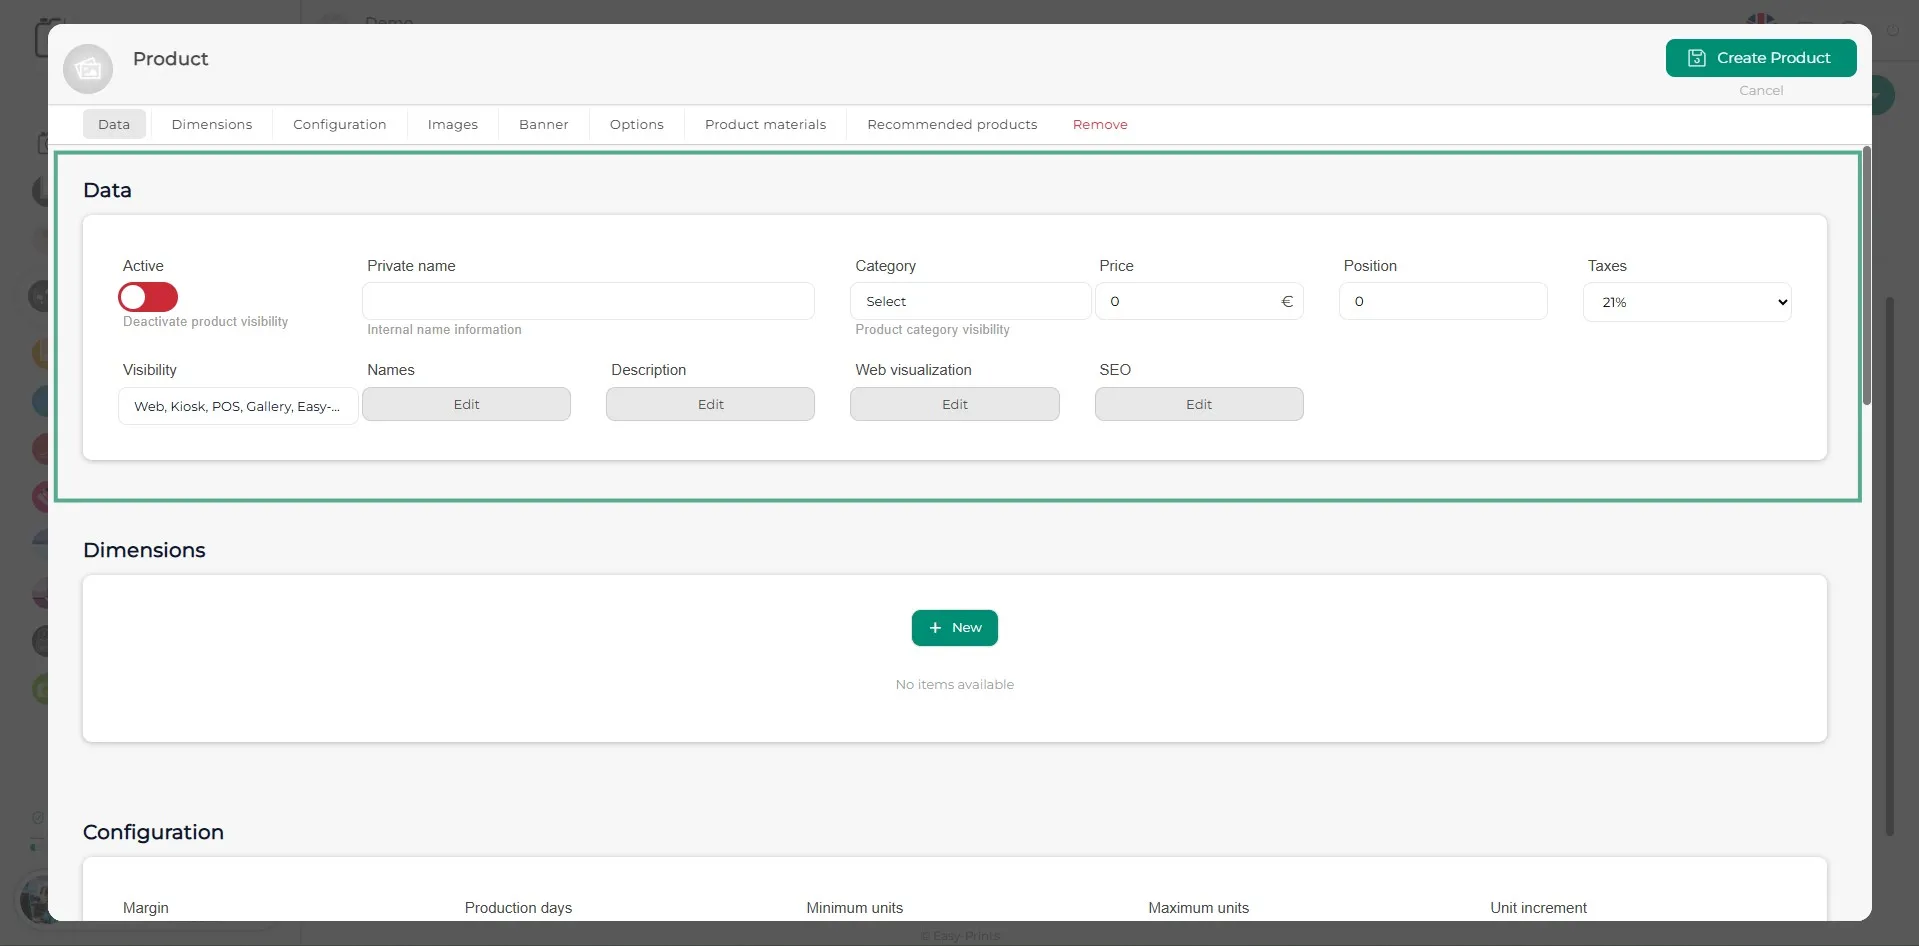
In the new window, you will need to complete the general product details: from the internal name to the product name (visible to the customer on the website), description, price, position, category, and more. Make sure to activate the product so it appears in the selected options.
Step 5
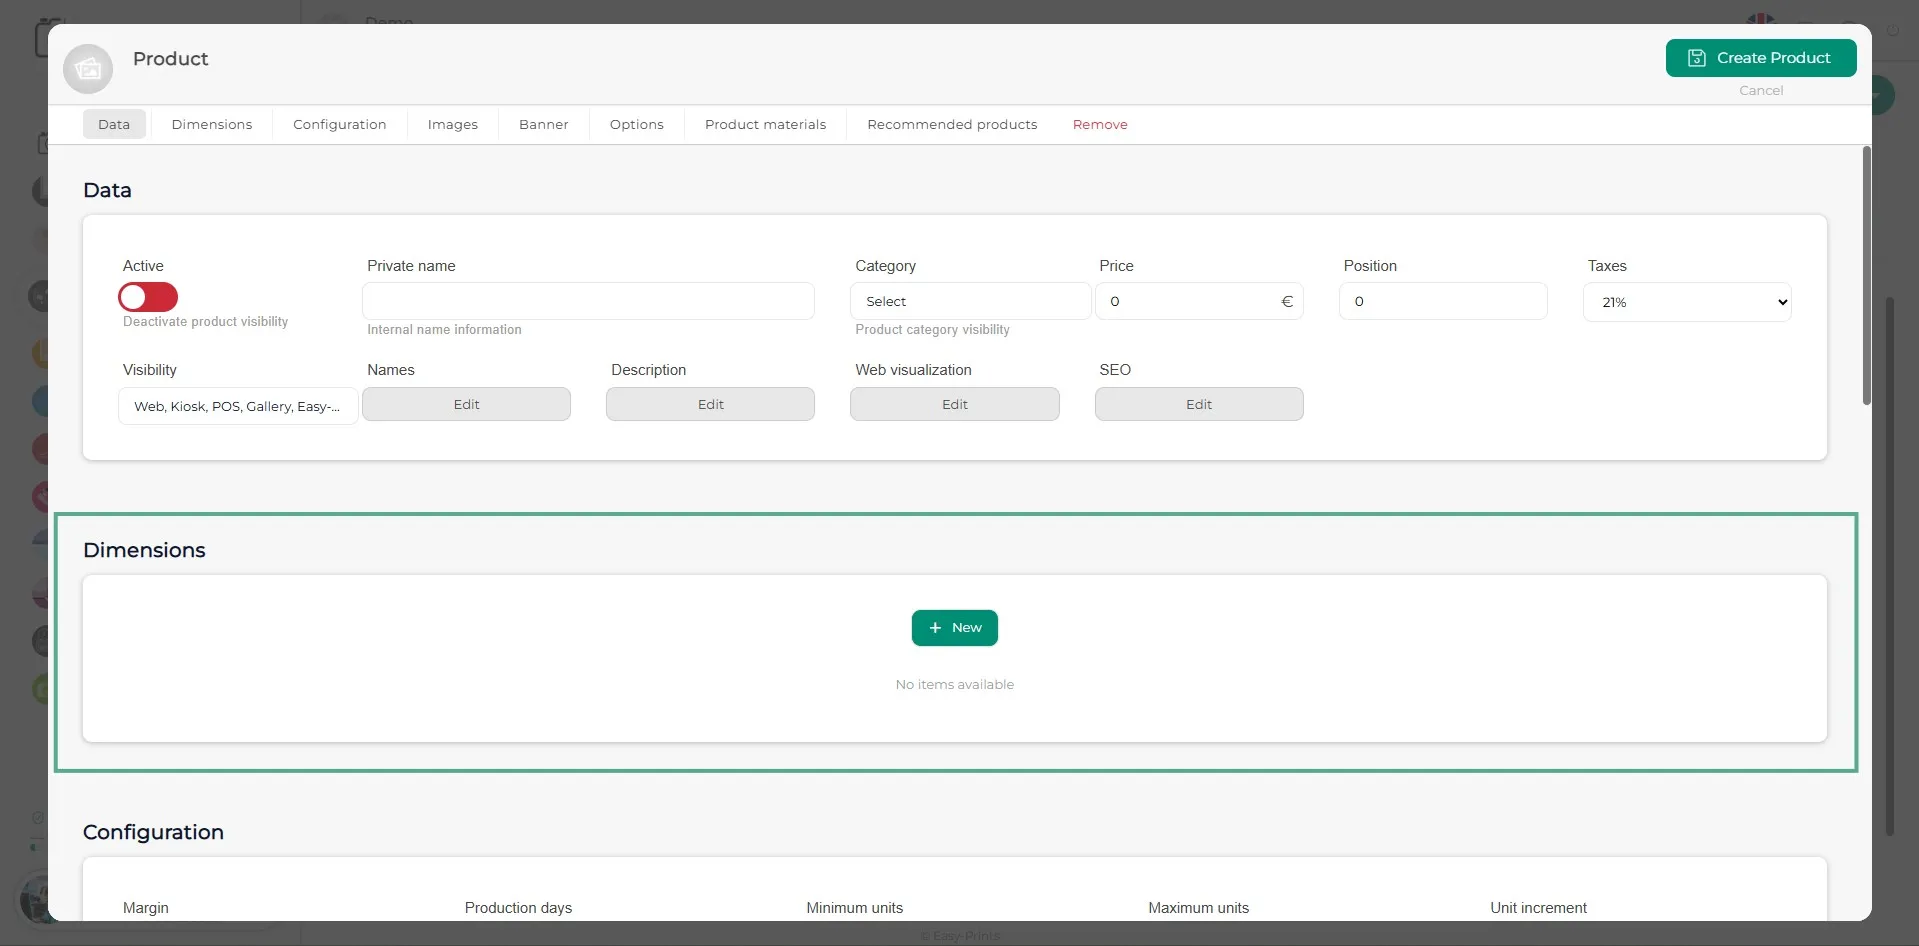
To create the different dimensions (sizes), you will need to add each one by clicking the green + New button located in the Dimensions section.
Step 6
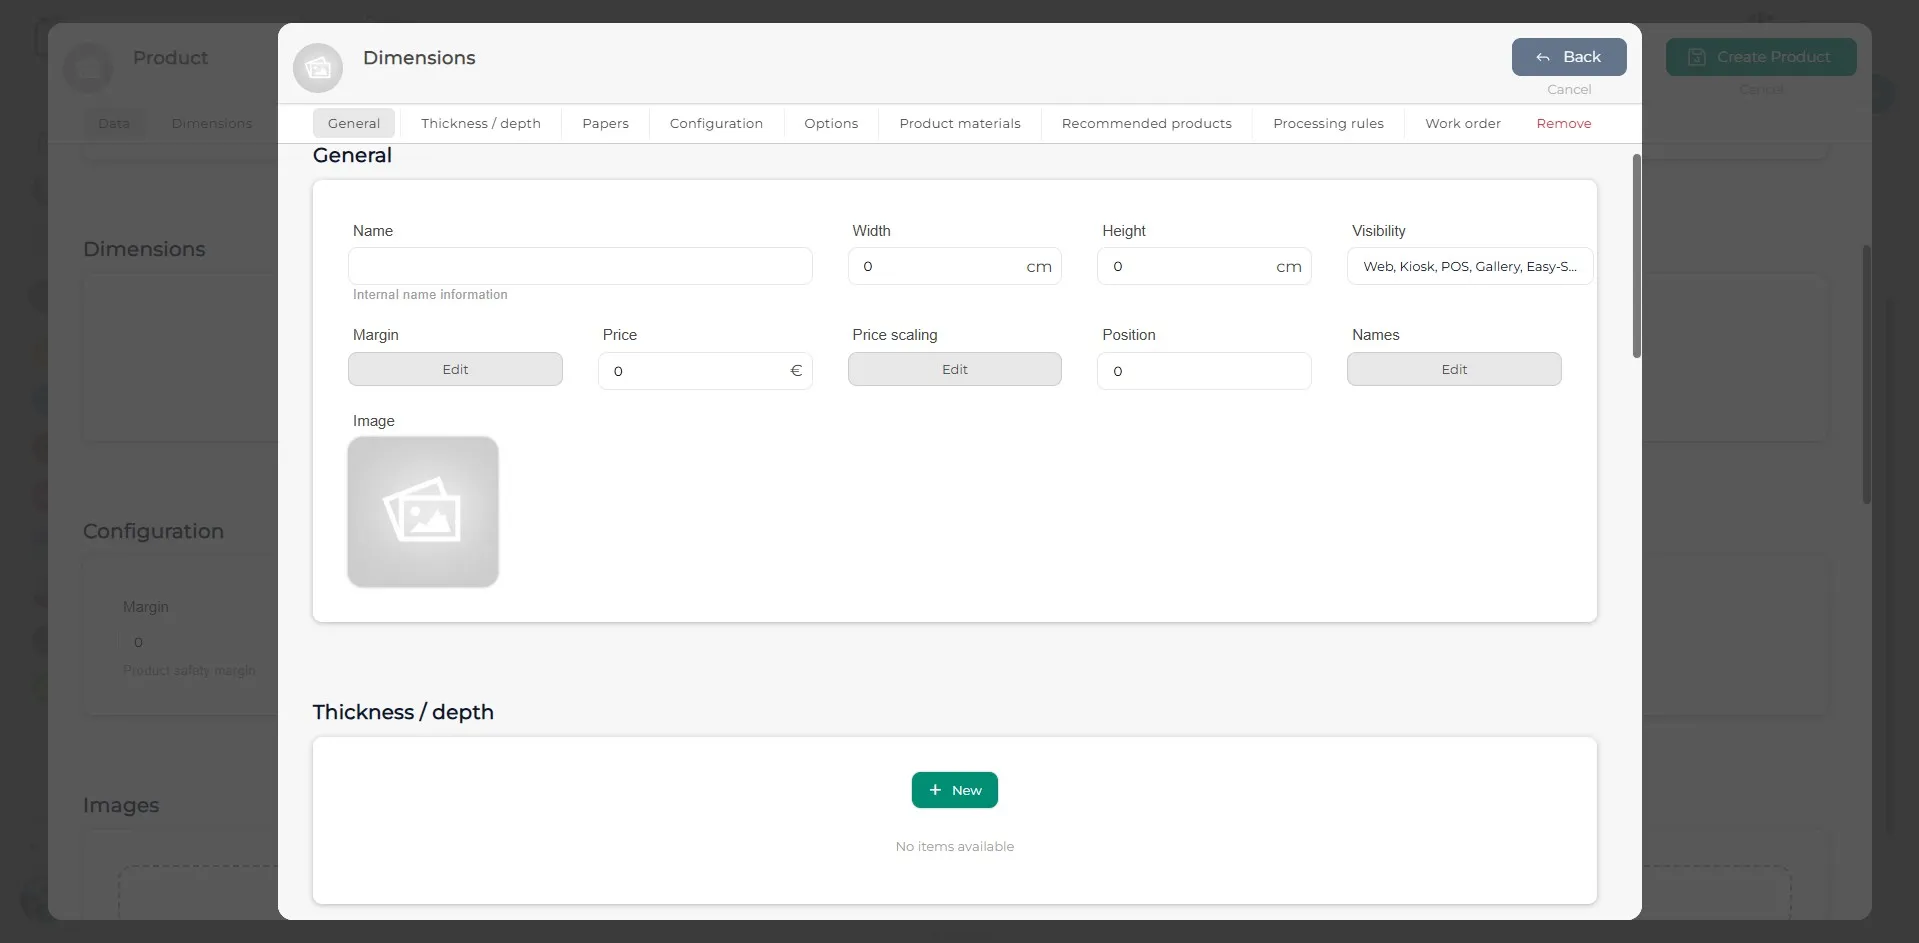
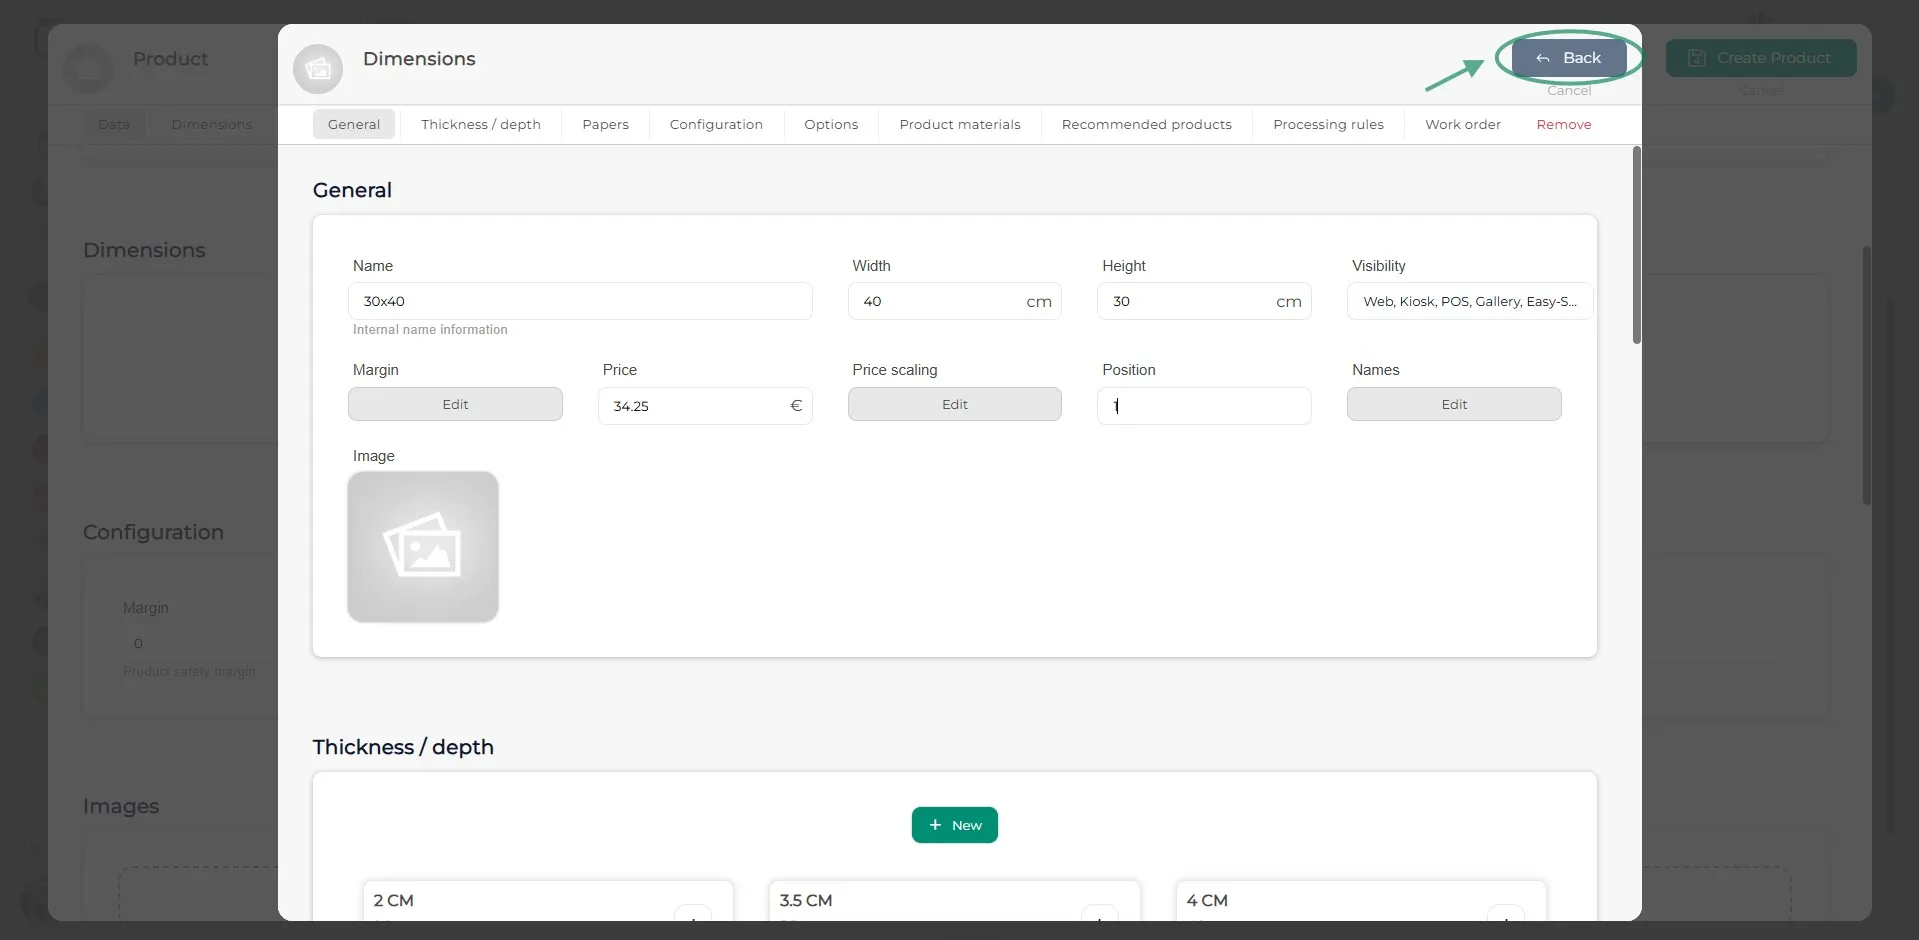
In the Dimensions window, you will need to complete the fields in the General section. In the Thickness/Depth section, you must specify the thickness (depth) of the canvas in centimeters. When clicking the green + New button, a window will open where you must define the thickness name, the depth in centimeters, and, if necessary, indicate whether it has an additional cost. You can add as many thickness options as needed.
Step 7
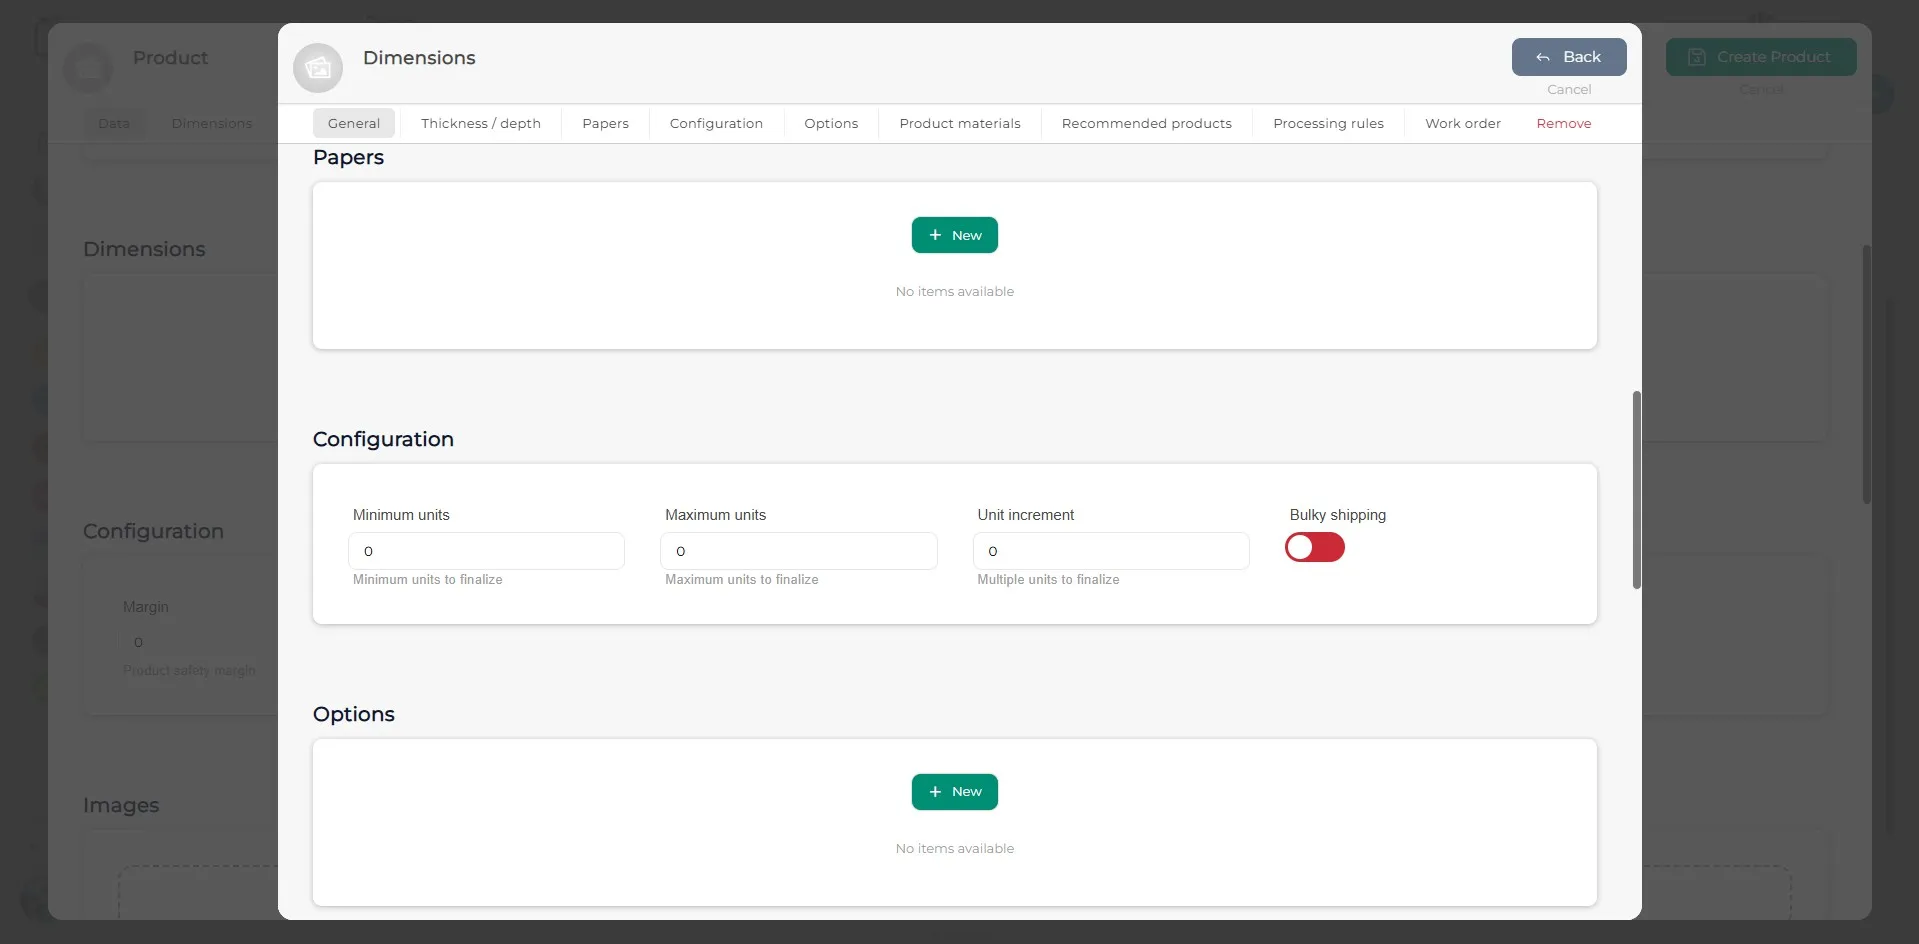
In the Paper and Options sections, if required, add the corresponding items by clicking the + New button. In the Configuration section, specify the minimum units, maximum units, and the unit increment.
Step 8
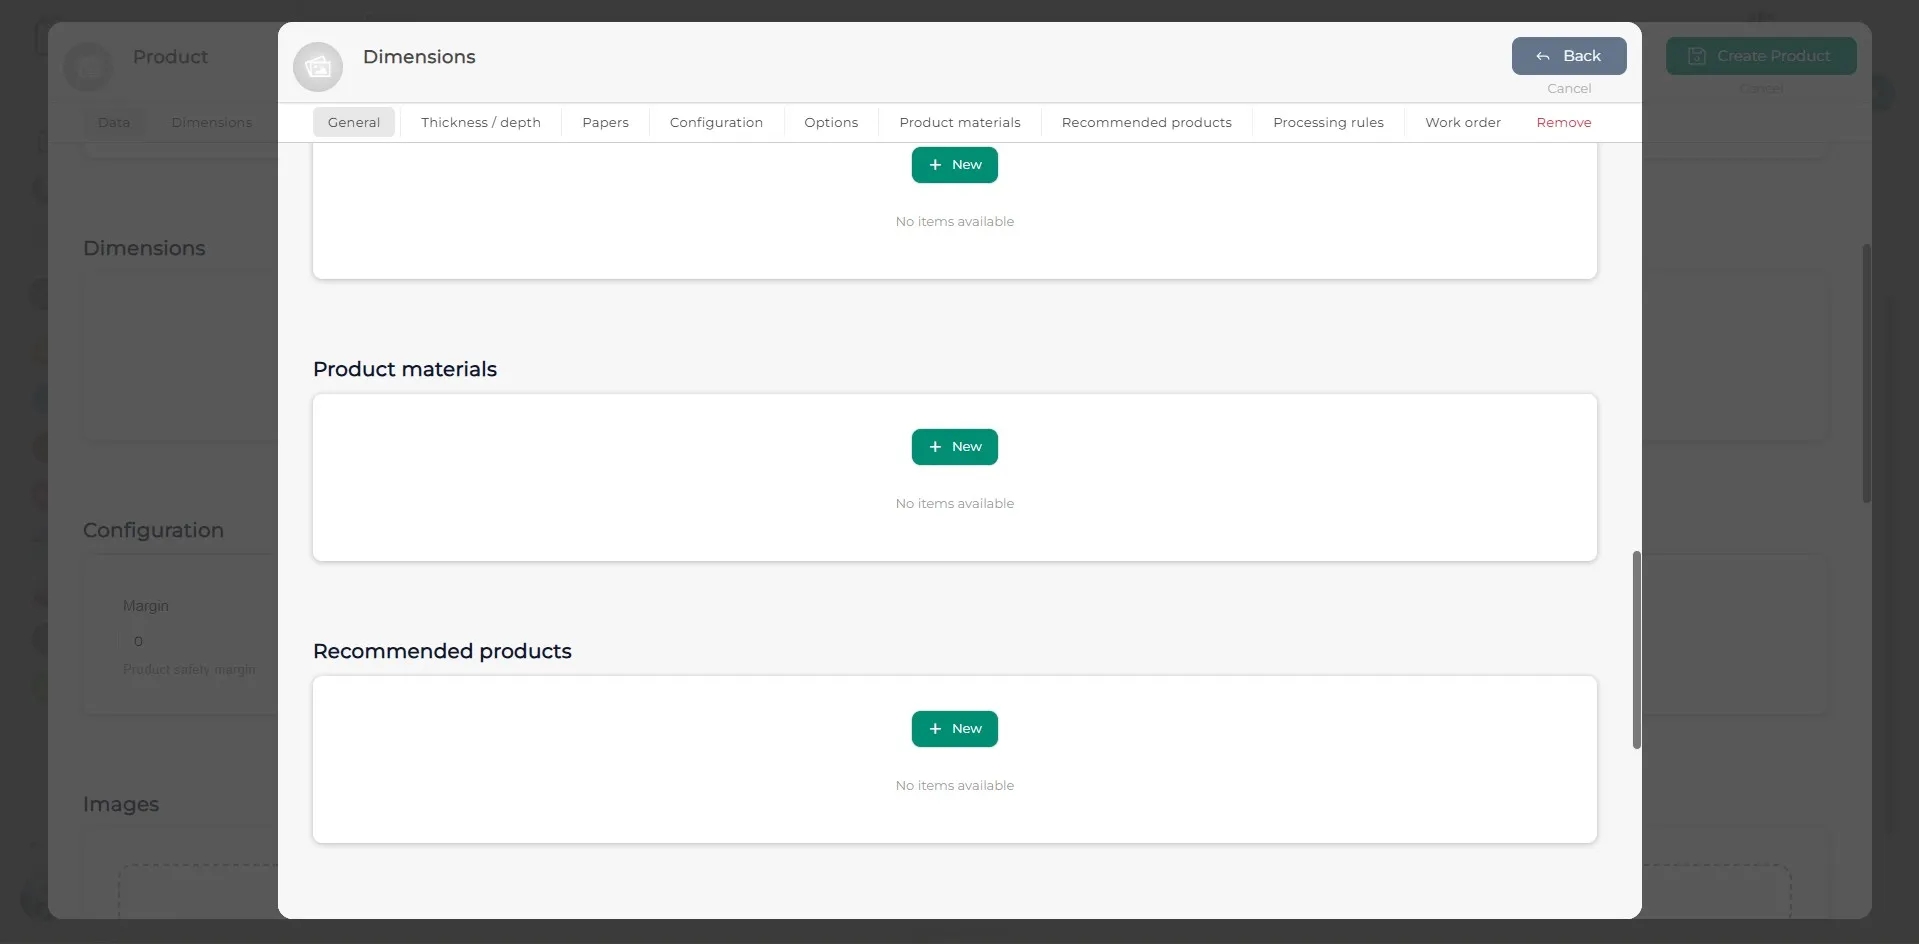
In the Product materials and Recommended products sections, follow the same process as in the previous step. If needed, add the corresponding items by clicking the + New button.
Step 9
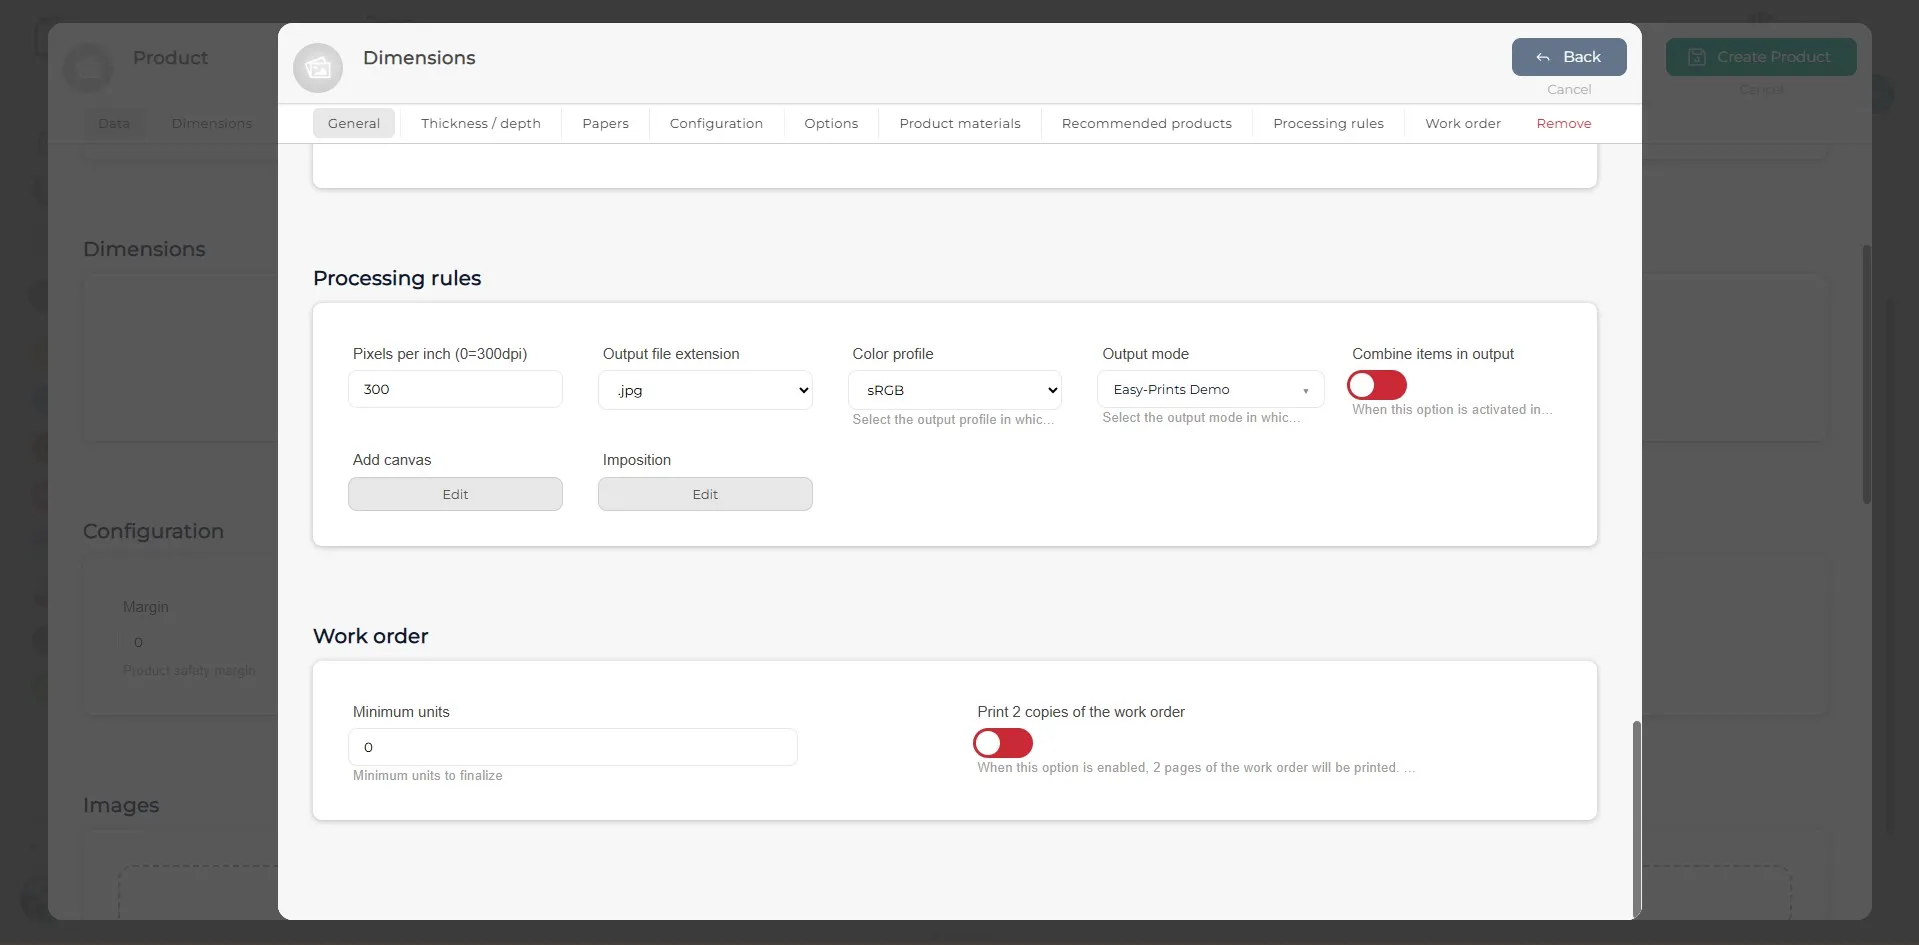
In the Processing rules section, you must specify the pixels per inch (PPI) of the product, the output file format (i.e., the format in which the product will be generated: .jpg, .pdf, .png, .png + .eps), the color profile (sRGB, RGB or Adobe RGB), and the output mode, either via hot folder or directly to any machine.
Step 10
Once all the fields in the Dimensions window have been completed, click the grey Back button located in the top right corner.
Step 11
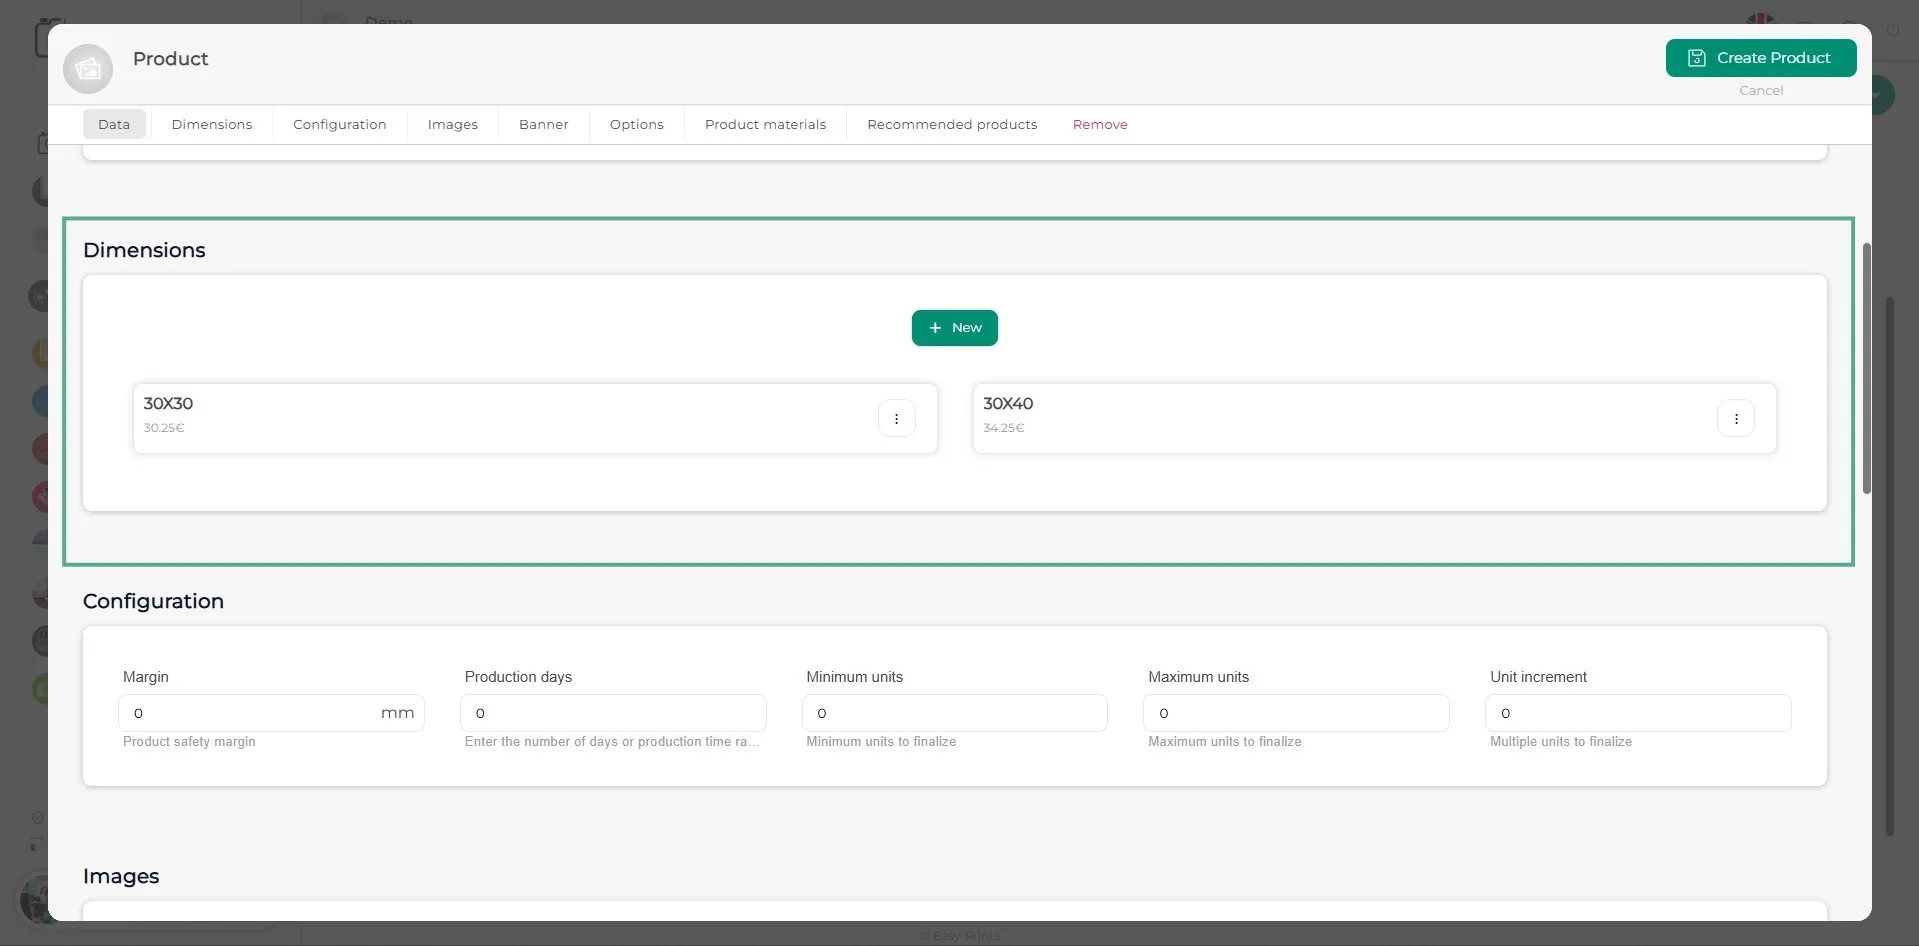
Add as many dimensions as needed, following the previously described steps.
Step 12
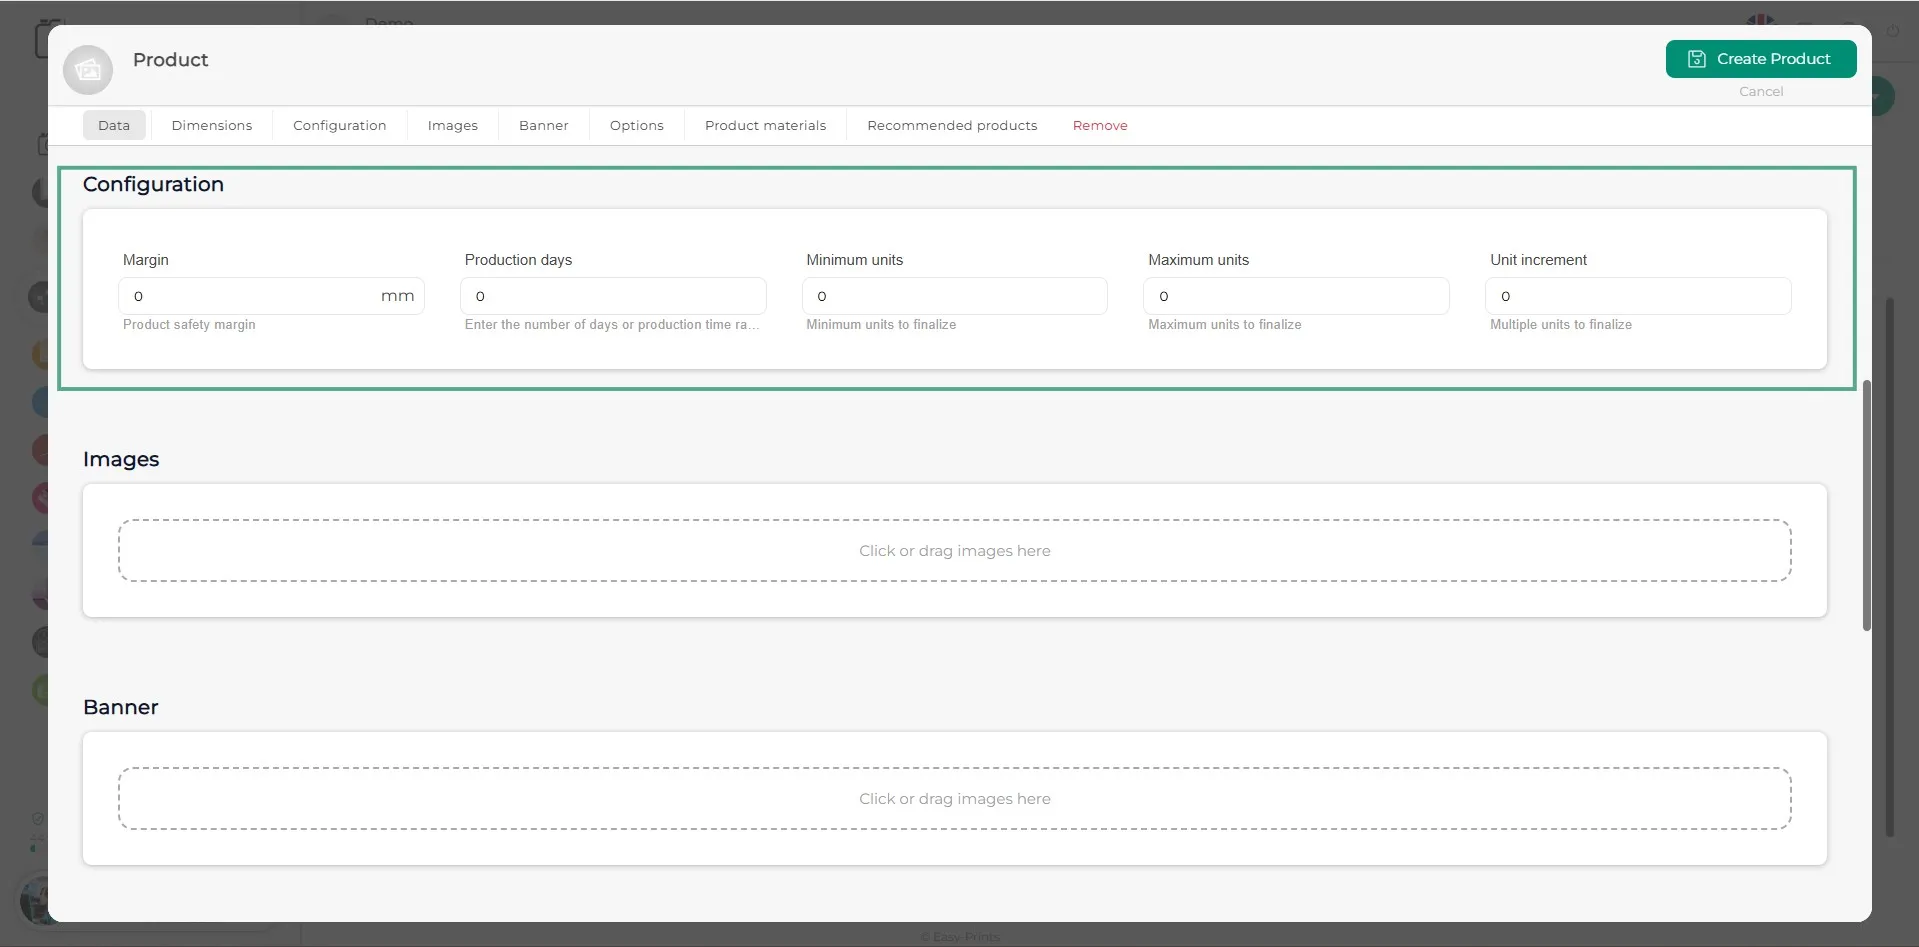
In the Configuration section, specify the safety margin of the product, the production days (the system counts working days, so if the estimated time is 4 to 5 days, it should be entered as 4-5), the minimum units, maximum units, and the unit increment.
Step 13
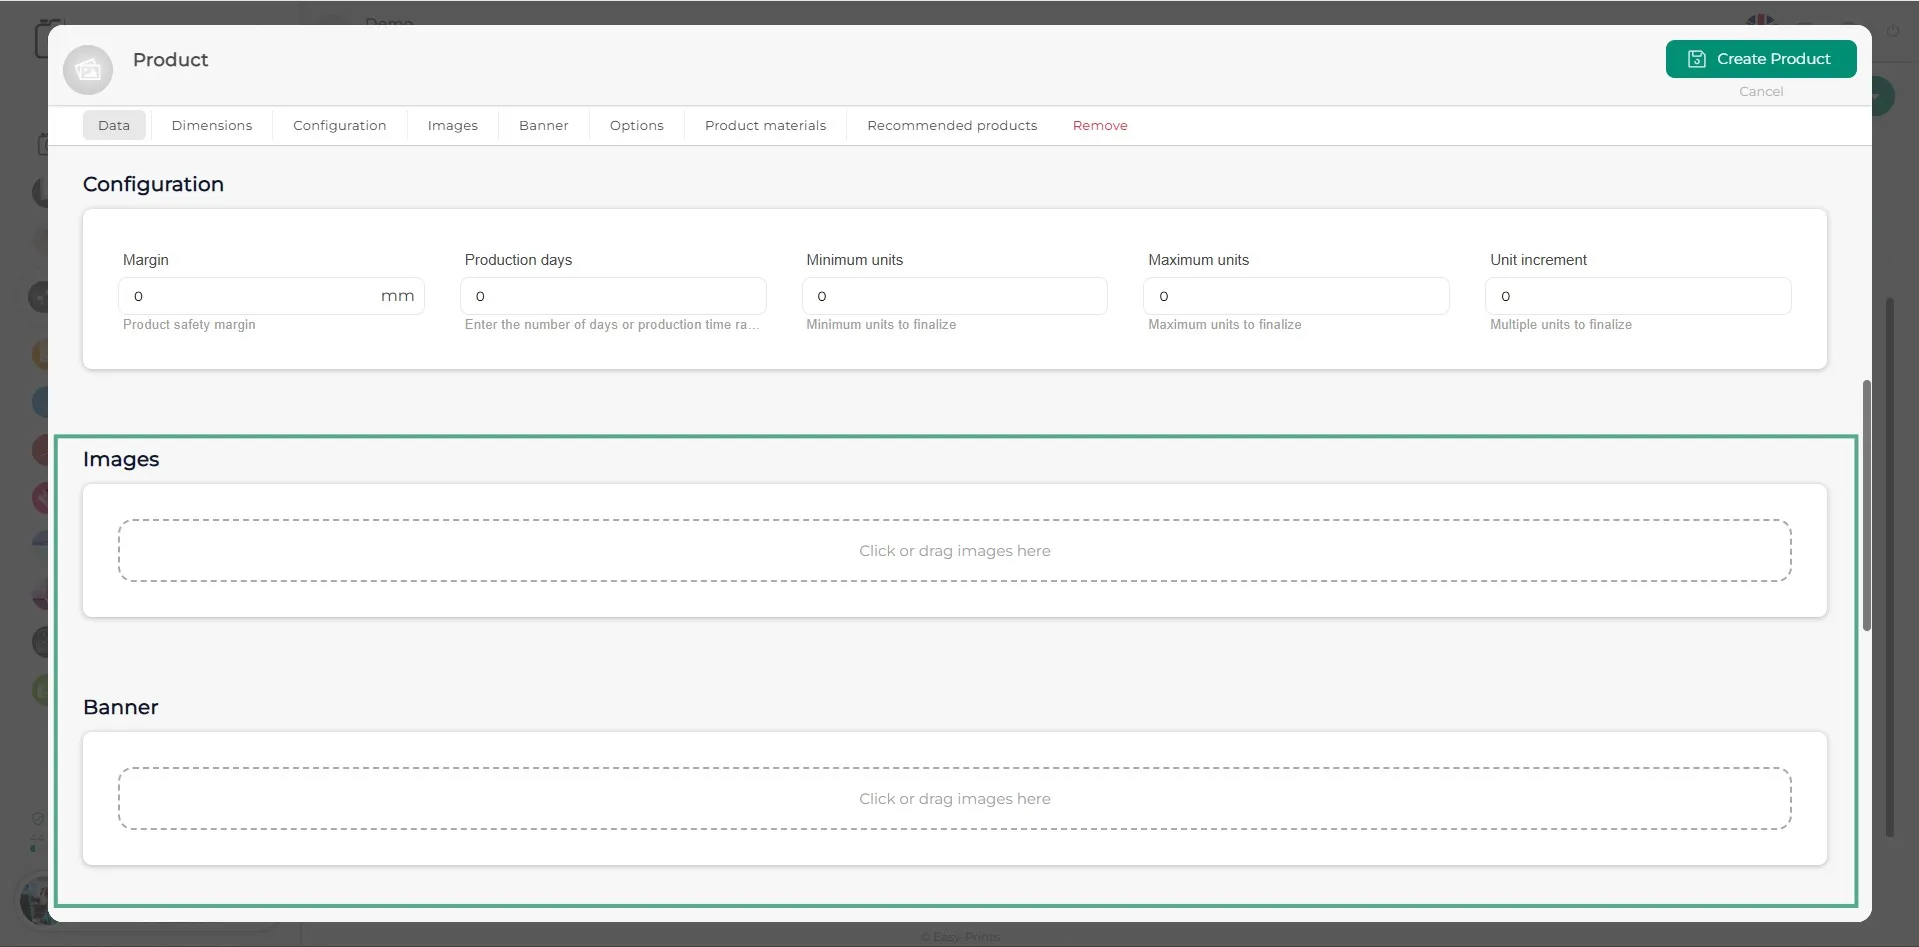
To add product images, click on the box that says “Click to upload image”. You can add as many images as you want. The banner follows the same procedure as the images section and is optional.
Step 14
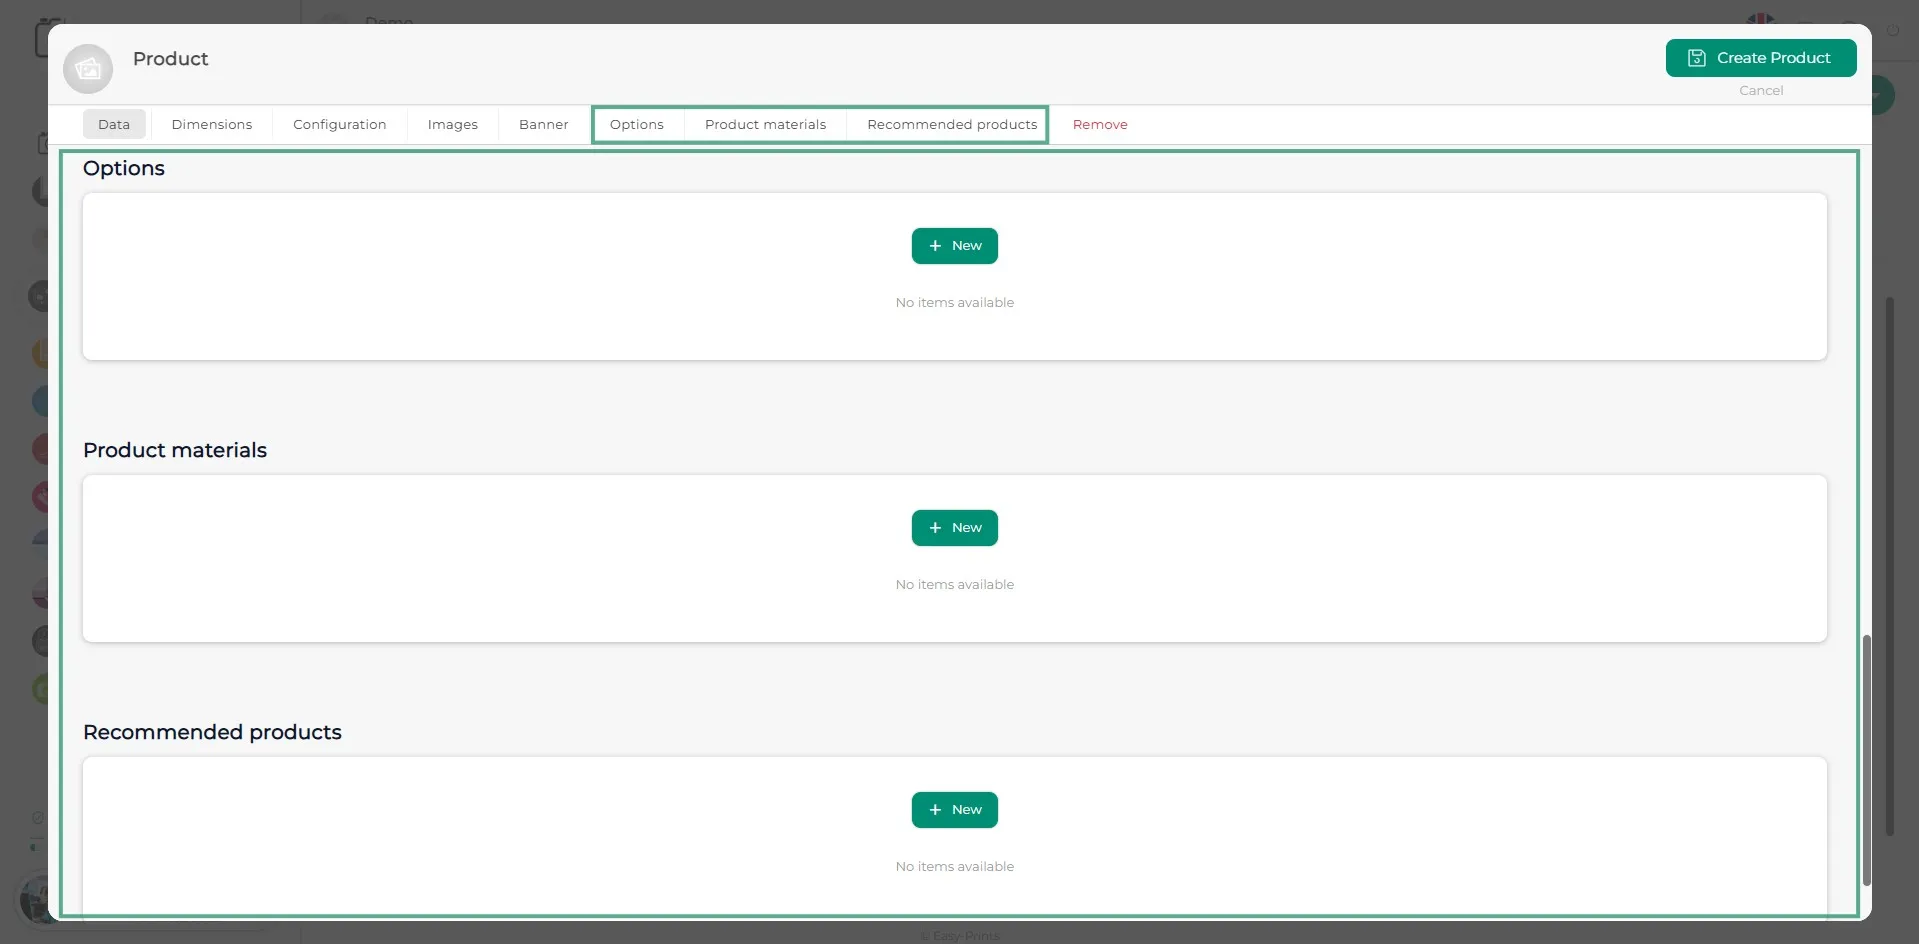
In the last three sections, you will find Options, Product materials, and Recommended products. In Options, if the product offers multiple choices, you should add them in this section. In Product materials, include any materials that the customer cannot choose but that you want to display (for example, the ribbon used to close an album). Finally, in Recommended products, you can add or link existing products so they are shown to the customer on the website after completing the configuration of the current product.
Step 15
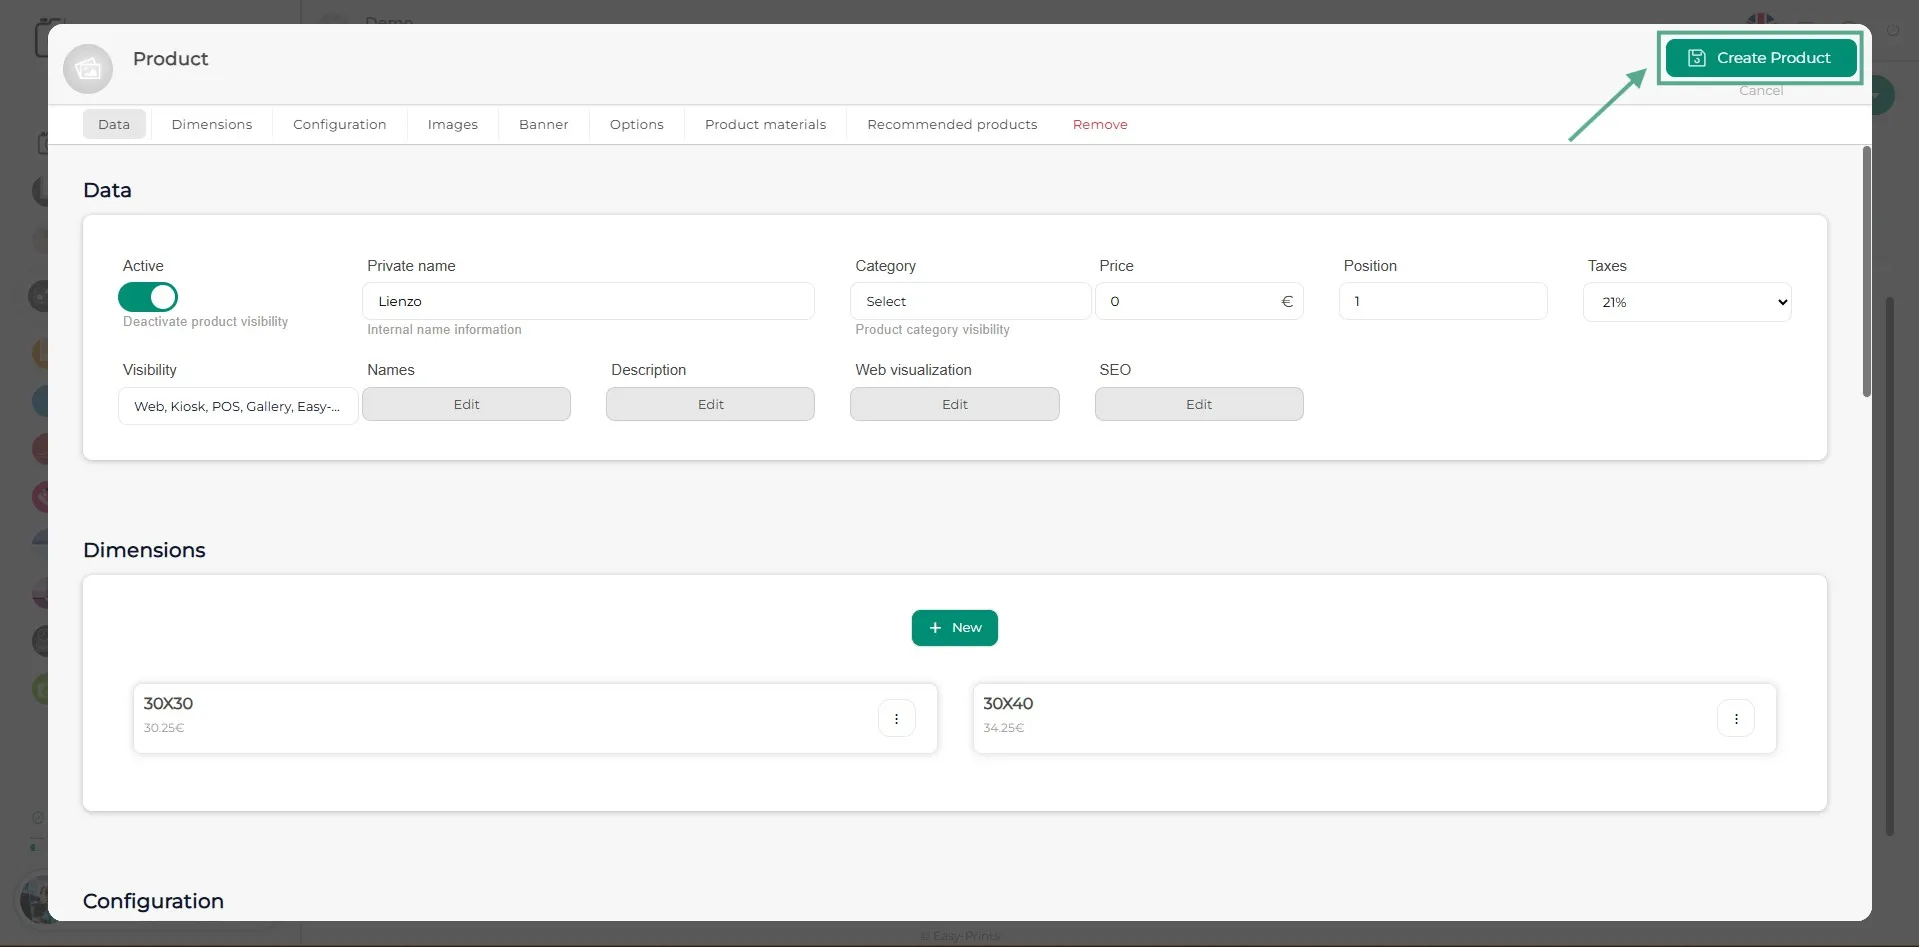
To finish, make sure to click the green Save product button located in the top right corner.
Go back to the Help Center or contact Easy-Prints.
← Back to Help Center