
How to create a product bundle
To create a product bundle, you must first create all the products included in it separately. That is, if the bundle includes an album and a box, both prod…
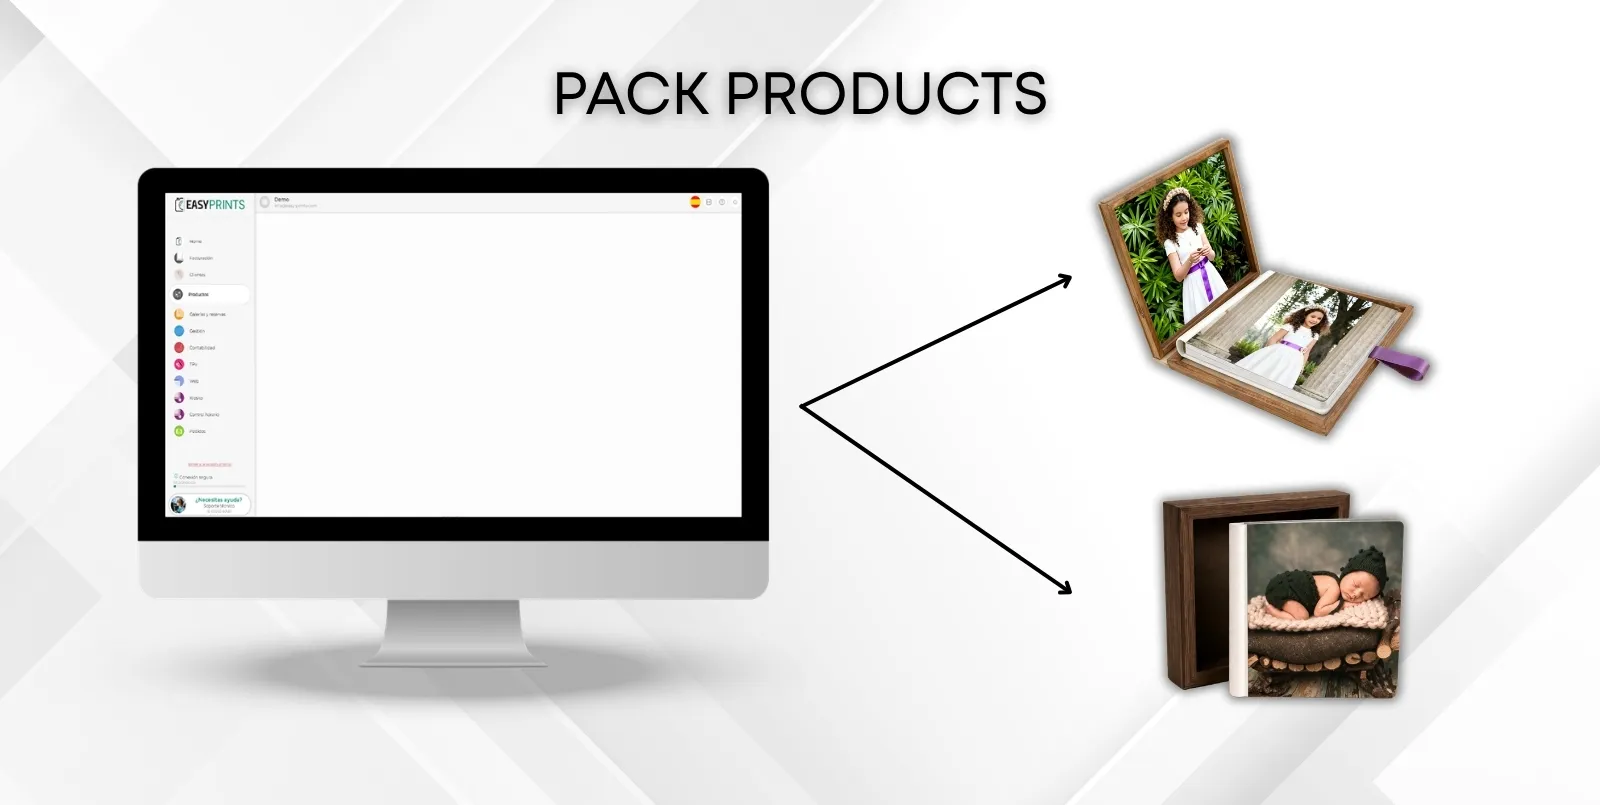
Step 1
To create a product bundle, you must first create all the products included in it separately. That is, if the bundle includes an album and a box, both products must be created beforehand. Then, go to the Products section in the left-hand menu. Within this section, navigate to the Products tab located in the top bar. Finally, click the green + New button.
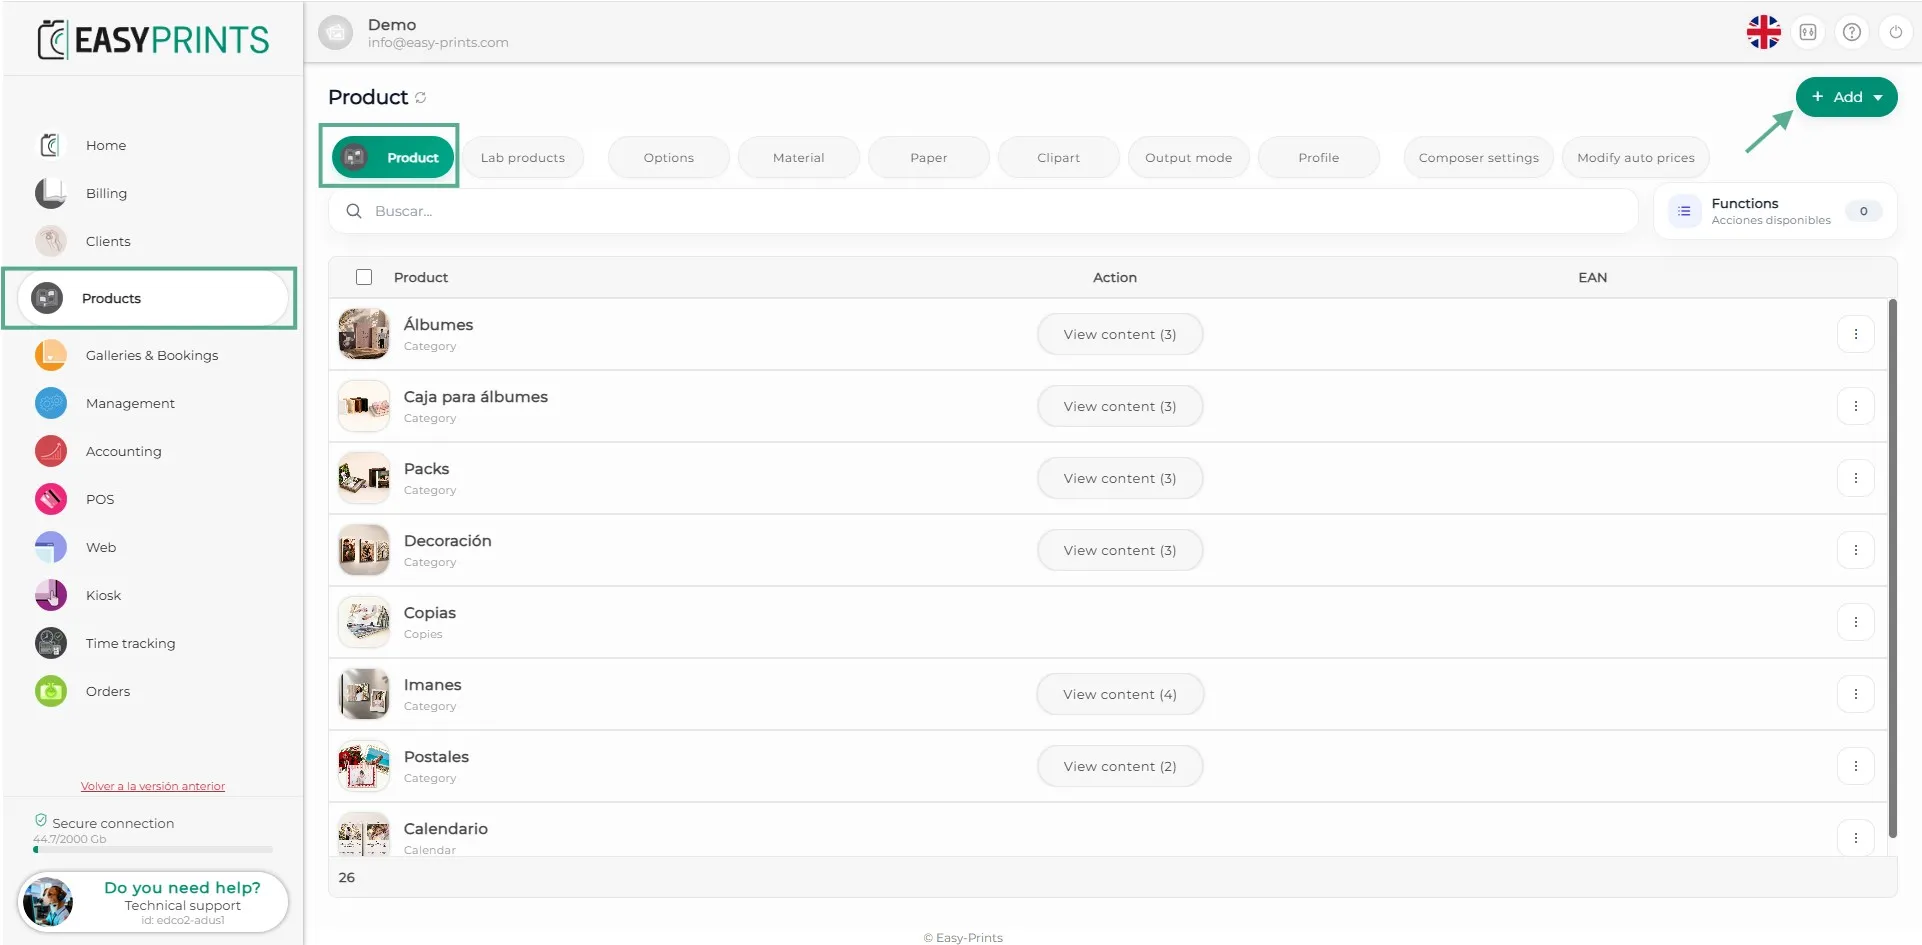
Step 2
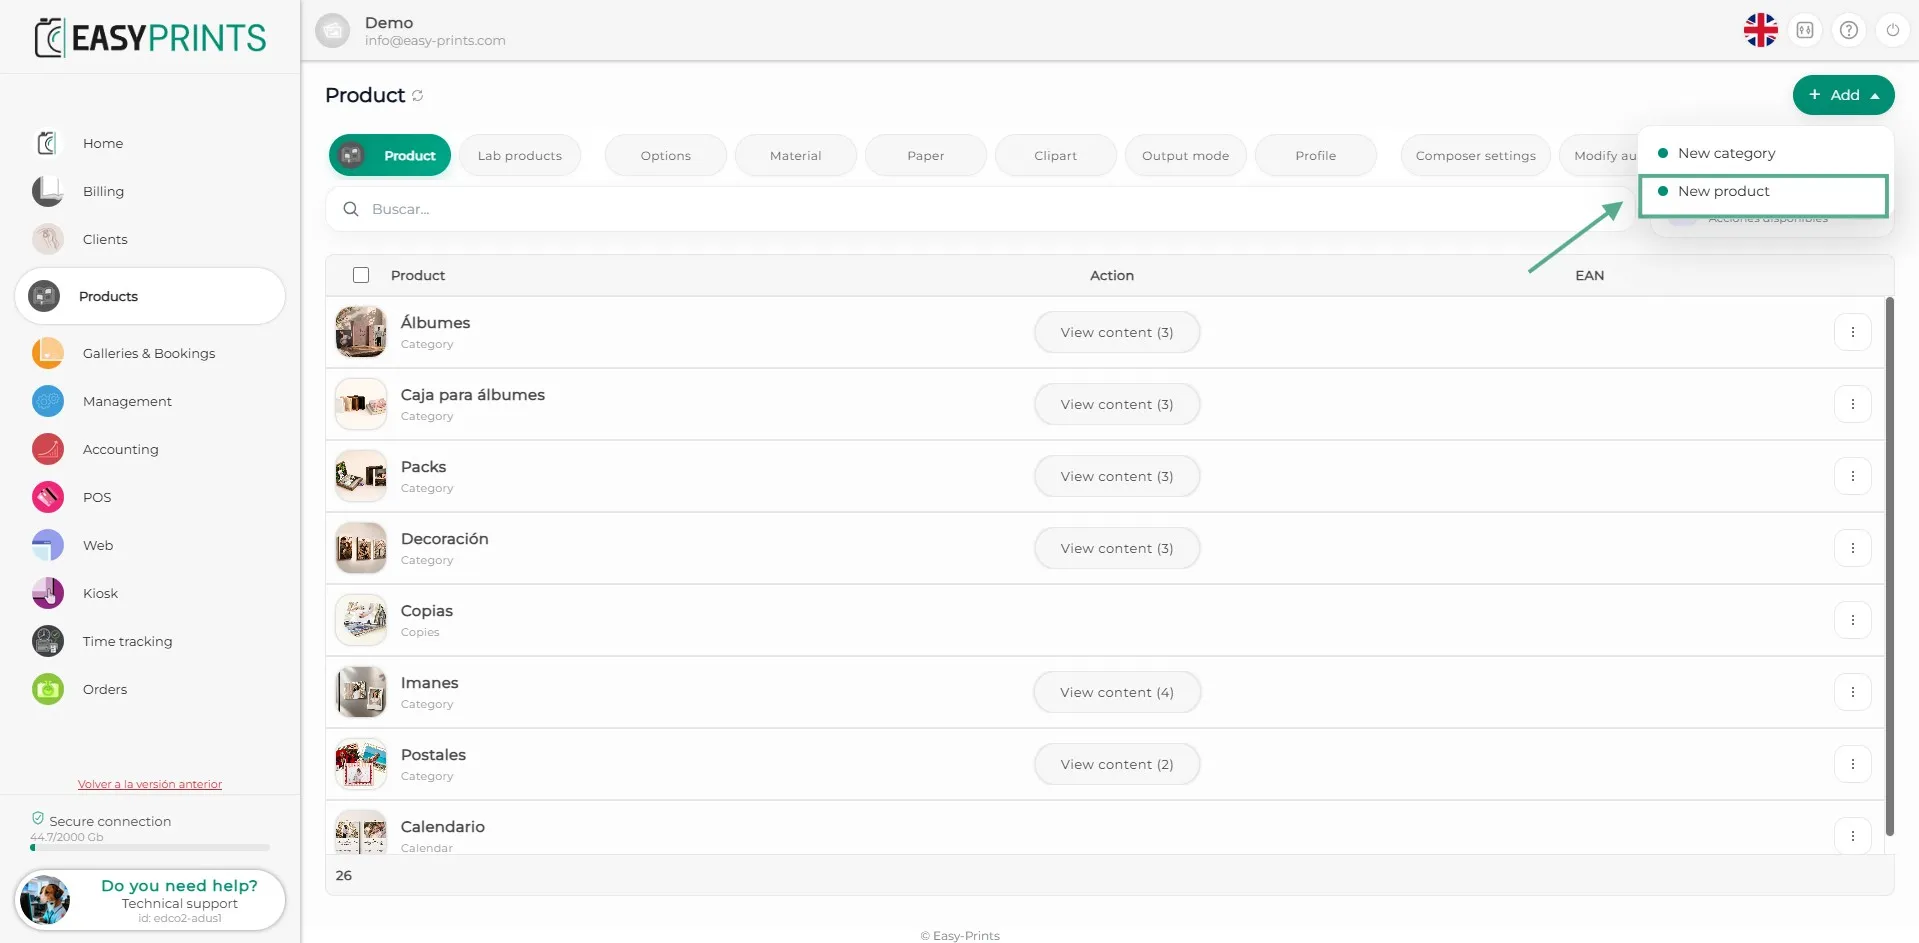
When clicking + New, a dropdown menu will open. Click on New product.
Step 3
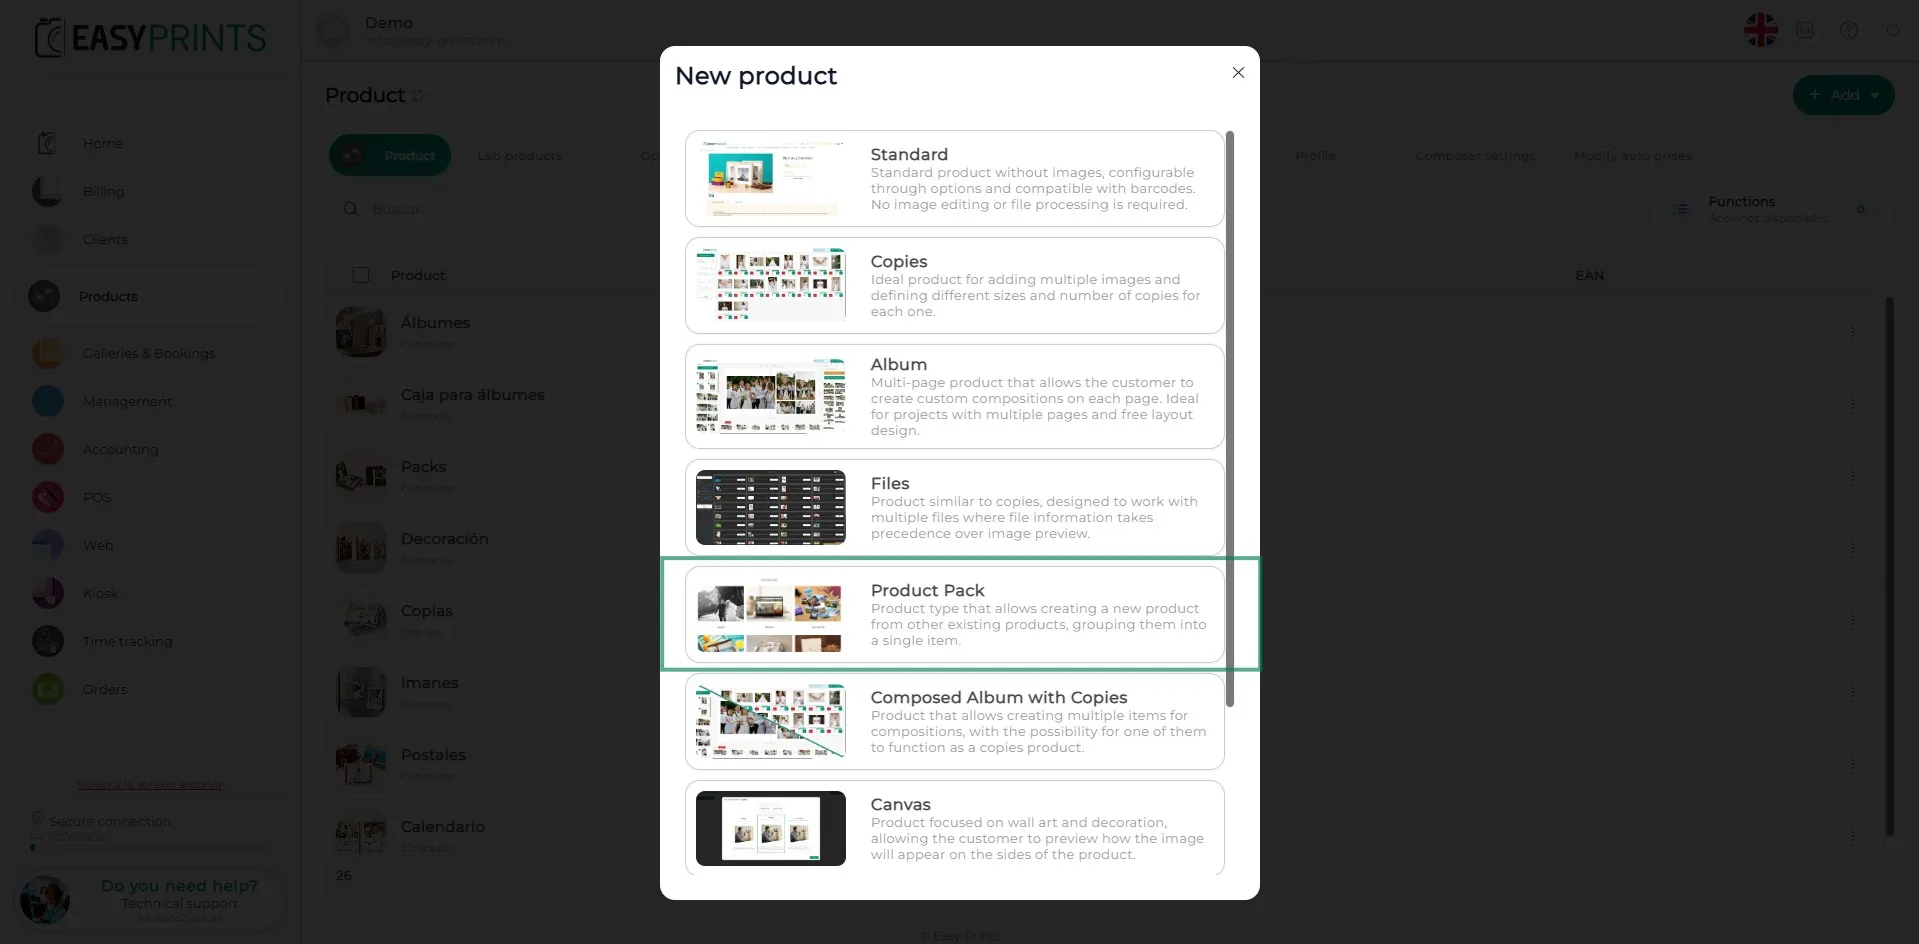
In the new window, select the Product bundle option.
Step 4
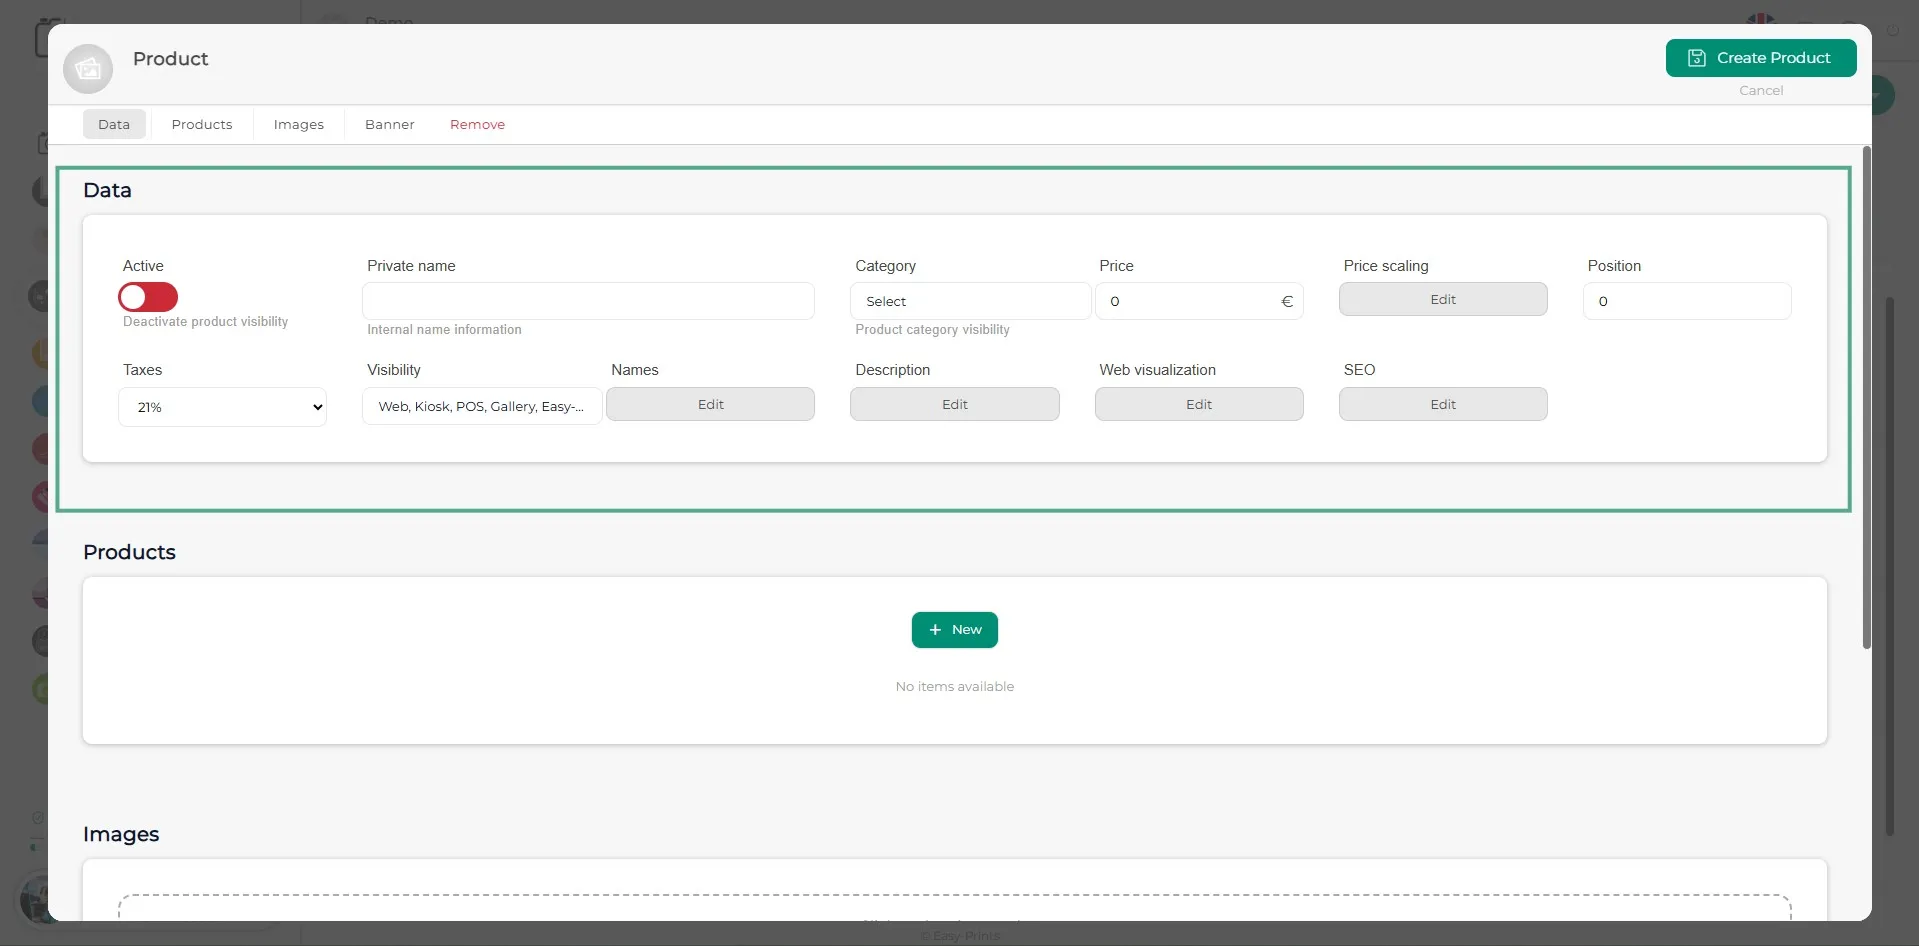
In the new window, you must complete the Data section, including enabling the product, the internal product name, the name in the different active languages, the description, the position where it should appear, among other fields.
Step 5
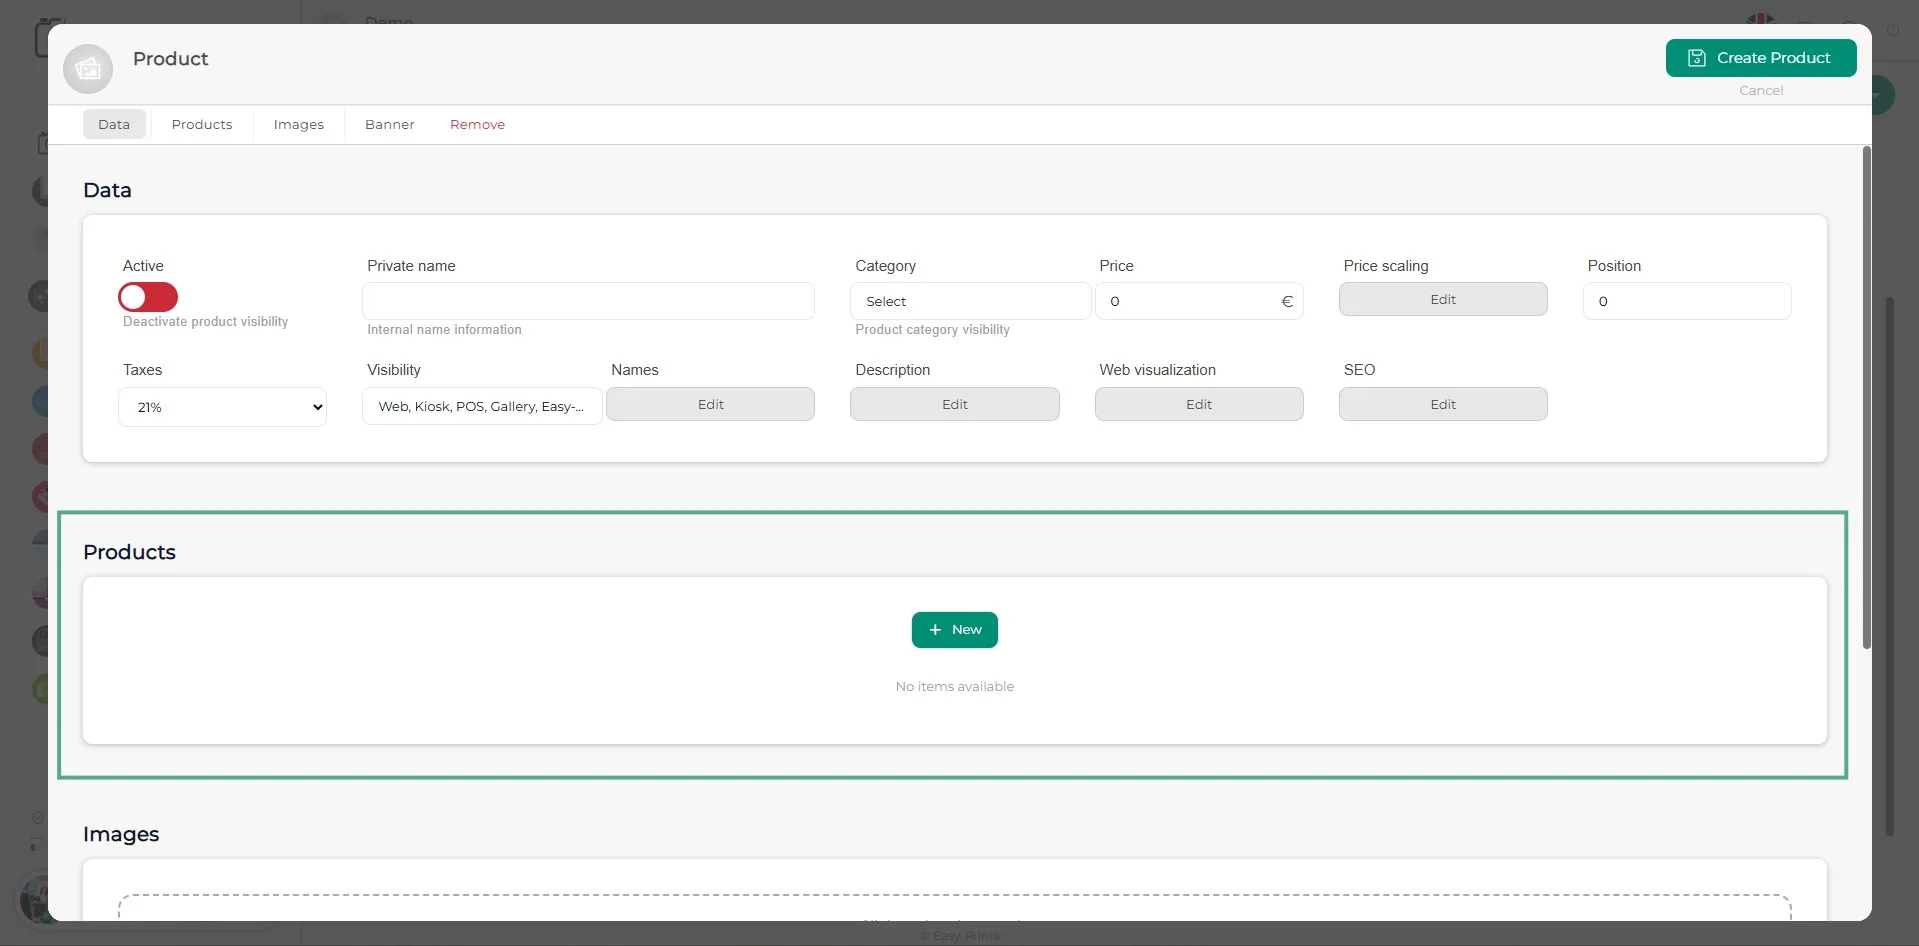
In the Products section, click the green + New button.
Step 6
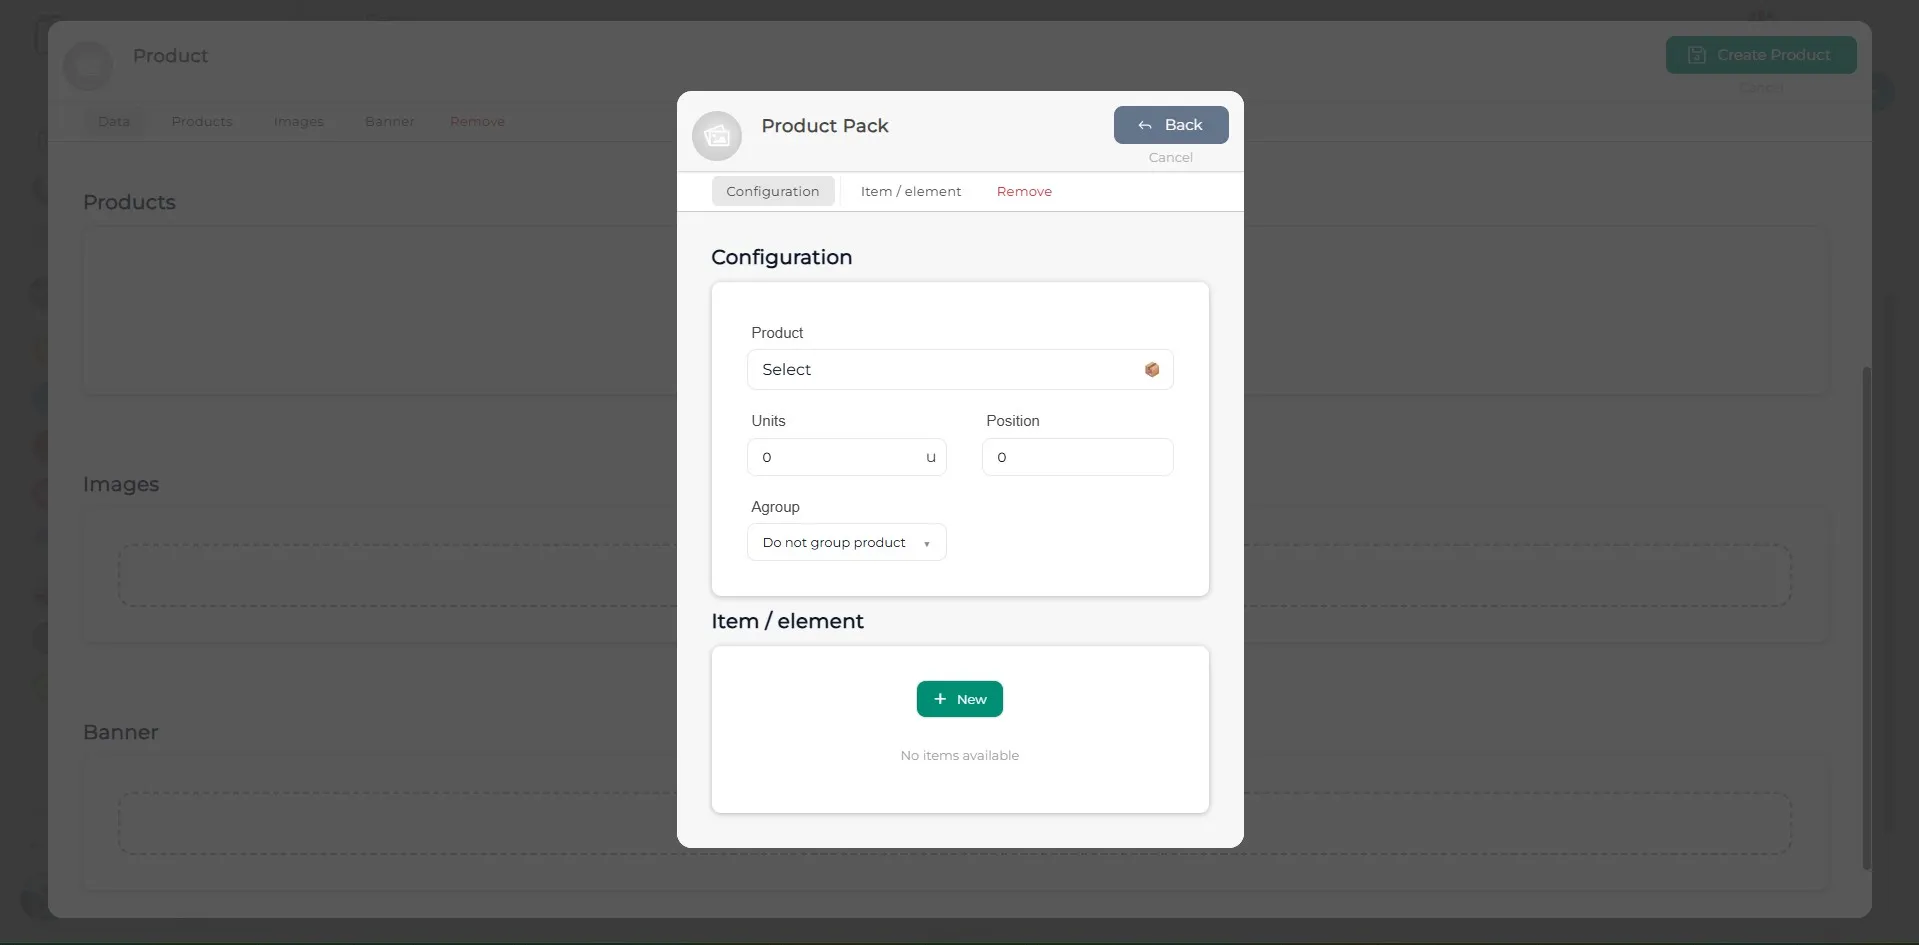
When clicking the + New button, a new configuration window will open. There, you must specify which products will be included in the bundle you are creating.
Step 7
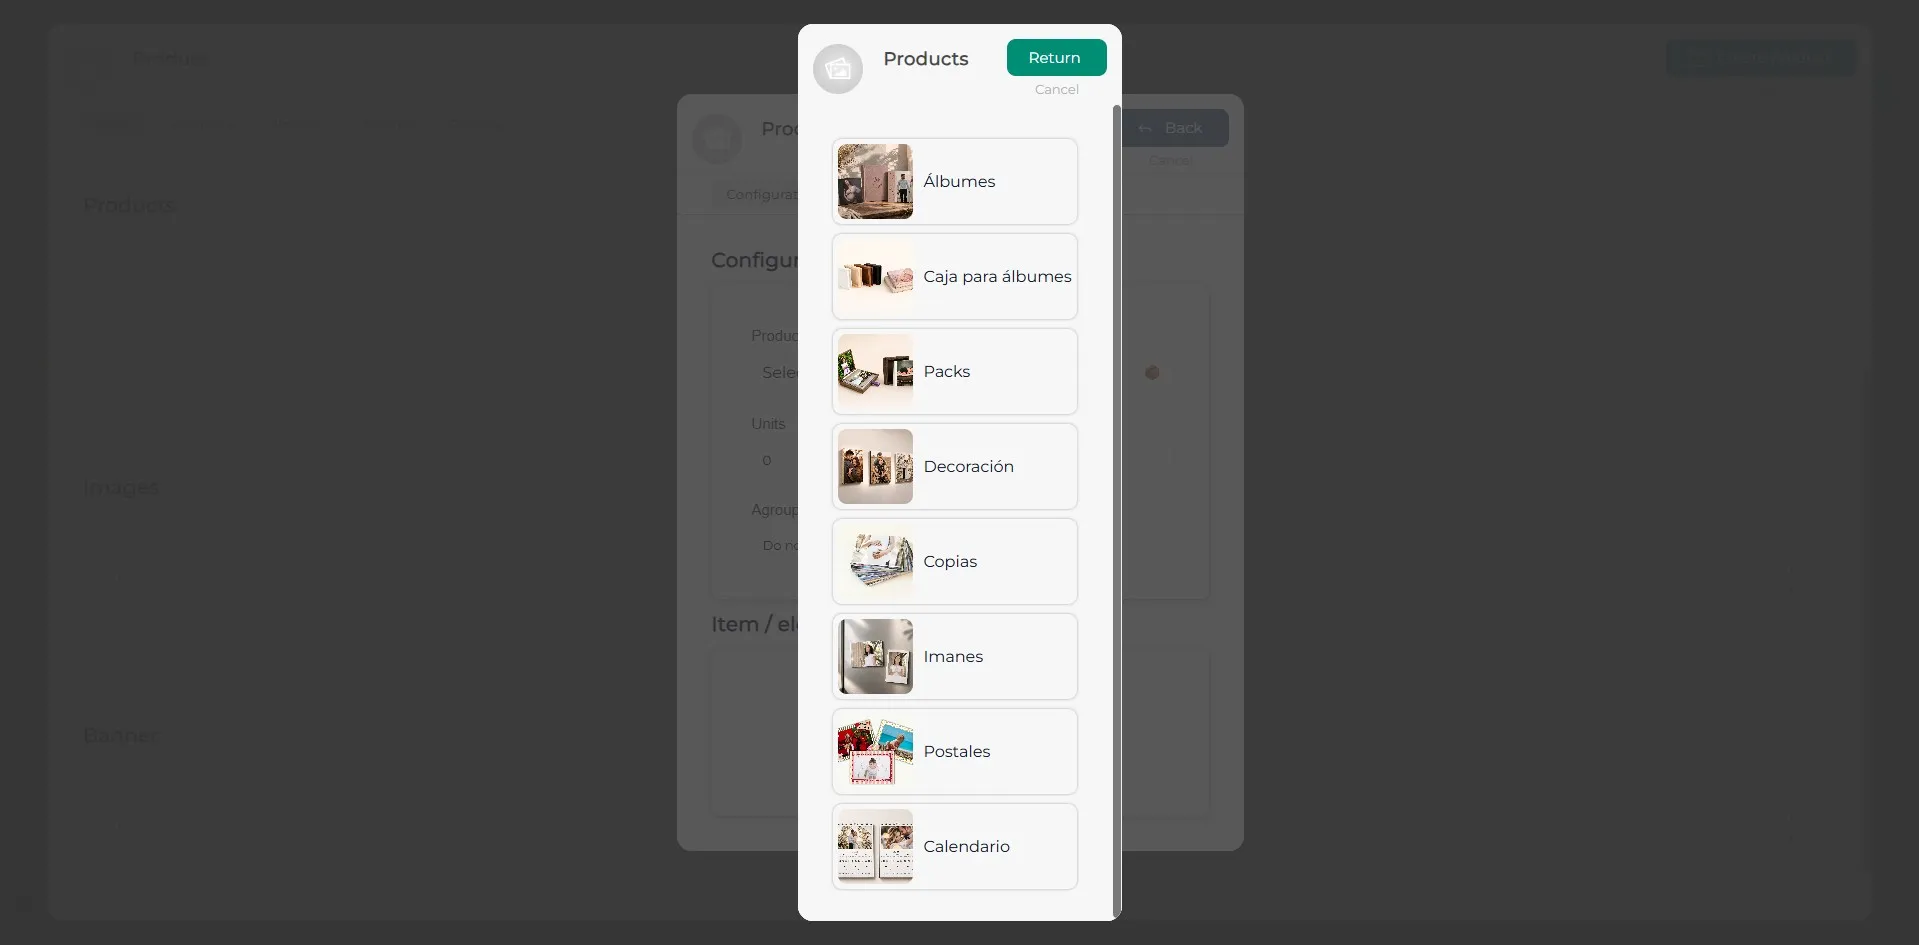
When clicking the first dropdown (Product), all the products created in the software will be displayed. Select one of them.
Step 8
Once the product is selected, specify how many units are included in the bundle and the order in which it should appear.
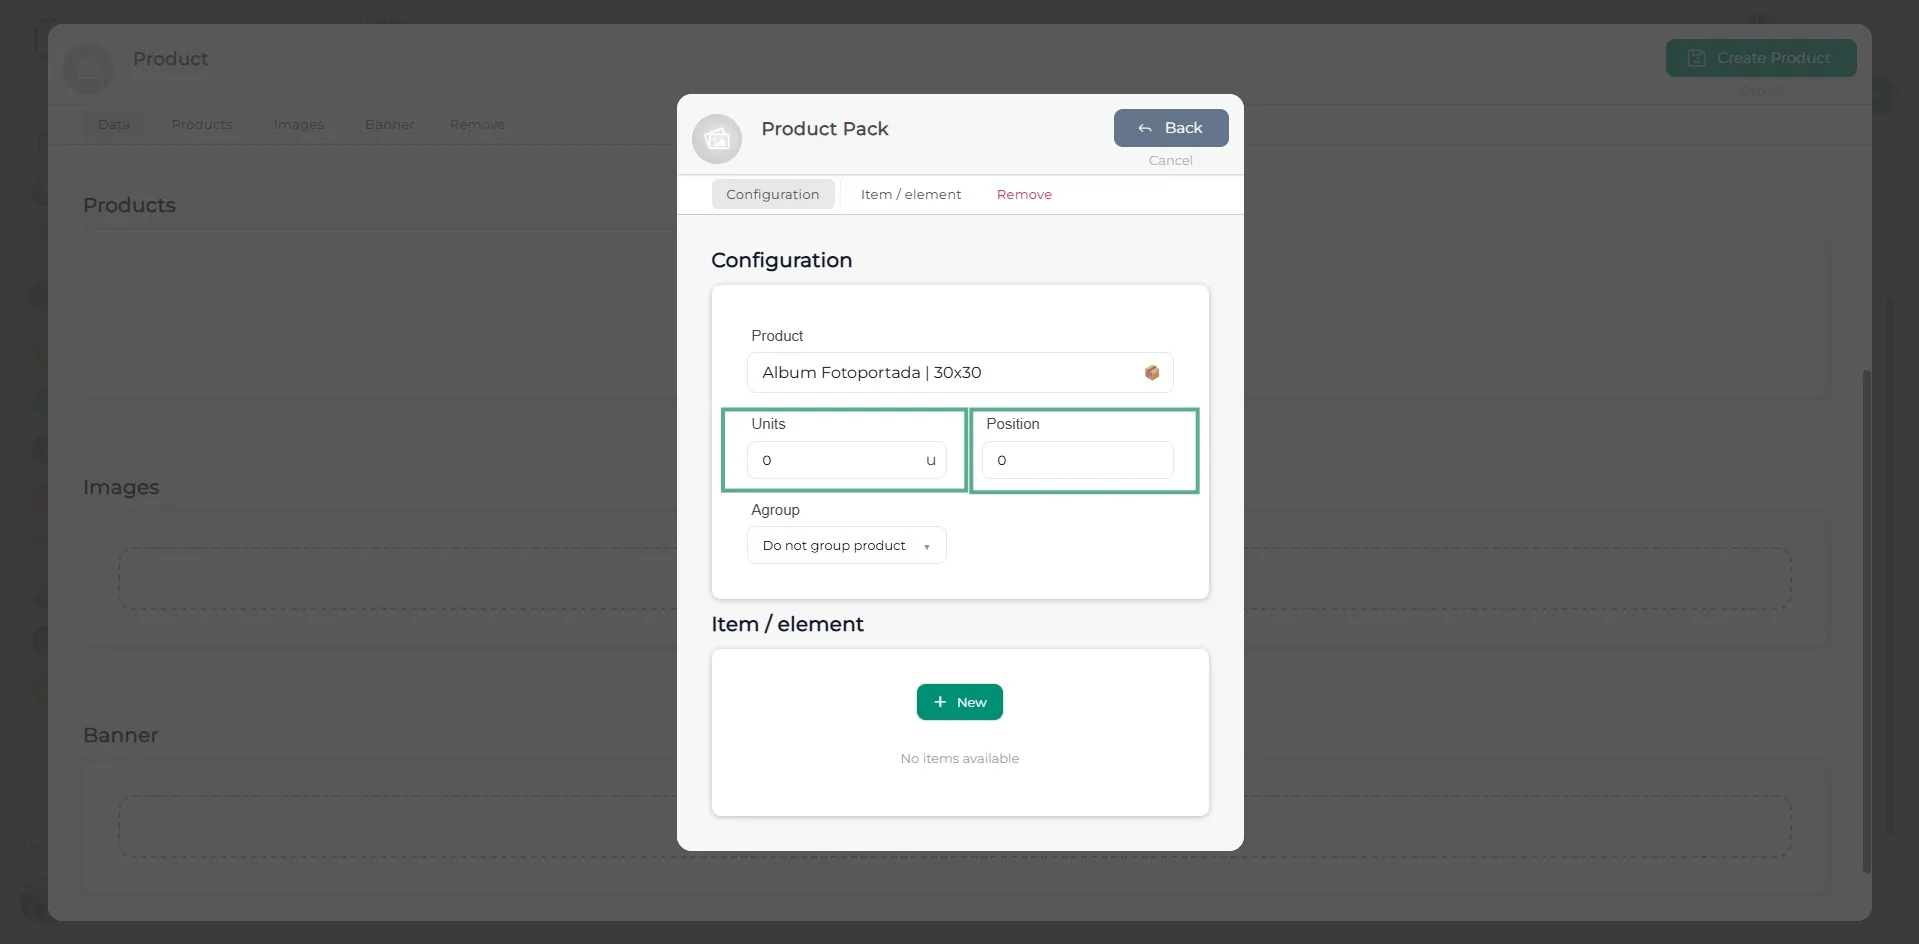
Step 9
If you have selected a photo album and the bundle does not include the same number of spreads as a standard album, click the green Item / Element button.
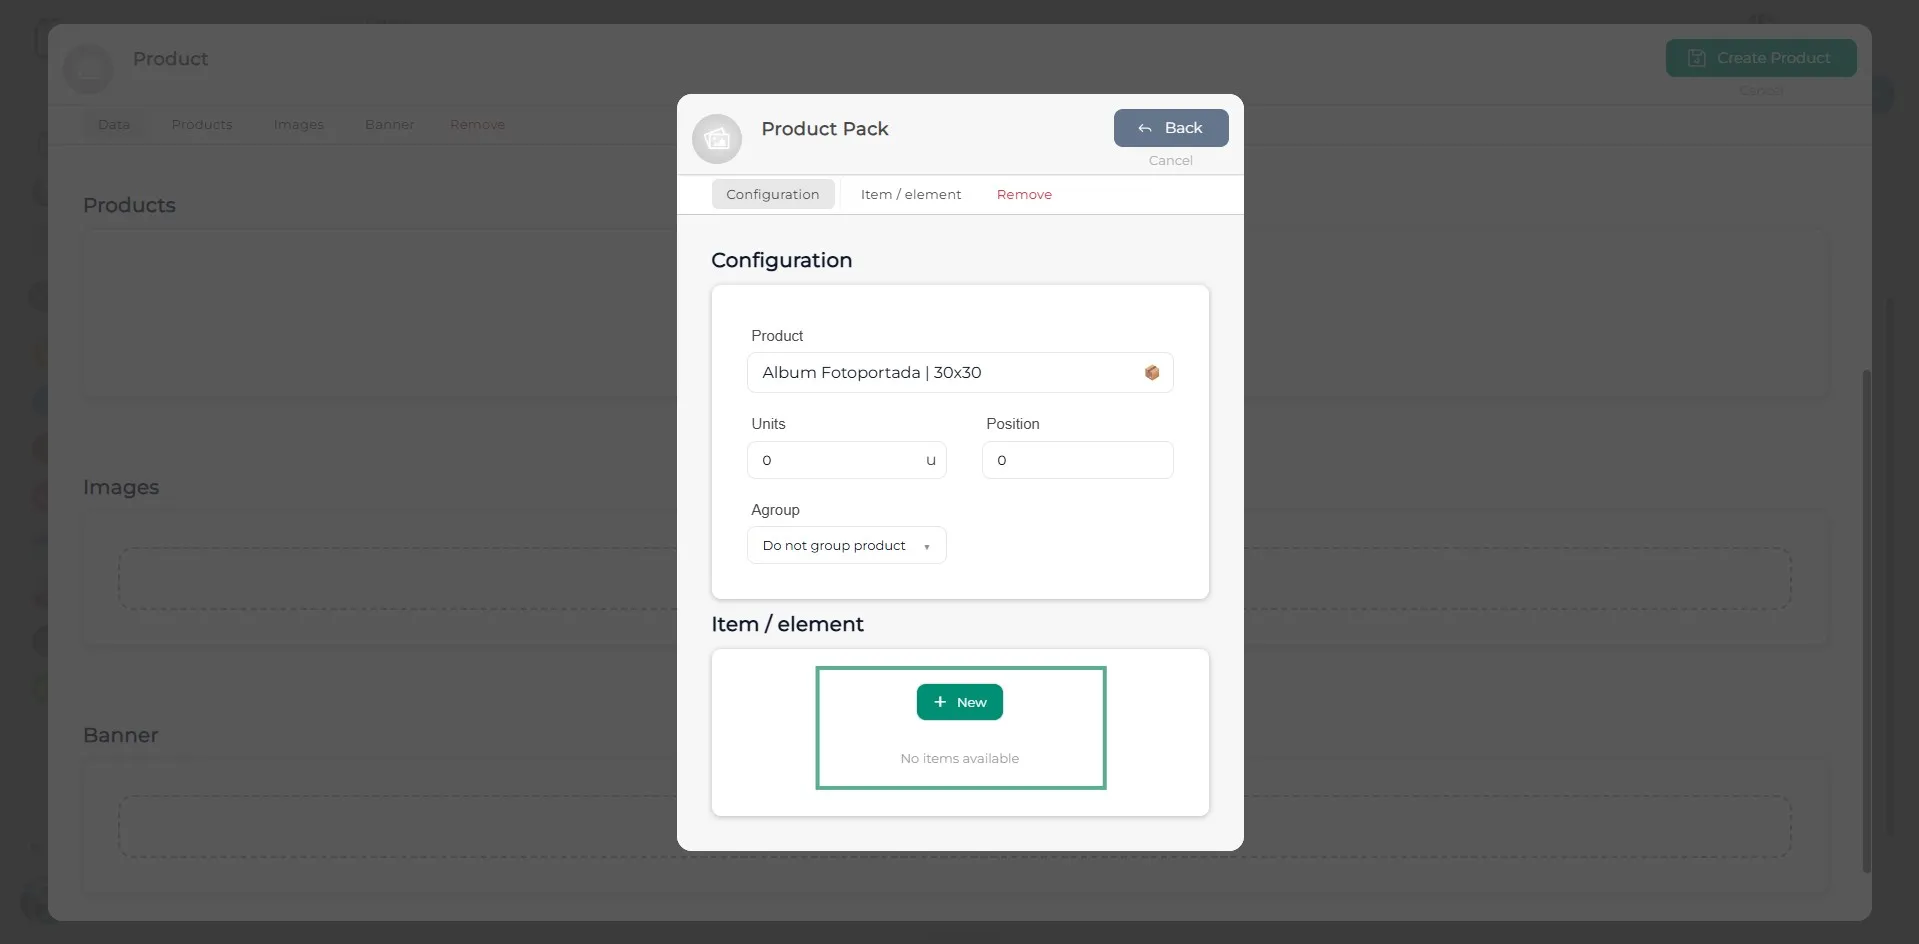
Step 10
When clicking on it, a window will open where you can specify the number of pages included in the album.
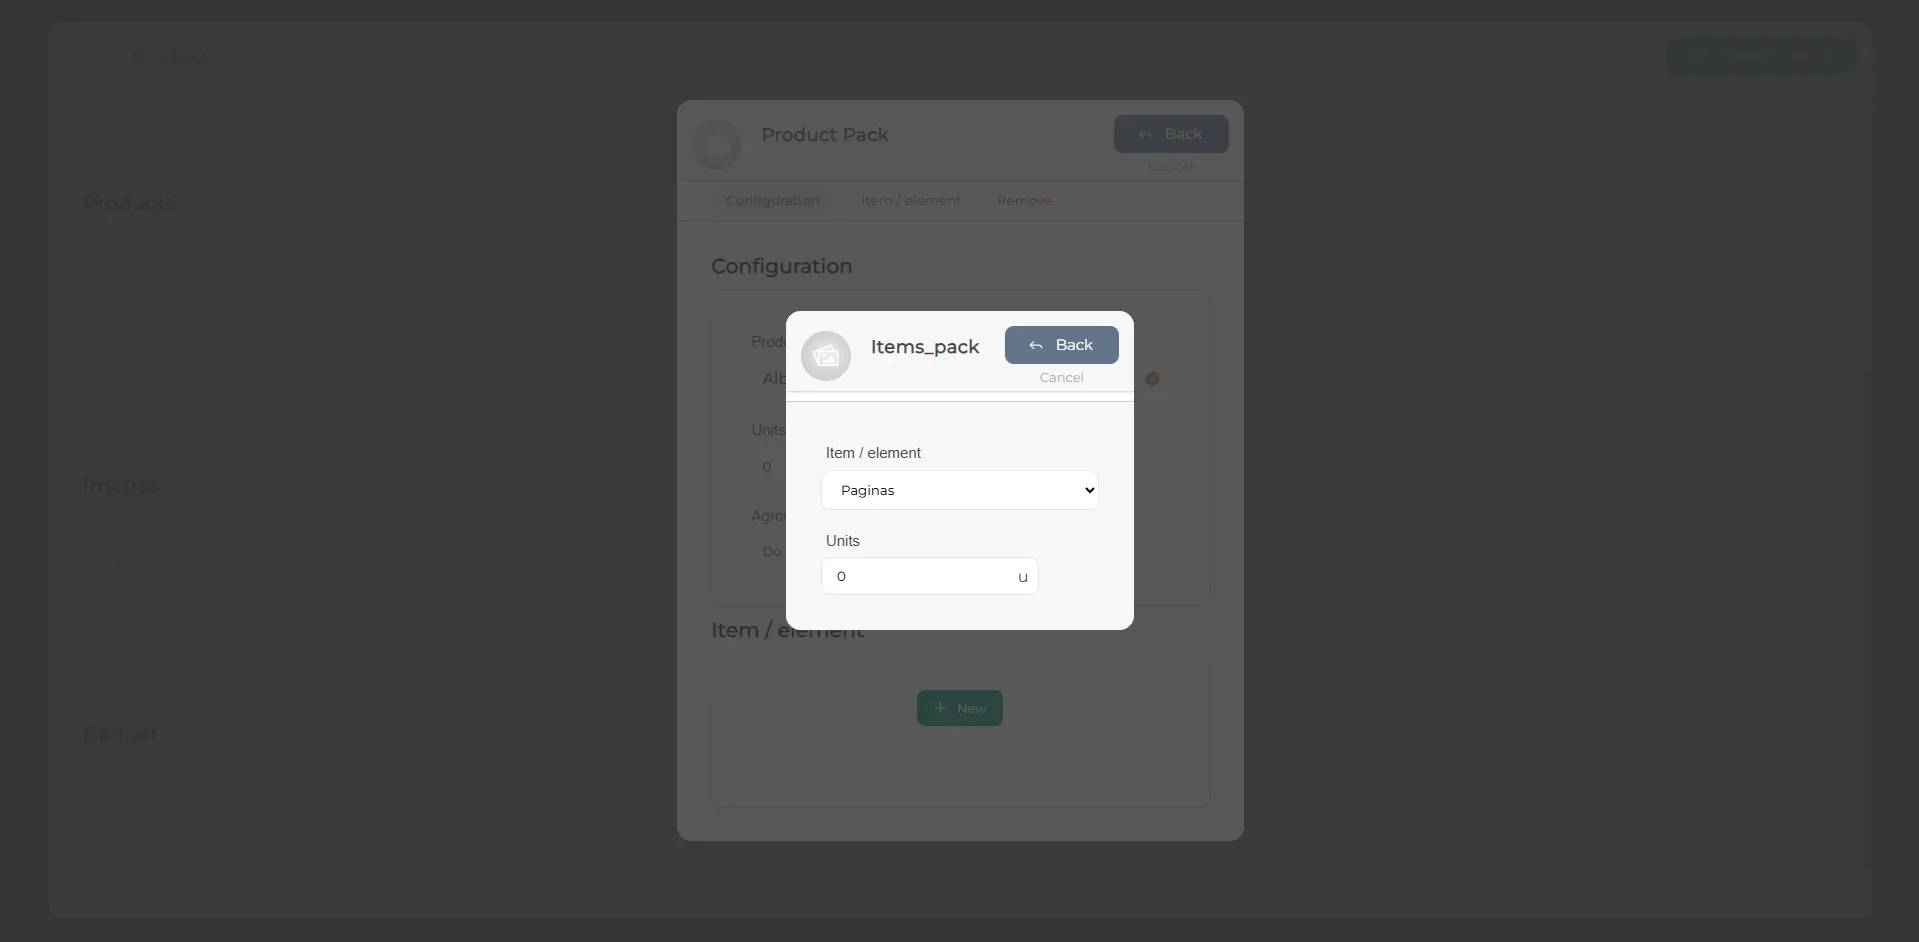
Step 11
Add as many products as the bundle includes, following the previous steps.
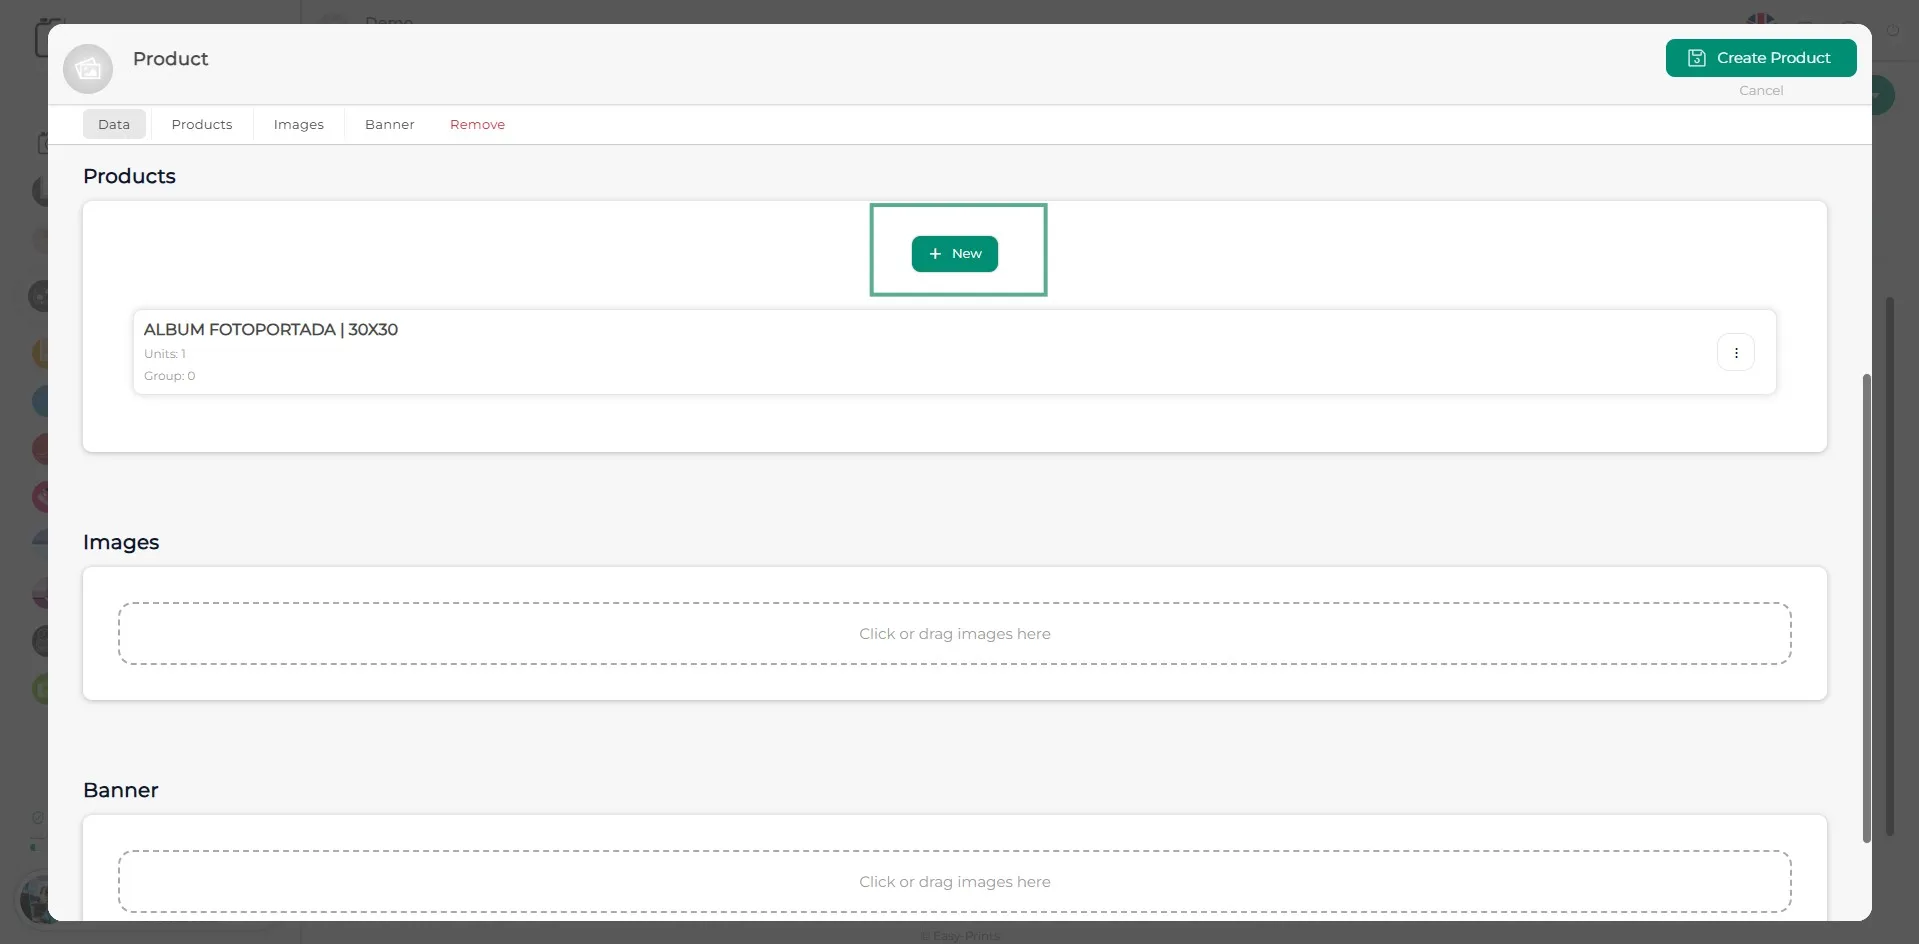
Step 12
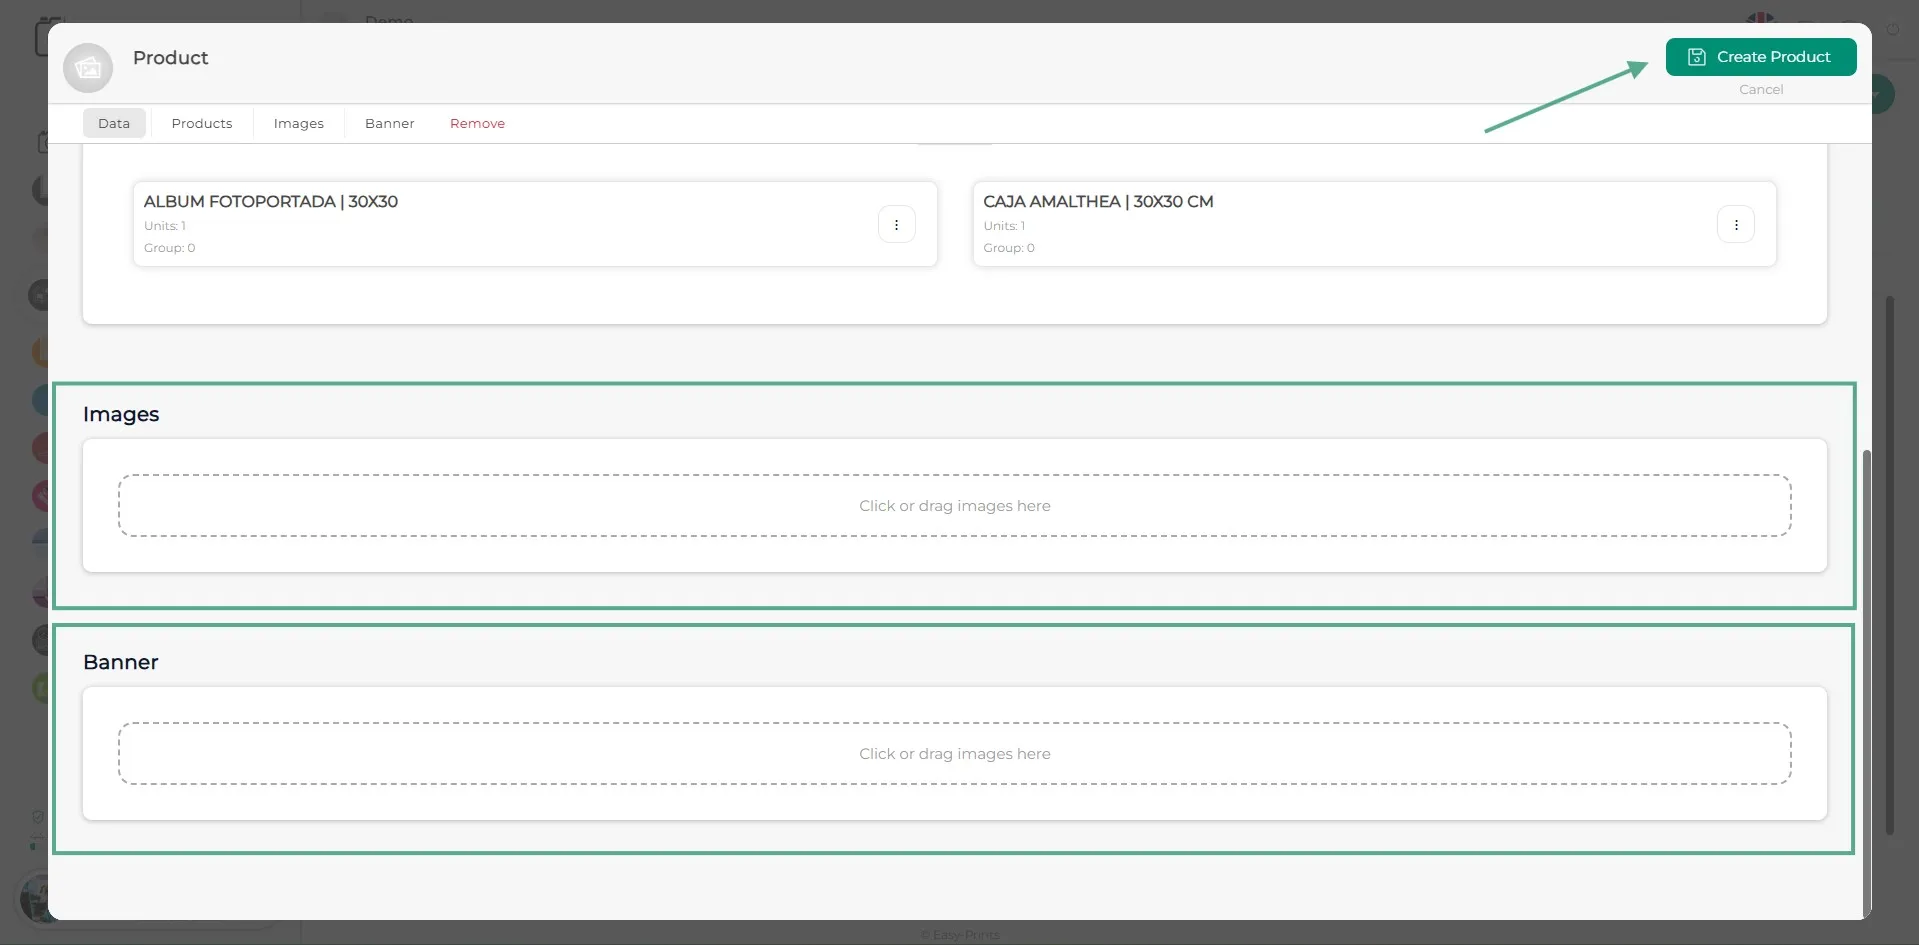
Make sure to add the product image or images, as well as the banner (optional). Once this section is completed, click the green Create product button located in the top right corner of the window.
Go back to the Help Center or contact Easy-Prints.
← Back to Help Center