
How to add a product in ‘Album composition + prints’ format.
To add a product that includes an album composition and a set of photo prints, go to the ‘Products’ category in the left menu and, in the top section bar,…
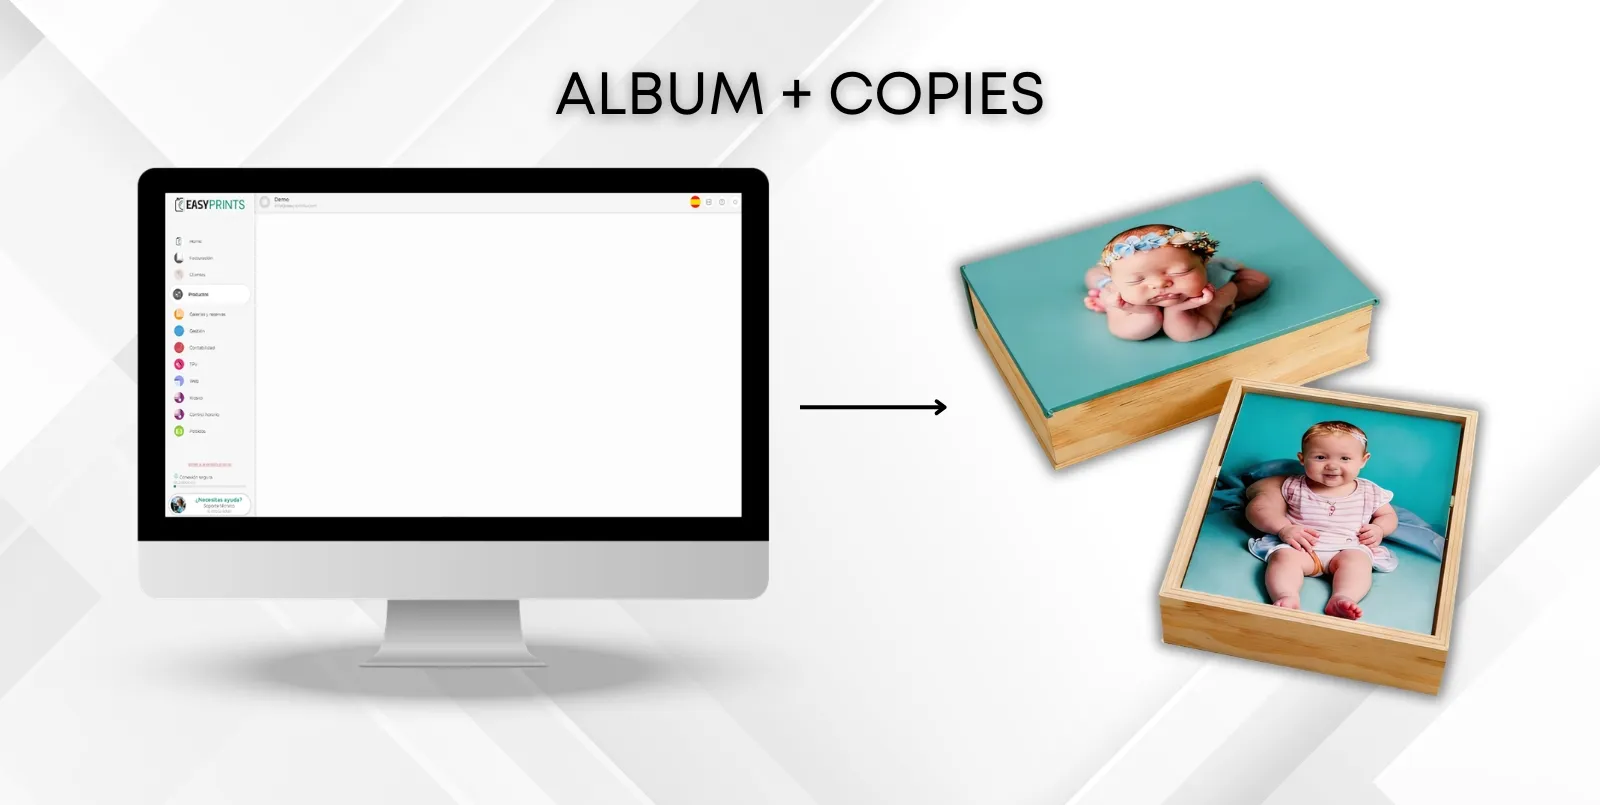
Step 1
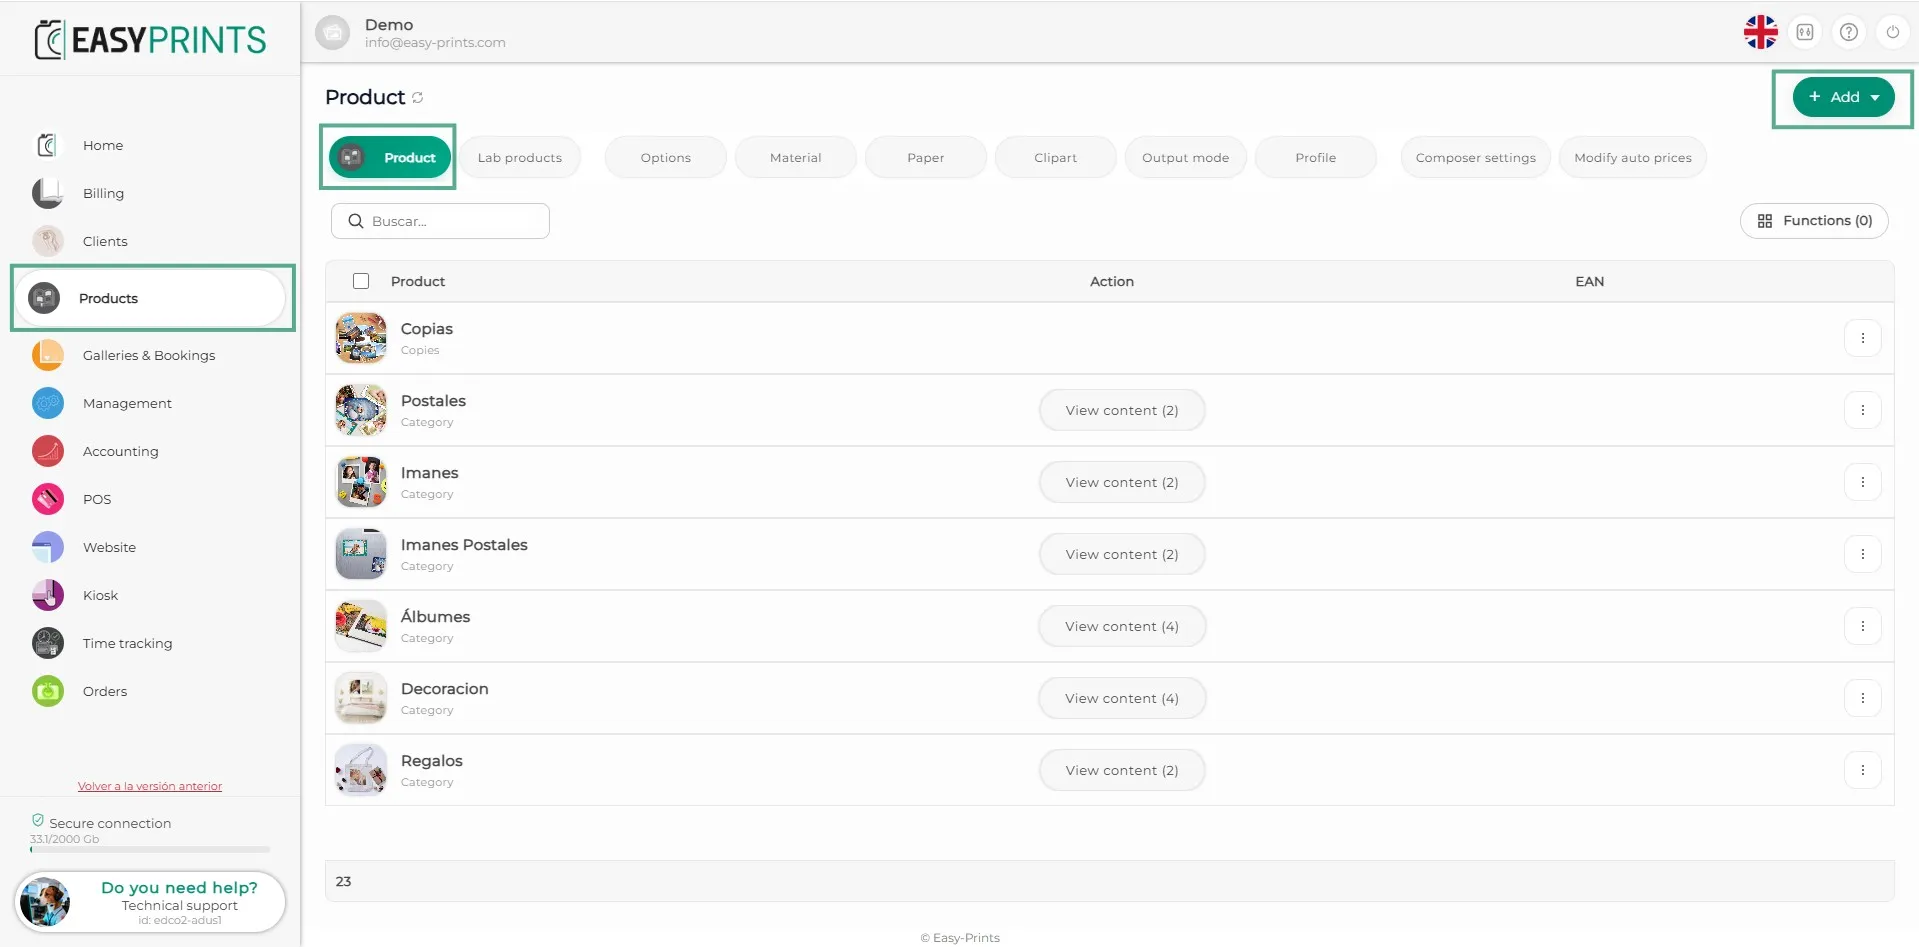
To add a product that includes an album composition and a set of photo prints, go to the ‘Products’ category in the left menu and, in the top section bar, select ‘Products’. Once there, click the green ‘+New’ button located in the top right.
Step 2
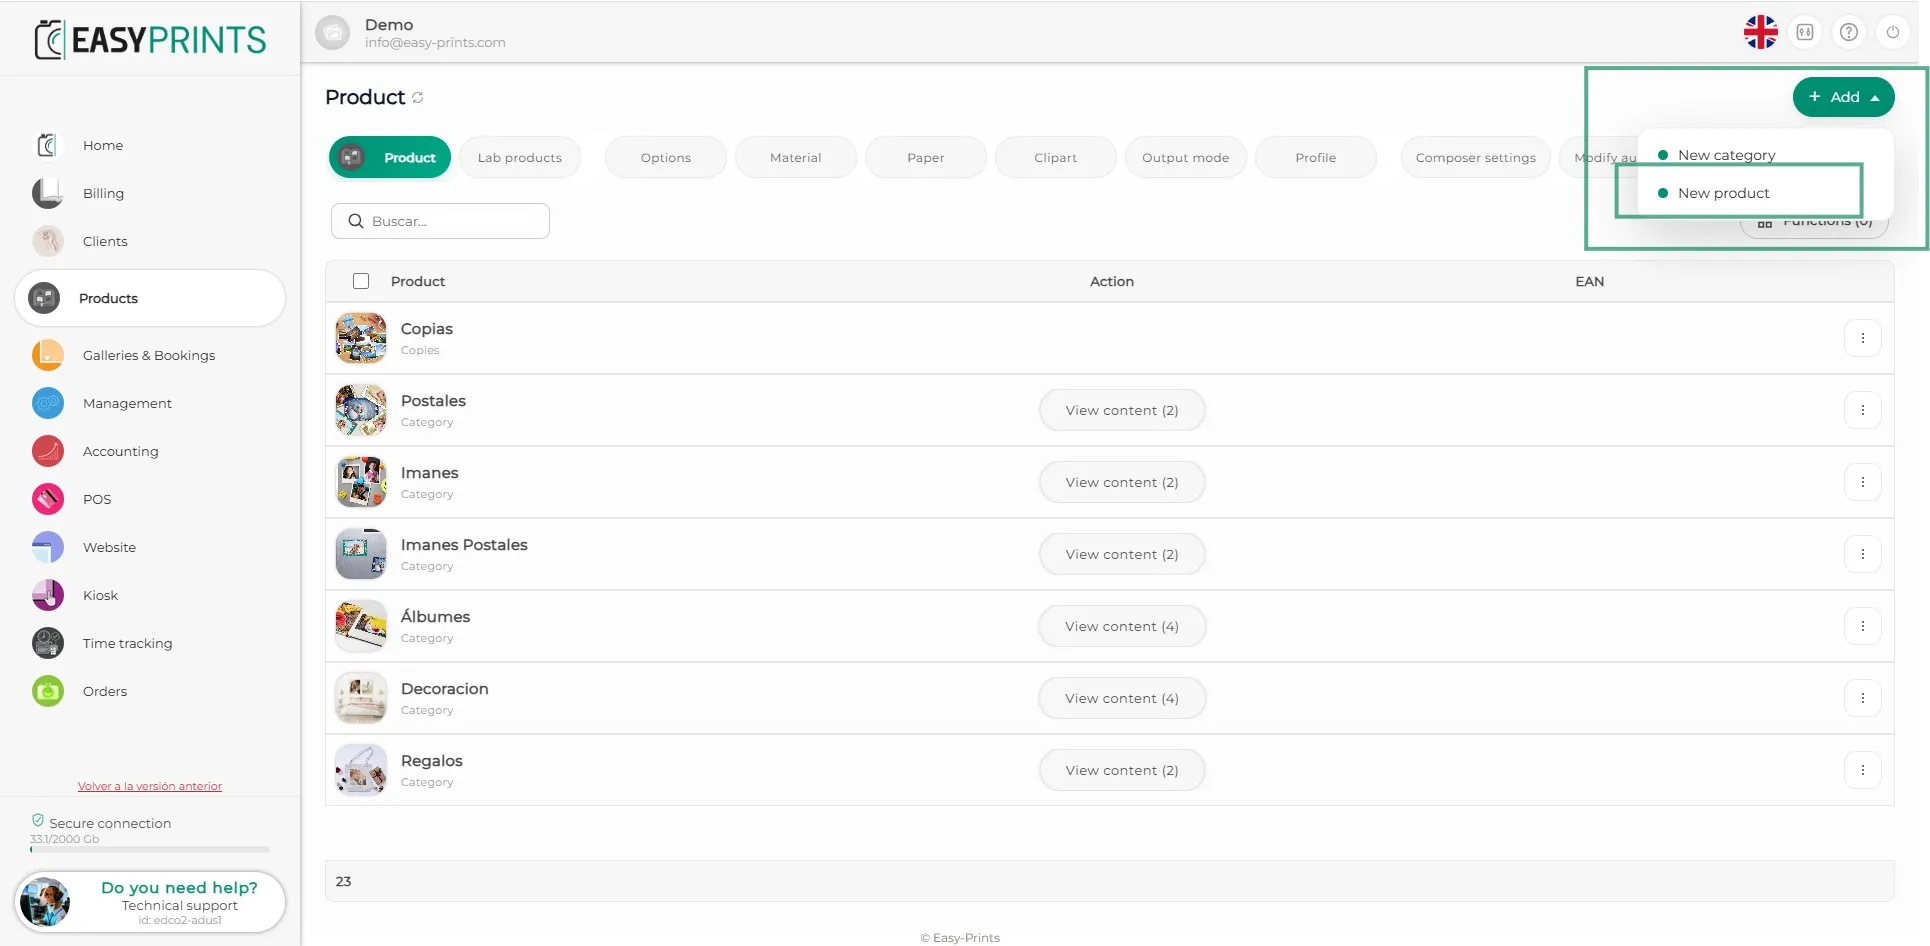
When clicking on ‘+New’, a dropdown menu will open. Click on ‘New product’.
Step 3
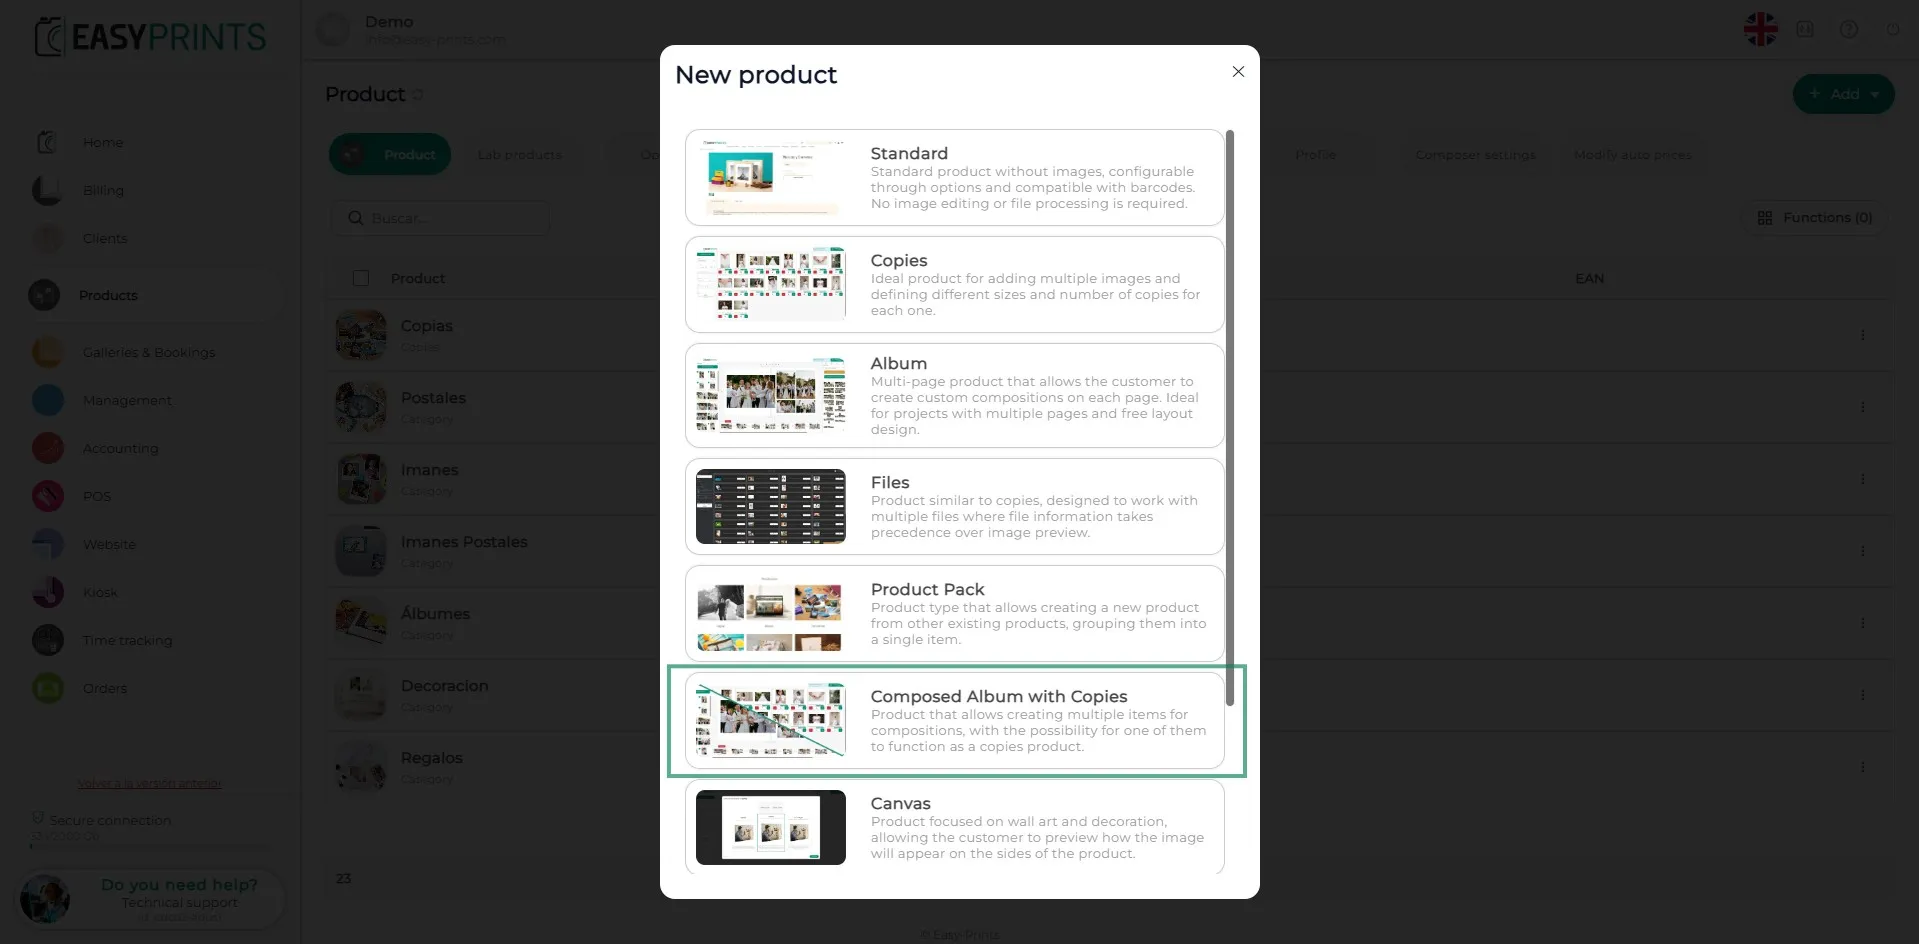
In the new window, the software will ask what type of product you want to add. Select ‘Album composition + prints’.
Step 4
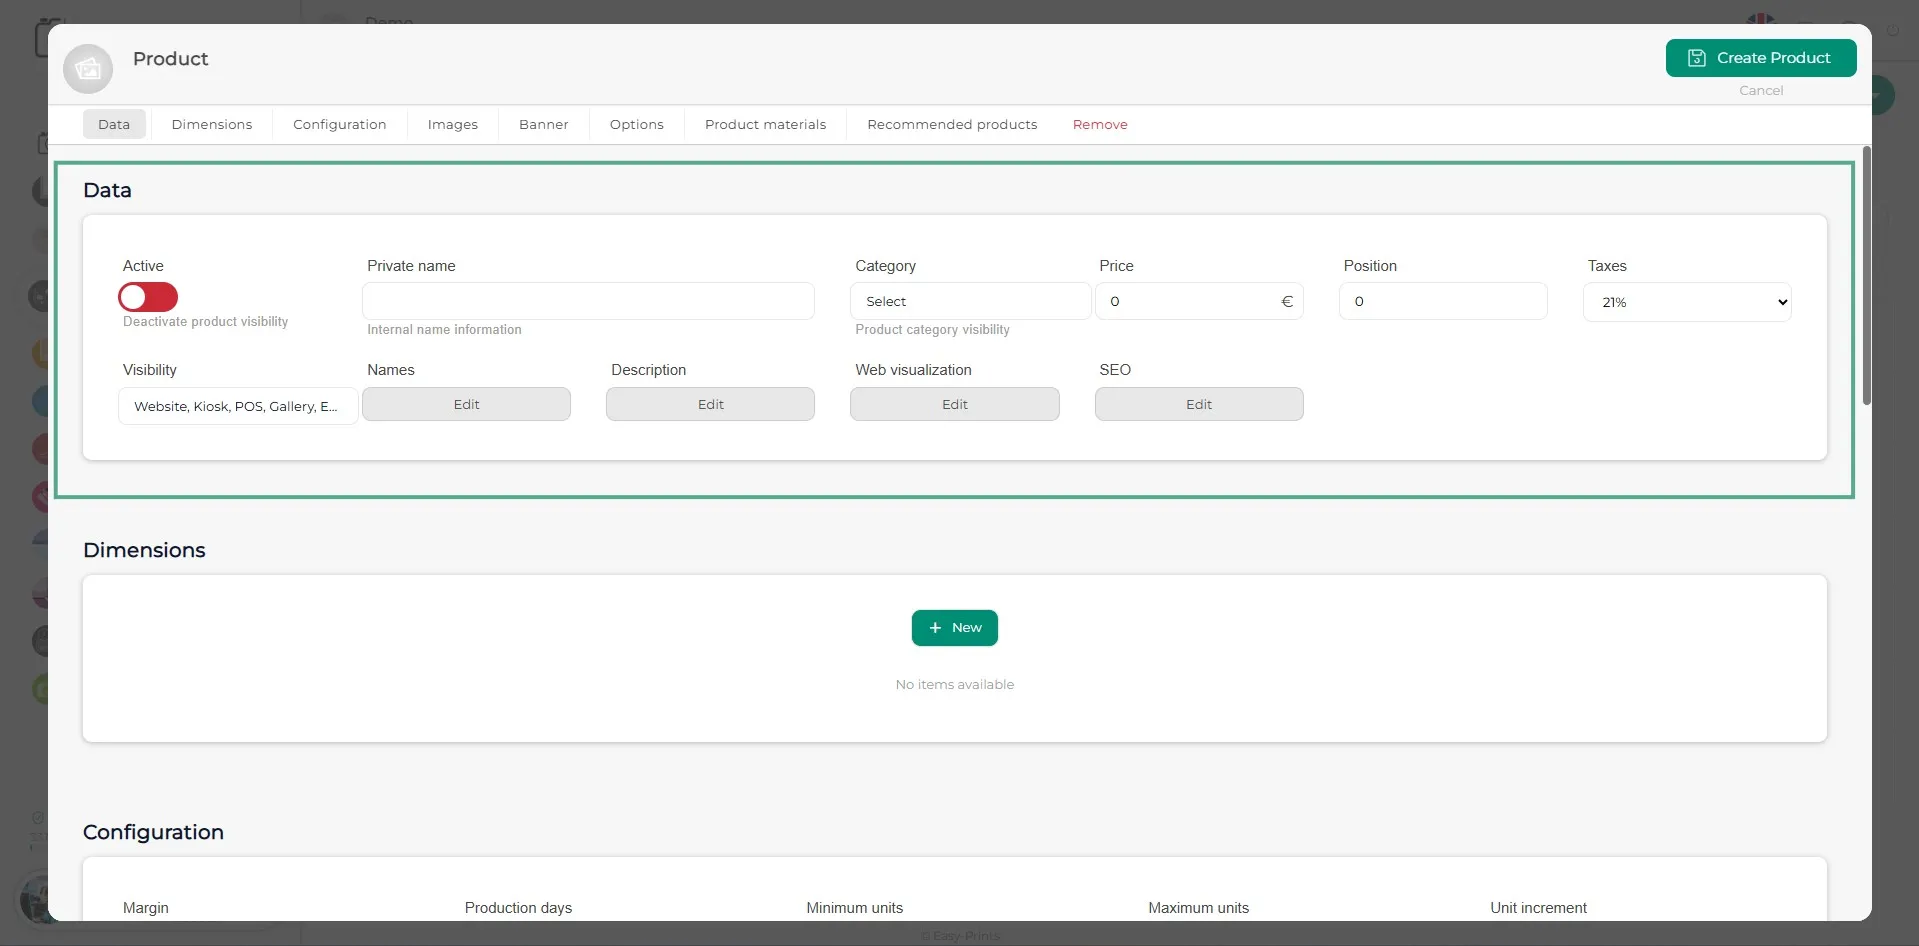
In the new window, you must enter the product details: internal name, visible names, description, price, category, etc.
Step 5
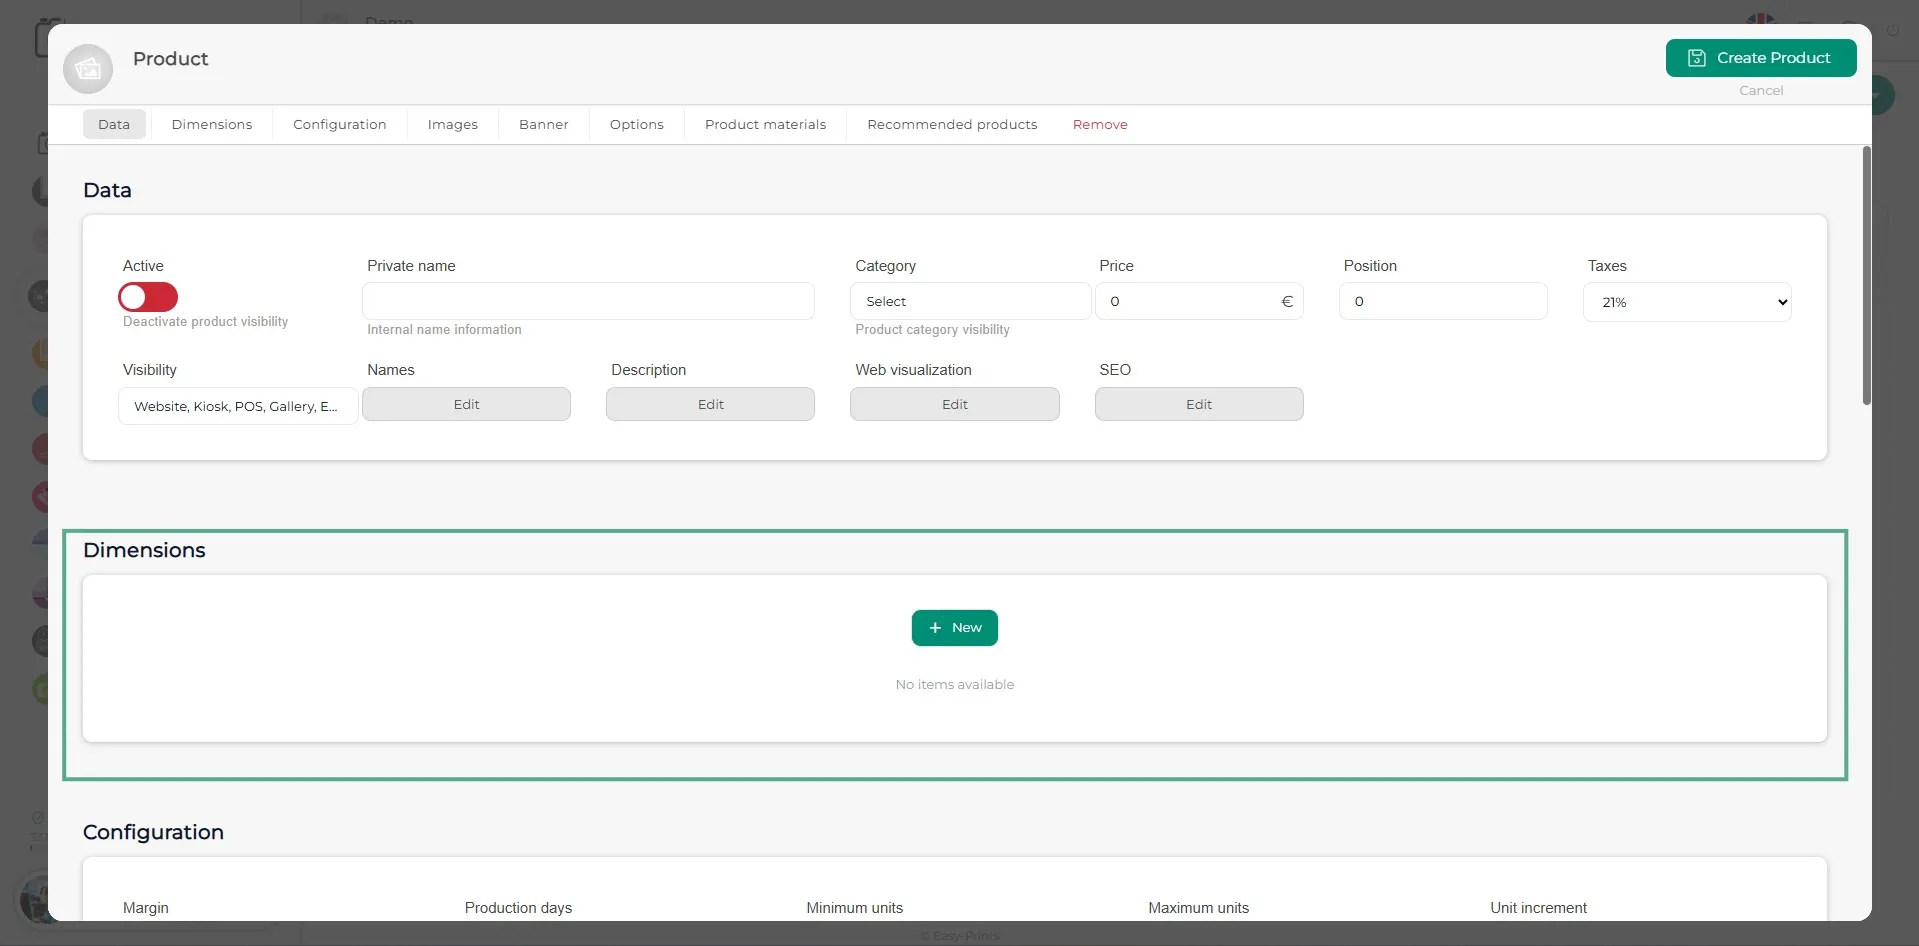
In the ‘Dimensions’ section, you must enter the main product together with the prints.
Step 6
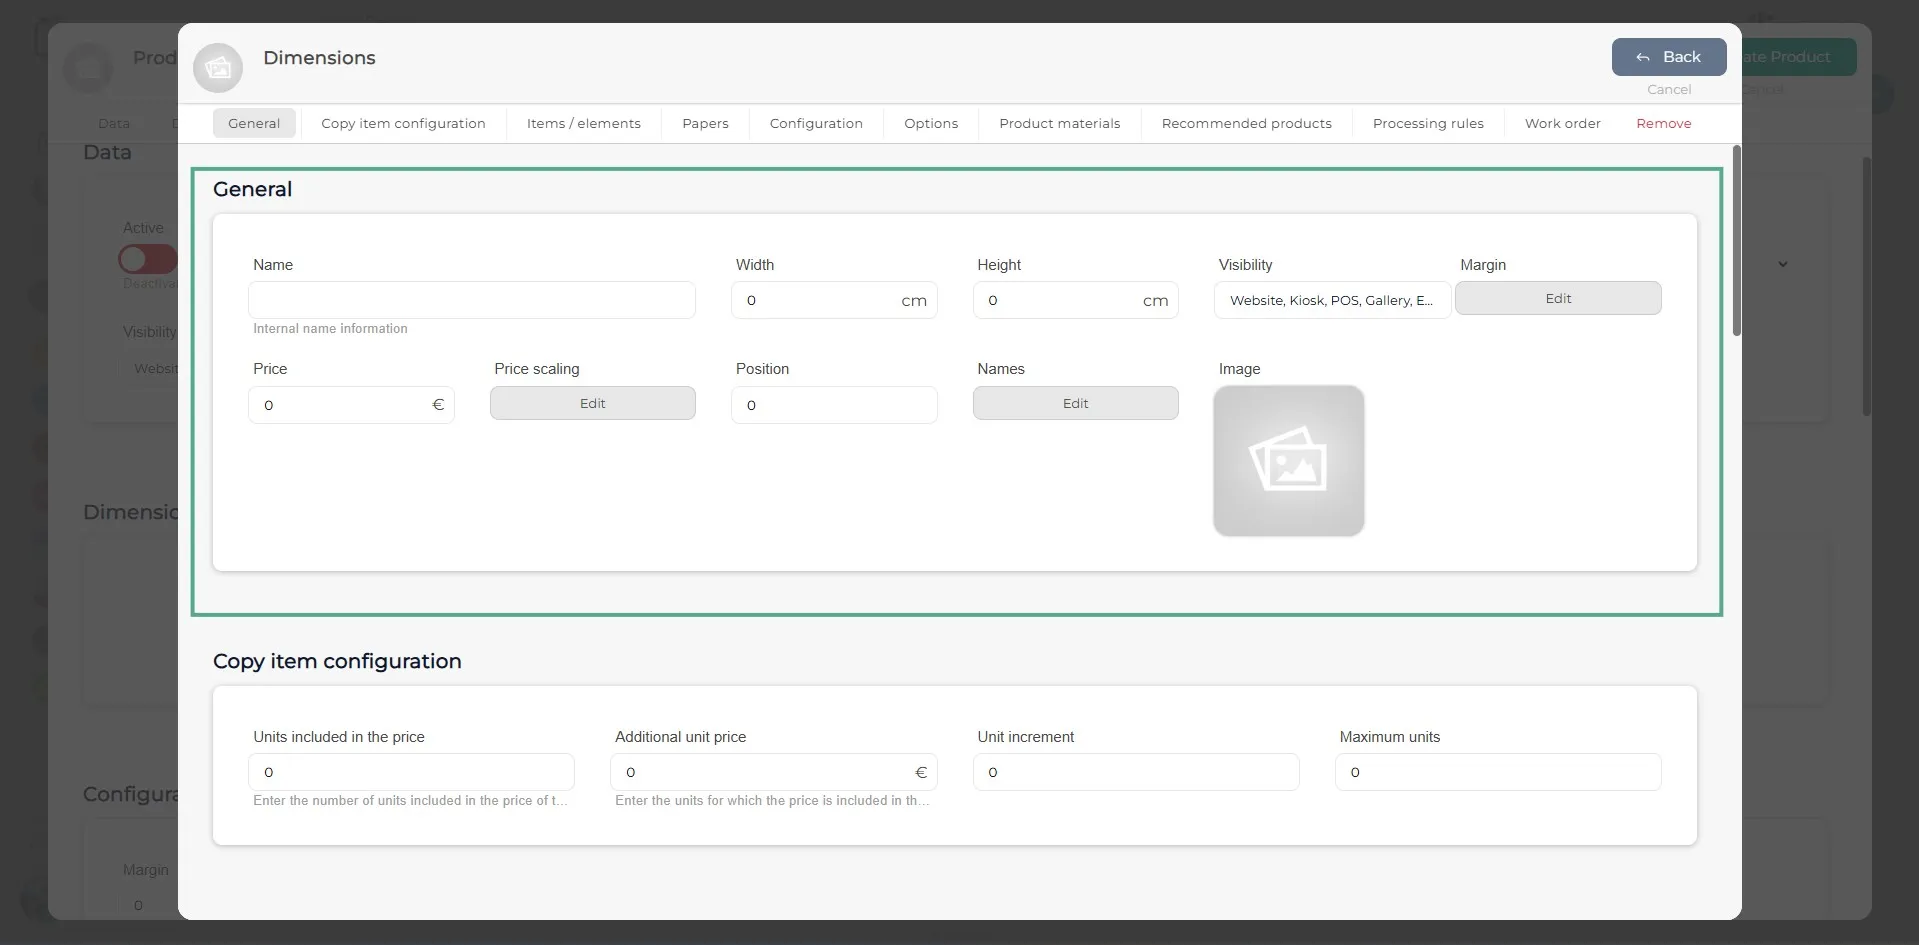
In the new window, the first sections you must complete are ‘General’ and ‘Copy item configuration’. In the ‘General’ section, enter the product name or the print size, as preferred. In the width and height fields, enter the print size. Complete the remaining empty fields (margin, price, price scaling if necessary, etc.). In the ‘Copy item configuration’ section, specify the units included in the price, the price per additional unit, the unit increment, and the maximum units.
Step 7
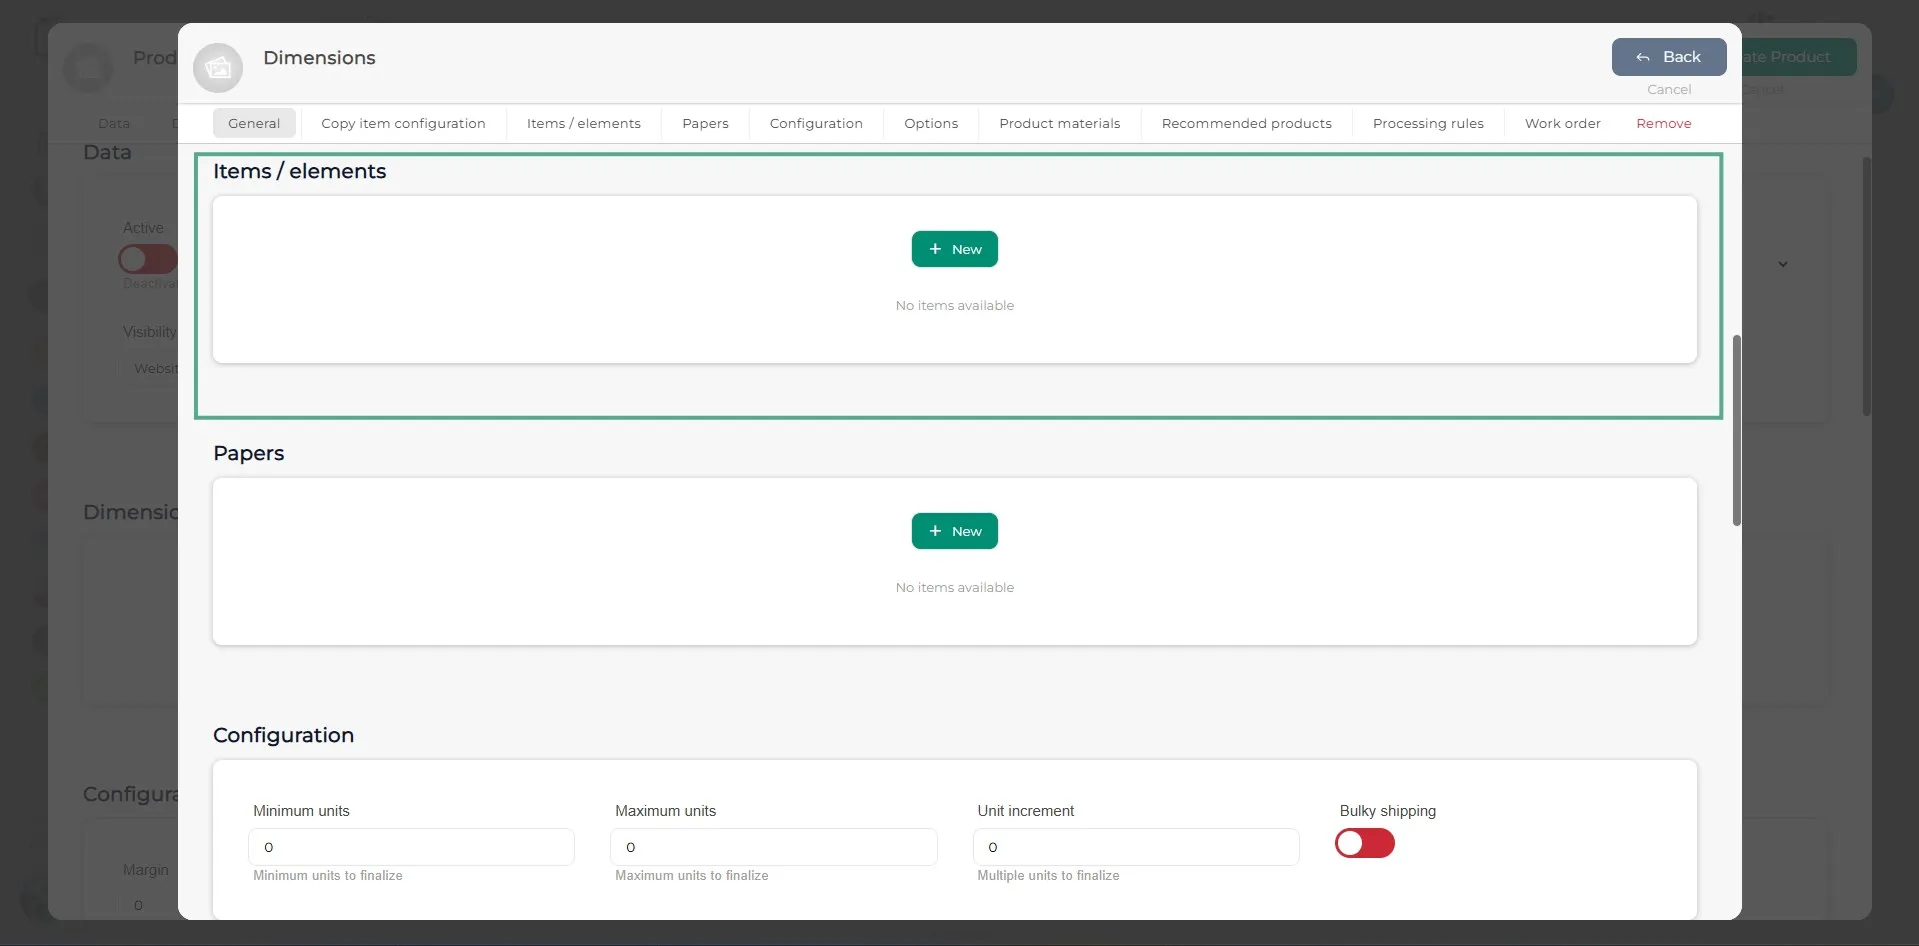
In the ‘Items/Elements’ section, you must enter the elements that are not prints. For example, if the product is a wooden box with a customizable lid, you should enter the lid with its dimensions so the customer can upload their image.
Step 8
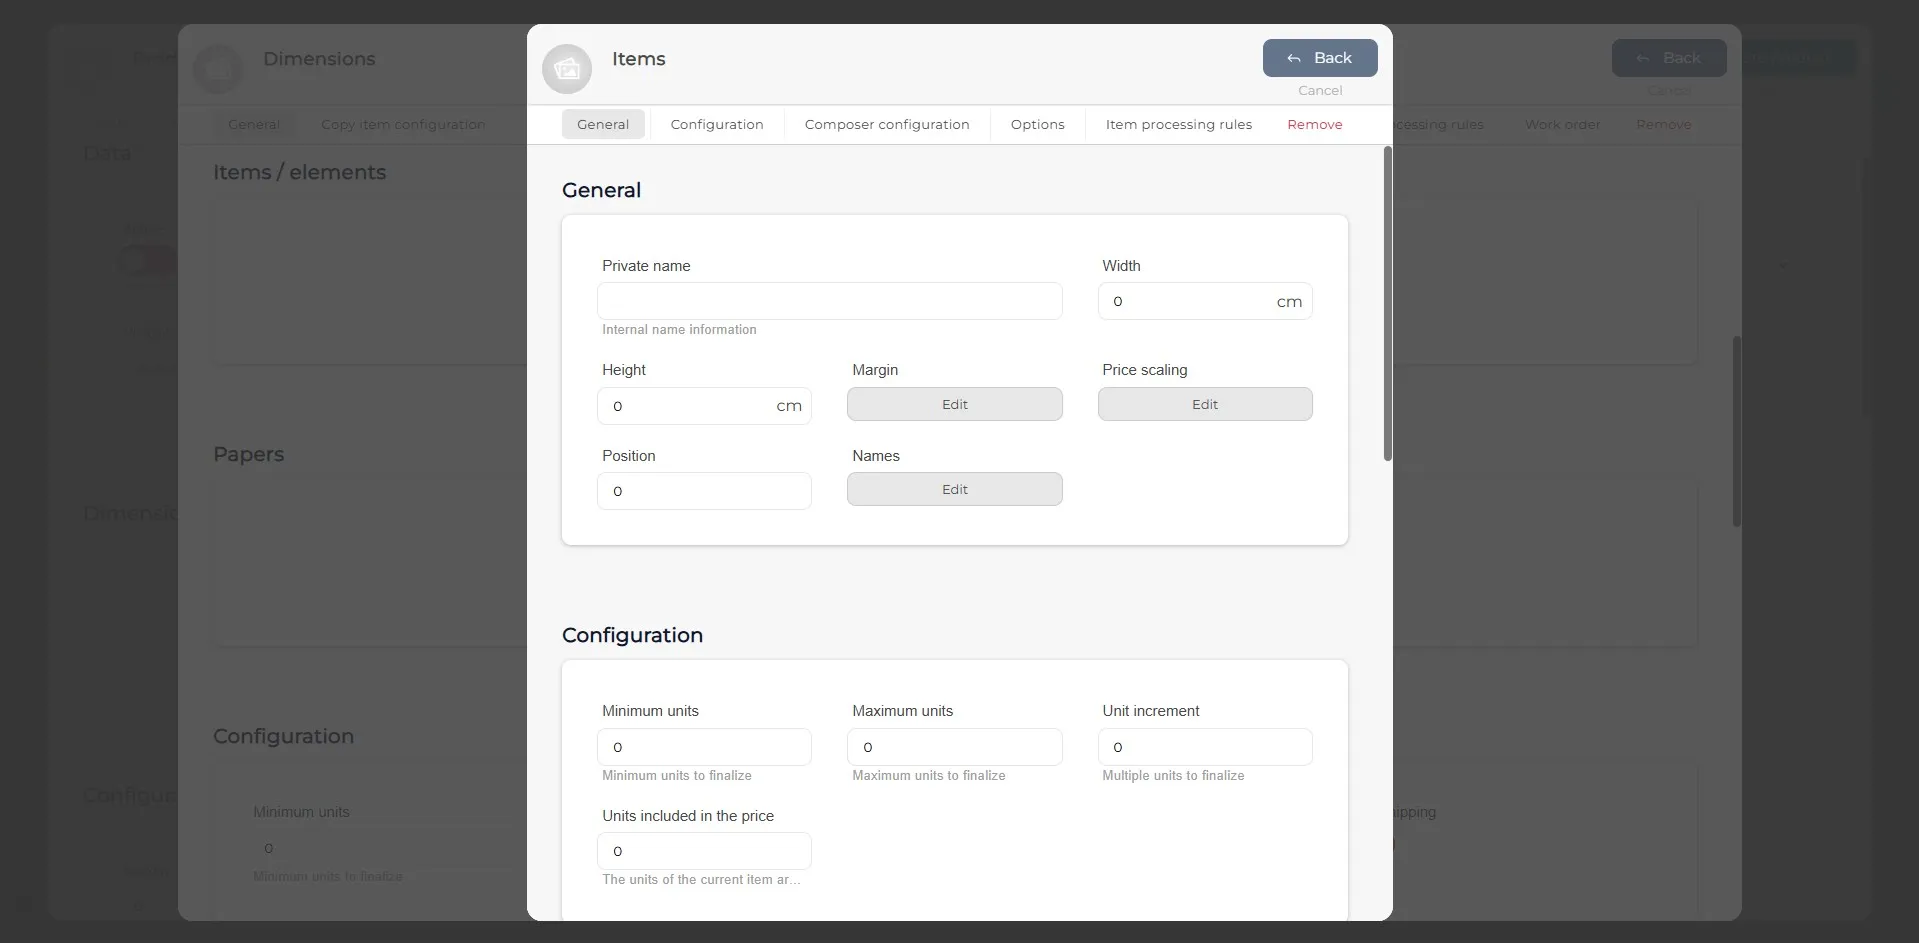
When clicking the ‘+New’ button in the ‘Items/Elements’ section, a new window will open. There, you must complete the ‘General’ section, where you will be asked for the product name, its dimensions, the position where you want the item to appear, price scaling (if necessary), margin, and the visible name(s) on the website. Additionally, in the ‘Configuration’ section, you must specify the minimum and maximum units, the units included, and the unit increment if necessary.
Step 9
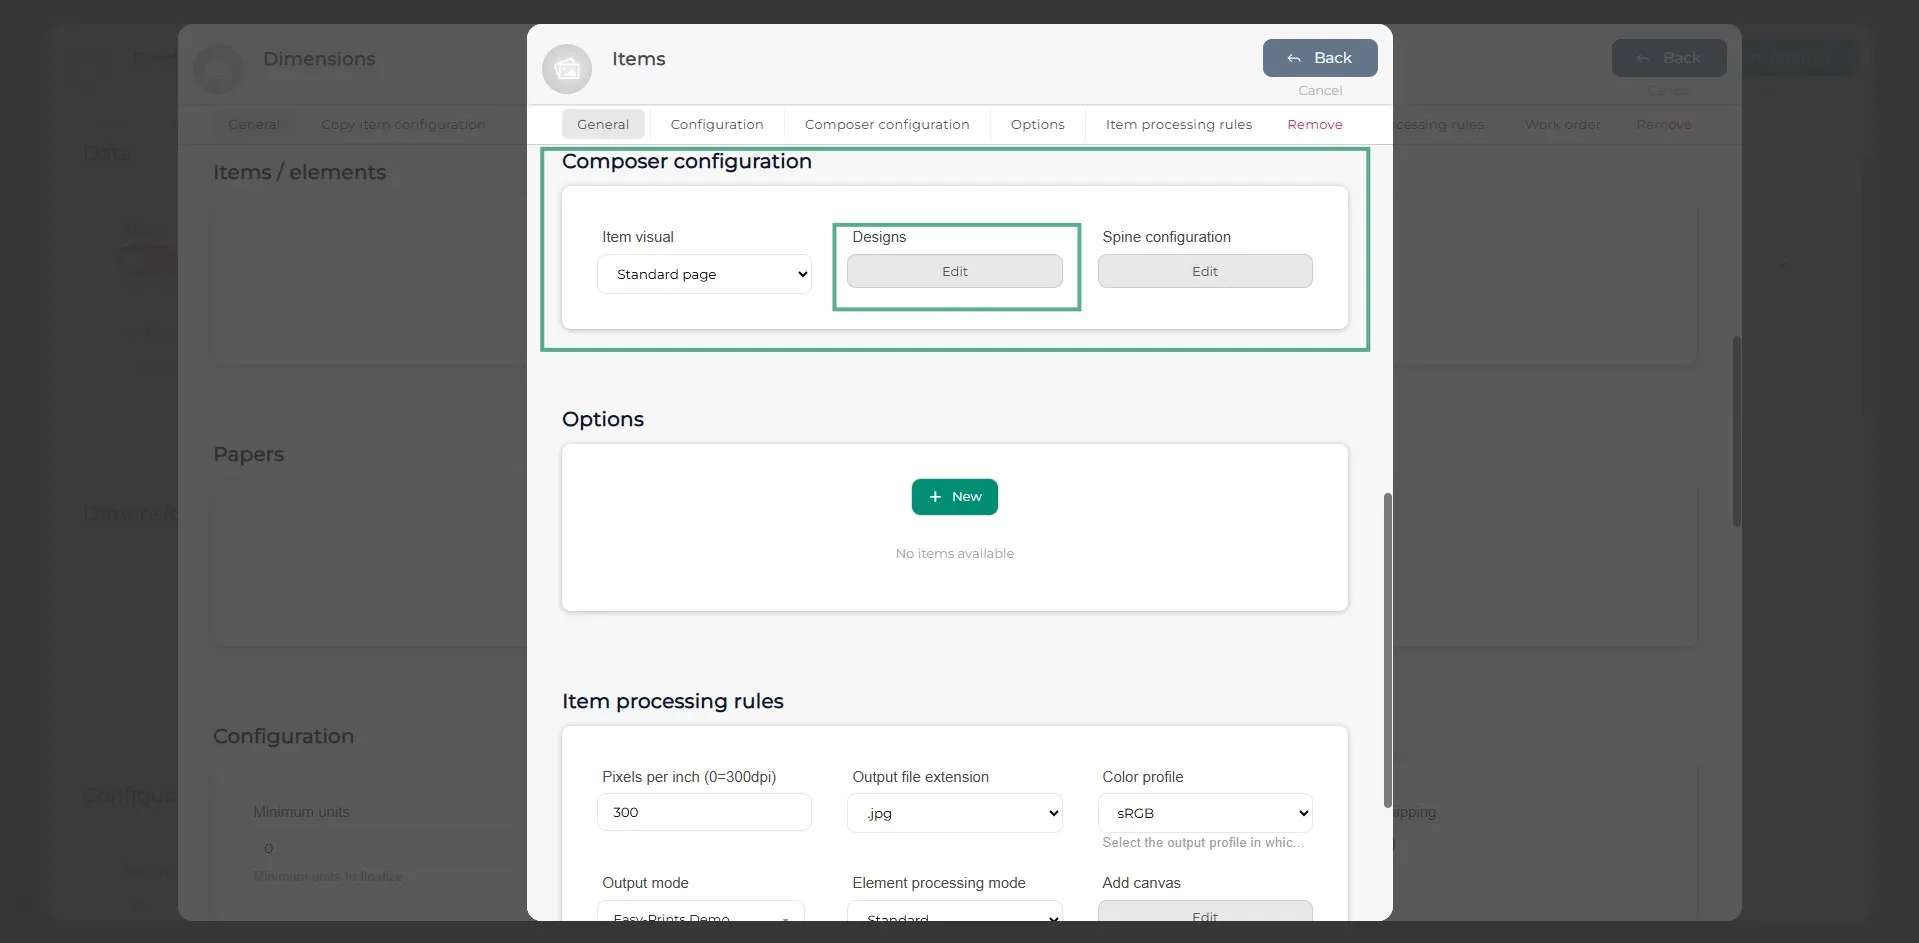
In the ‘Composer configuration’ section, go to the ‘Design’ button to create the product design and add its elements, such as materials, images, texts, etc.
Step 10
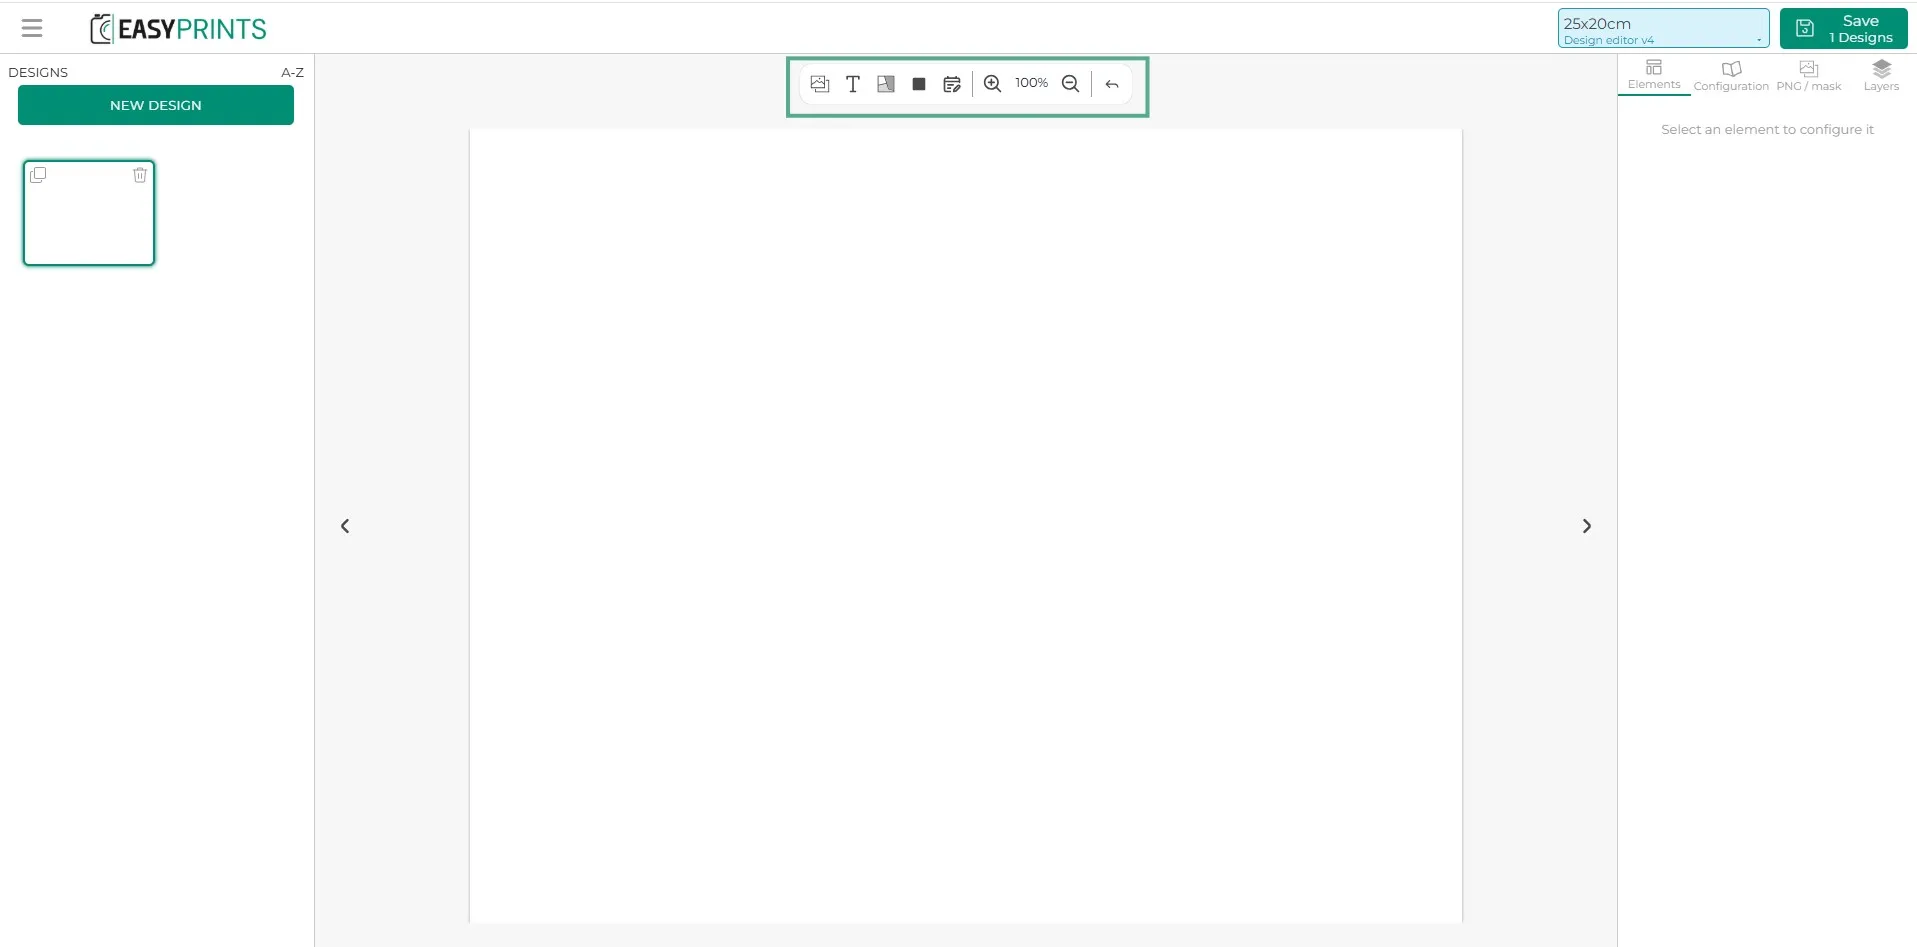
In the composer, you must define the parts of the product by adding materials such as images or even PNG files if necessary.
Step 11
At the top, there is a bar with the buttons ‘Image’, ‘Text’, ‘Materials’, and ‘Hidden area’. When clicking on any of them (depending on what you need for your product), the selected element will appear in the product area.
Step 12
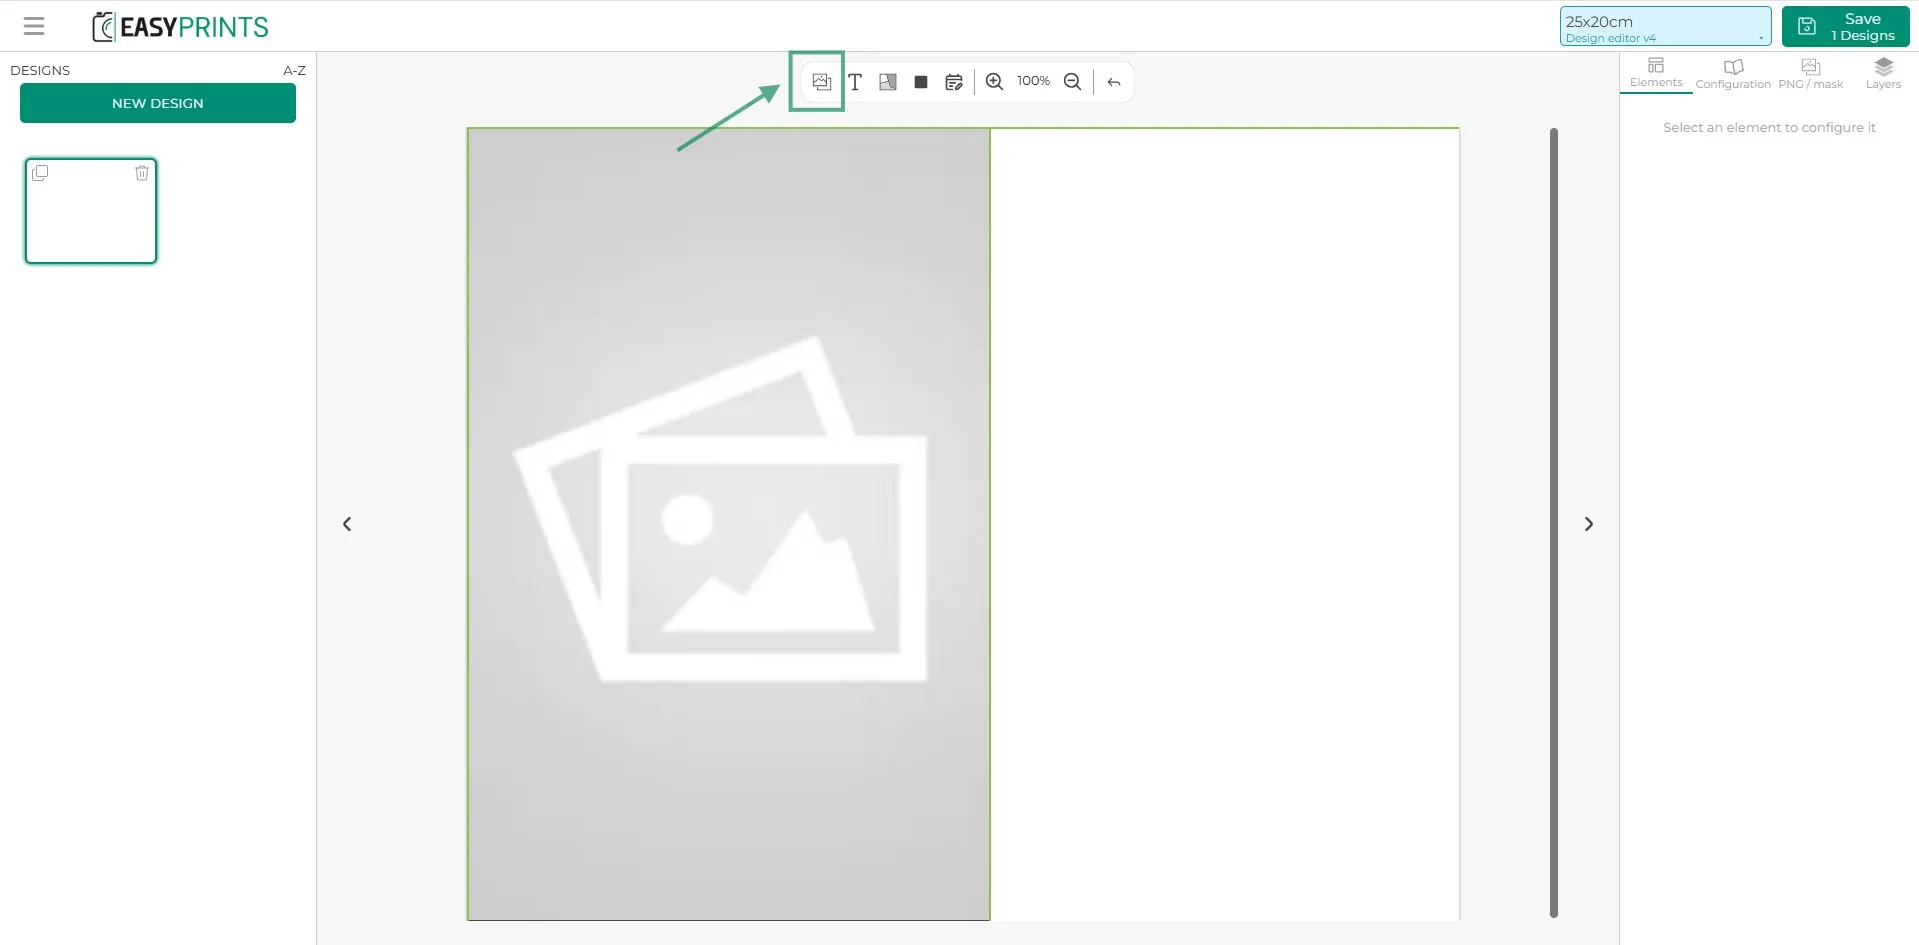
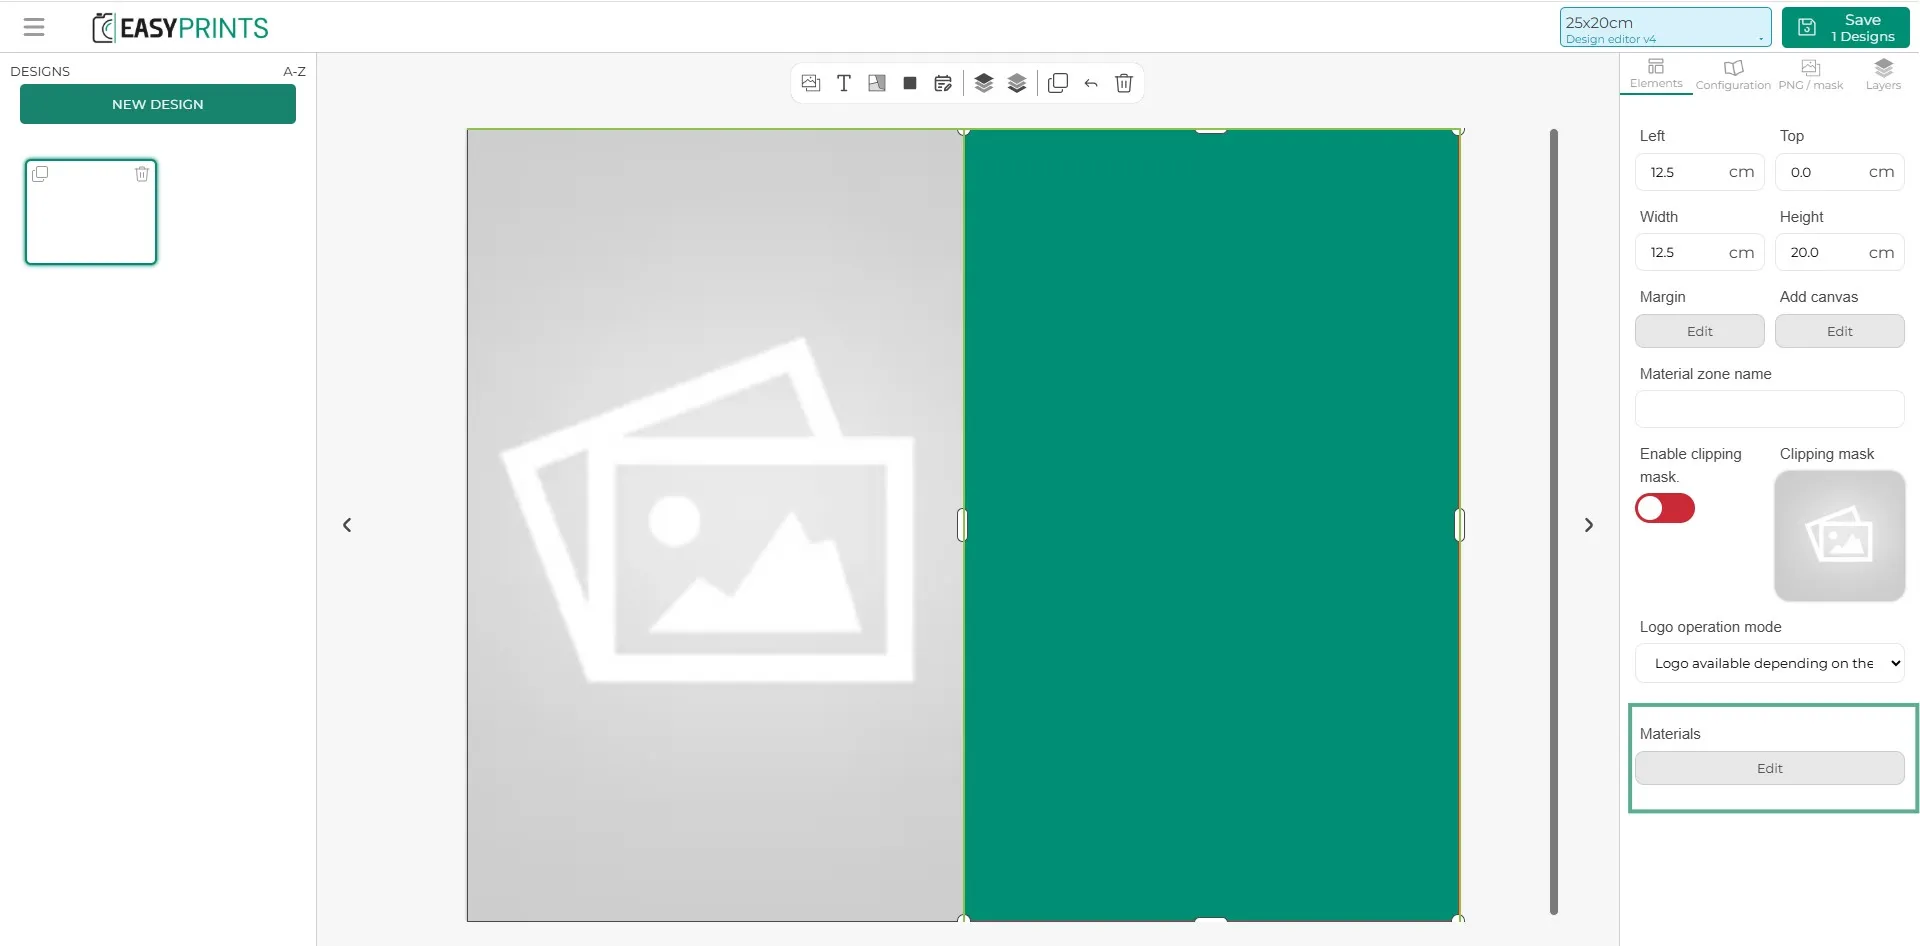
When clicking on the green box (material), the ‘Elements’ panel will appear on the right column, where you can configure its properties. You can define the size of the box, the name of the material area, and if it has a specific shape, apply it using the ‘Clipping mask’ option and activate it. You can also define whether this material area includes a logo, a logo with surcharge, or no logo. To add materials, you will find a grey button below ‘Materials’ called ‘Edit’, as shown in the image.
Step 13
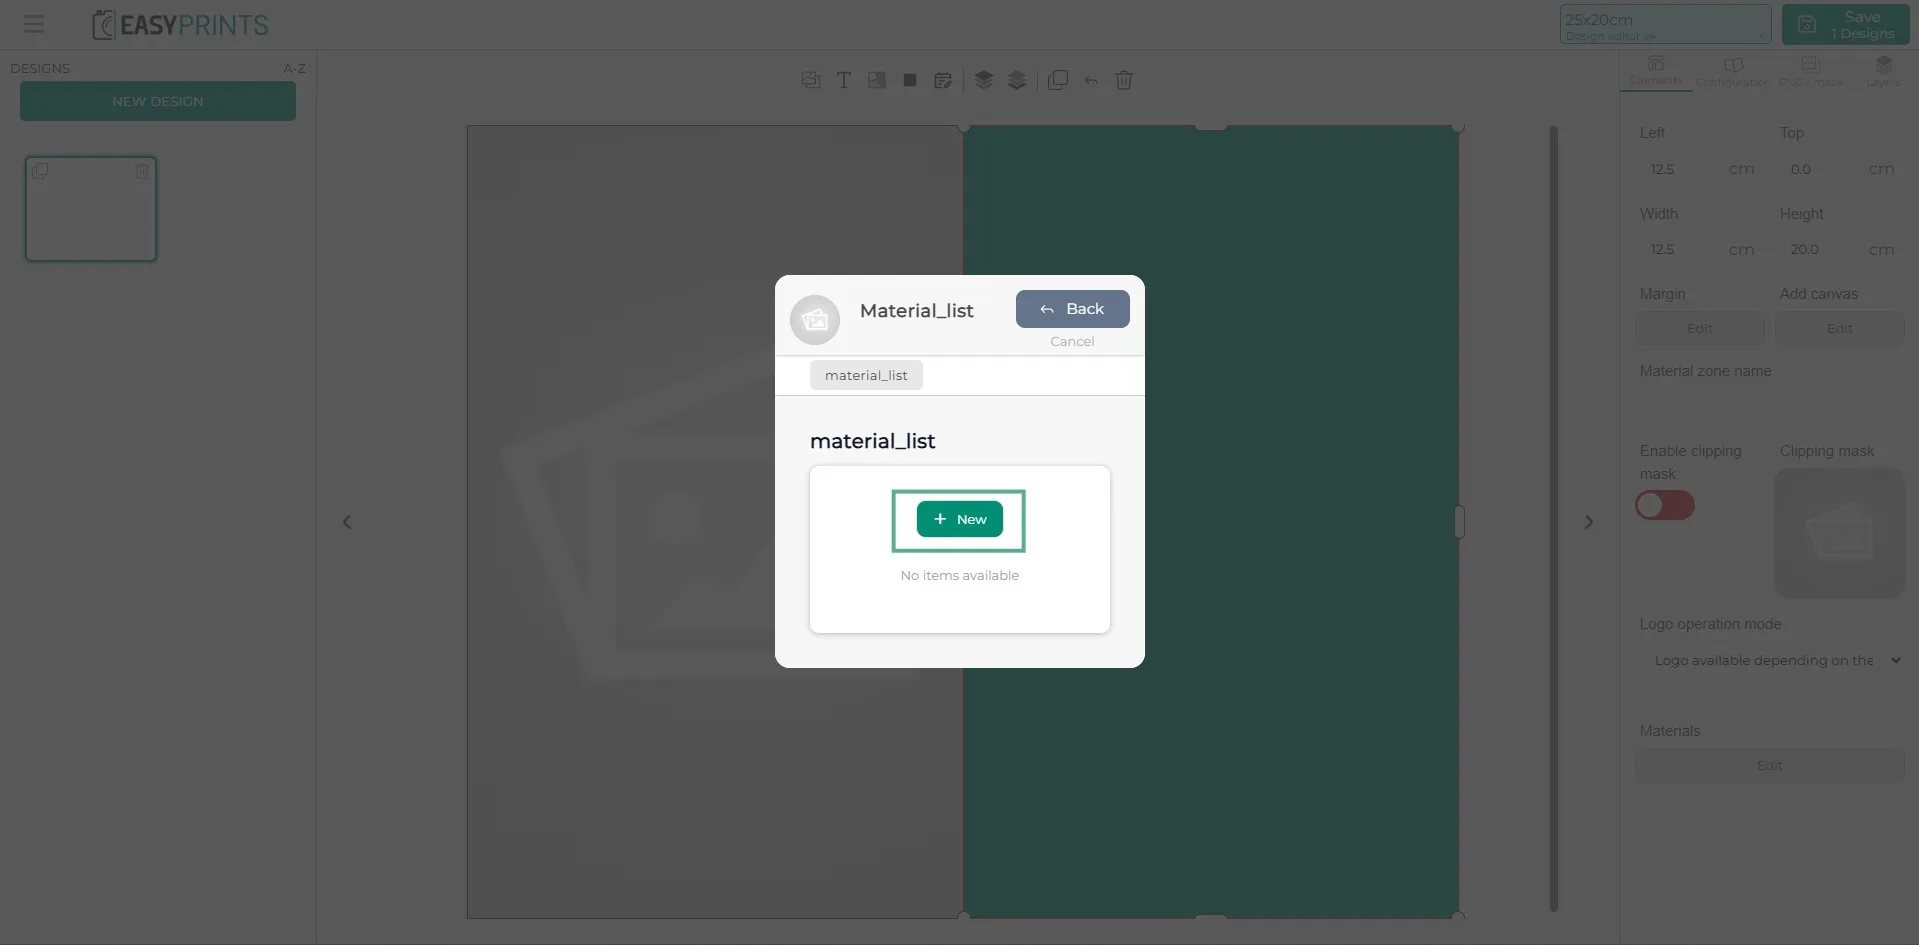
Add the materials by clicking the green ‘+New’ button. Repeat this step as many times as materials the product has.
Step 14
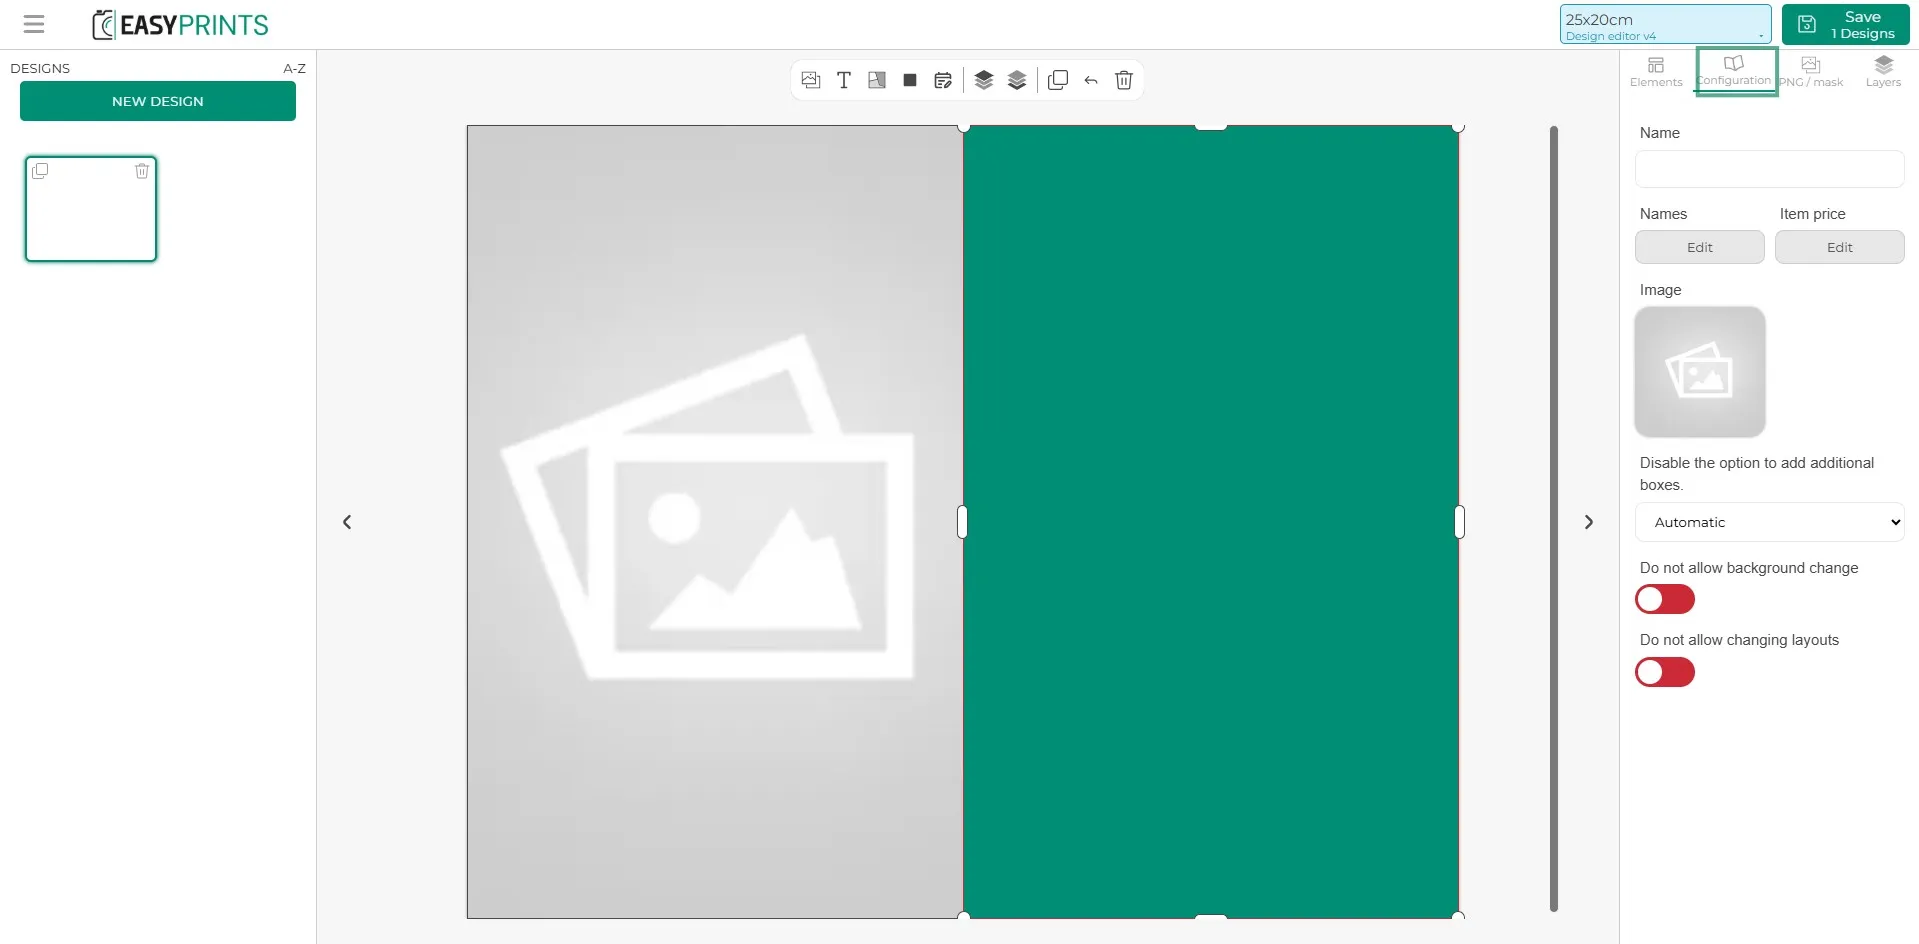
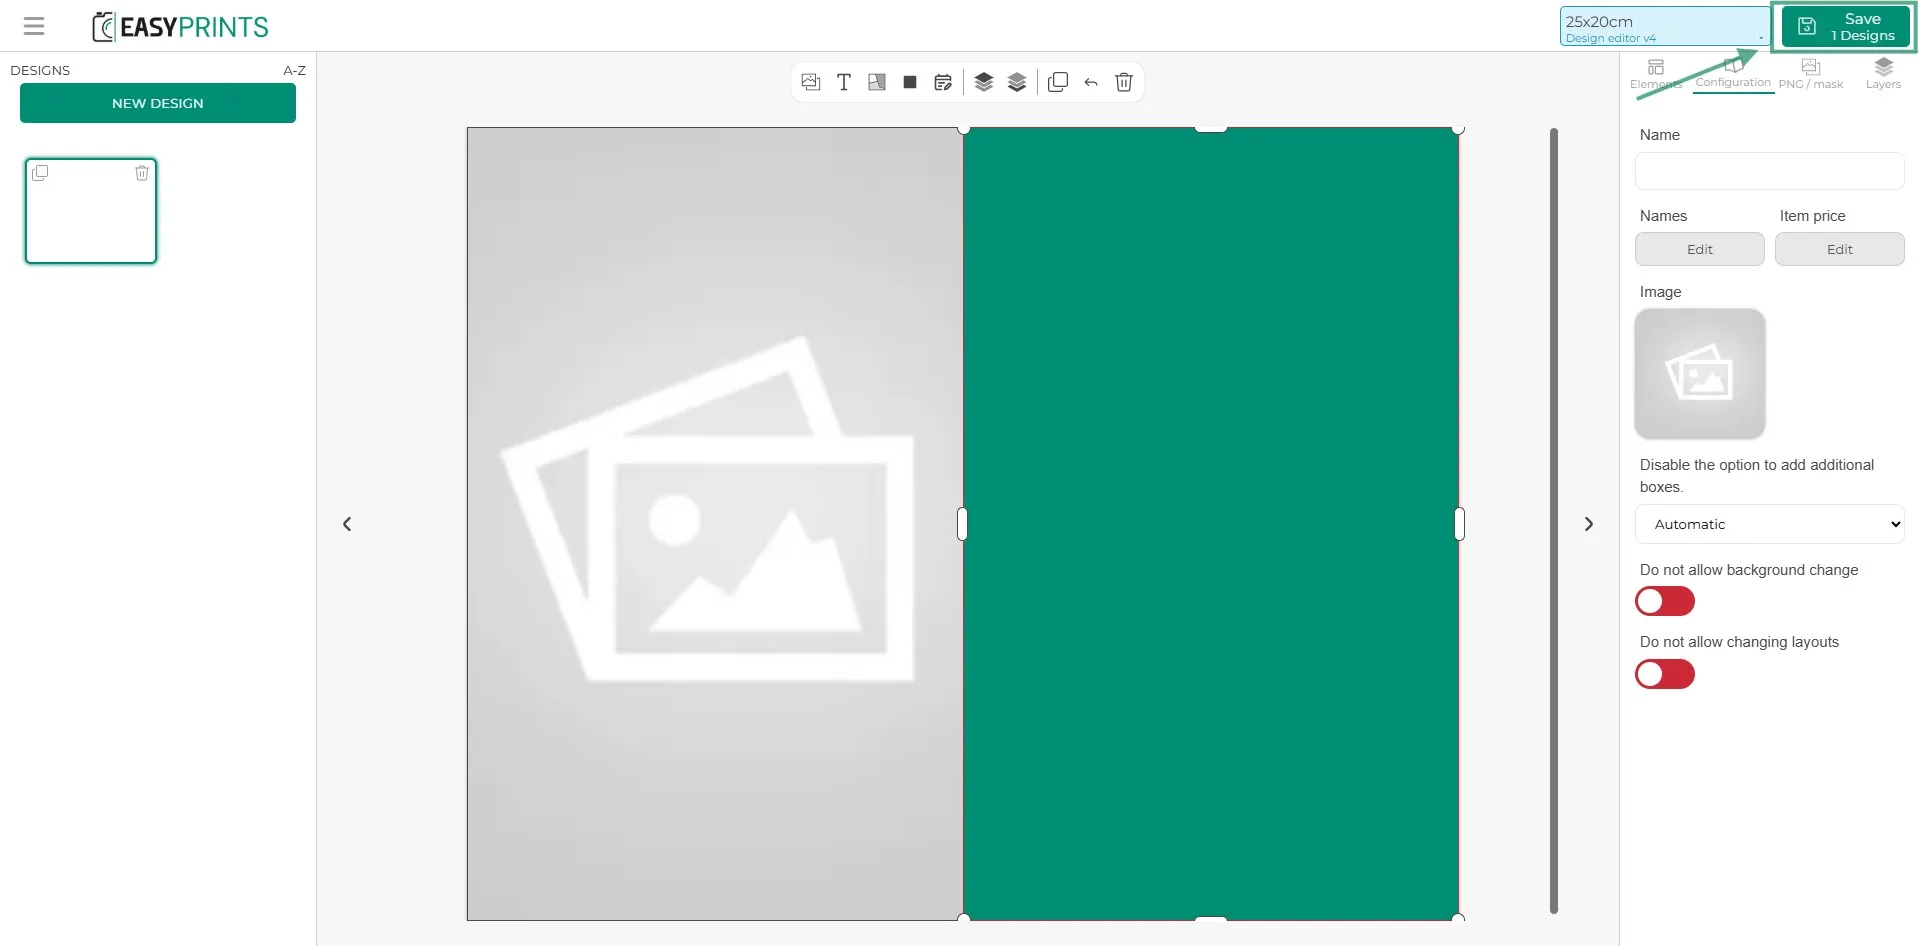
In the right column, within the ‘Configuration’ section, you must enter the design name, add a design image, and configure the option to add additional boxes (disabled by default).
Step 15
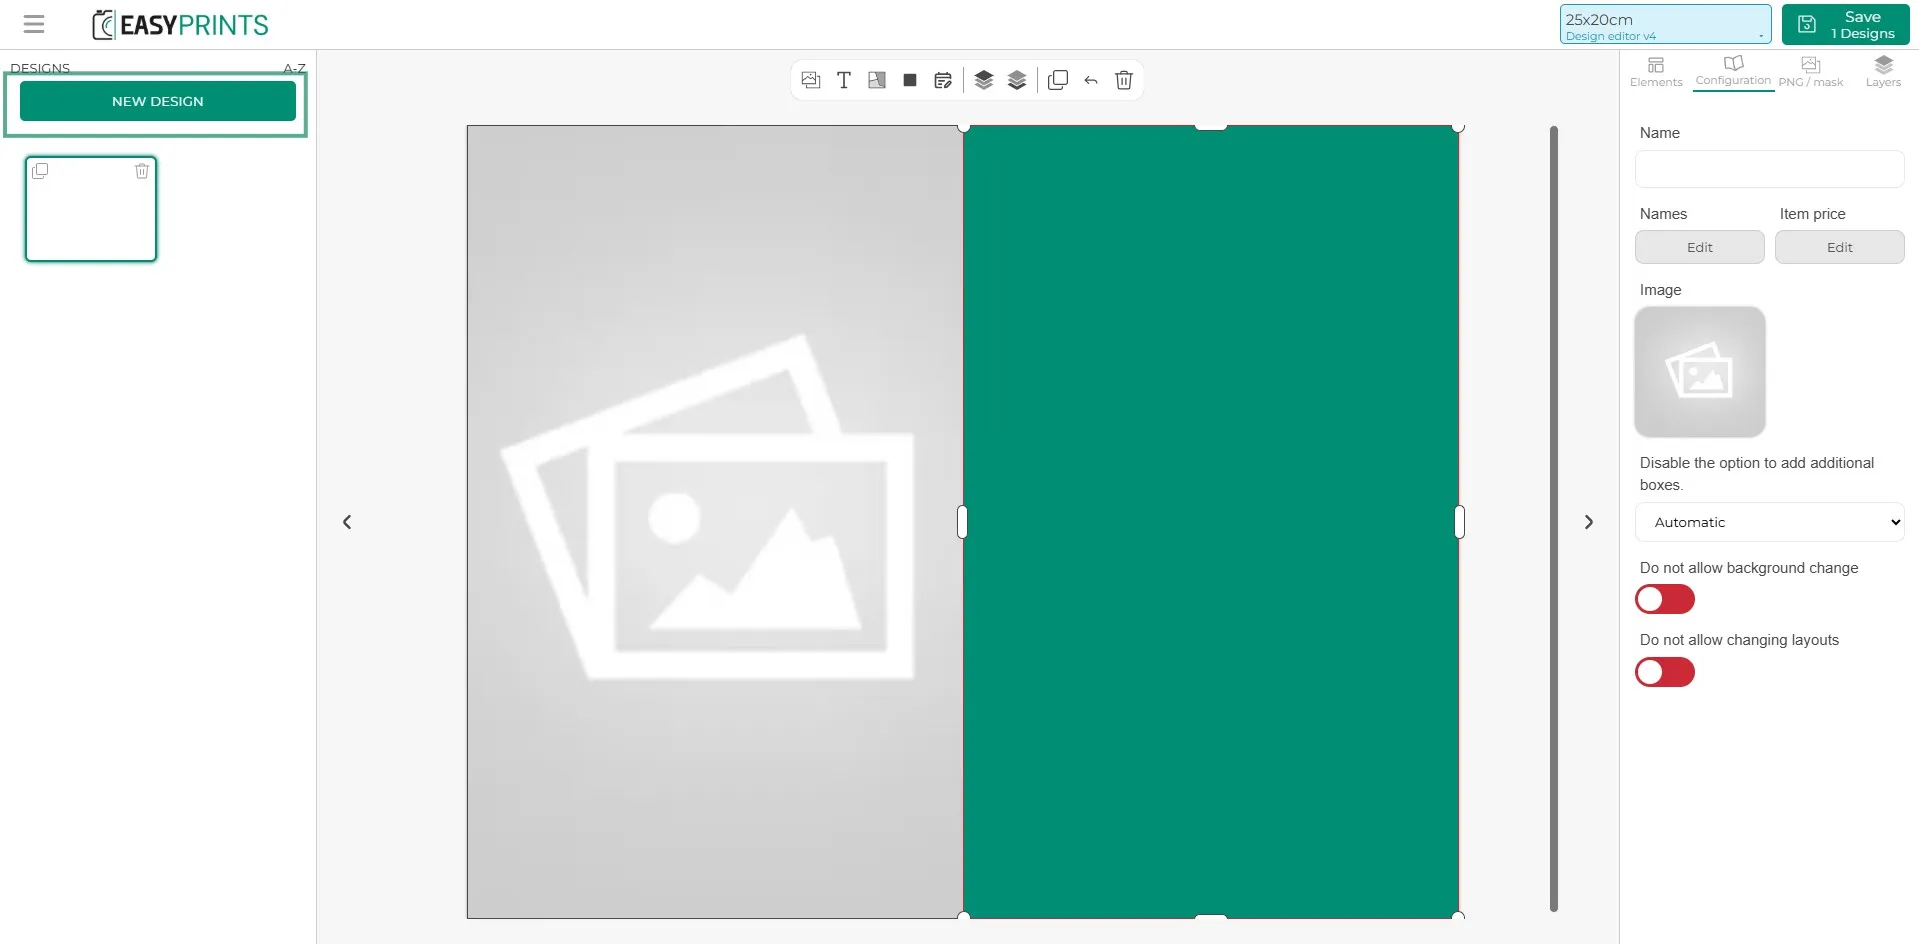
If you want to create more than one design for the product, click the green ‘New design’ button located in the top left of the screen.
Step 16
Once the designs are finished, click the ‘Save’ button located in the top right.
Step 17
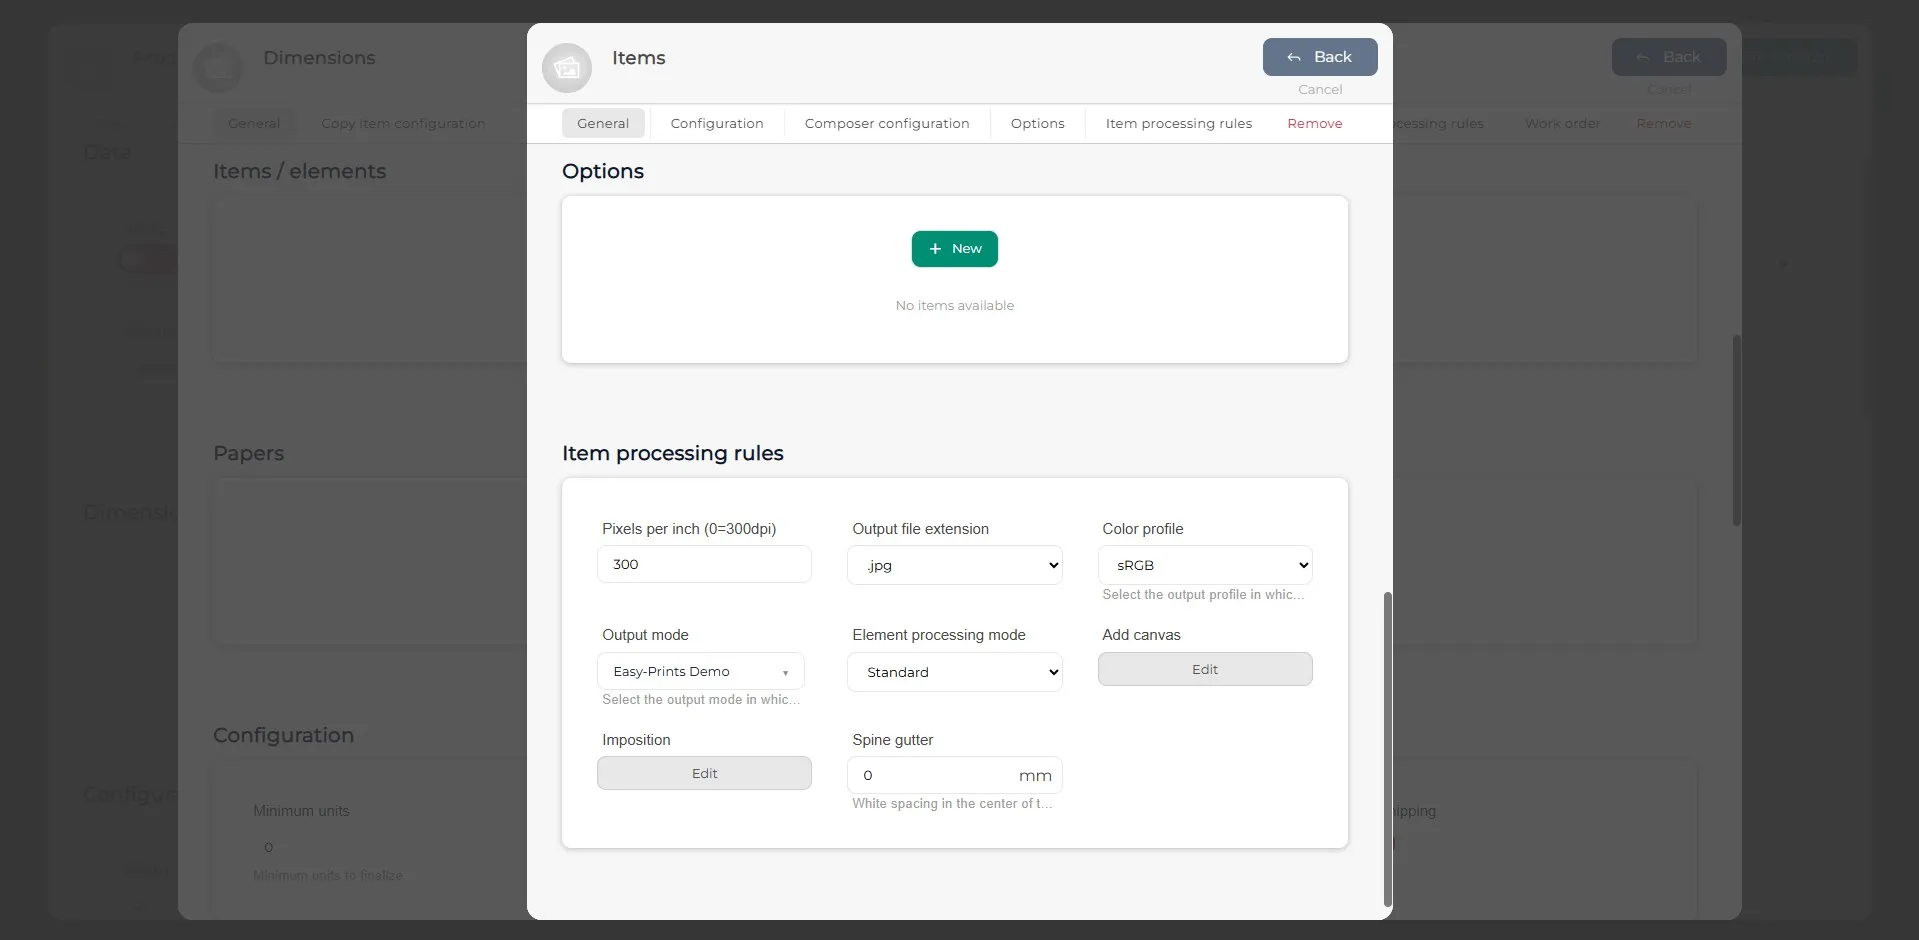
When saving the designs, you can add options to the item or elements (these options must be created beforehand) and complete the item processing rules. Once these fields are completed, click the grey “Back” button located in the top right corner.
Step 18
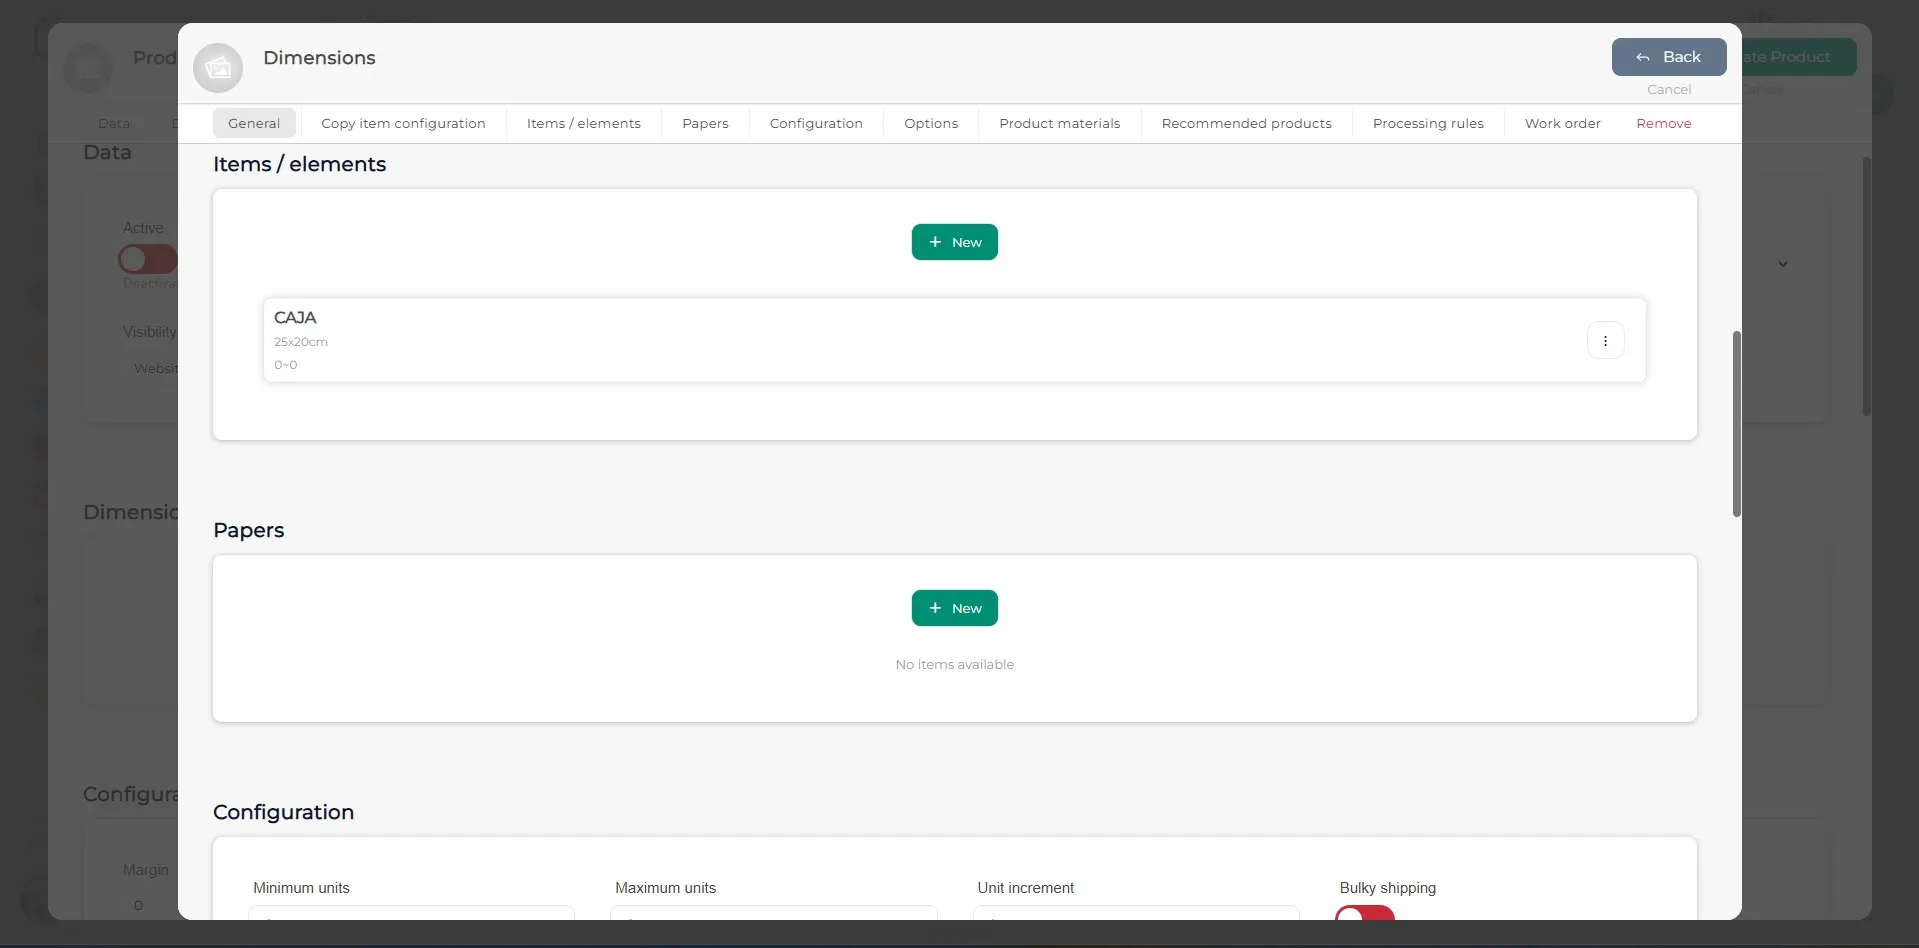
Add as many items or elements as needed. If you need to specify the paper type, add it in the paper section.
Step 19
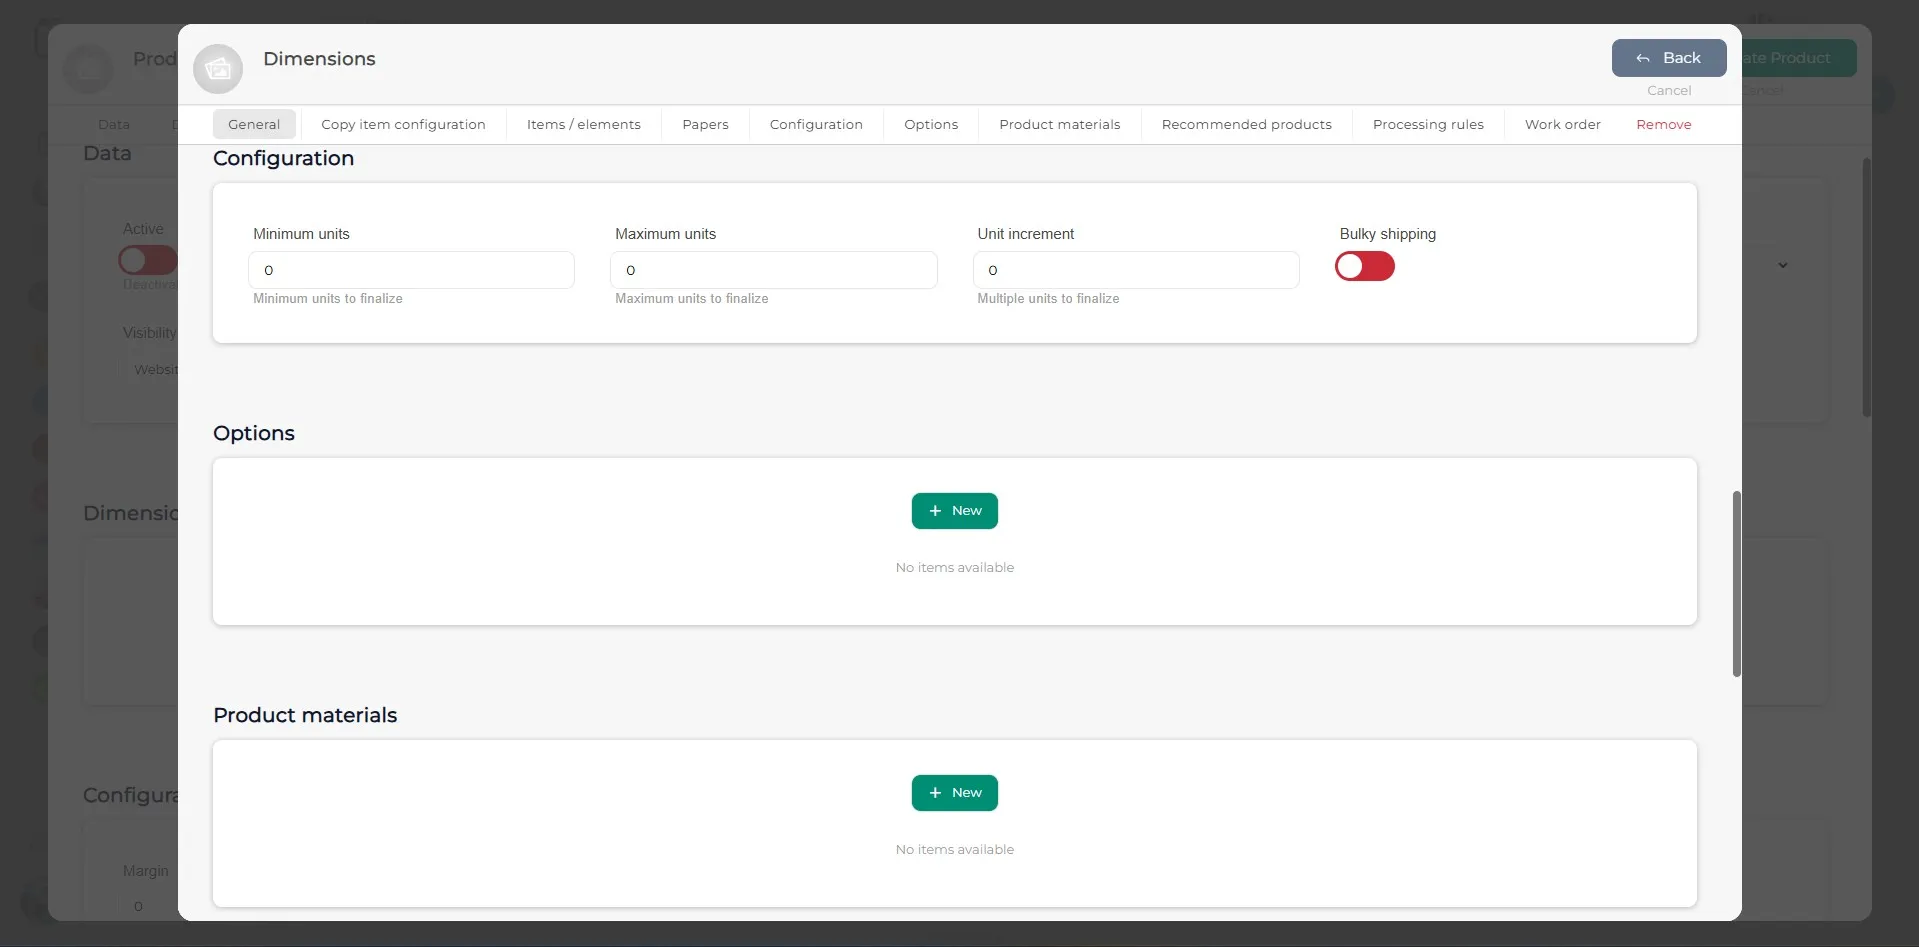
In the Configuration section, you must define the minimum and maximum units that the customer can select when placing an order. In the Options section, you can specify whether the product has any options. To add a new one, click the “+ New” button. In the Product Materials section, you define the materials that are part of the product and are shown to the customer, but cannot be selected or modified. For example, if the product includes a ribbon as a closure, the ribbon material will be displayed here.
Step 20
In the Recommended Products section, you can link other previously created products so they are displayed to the customer on the website. In the Processing Rules section, you must specify the following parameters: Pixels per inch (PPI), the output file extension (can be: .jpg, .pdf, .png, .png + .eps), the color profile (sRGB, RGB or Adobe RGB), and the output mode.
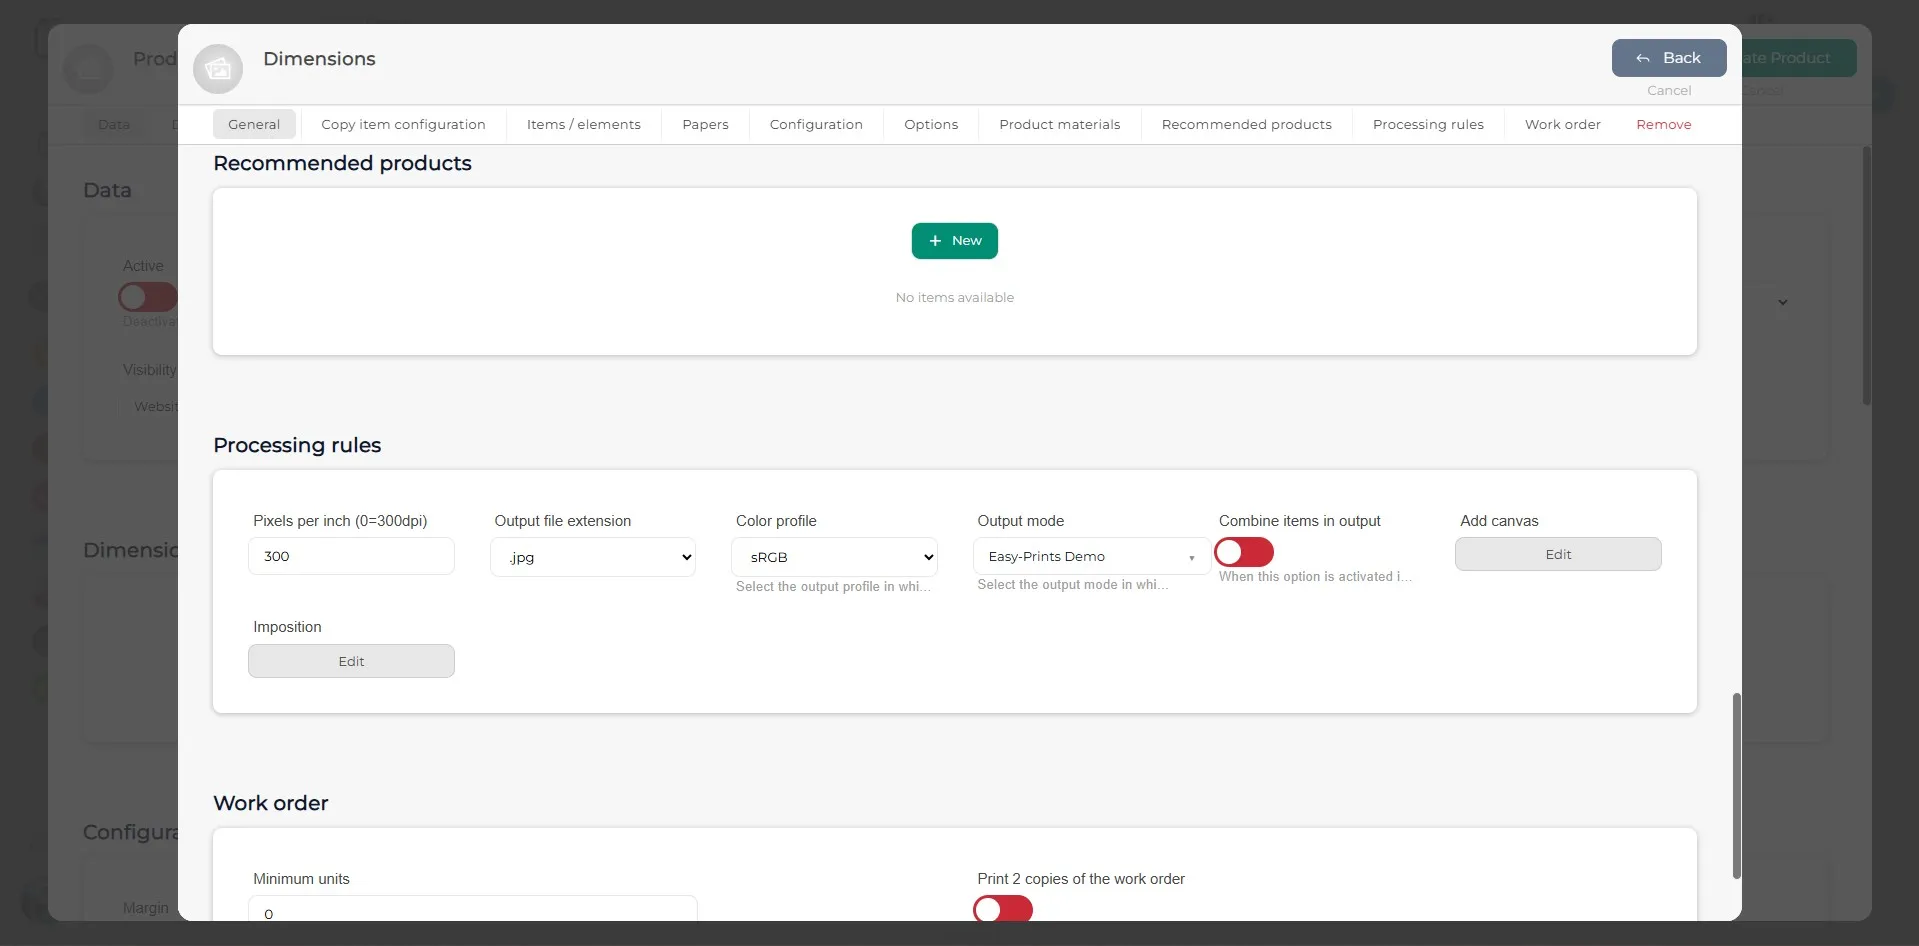
Step 21
Click on Back, located in the top right corner of the window.
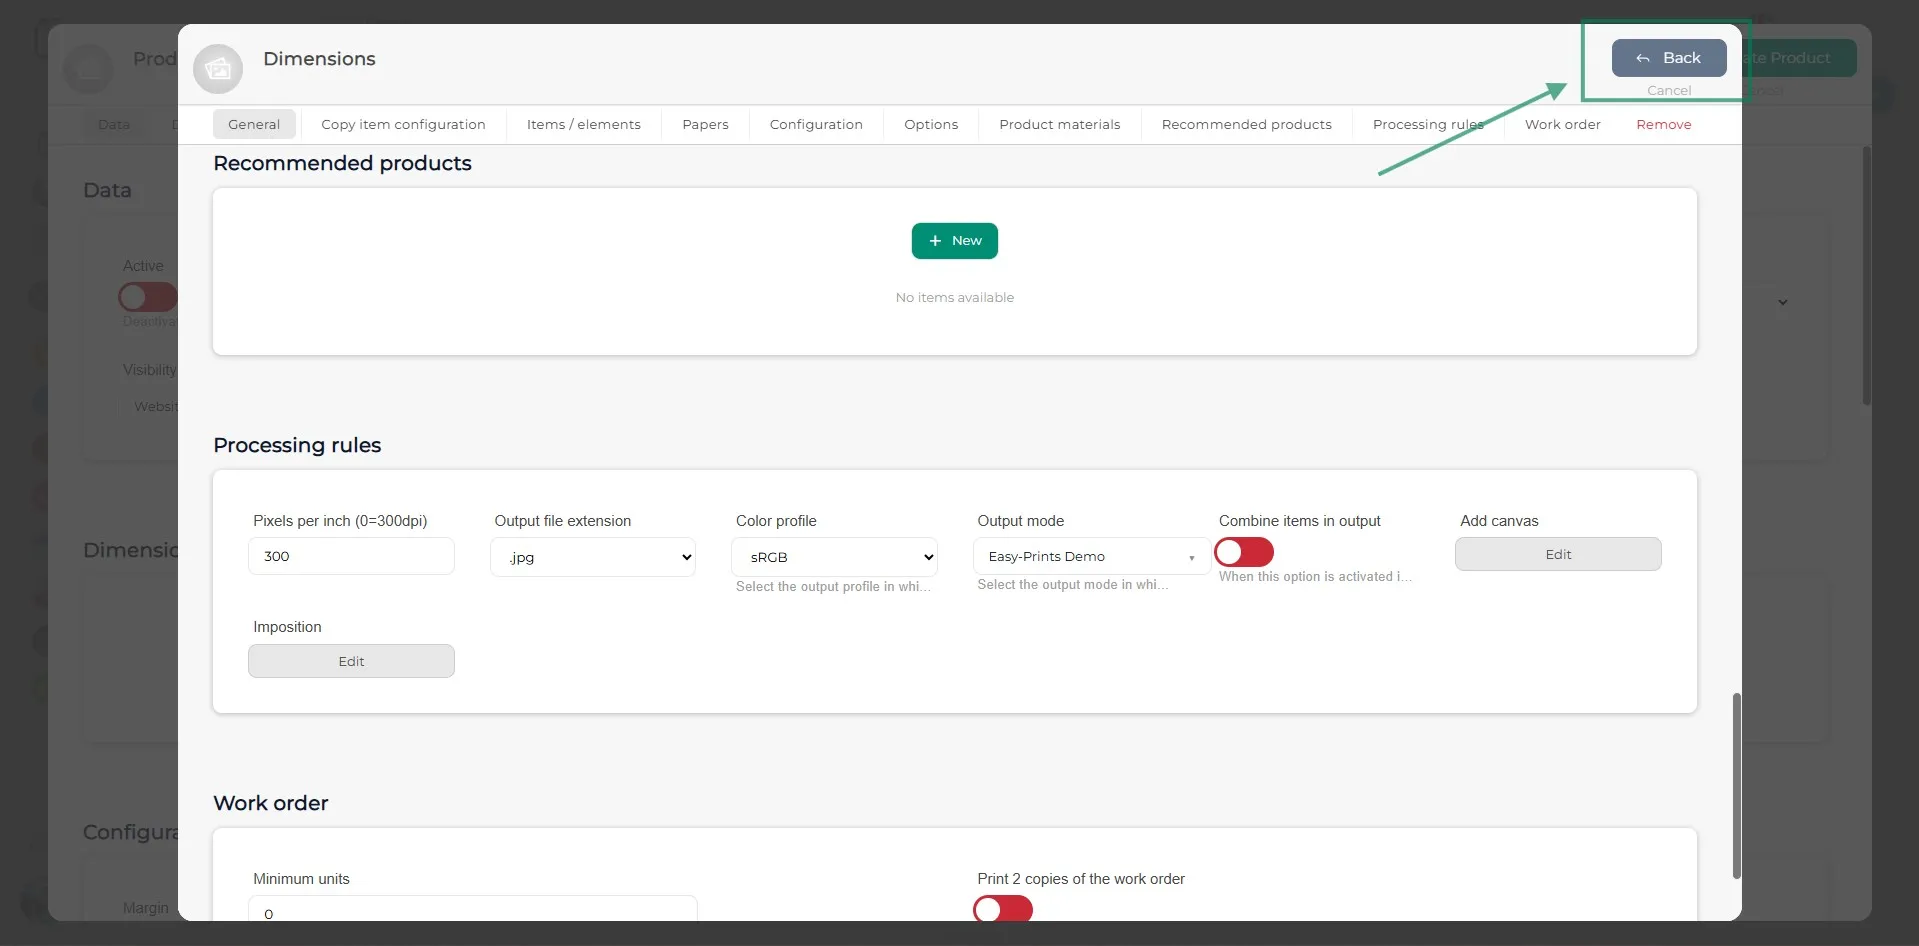
Step 22
You will return to the main product window. Here, you must add as many dimensions as needed. In the Configuration section, you can define the product’s safety margin, specify the production time (in working days), and set the minimum and maximum units. In the Images section, you must add product images by clicking on the grey box, which indicates the option to upload product images.
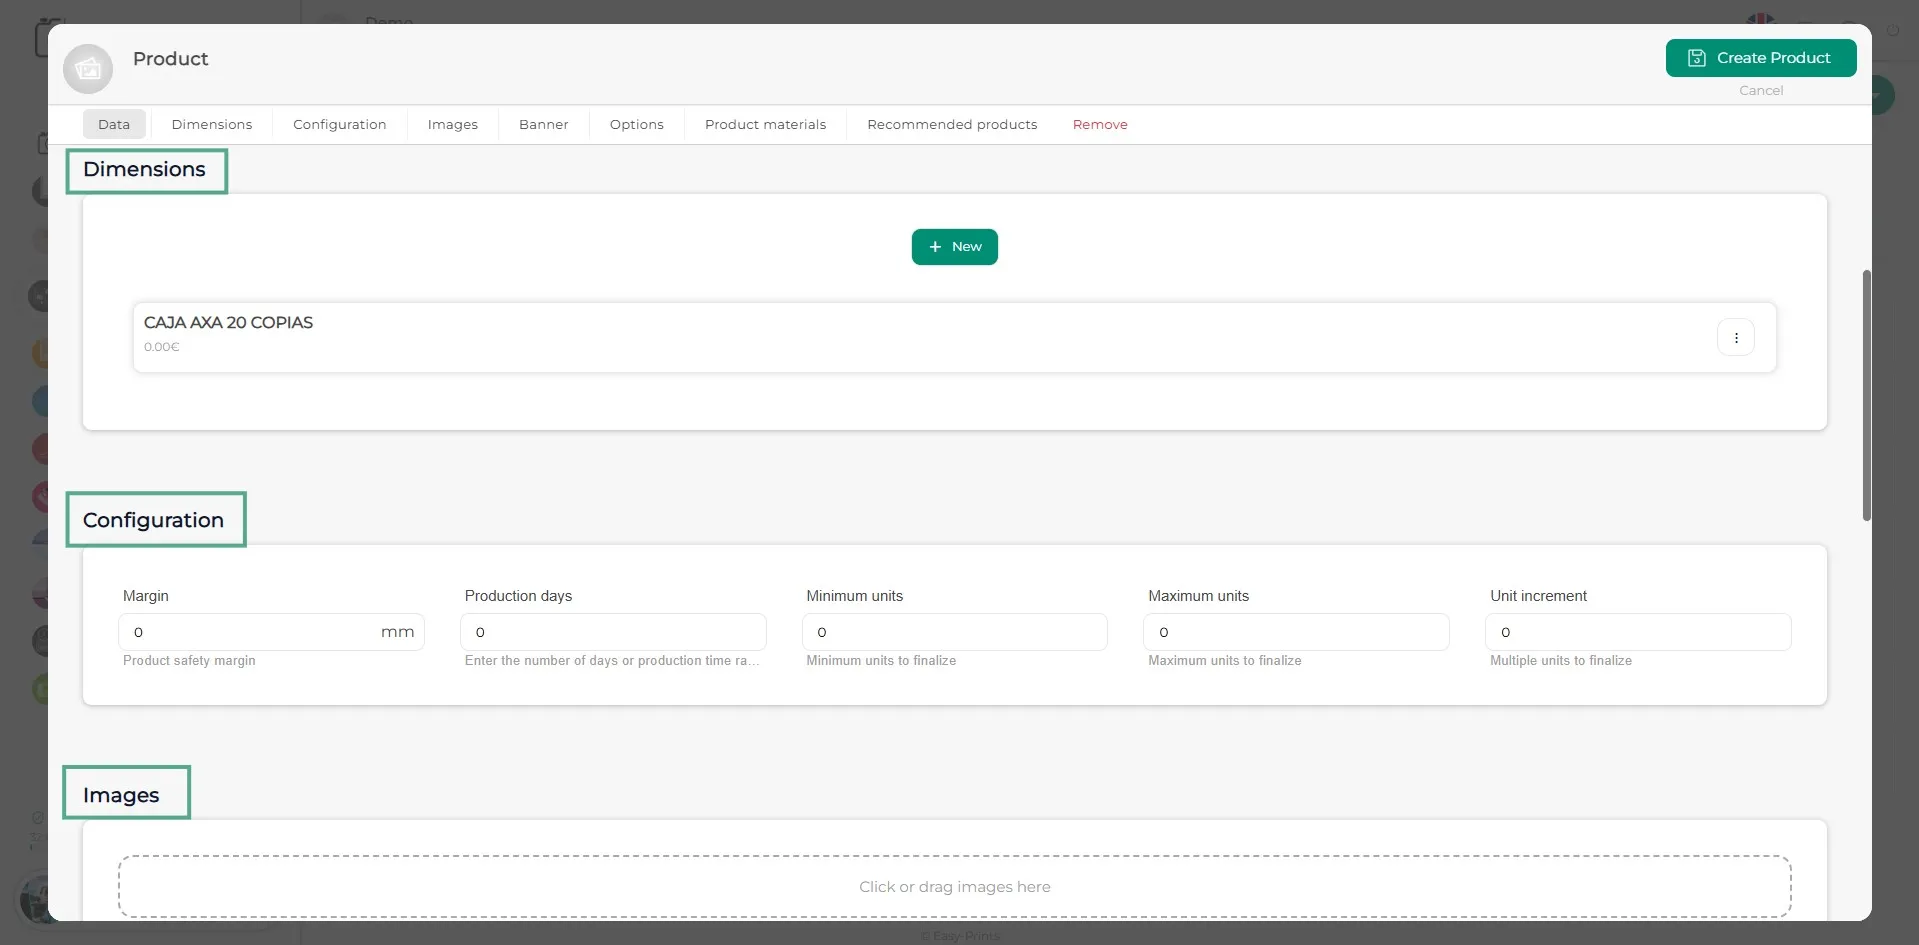
Step 23
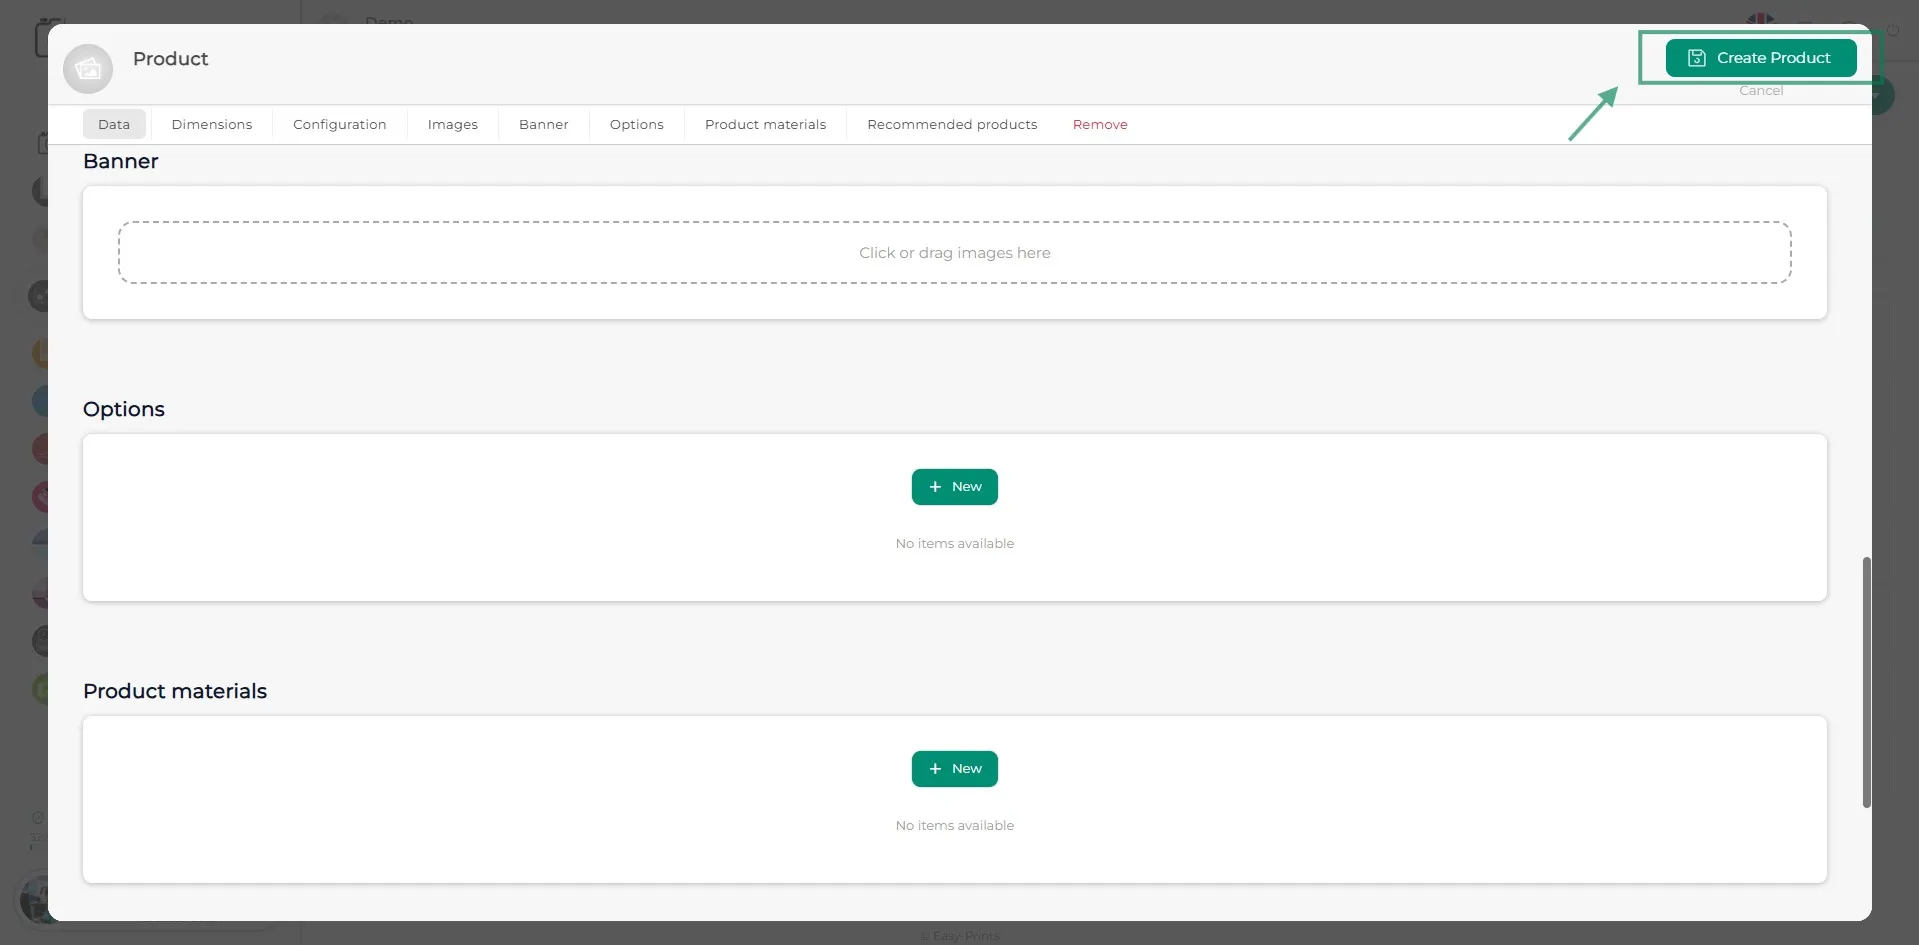
In the Banner section, images can be added in the same way as in the Images section, if desired. In the Options and Product Materials sections, these elements must be added following the same steps described previously.
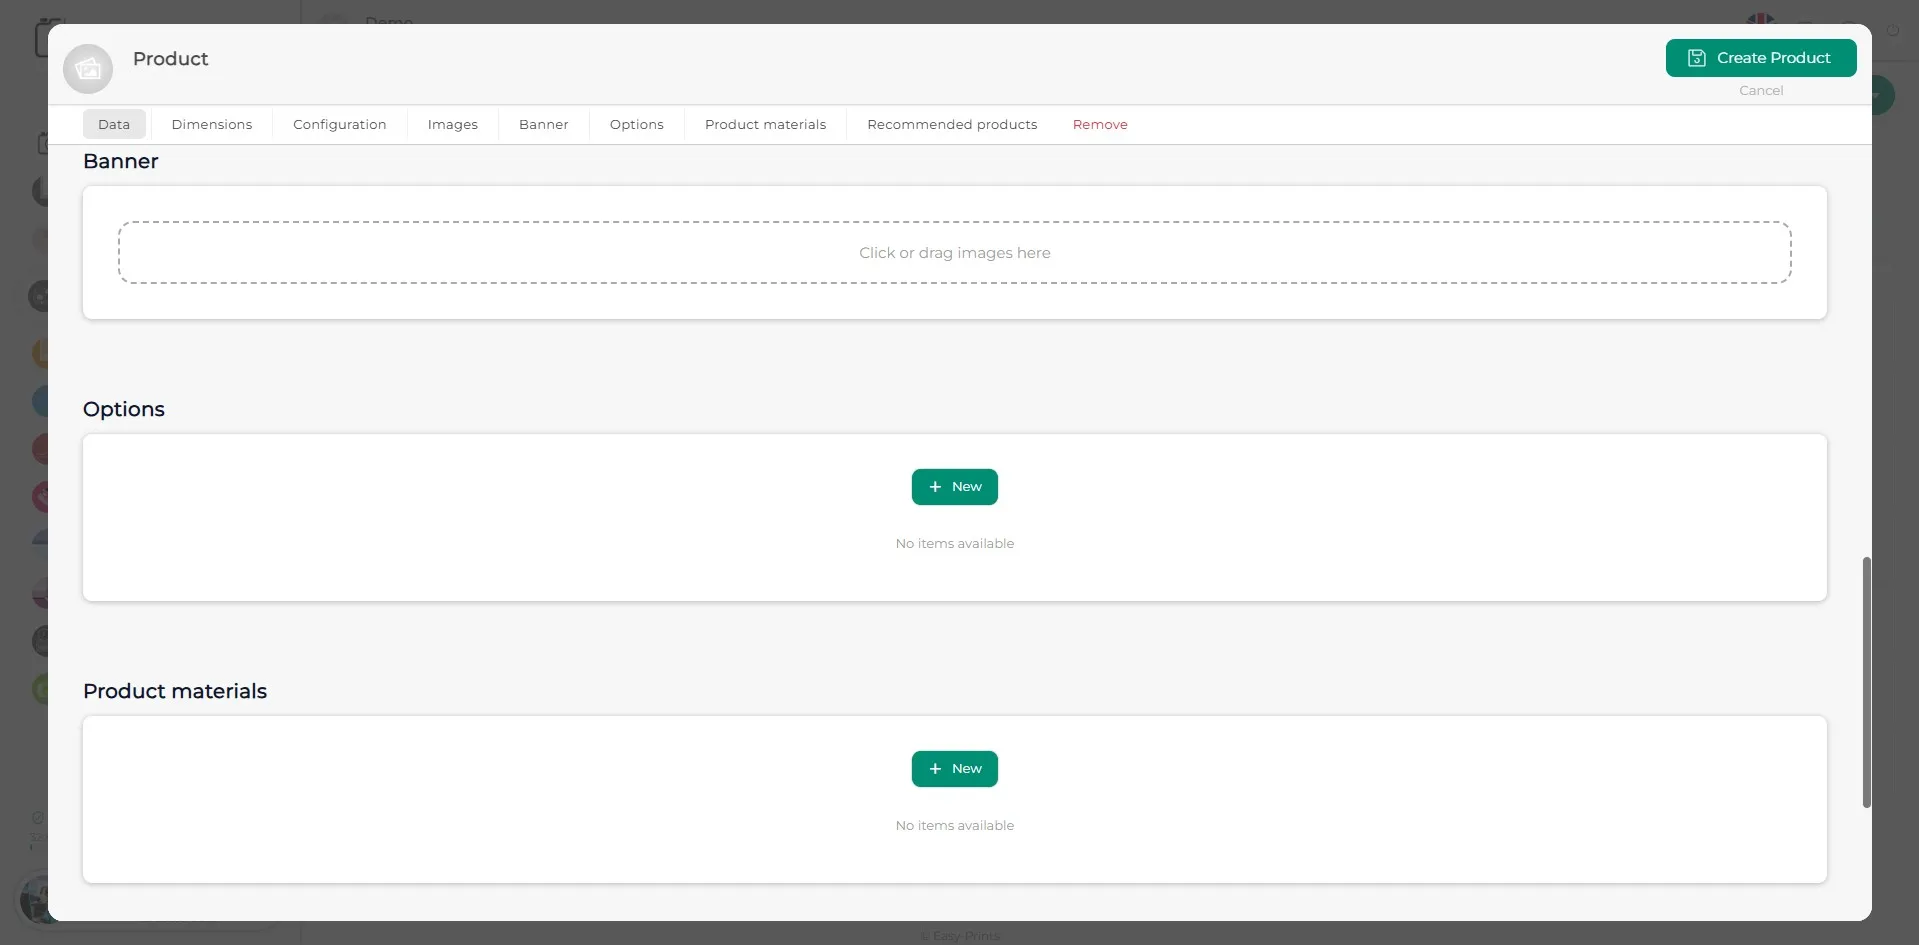
Step 24
Once all fields have been completed, click the green Create product button located in the top right corner.
Go back to the Help Center or contact Easy-Prints.
← Back to Help Center