
How to send a job from one store to another.
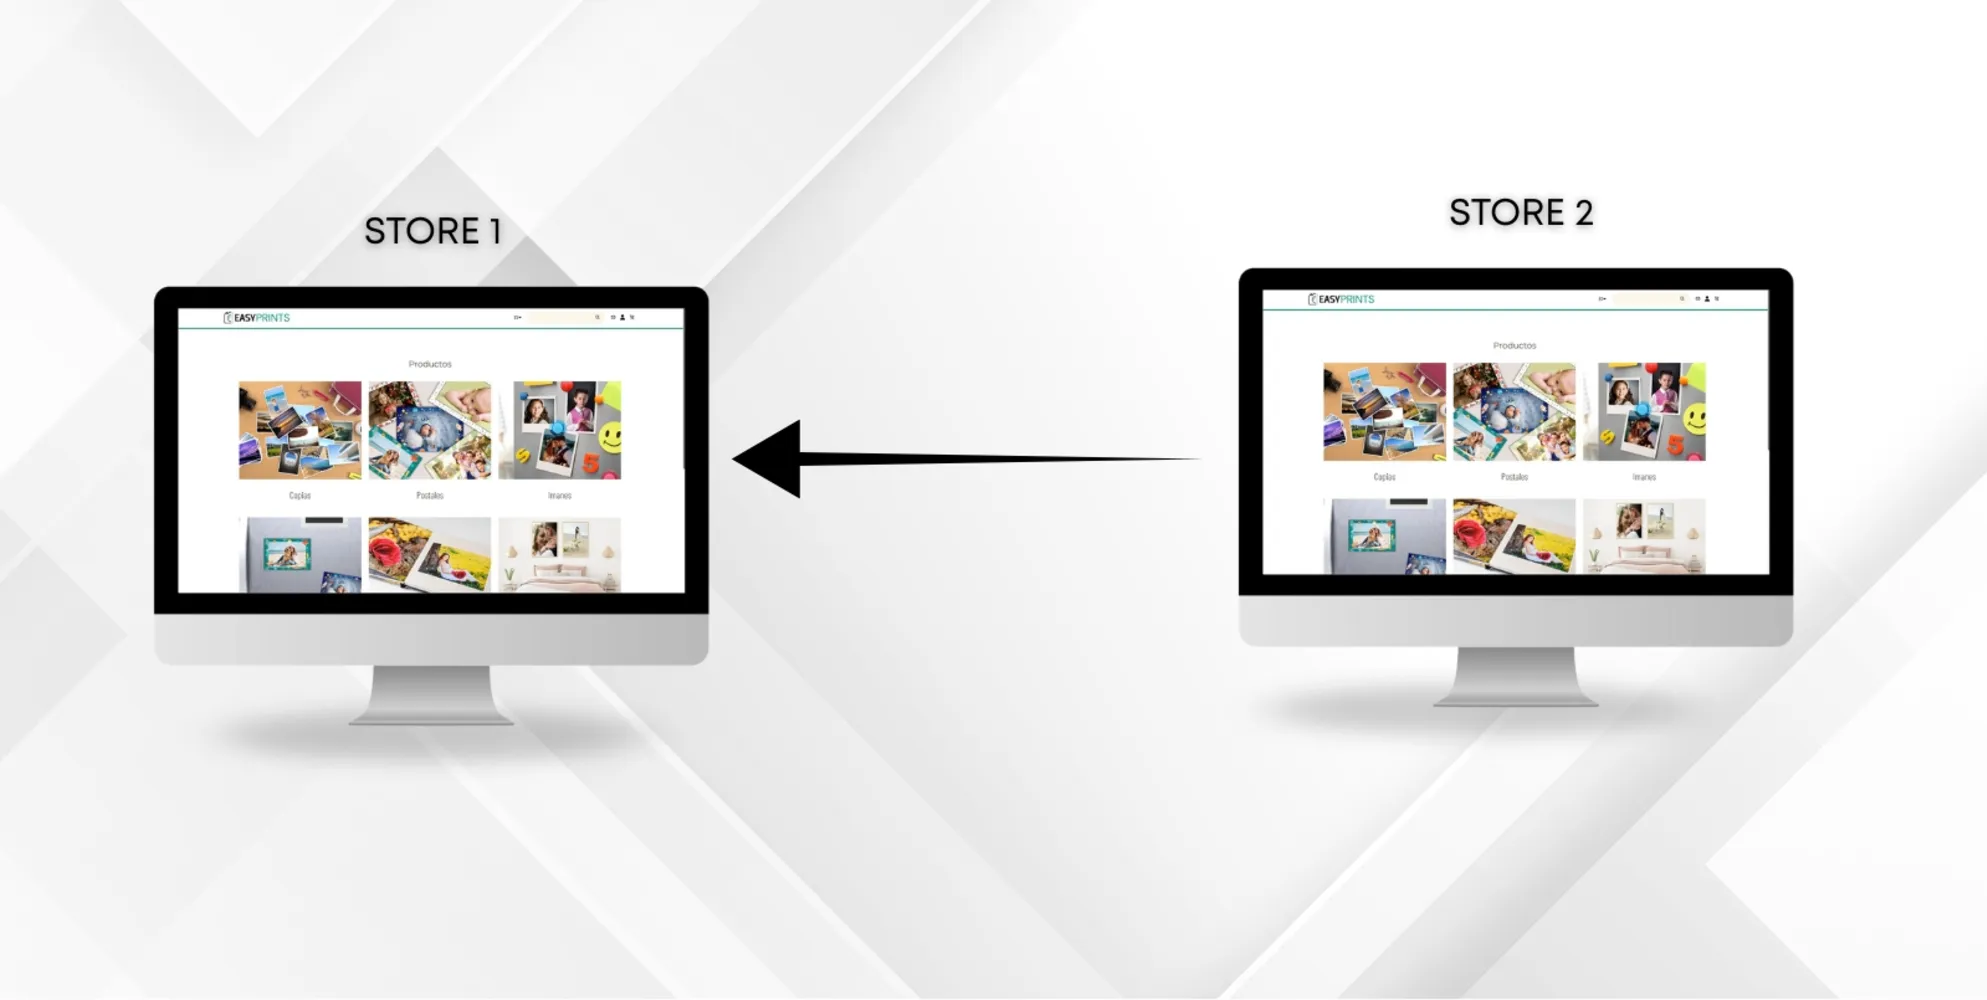
To transfer a job from one store to another, the first step is to create the necessary stores. To add new stores, go to the Management section of the Admin…
Step 1
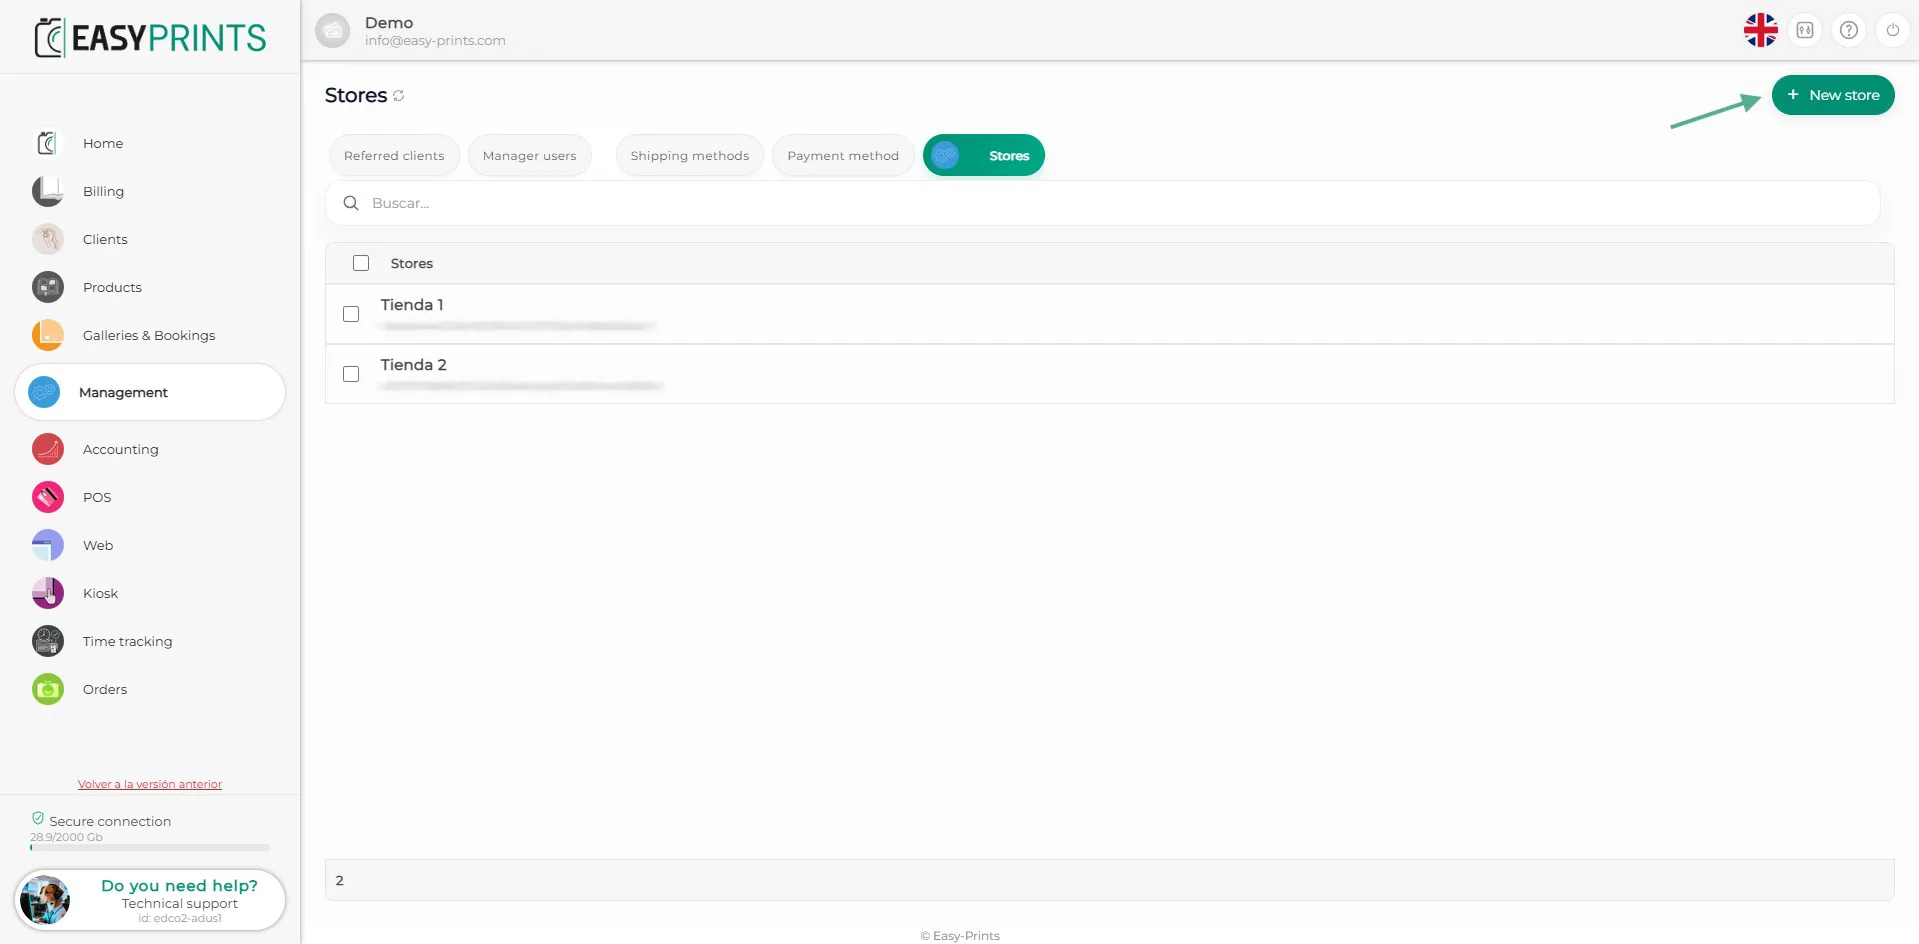
To transfer a job from one store to another, the first step is to create the necessary stores. To add new stores, go to the Management section of the Administration Panel and select Stores. Once in this section, click the green “Add” button located at the top right of the screen, as shown in the image.
Step 2
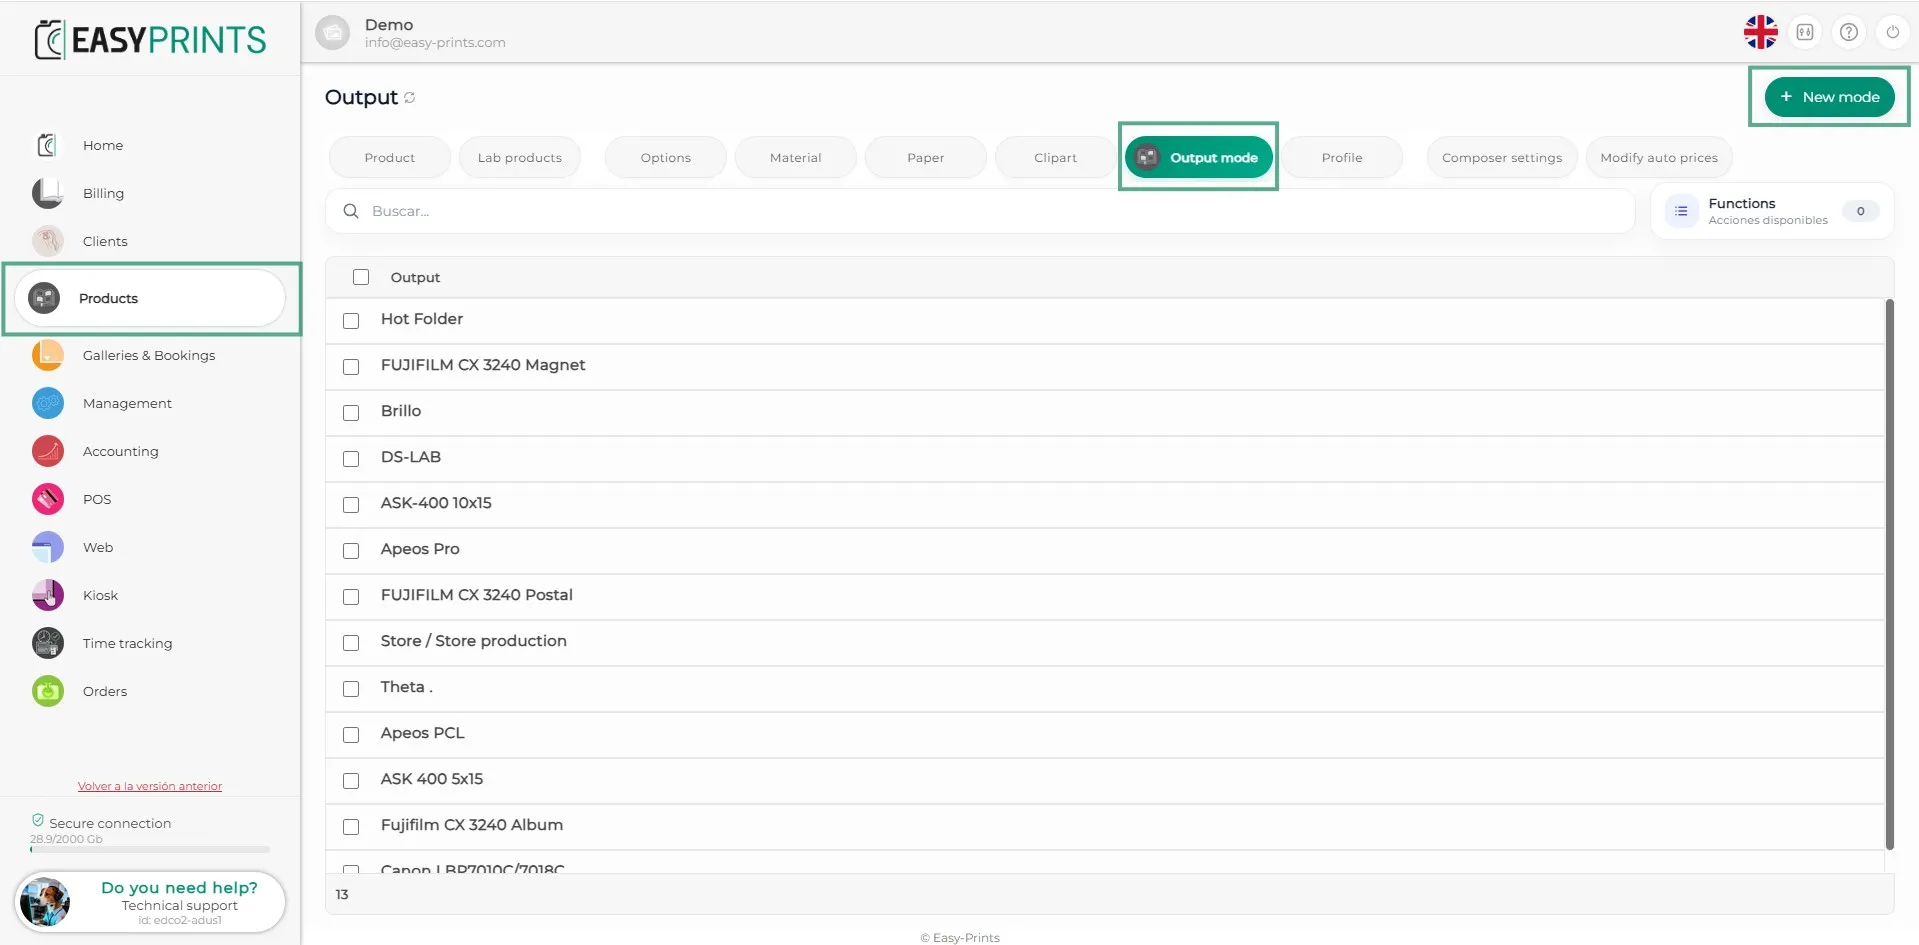
Next, go to the Products section, also located in the Administration Panel, and open the Output Mode subcategory. In this section, you must add a new output mode.
Step 3
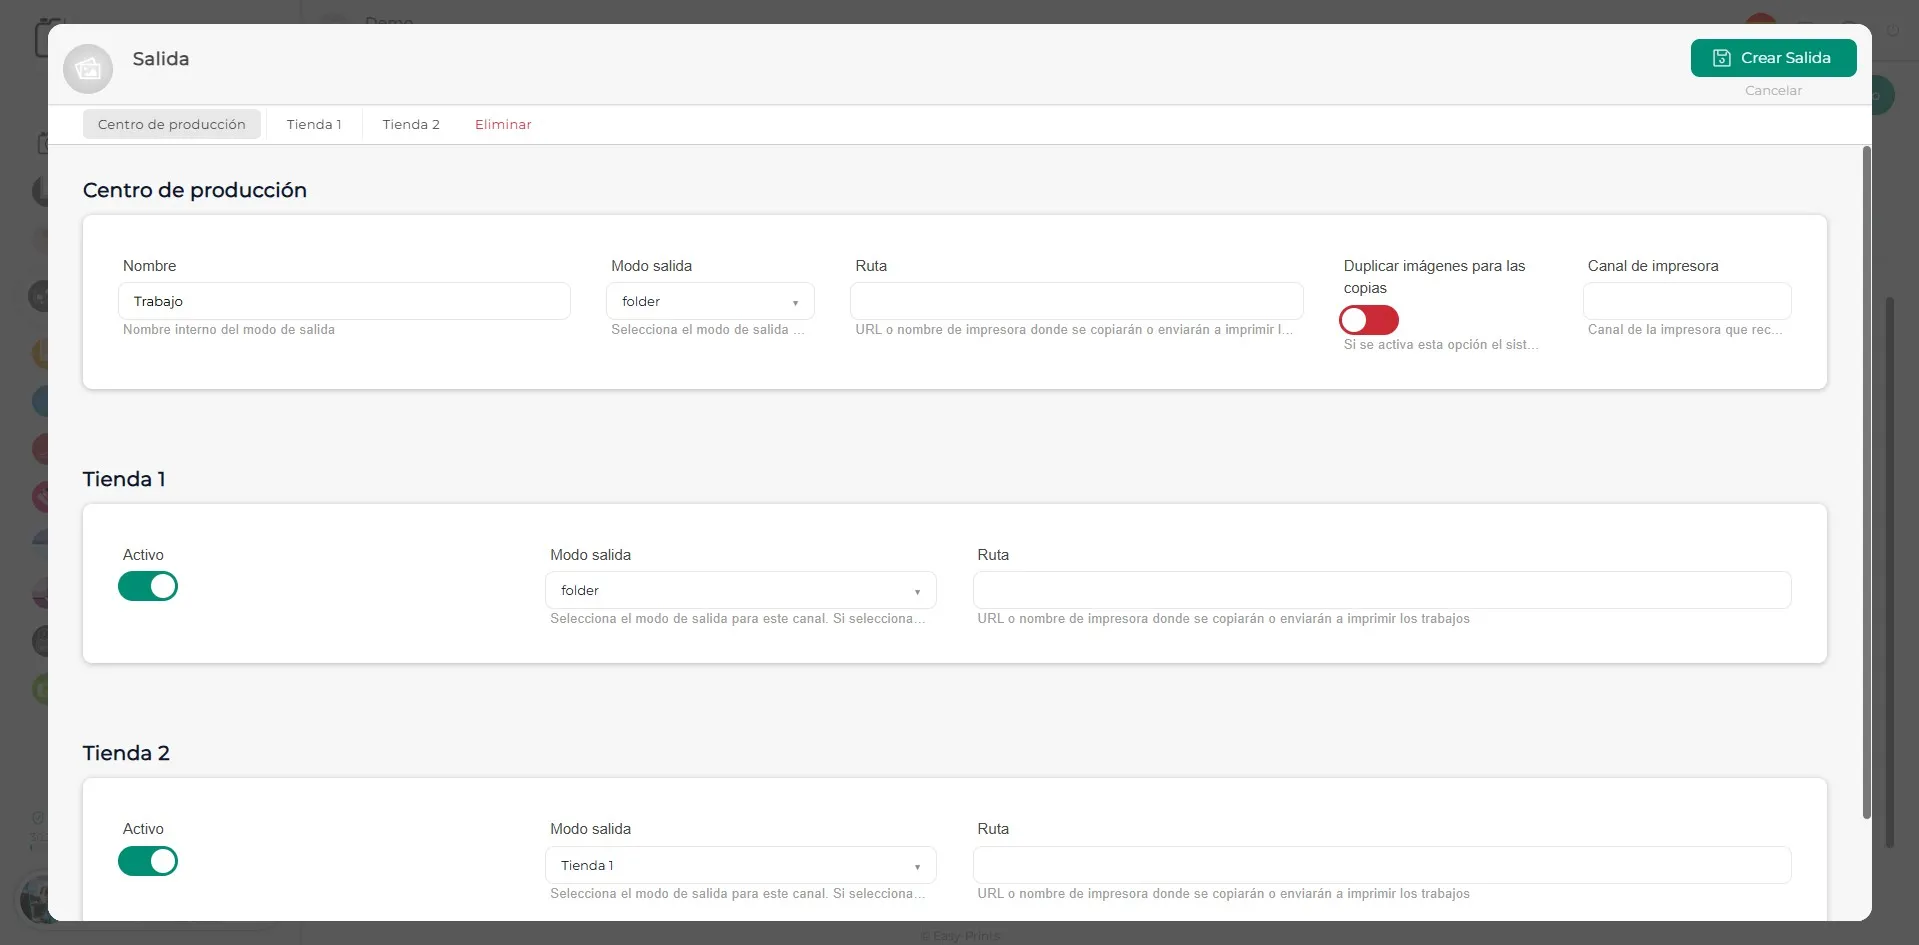
In the new output mode, you must assign a name (remember this name, as it will be used later). At the bottom of the screen, you will see the available stores; make sure to activate those you need or wish to use. In the dropdown corresponding to the store that receives the work orders, select the output mode “Folder”. Next to this option, you will find the Path field, where you must indicate the folder path where the jobs will be saved, as shown in the image. You can place this folder wherever you prefer. Finally, in the dropdown for the sending store, select the destination store to which the jobs will be sent. You can perform this process with as many stores as needed. In the example image, two stores are shown, but you can configure it with more than two; for instance, four stores sending jobs to store 1. The image shows how the final configuration should look.
Step 4
Once all these fields have been completed, you must save the changes made. The Save button is located at the top right of the screen and is green.
Step 5
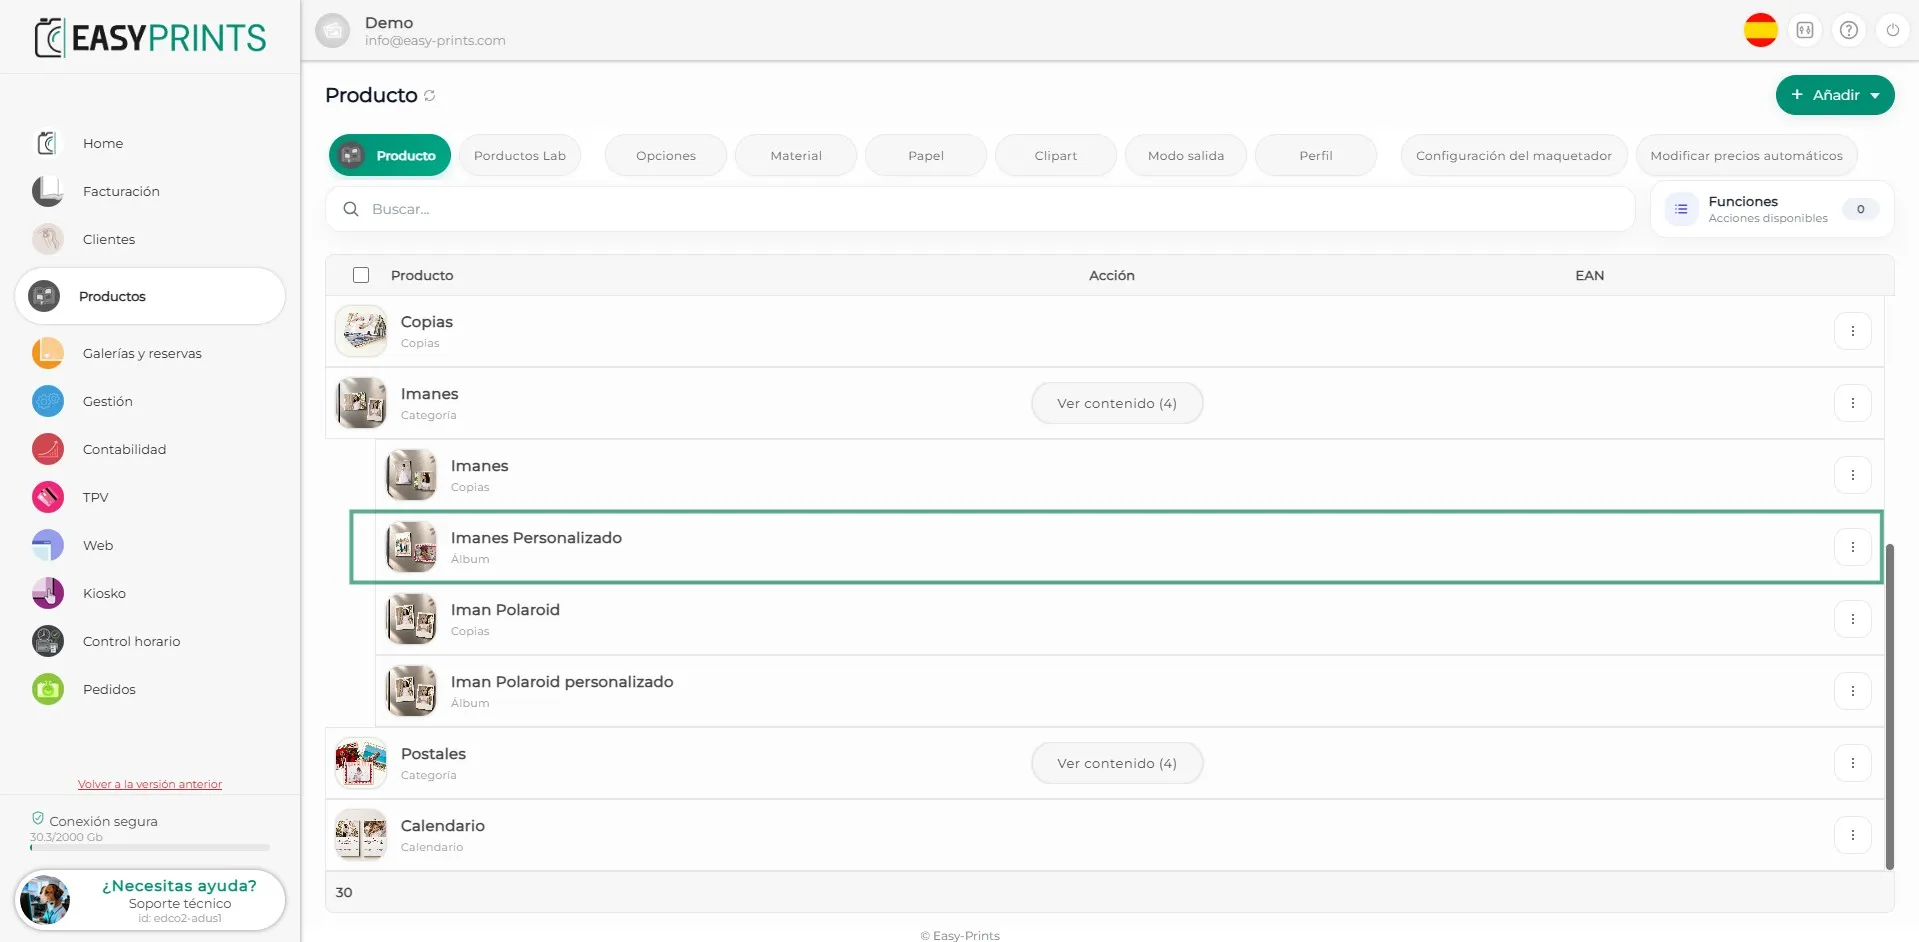
The next step is to access the Products section in the Administration Panel. Within this section, select Products again and choose the product you want to send to one of the stores. In this example, we will use the product “Postcards with magnet”. To edit the product, click on the three lines located on the right side of the screen. The image clearly shows where this option is located.
Step 6
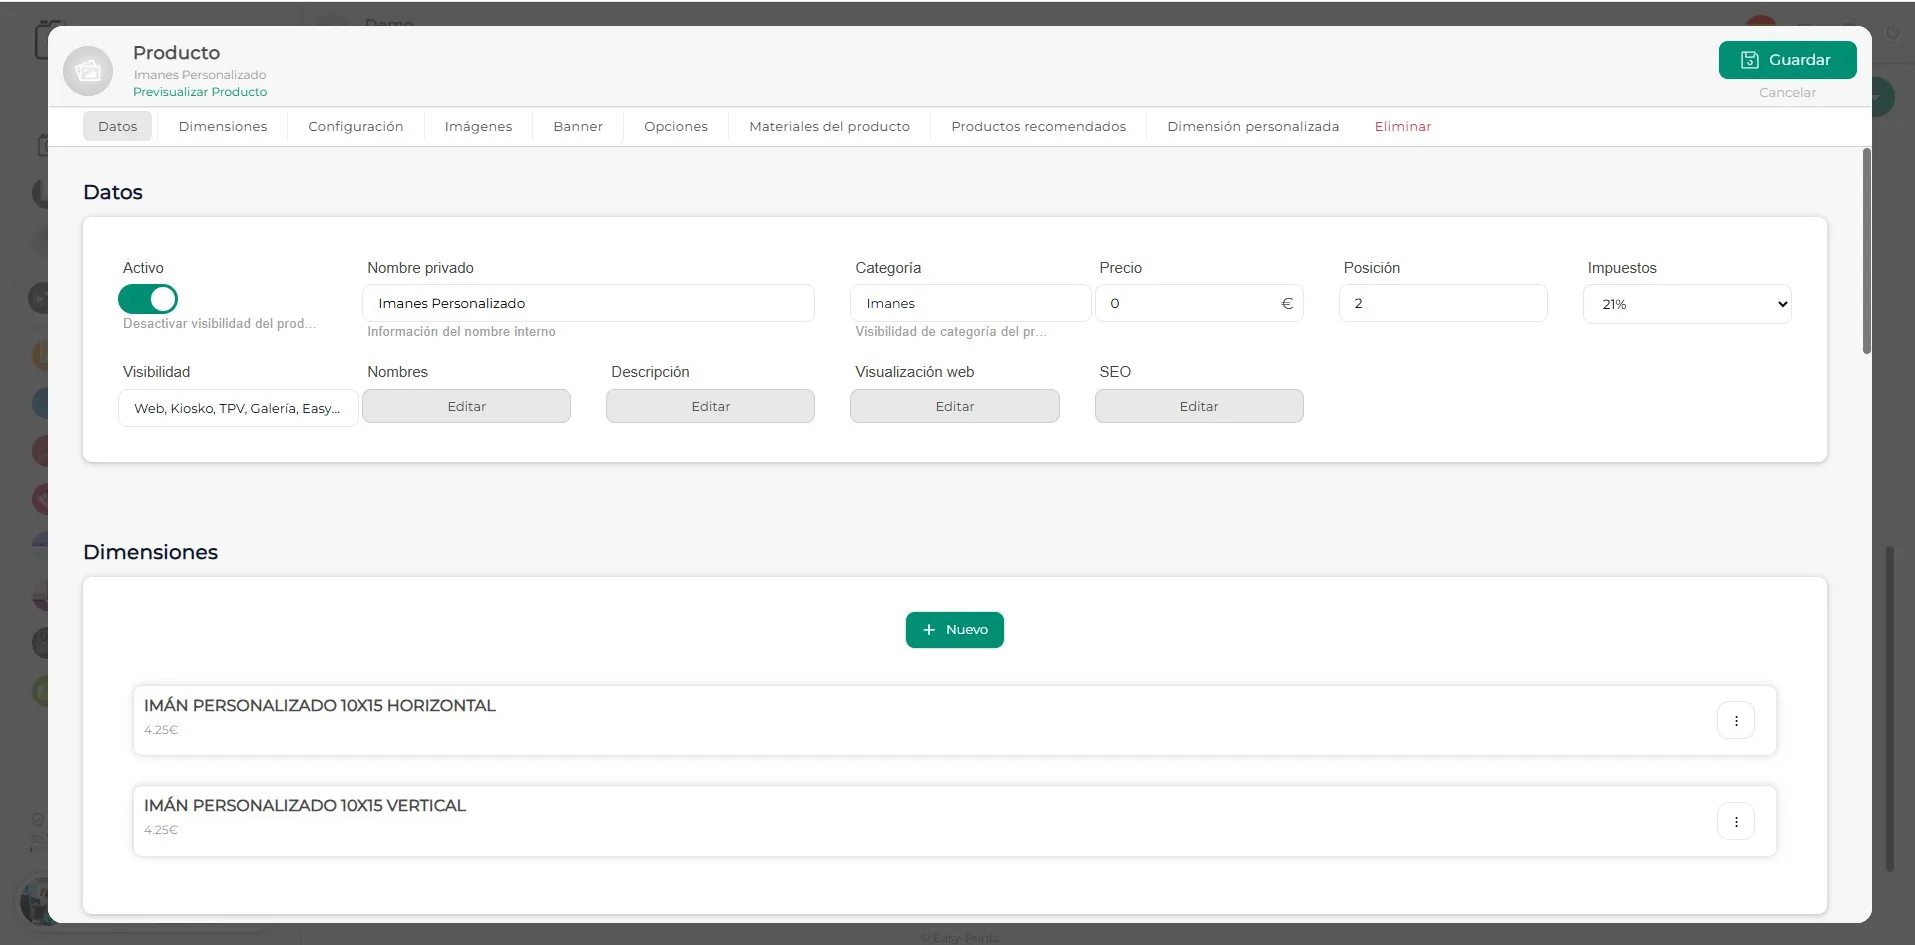
In the new window, go to the Dimensions section. You must edit the different sizes to modify the output mode. To edit each size, click on the three lines located on the right side of the screen.
Step 7
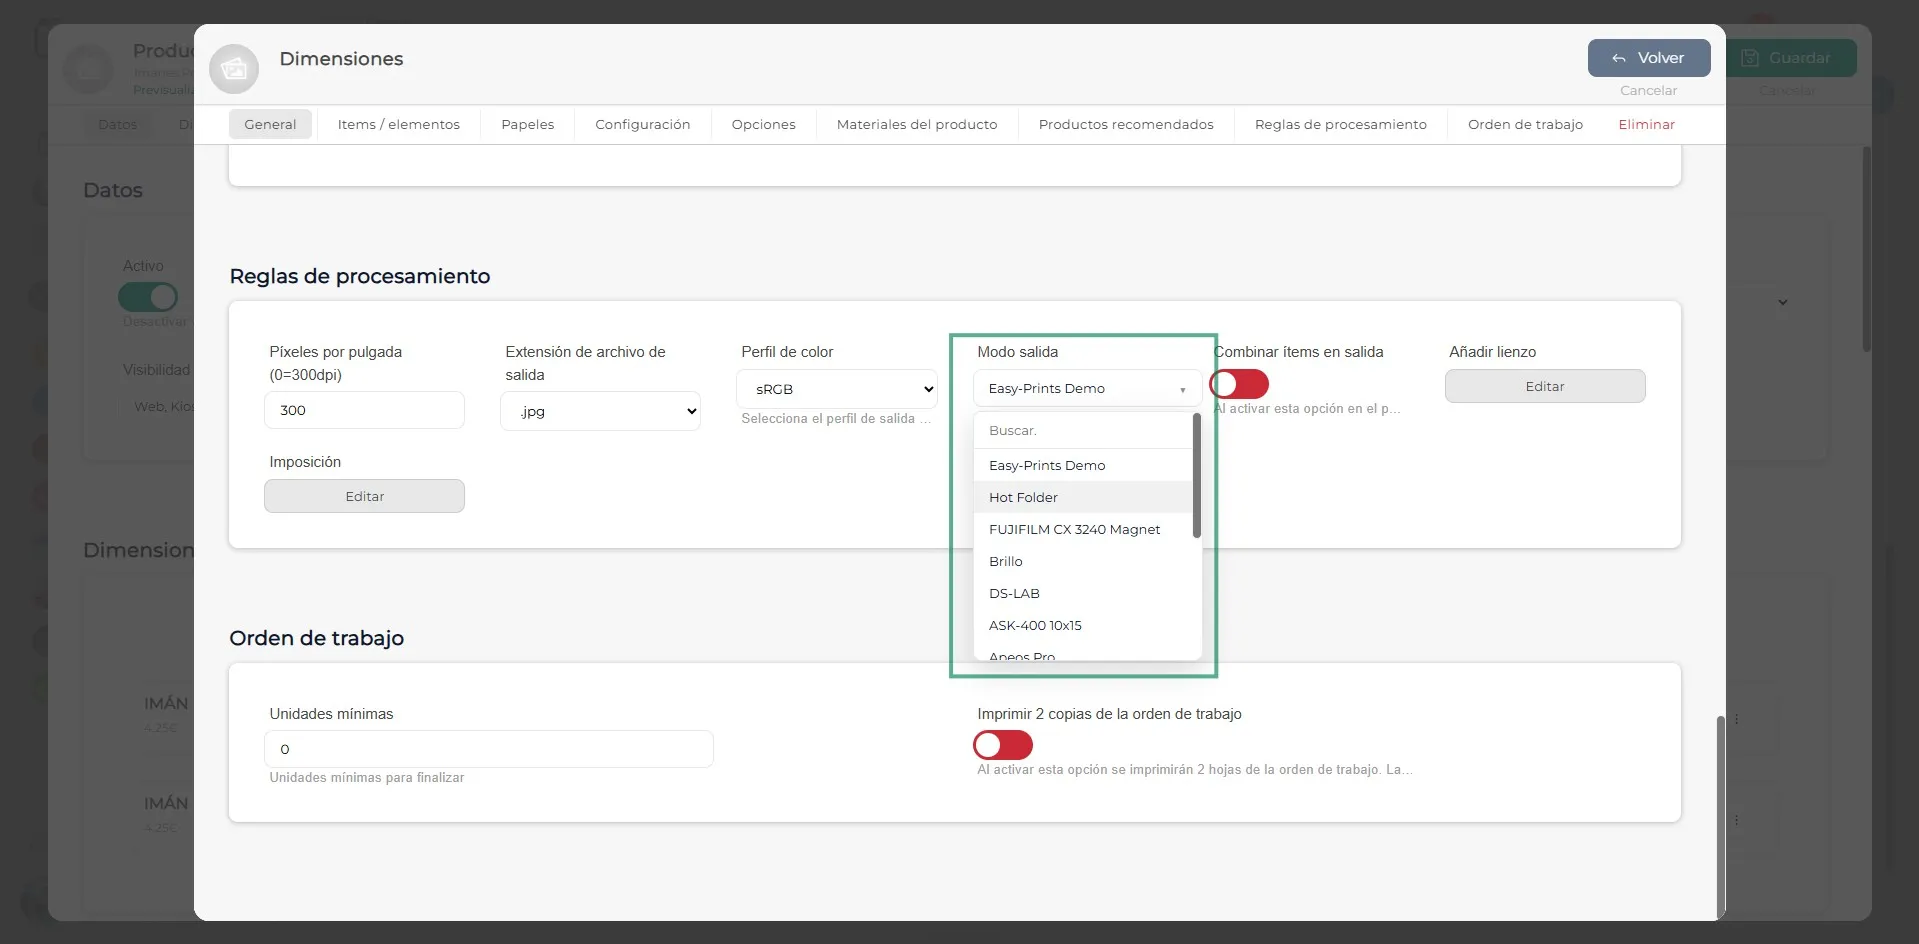
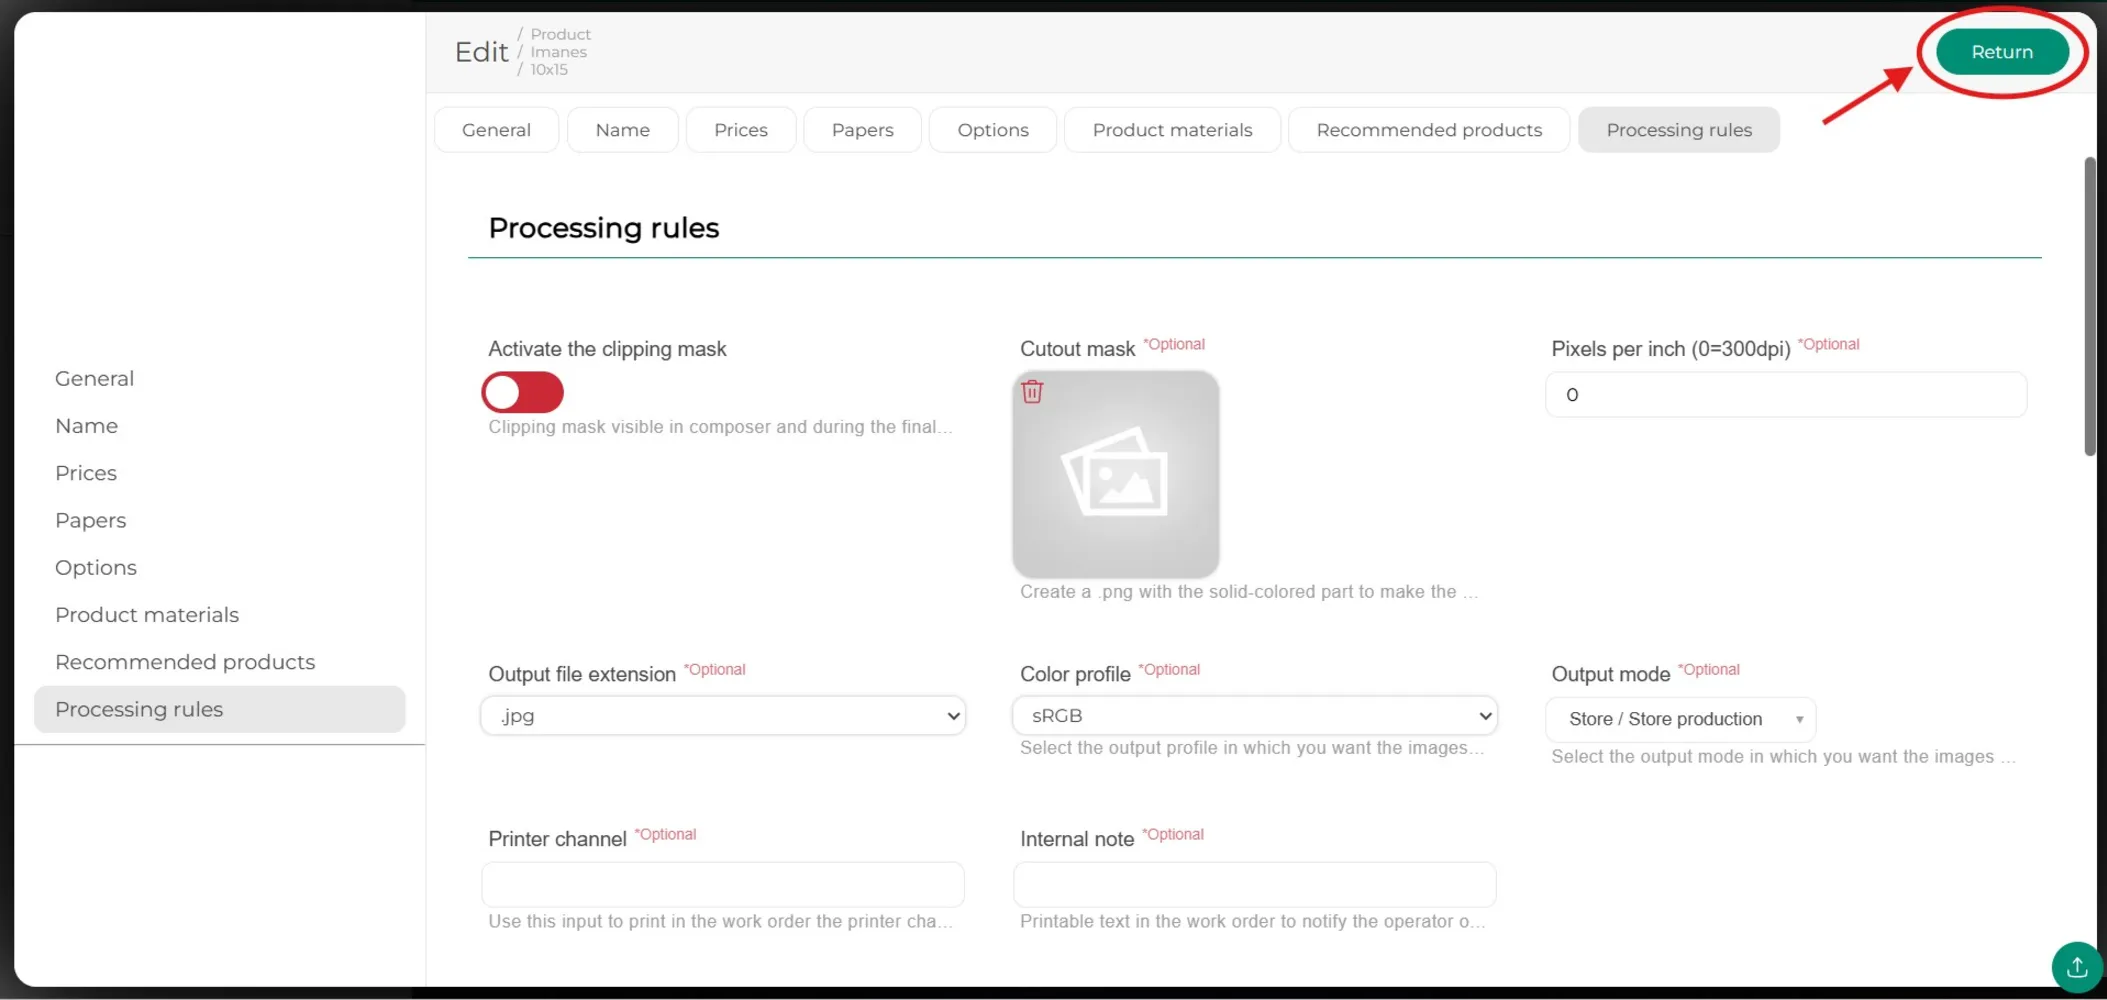
In the new window that appears, go to the Processing Rules section. Within this section, you must change the output mode and select the one you previously created.
Step 8
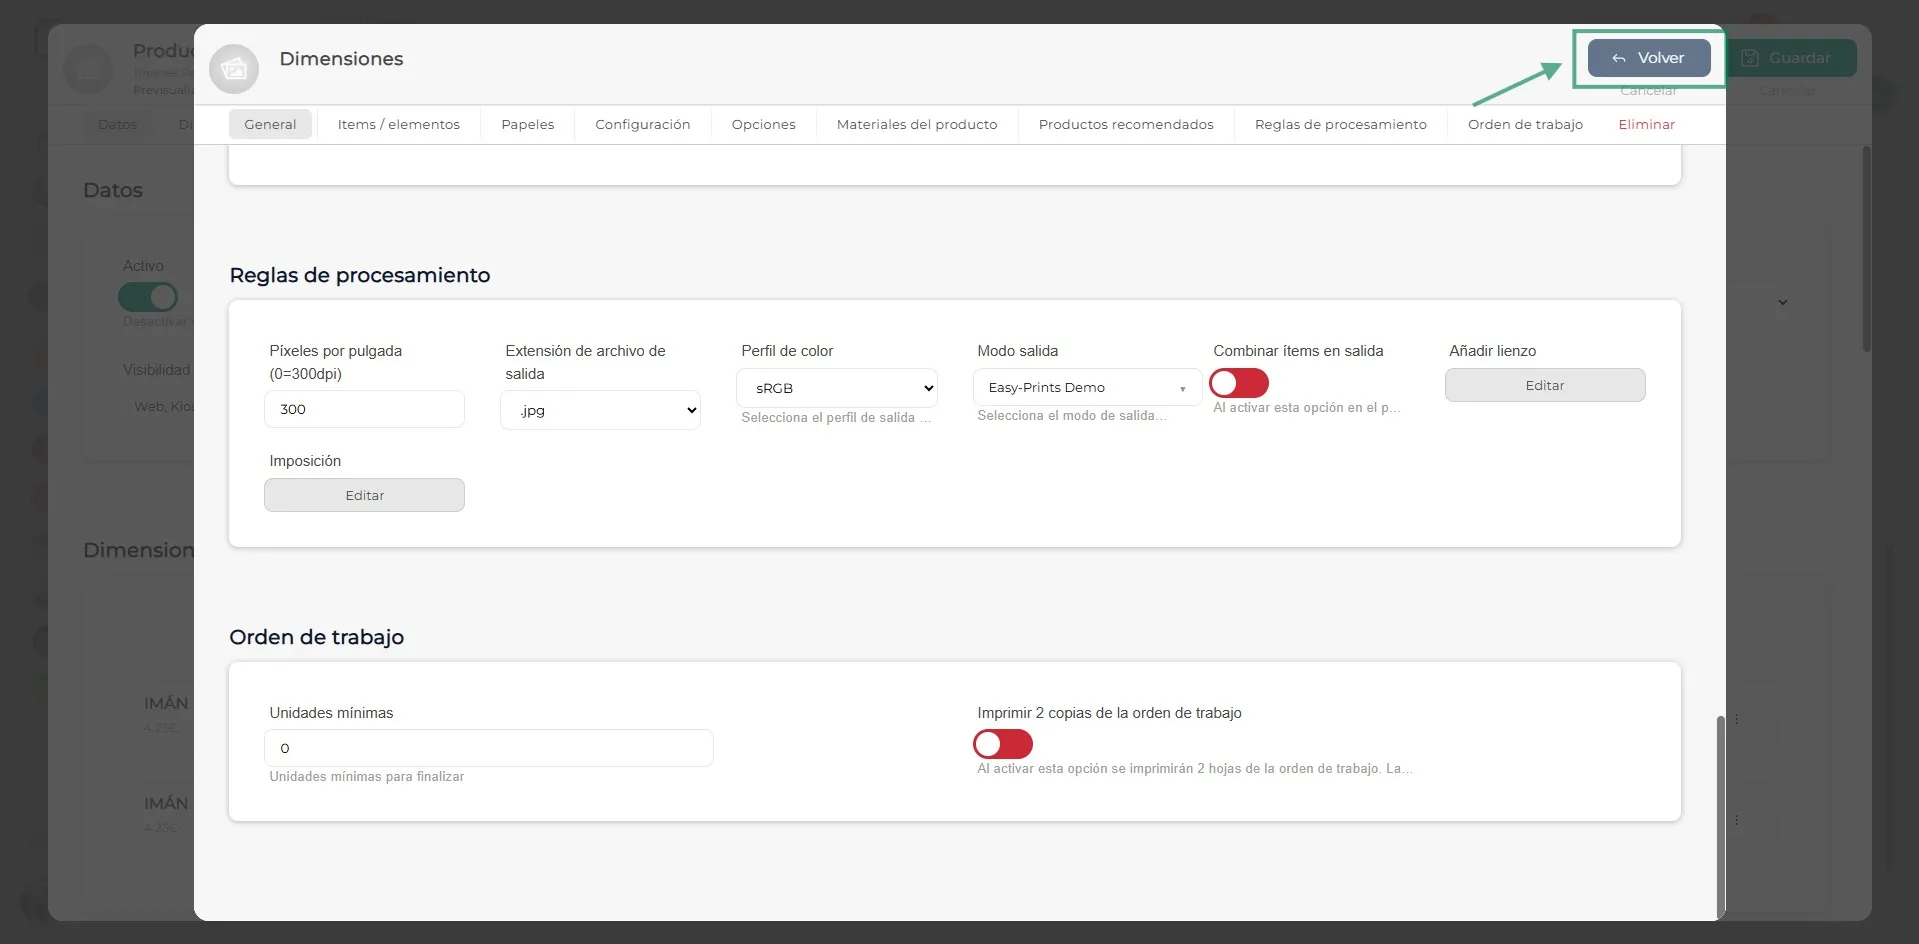
Once these changes have been made, click the Back button, located at the top right of the screen. You will return to the previous Dimensions window, where you must repeat the process for all the sizes you wish to modify.
Step 9
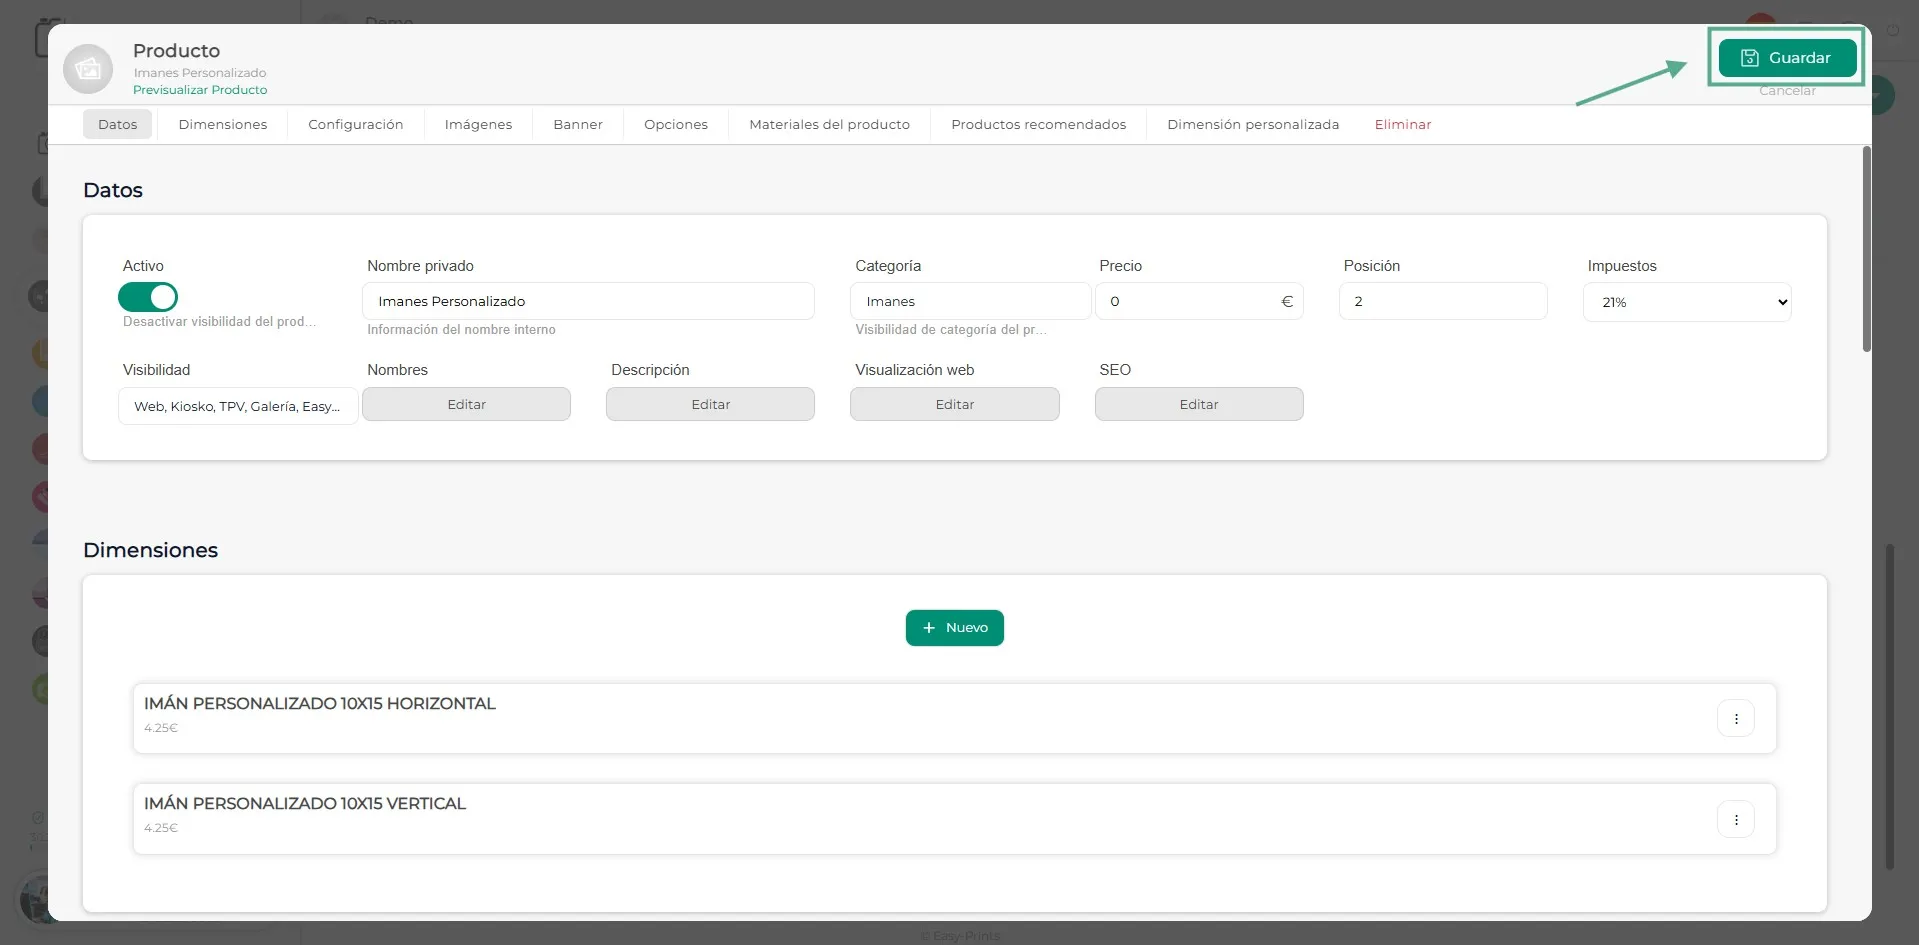
Finally, you must save the changes made. Remember to click the Save button, located at the top right of the screen.
Go back to the Help Center or contact Easy-Prints.
← Back to Help Center