
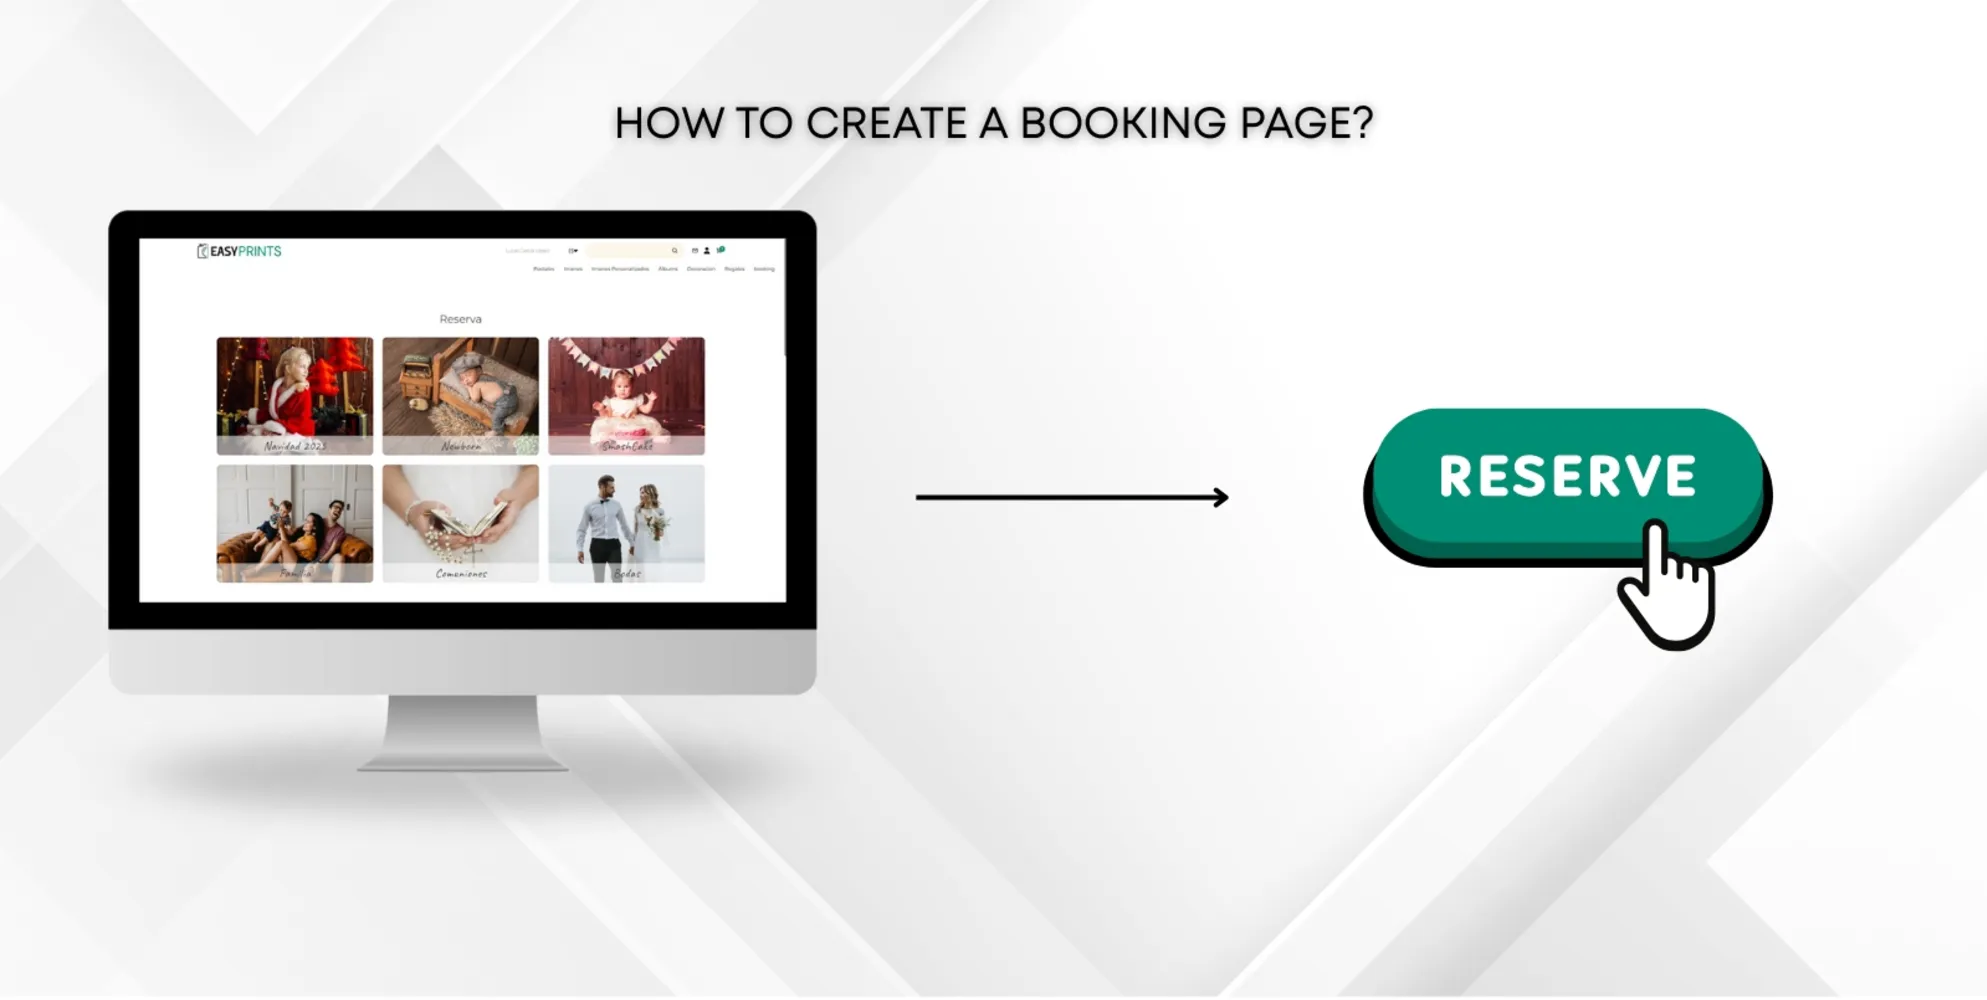
How to create a booking page
Go to the main menu, select Galleries and bookings, and then click on Booking page. To create a category, click the new campaign button. Select the photo y…
Step 1
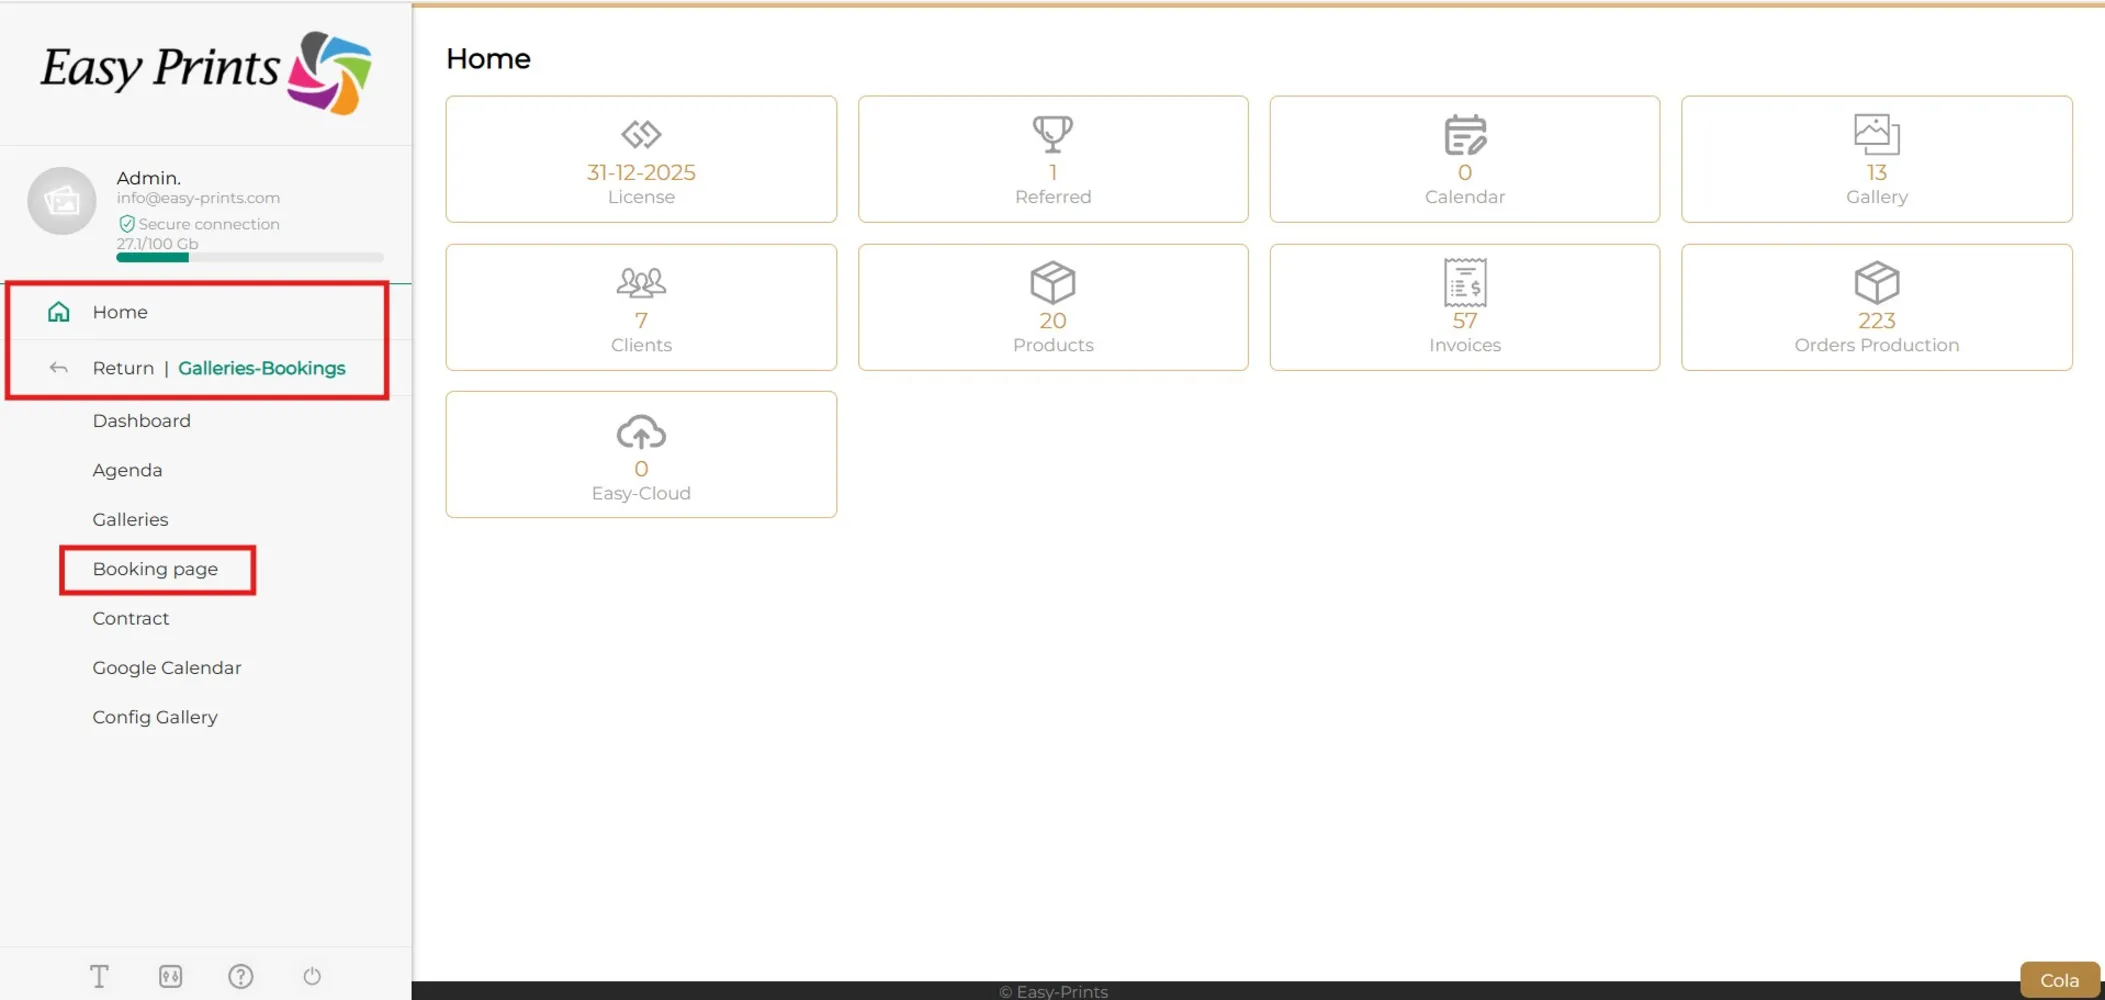
Go to the main menu, select Galleries and bookings, and then click on Booking page.
Step 2
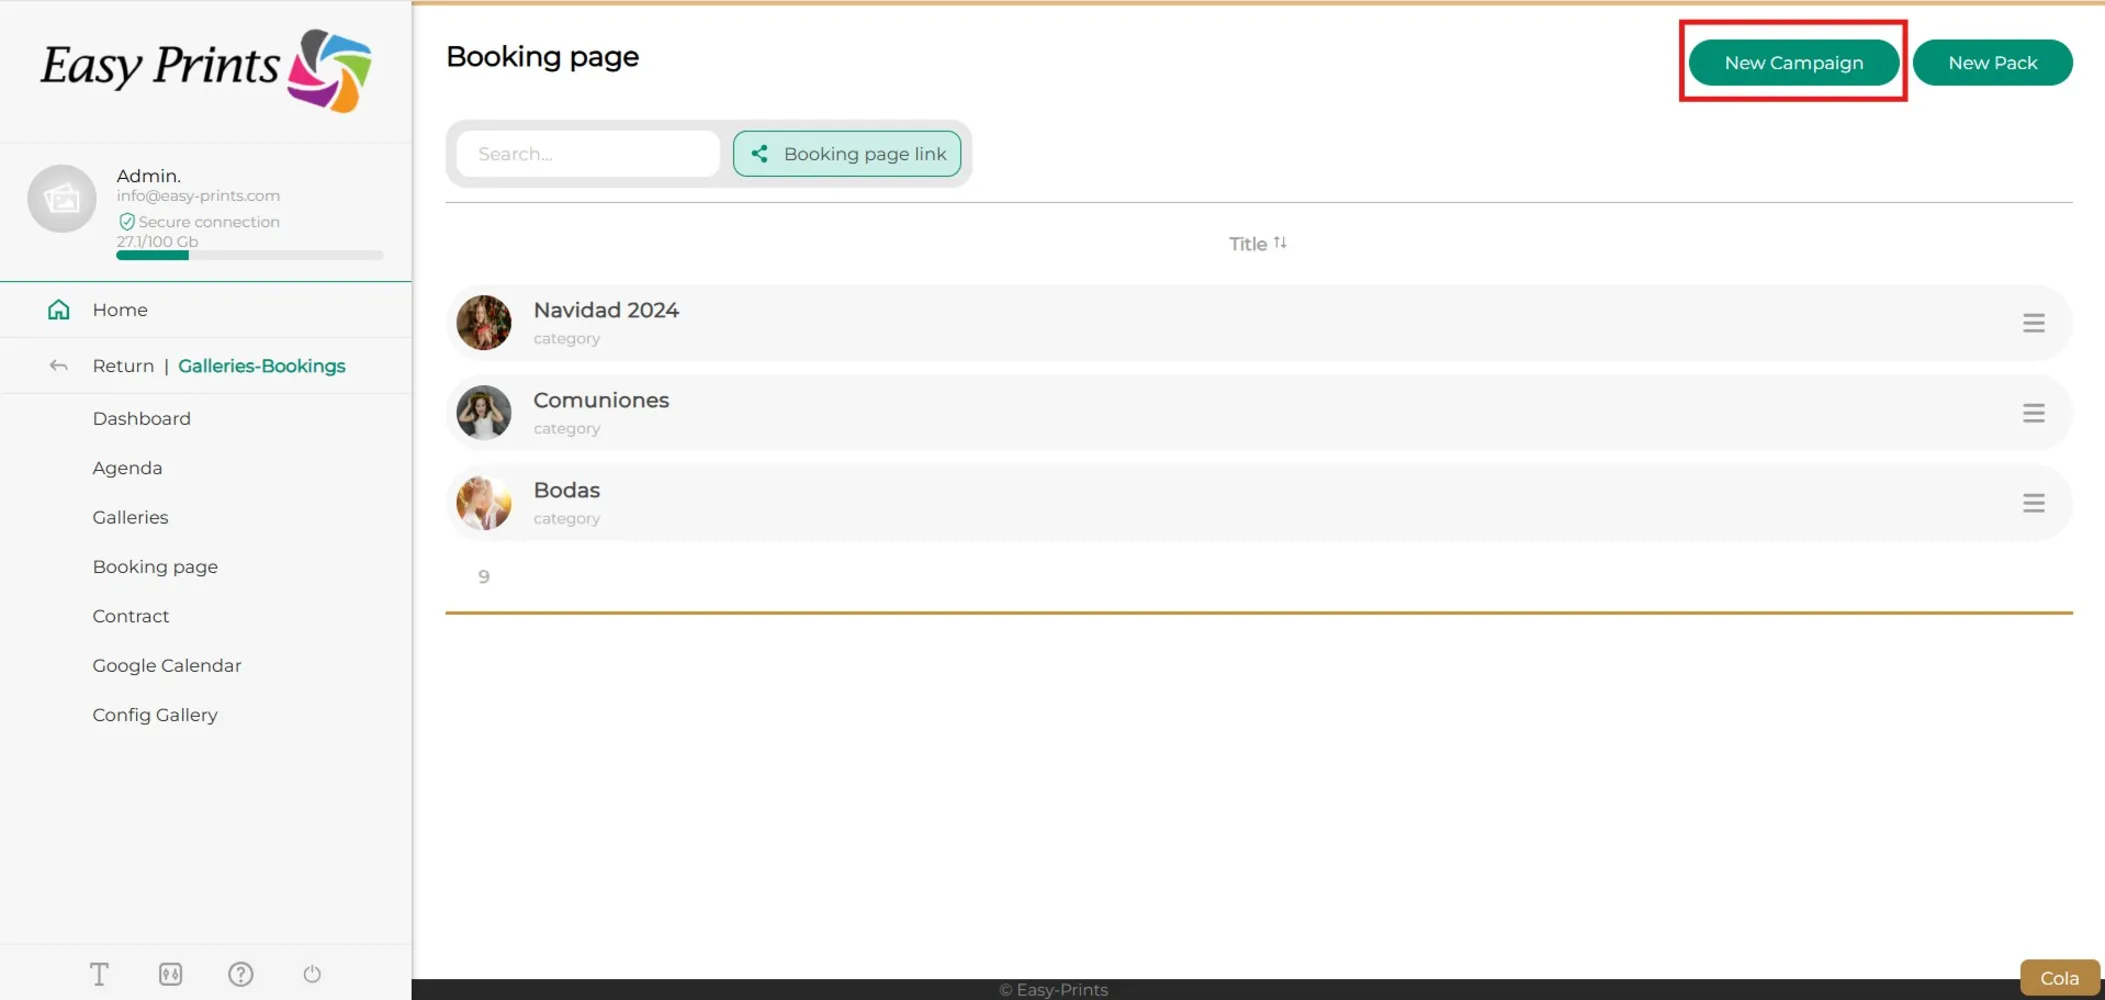
To create a category, click the new campaign button.
Step 3
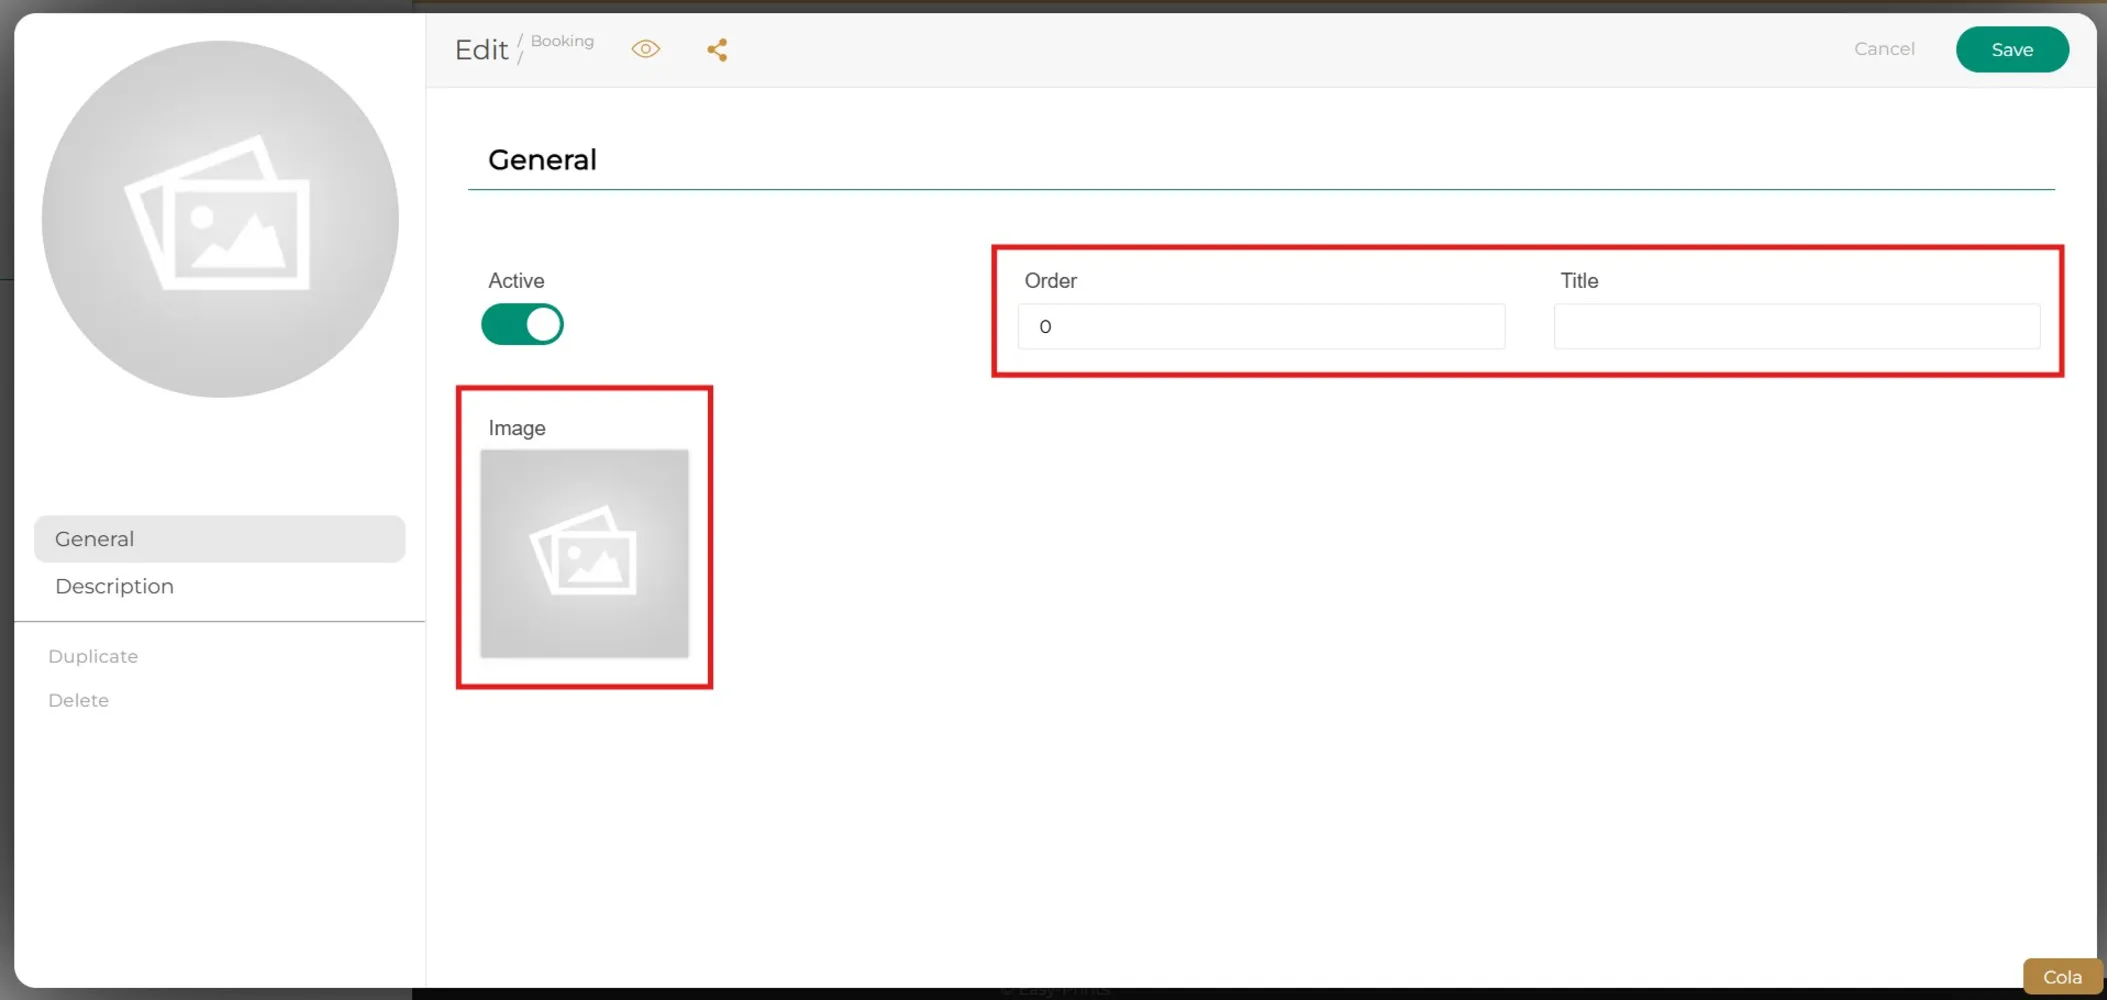
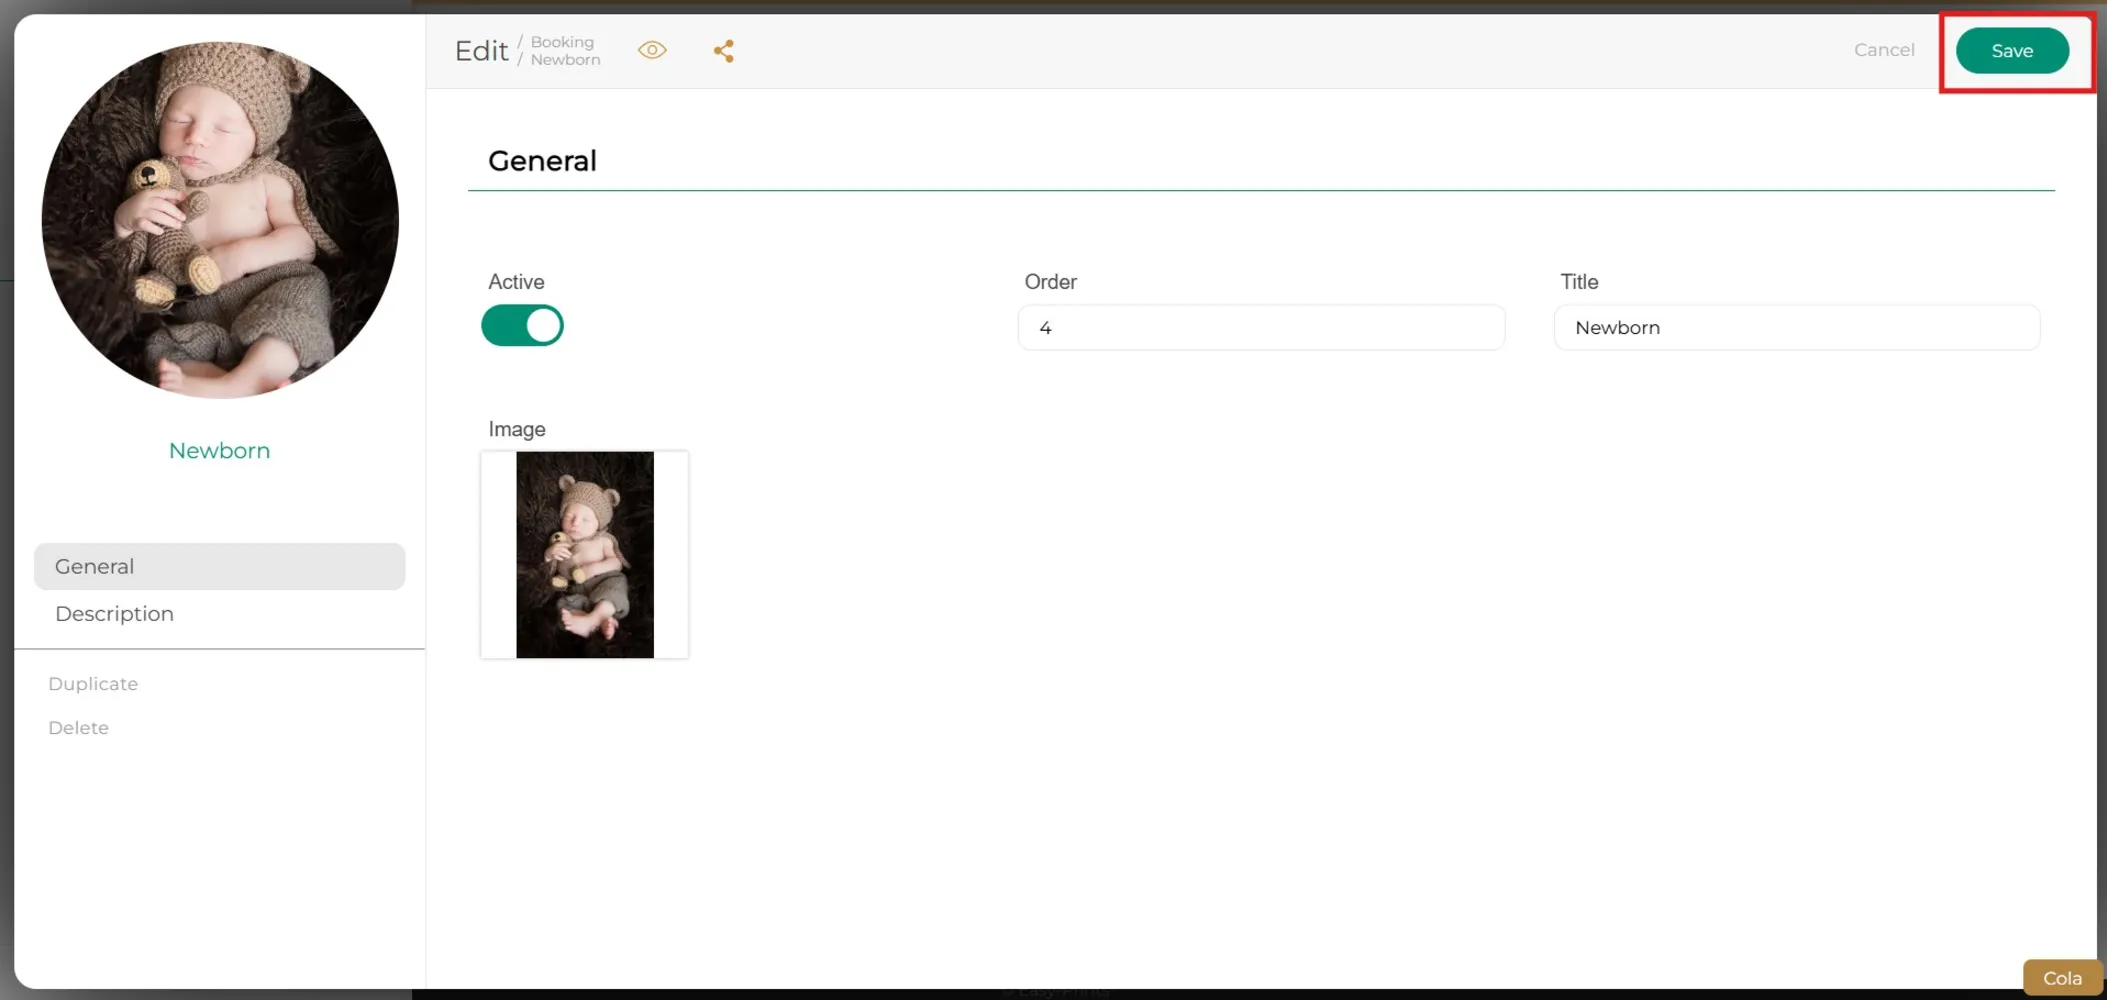
Select the photo you want to use as the cover, add a title to the campaign, and choose the order in which it will appear.
Step 4
Click on save.
Step 5
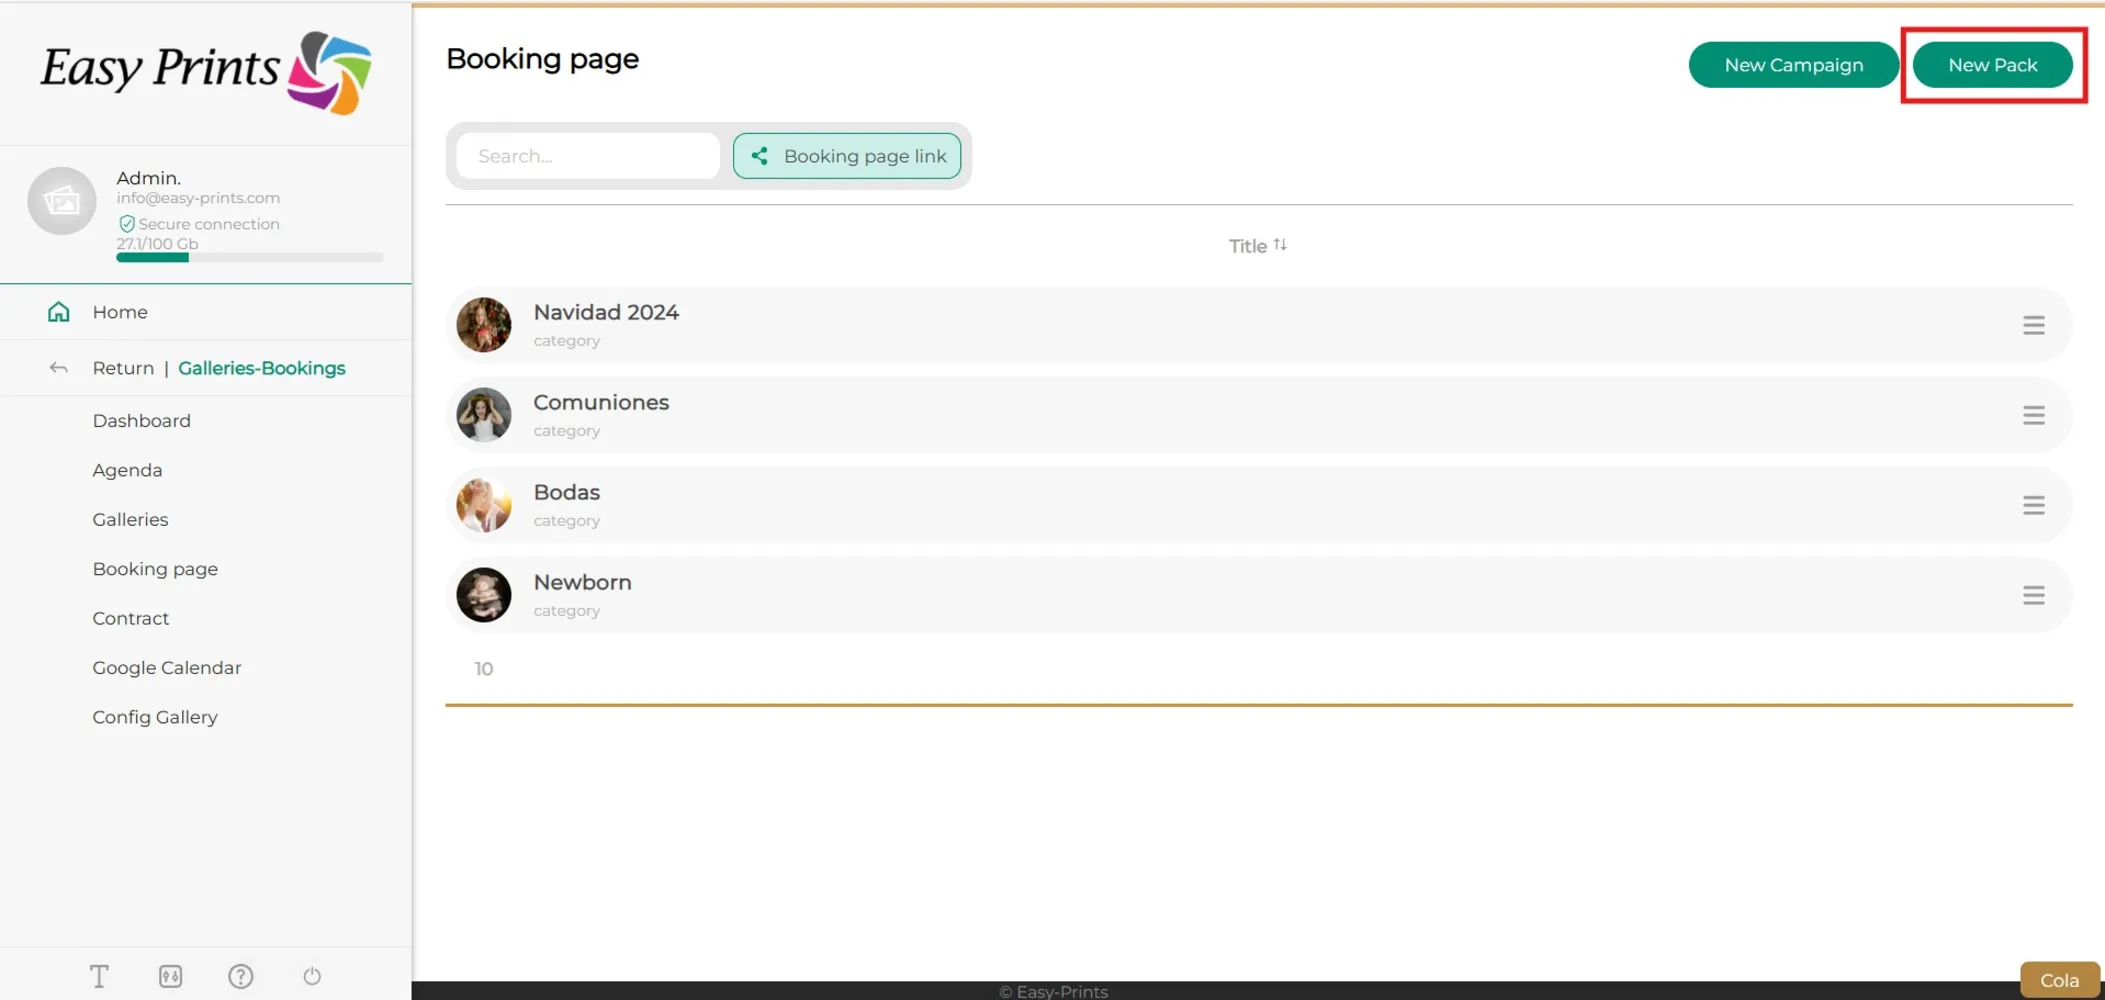
Click the “New pack” button to create a session type.
Step 6
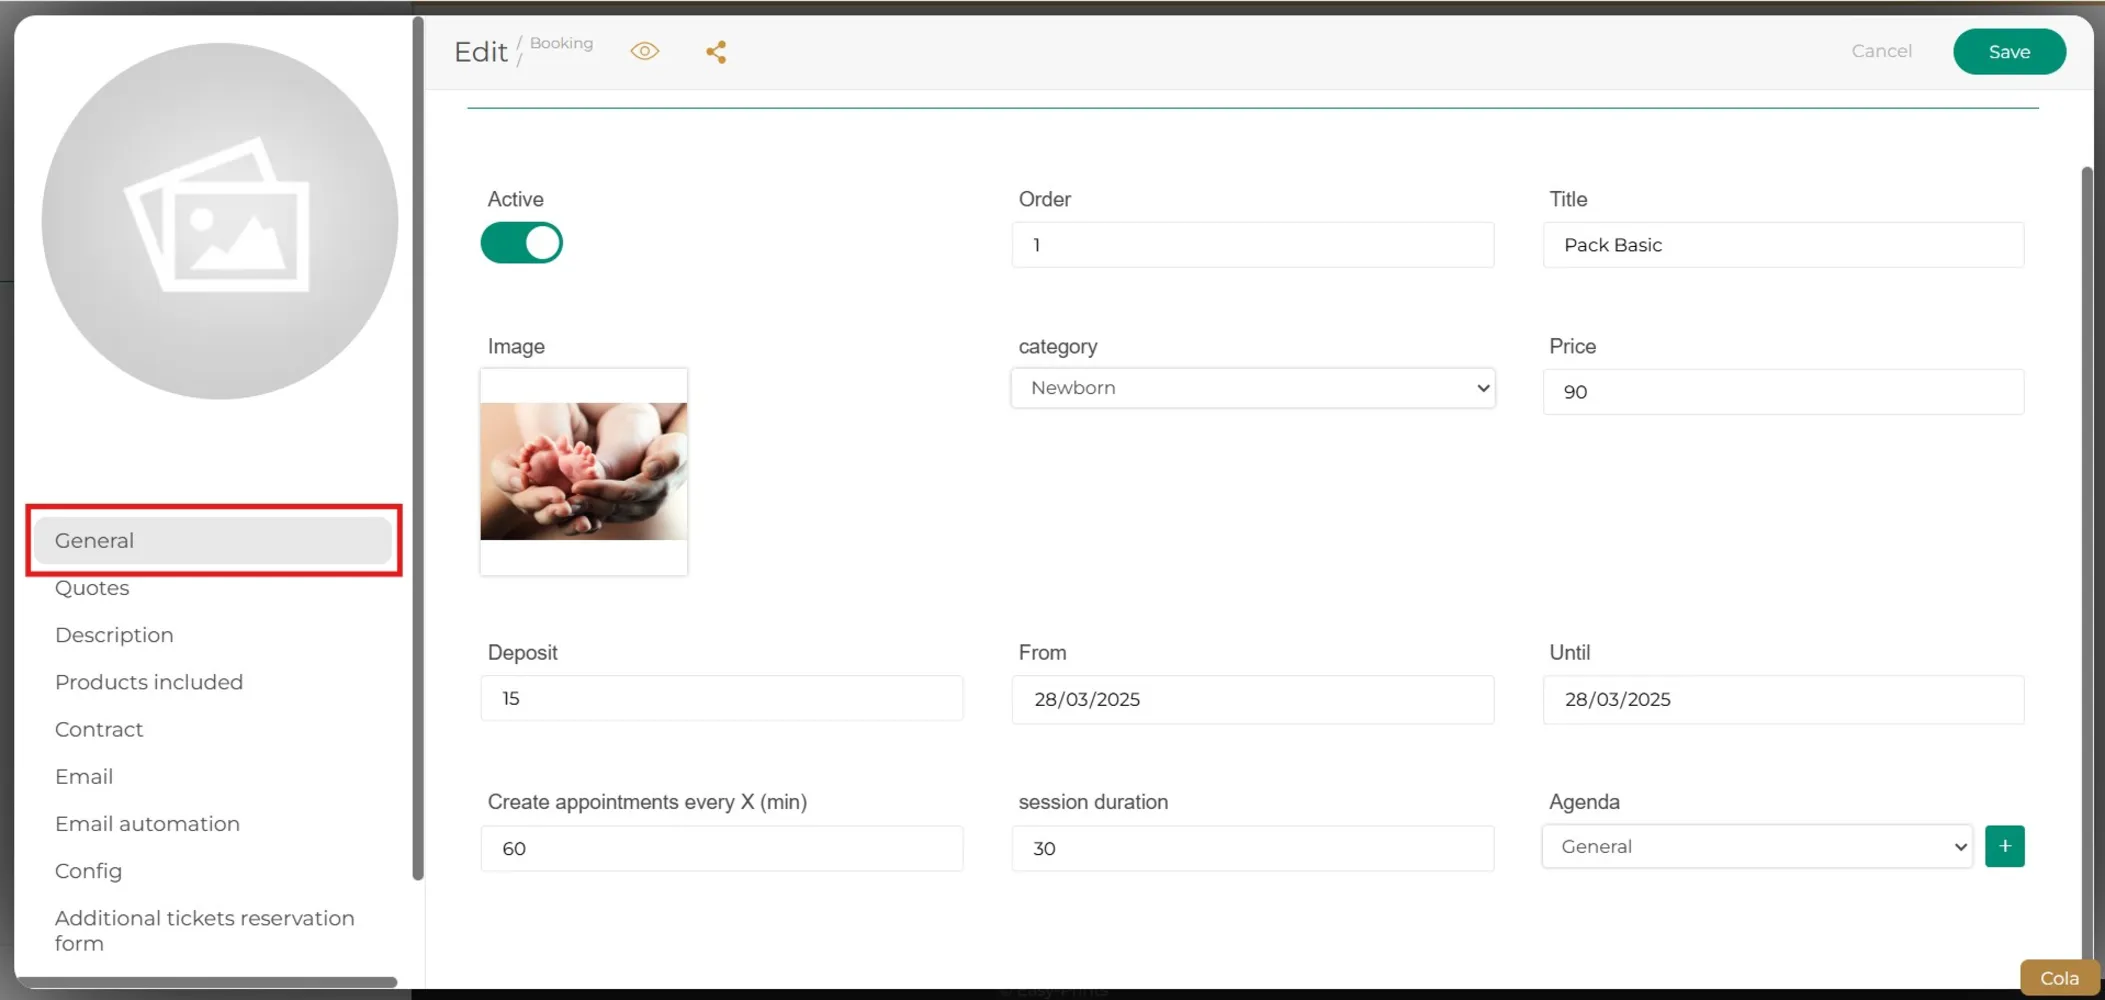
In the «General» section, fill in all the fields with the relevant information. In the «Category» field, remember to assign this package to the appropriate category you created earlier.
Step 7
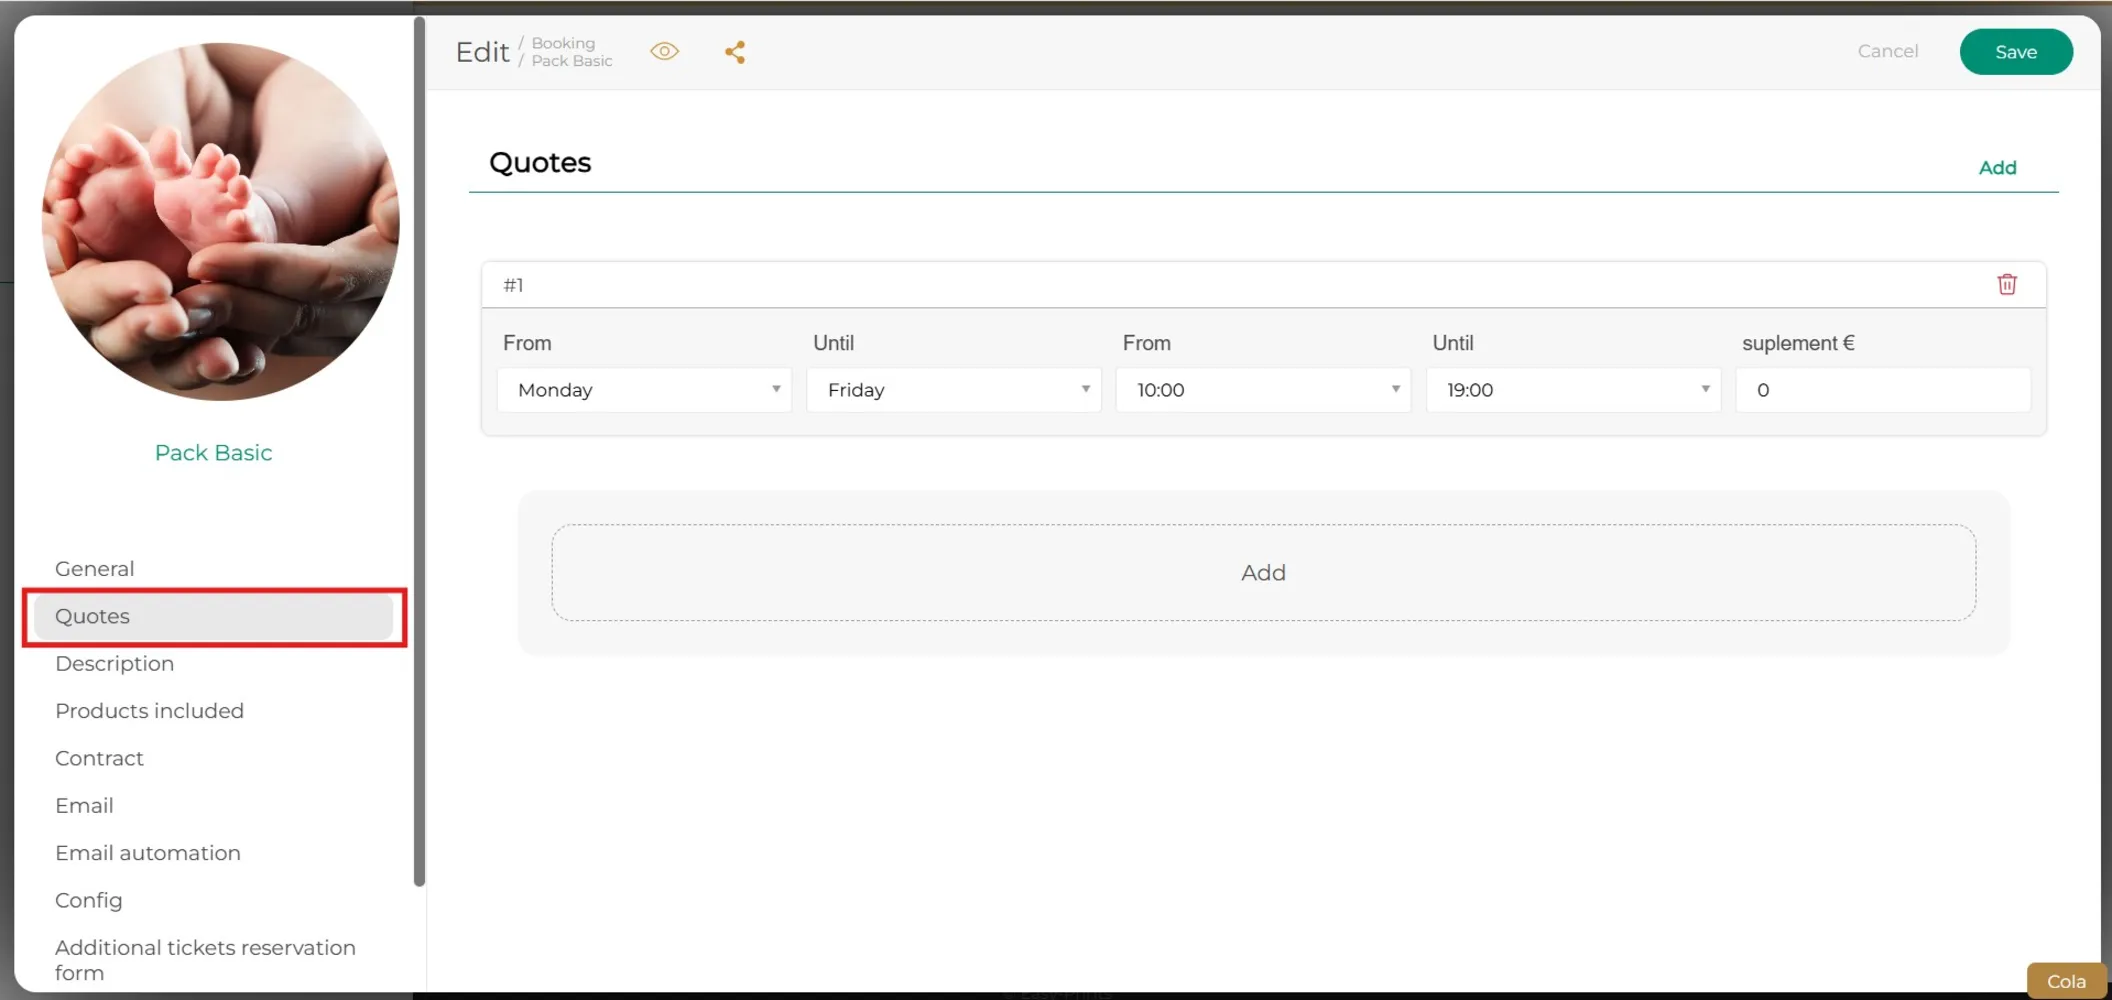
In the «Appointments» section of the main menu, click the «Add» button. From there, you can select the days of the week and the times you want to assign to the session.
Step 8
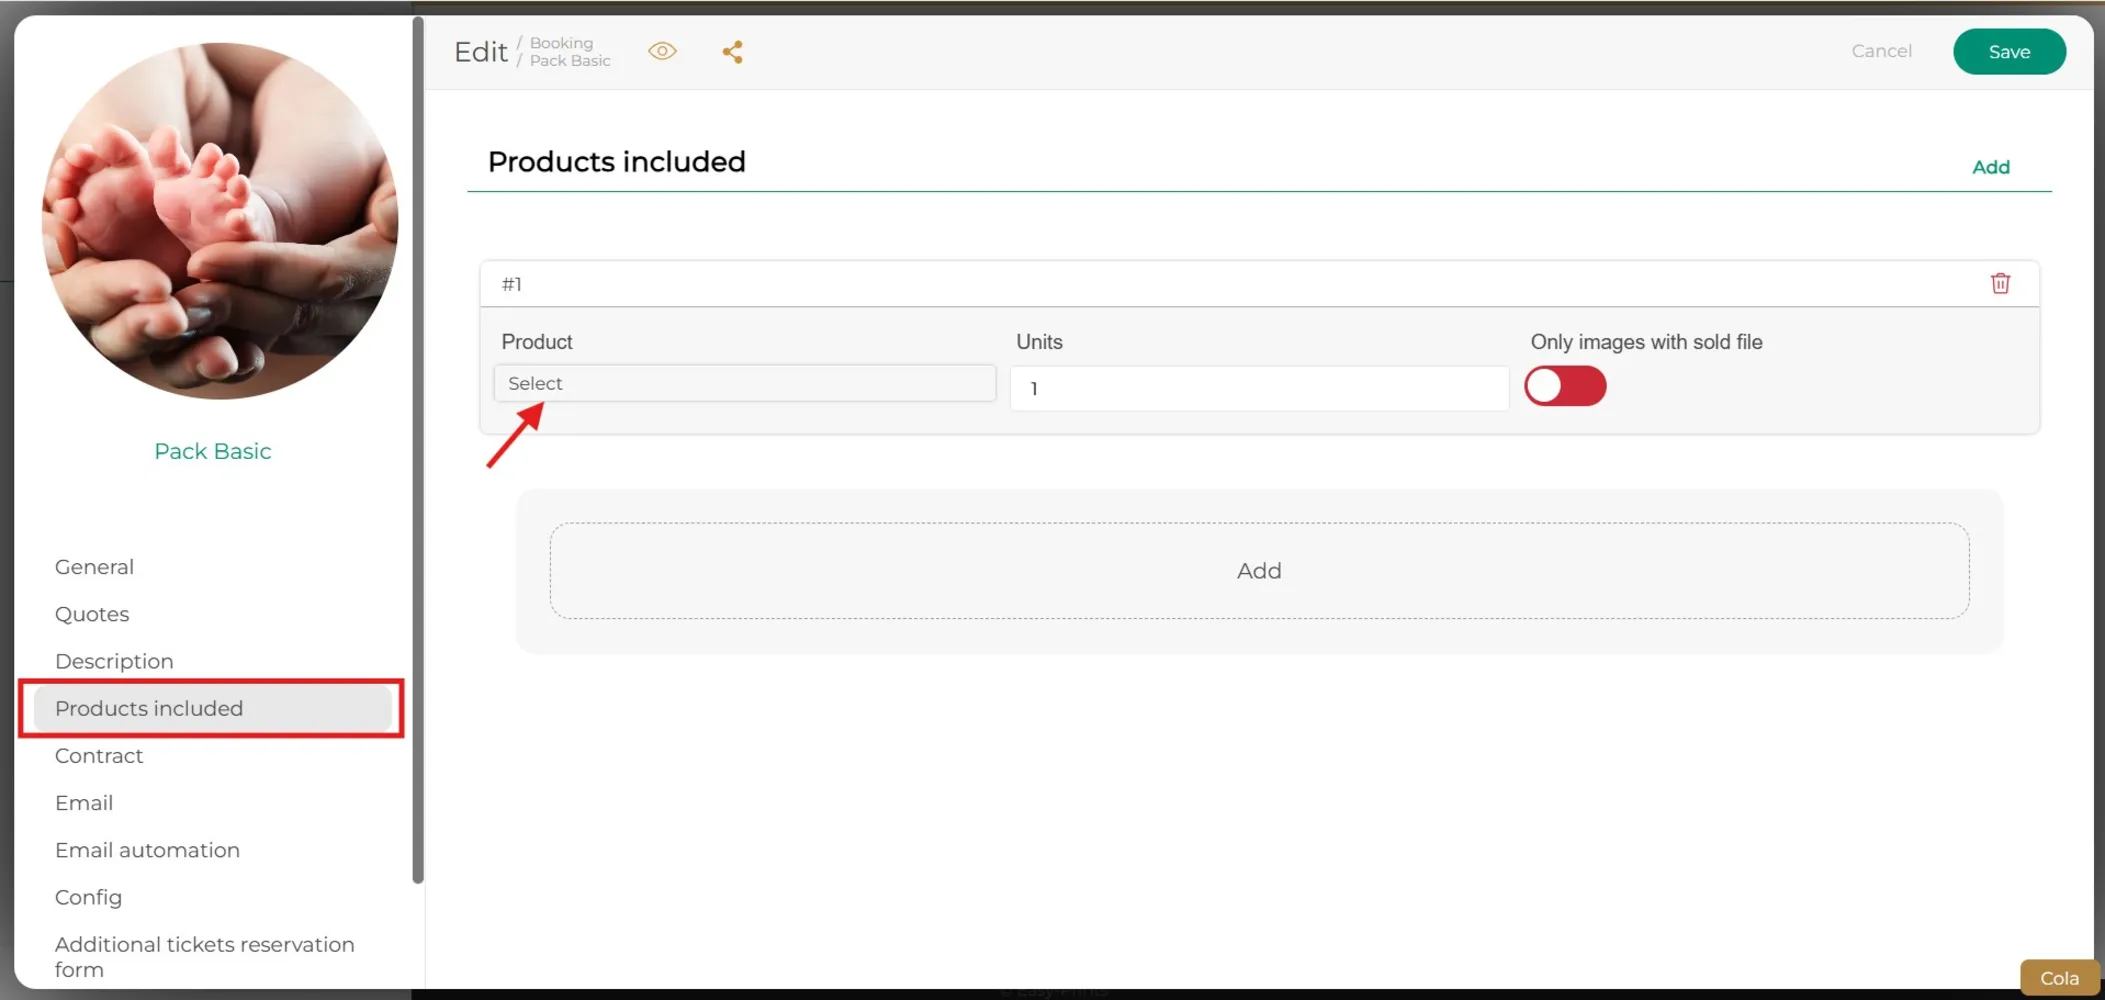
Just like in the previous step, in the main menu, under «Included products», click the «Add» button. A box will appear where you can select the product included in the pack and the quantity, in case you want to add a product.
Step 9
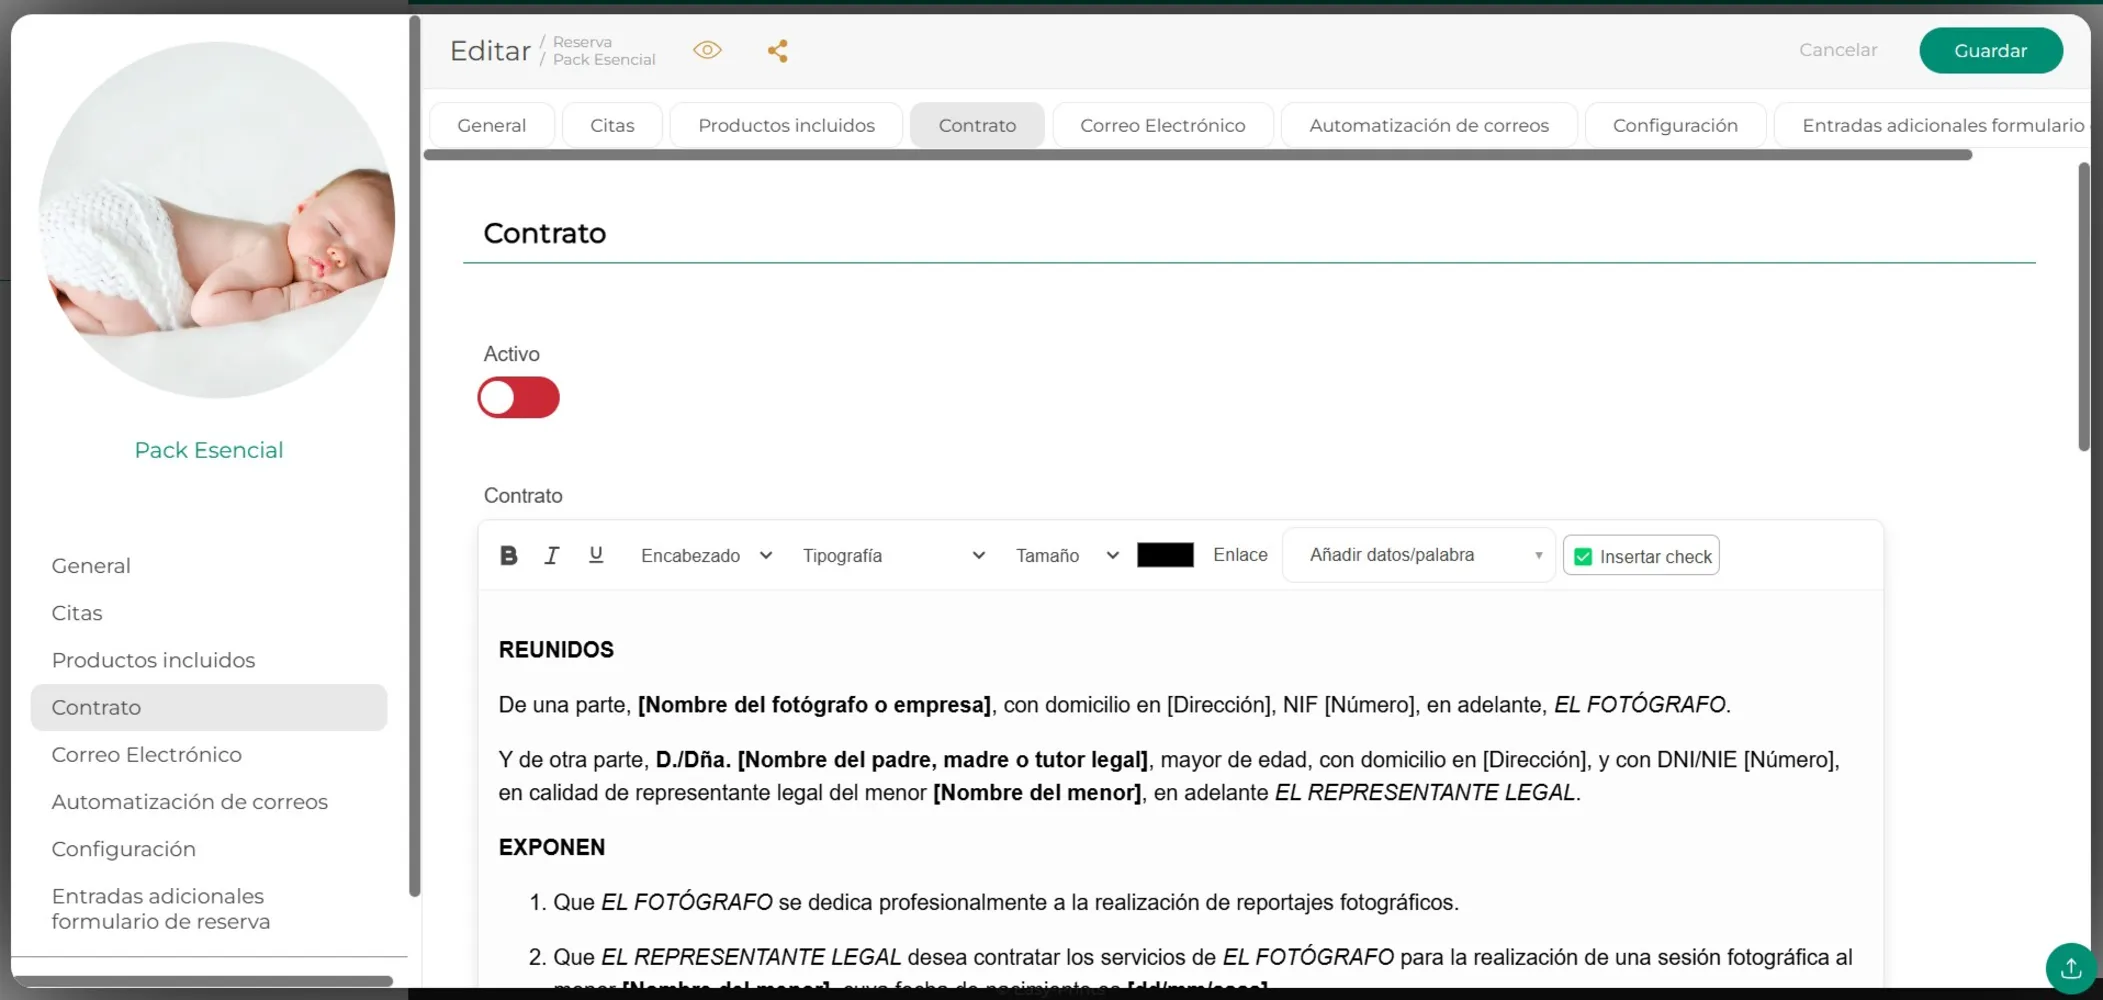
Go to the «Contract» section in the menu and upload the document your clients must sign before the session to authorize the use of their image. When they make a booking, an automatic box will appear for them to digitally sign before confirming the appointment.
Step 10
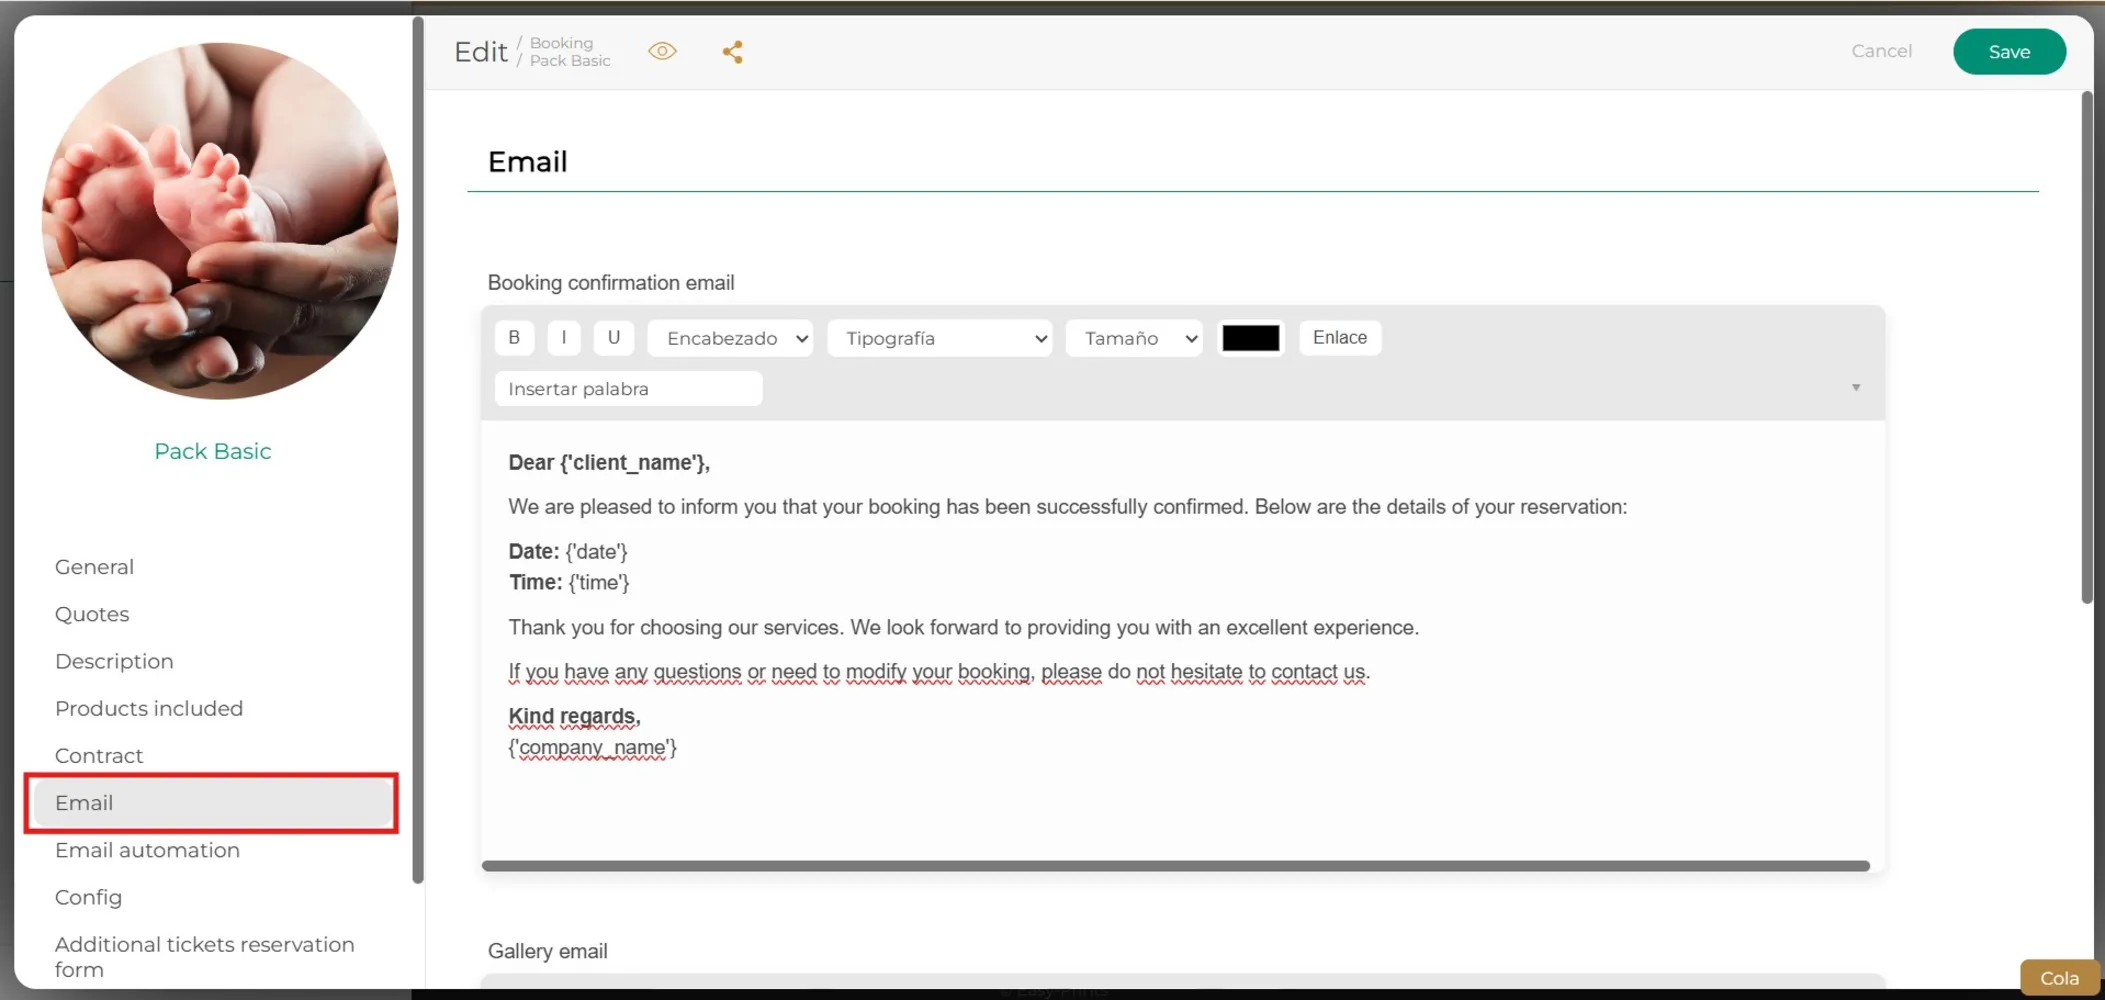
In the main menu, you will find the «Email» section, where you can write a message for the confirmed booking email.
Step 11
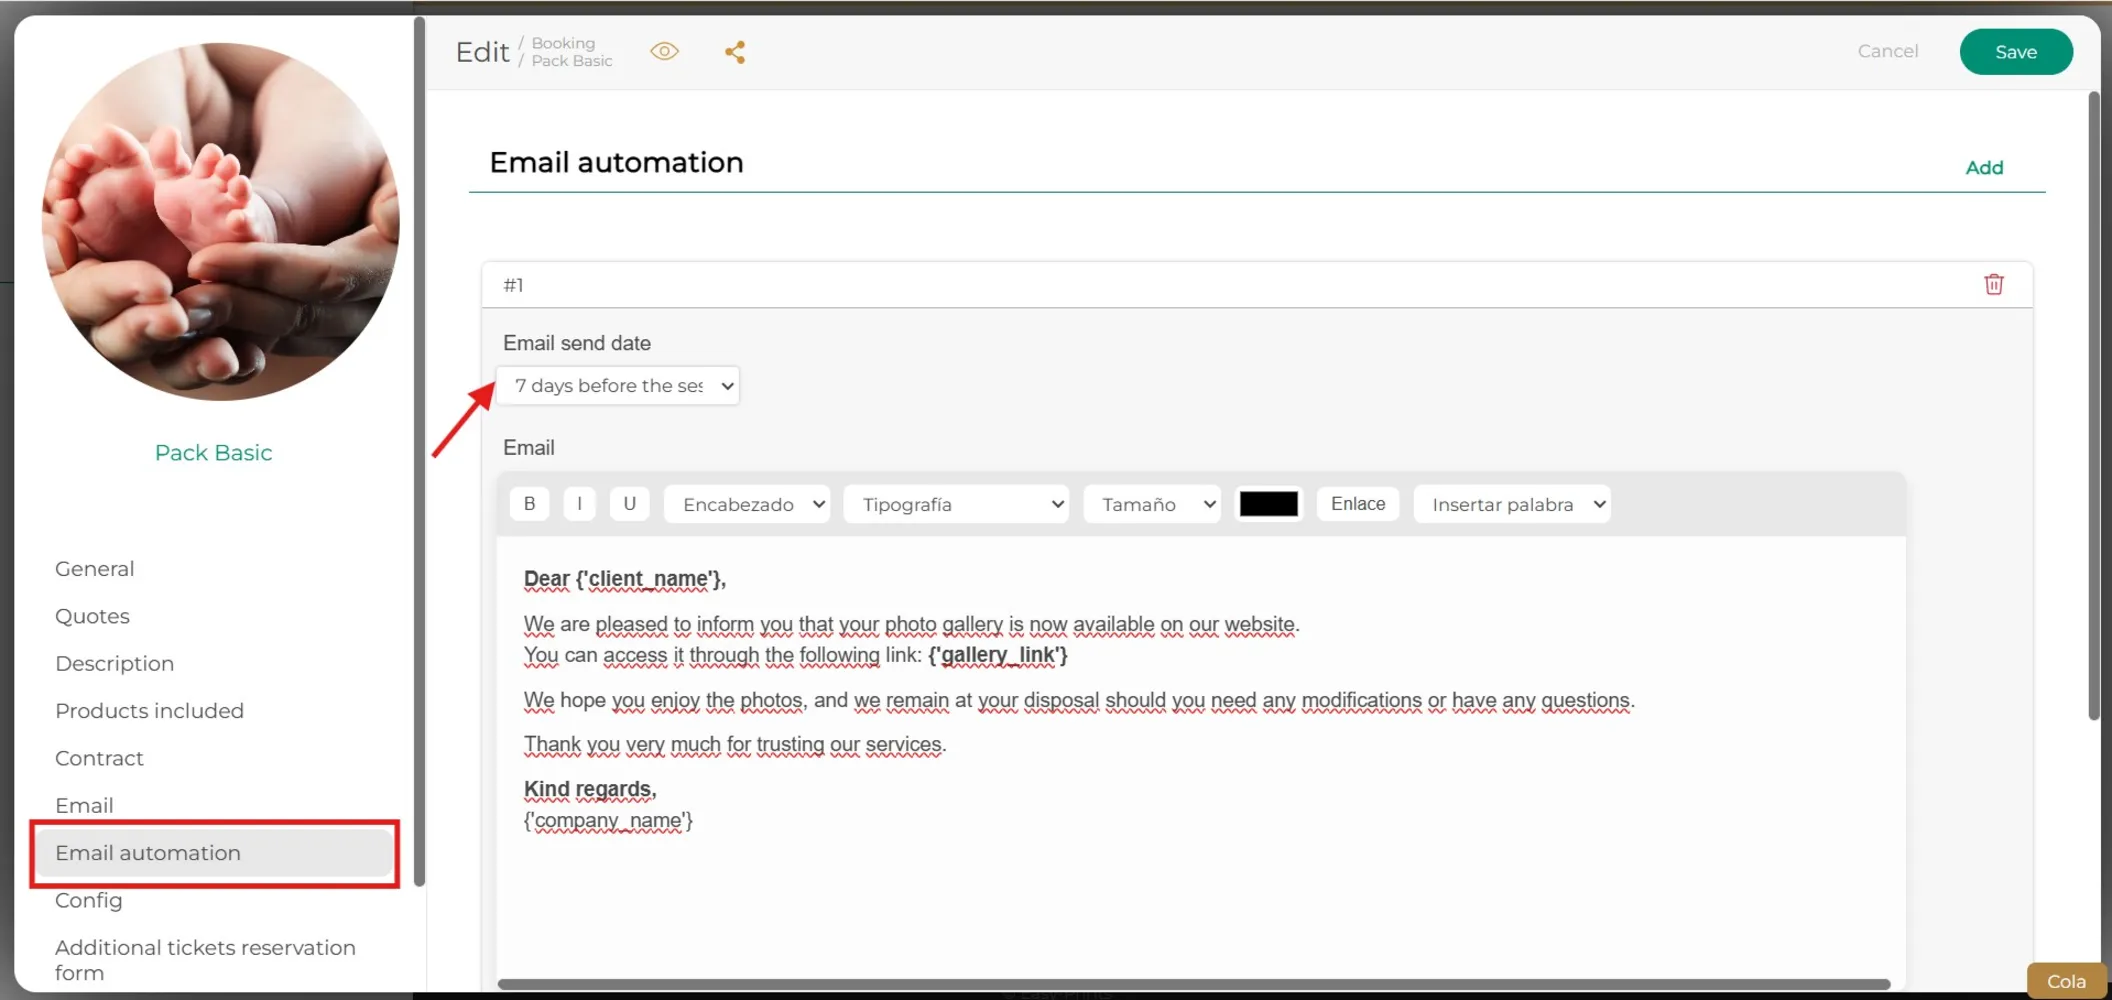
In «Email automation», you can create an email and set when you want it to be sent. You can schedule it for several days before the session, on the same day, or even days or months after.
Step 12
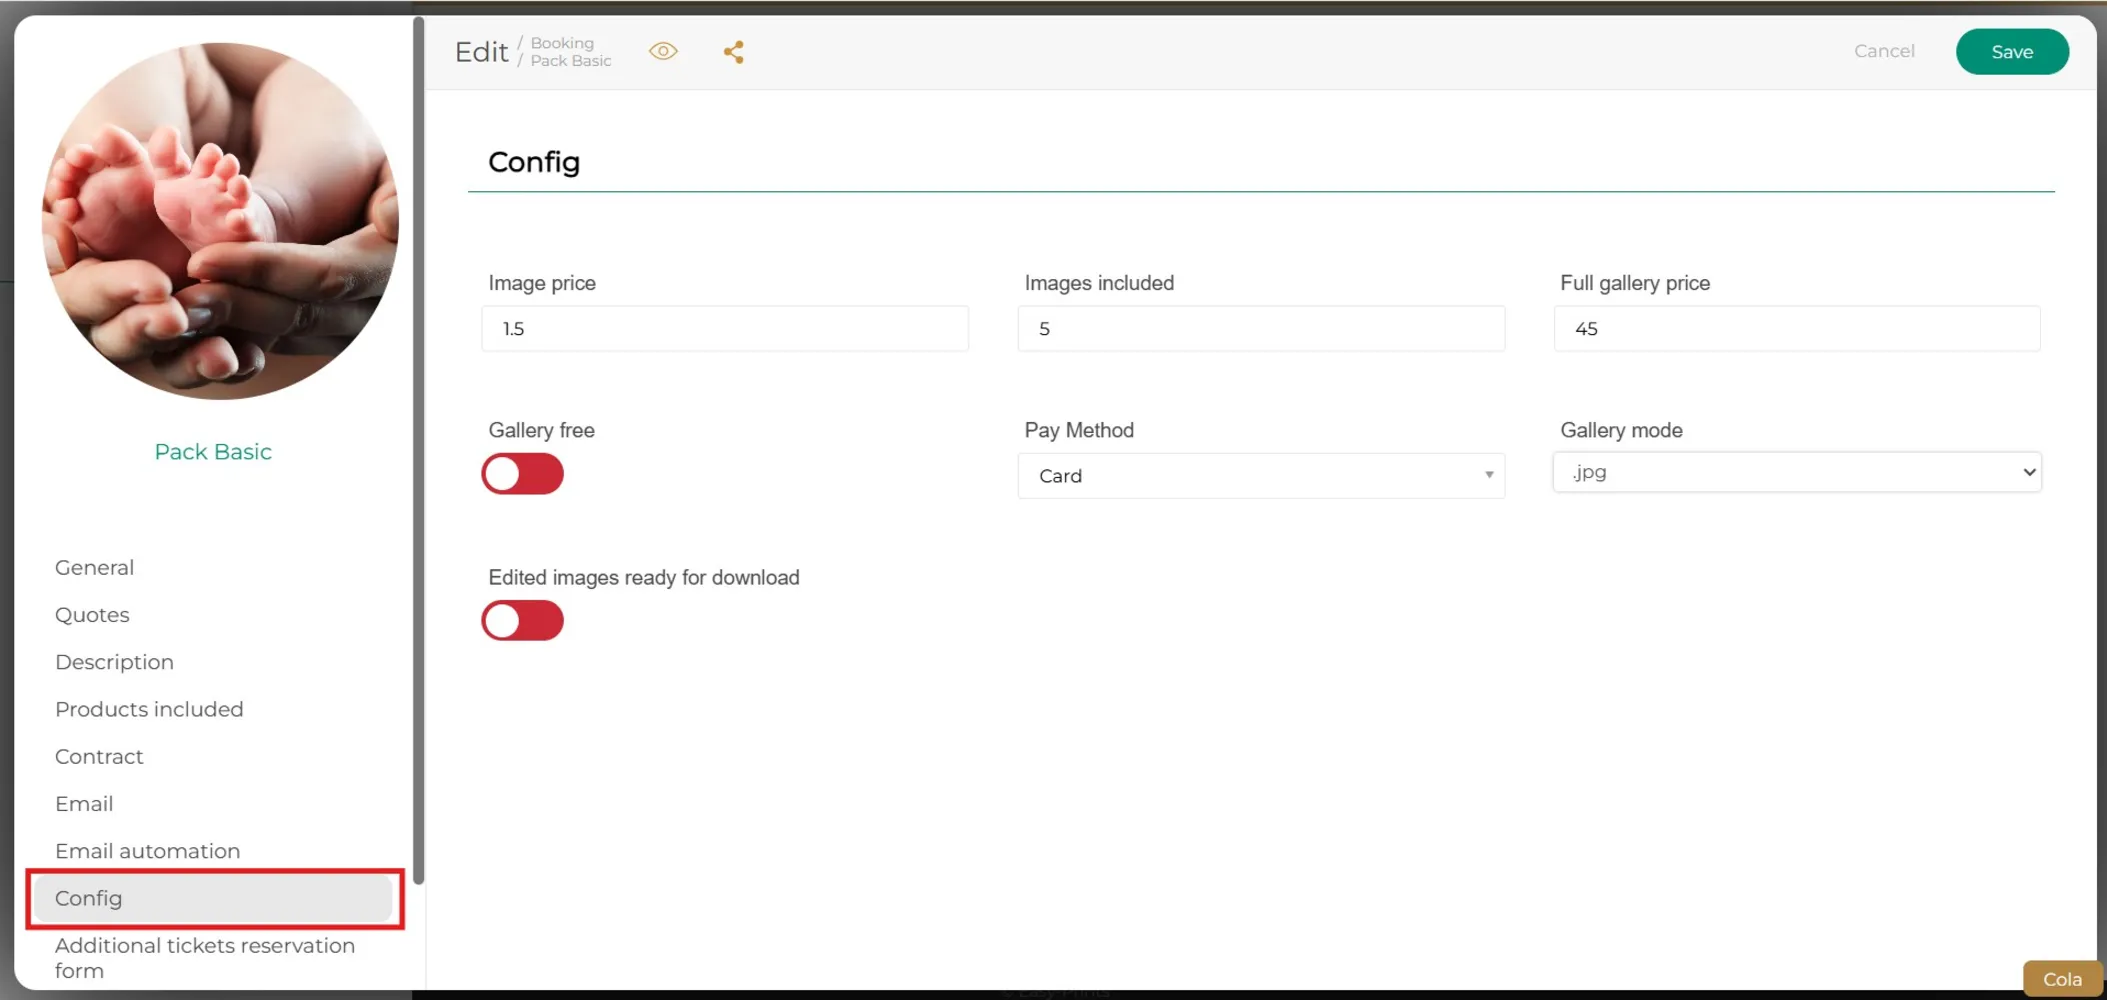
In the «Settings» section of the menu, you can set the image price, included images, payment method, and other settings.
Step 13
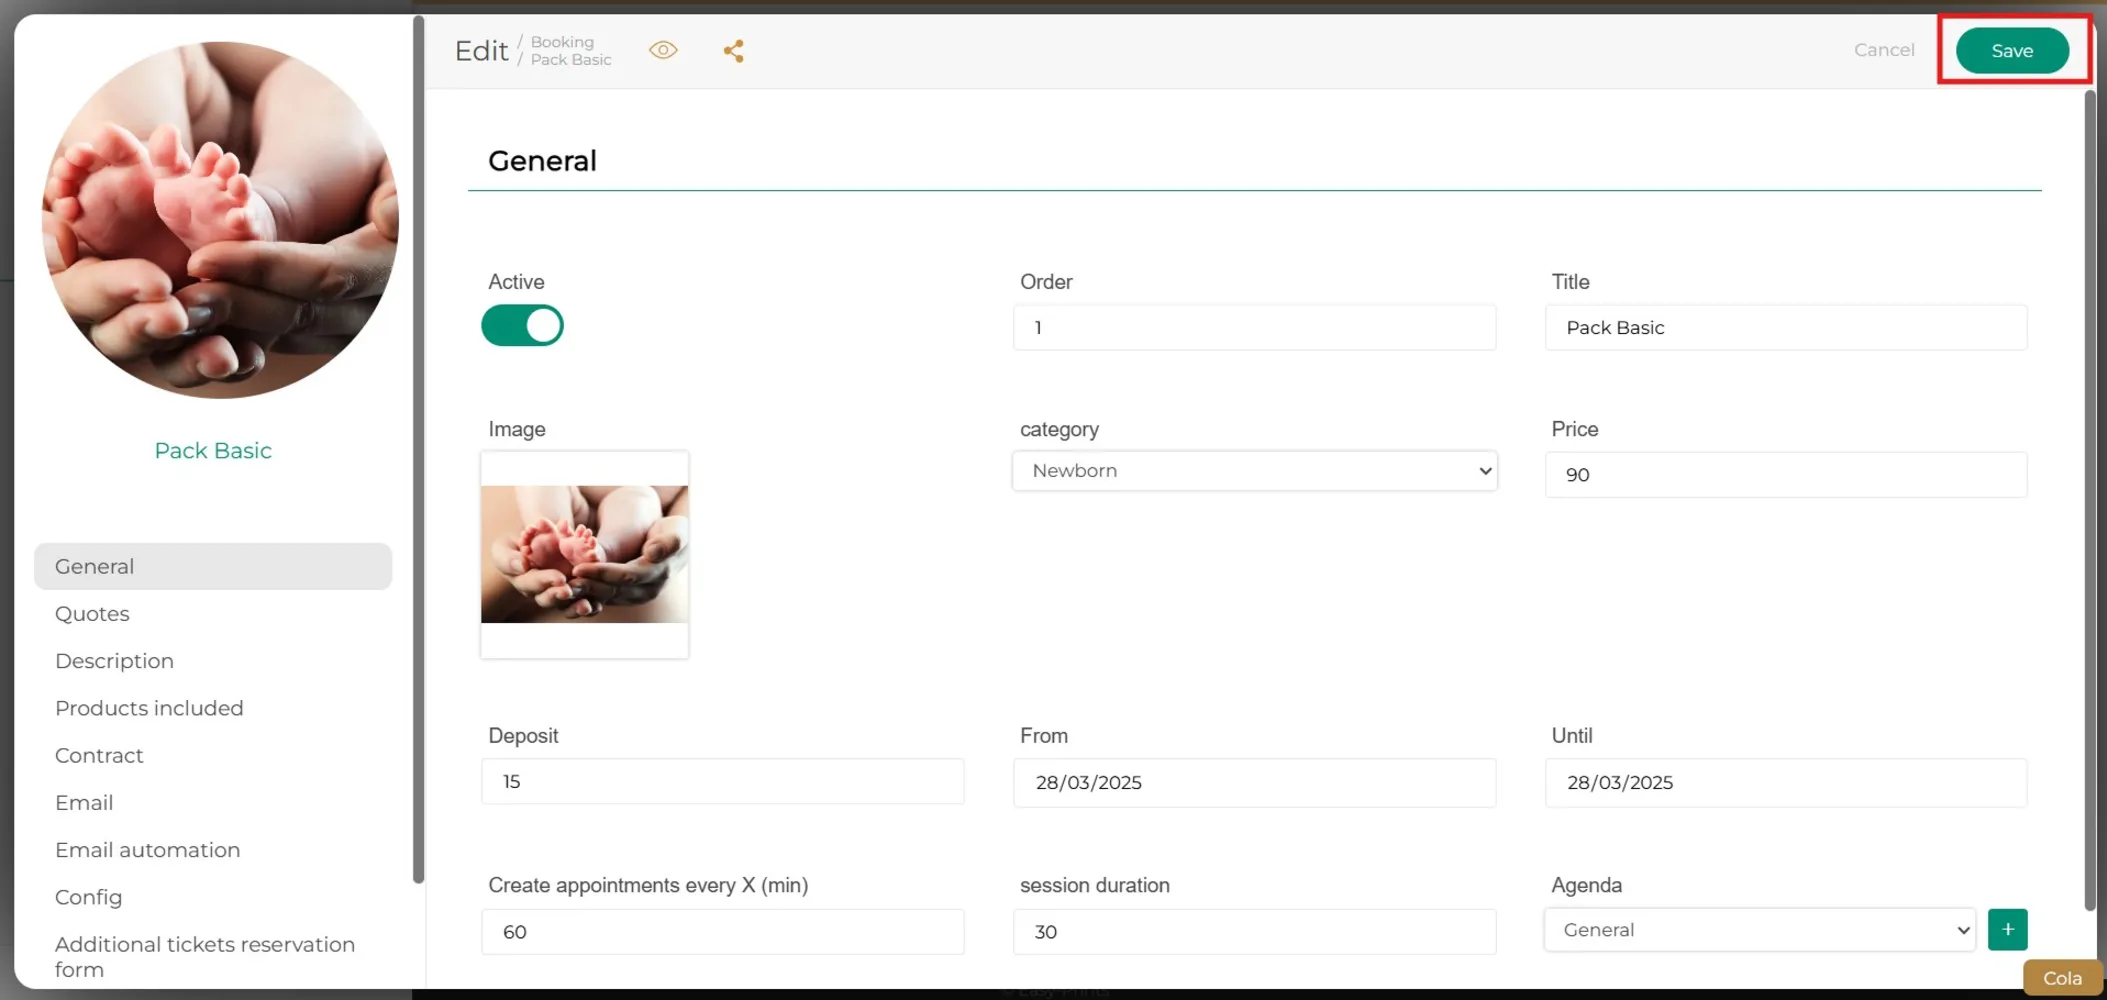
Finally, click «Save». If there is more than one pack in the same category, repeat this process from step 5.
Go back to the Help Center or contact Easy-Prints.
← Back to Help Center