
How to install the kiosk in island mode type A.
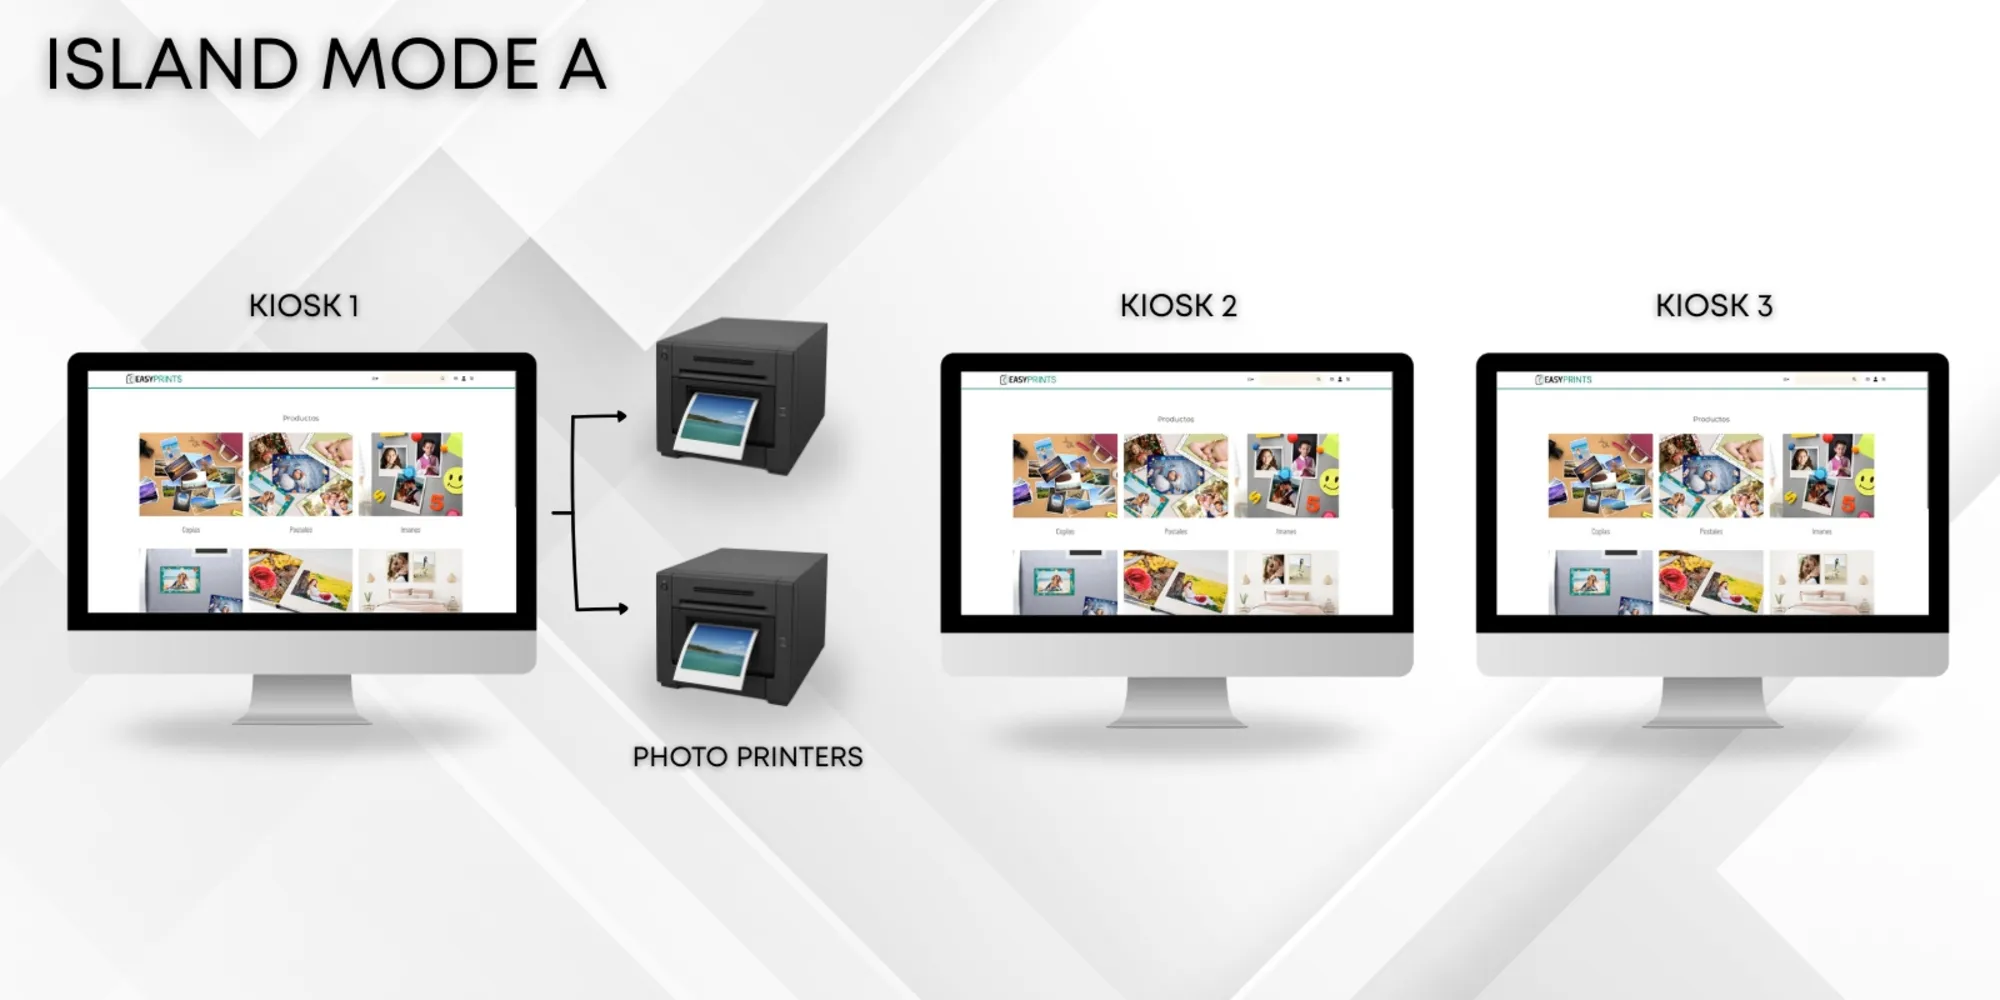
Before starting, you must have the Easy-Prints application installed on each of the kiosks you plan to use. In this example, we will work with three kiosks.
Step 1
Before starting, you must have the Easy-Prints application installed on each of the kiosks you plan to use. In this example, we will work with three kiosks.
Step 2
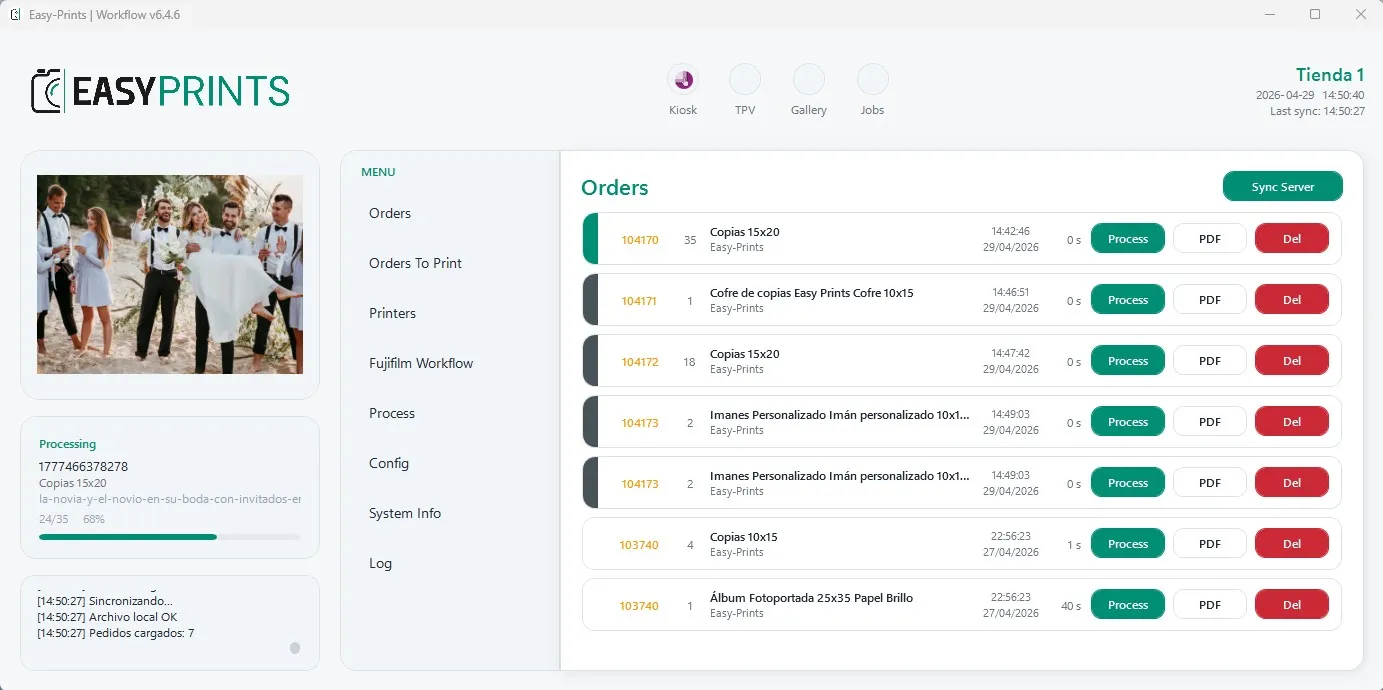
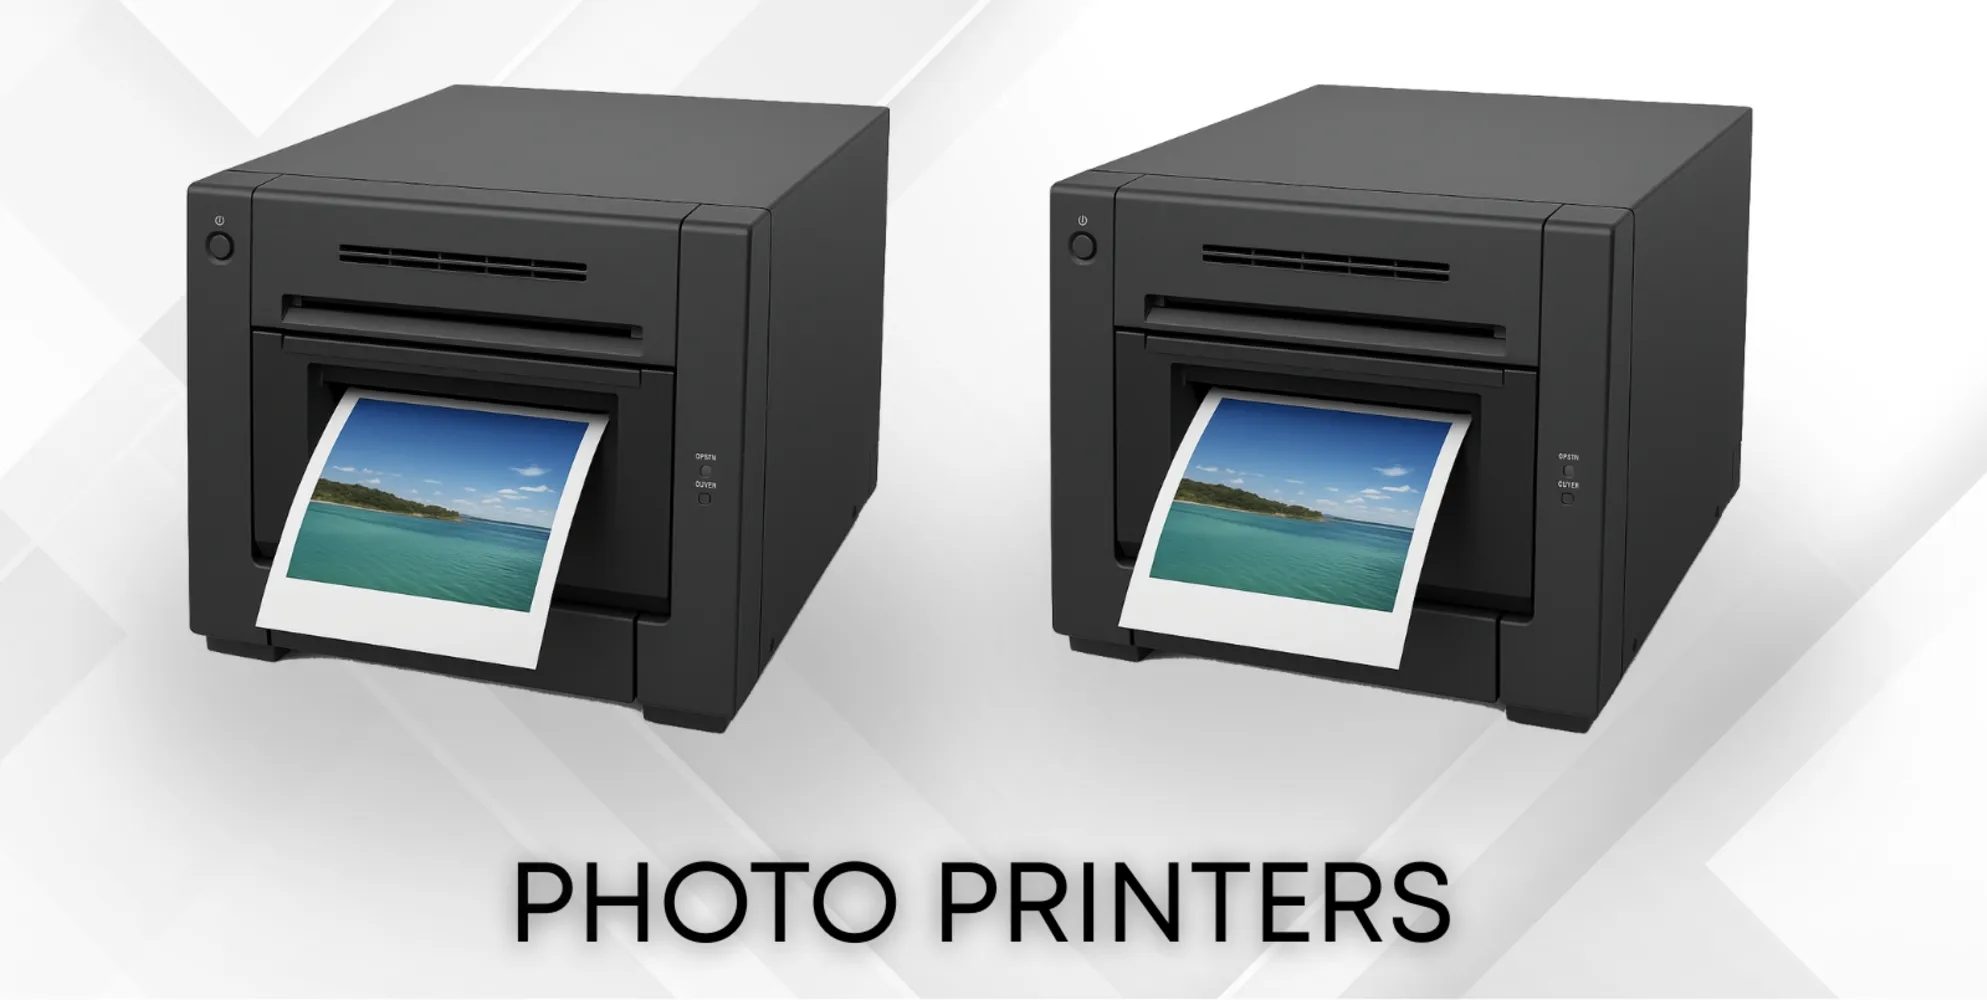
Next, make sure that the printers are installed on Kiosk 1.
Step 3
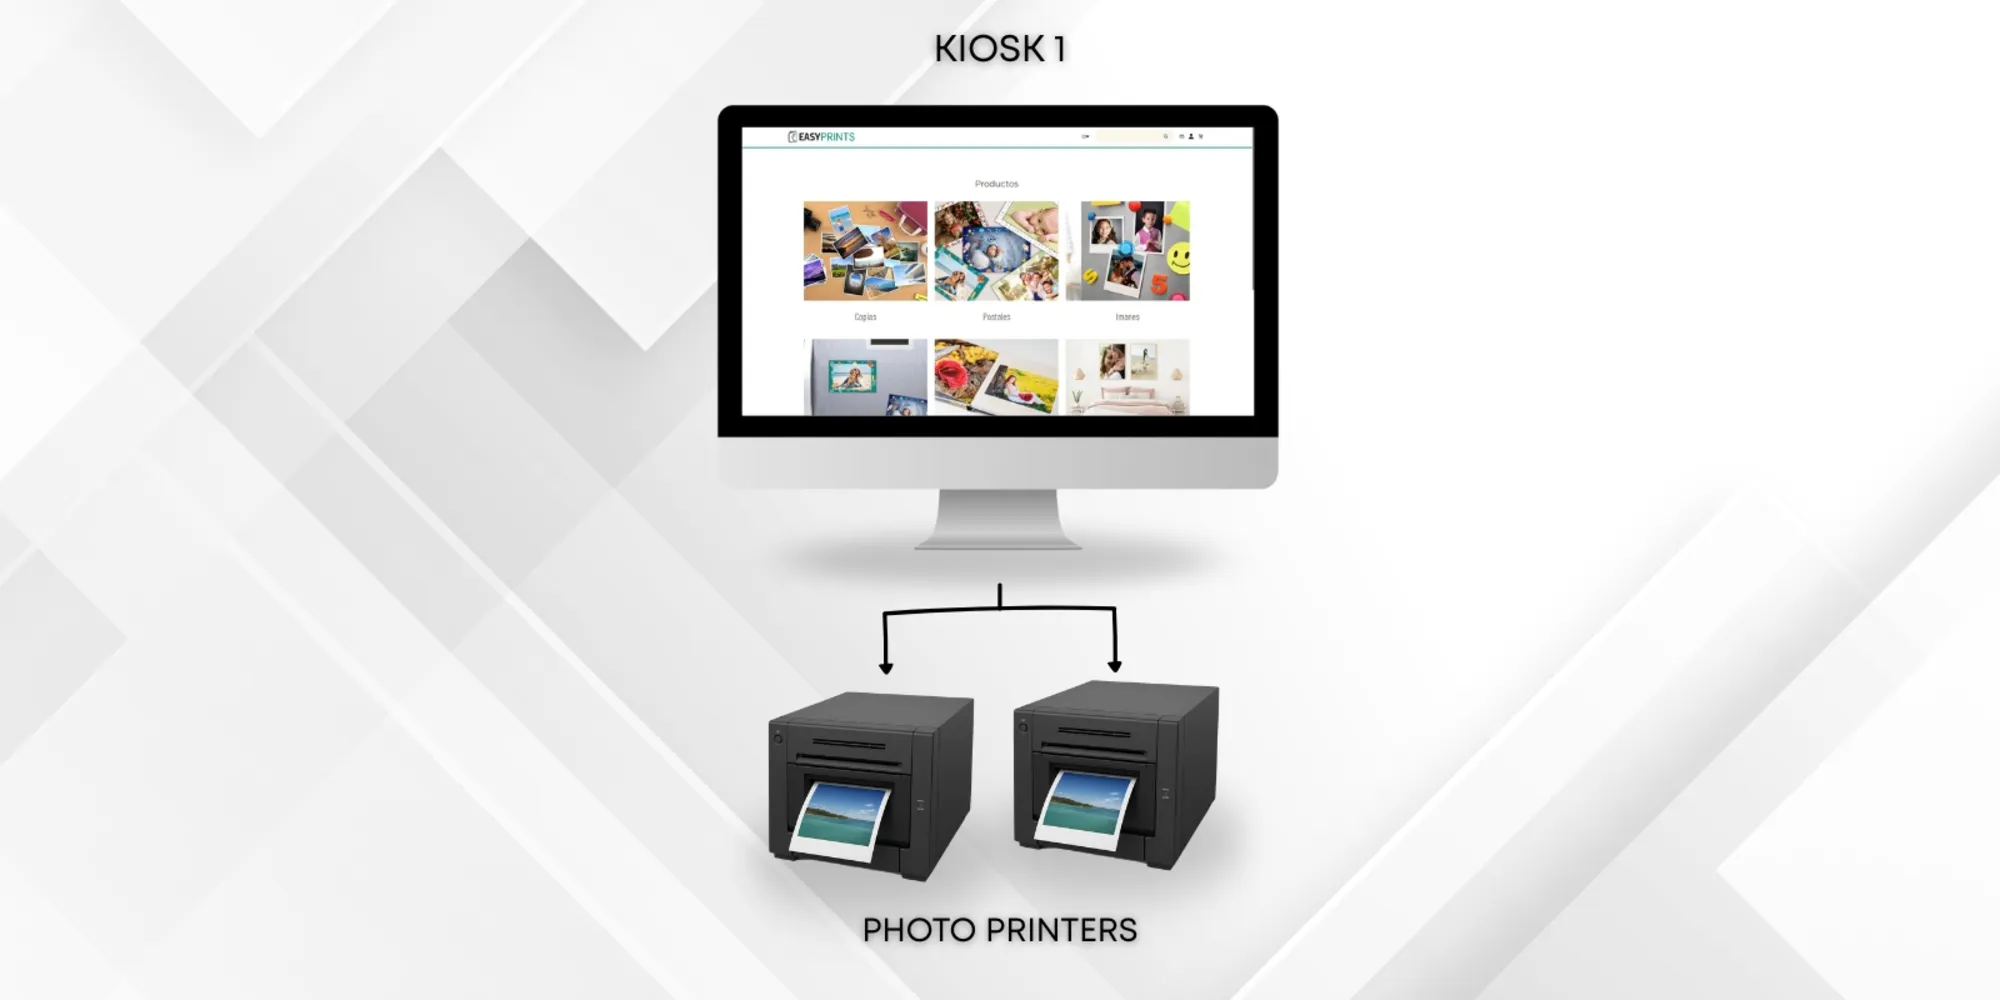
On Kiosk 1, we will perform the program installation in the same way as in the local mode configuration. For this, refer to the kiosk installation manual for local mode.
Step 4
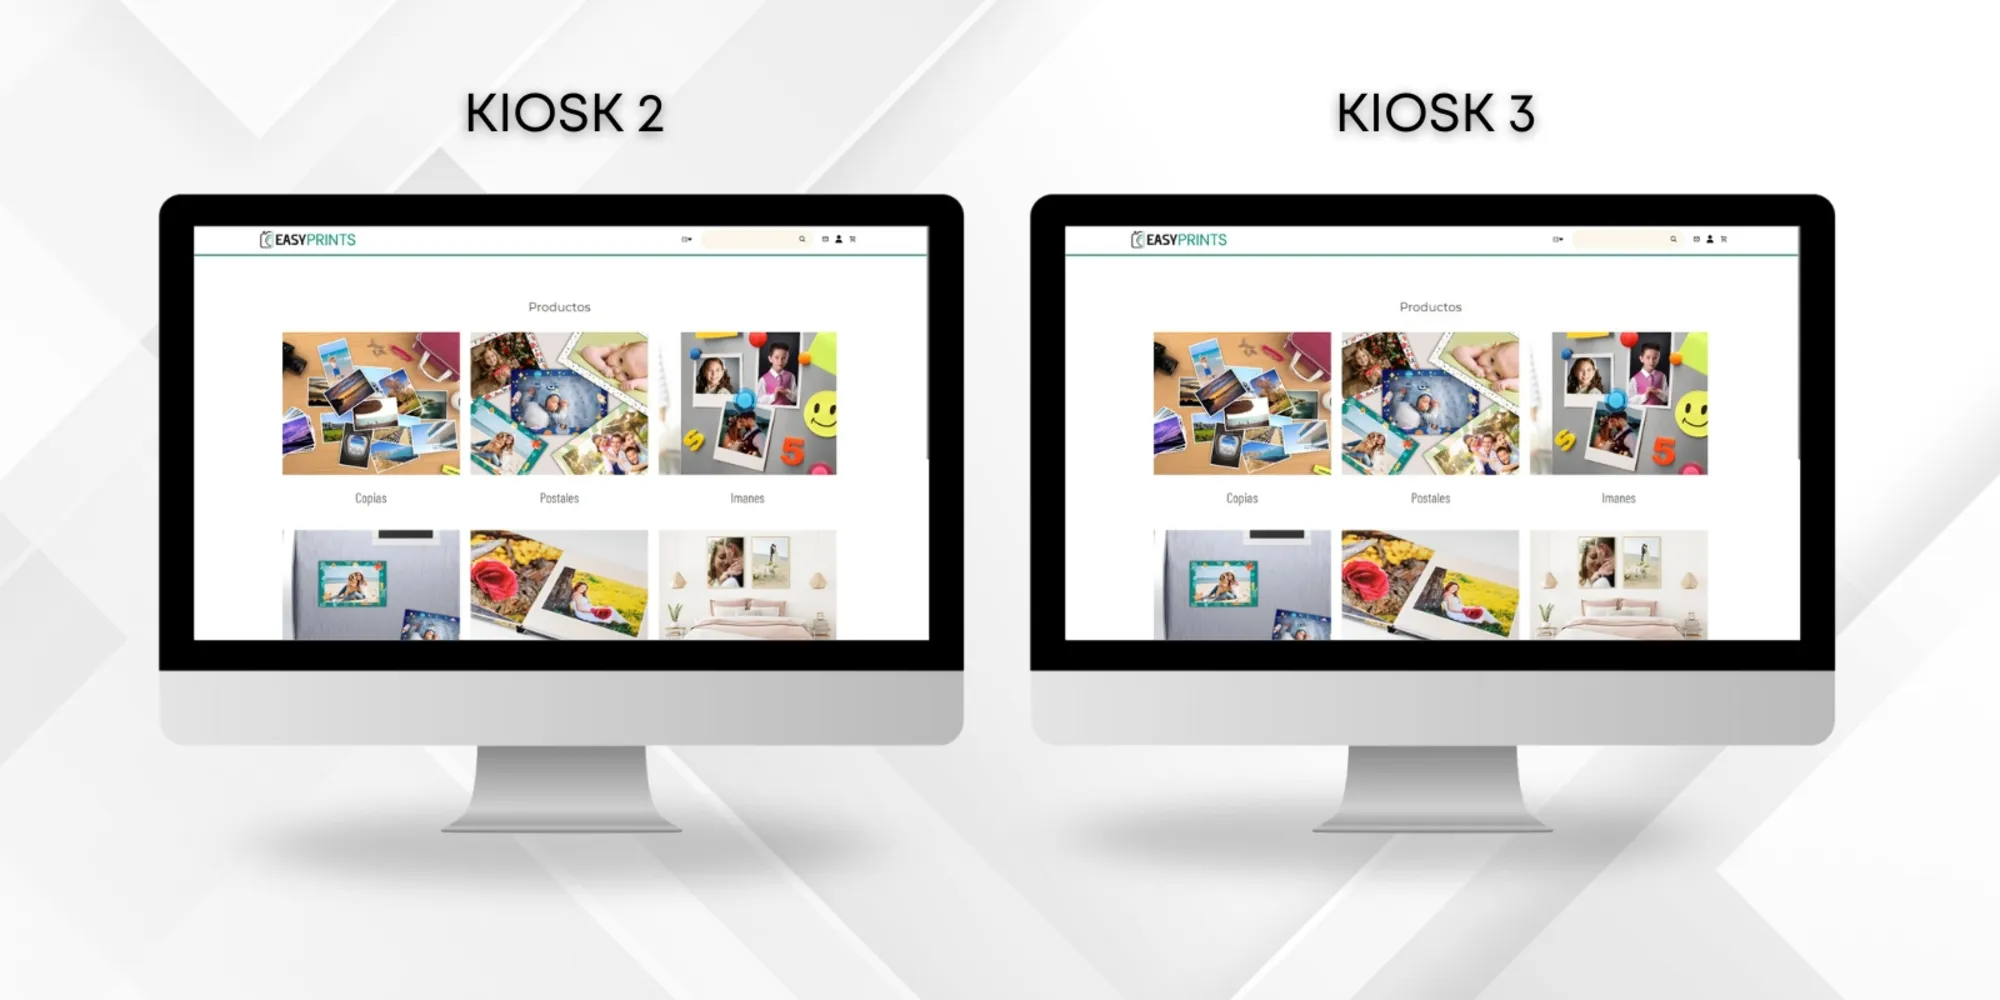
Now, on Kiosks 2 and 3 we will perform the following steps.
Step 5
On each kiosk, open the Easy-Prints application and go to the Settings section.
Step 6
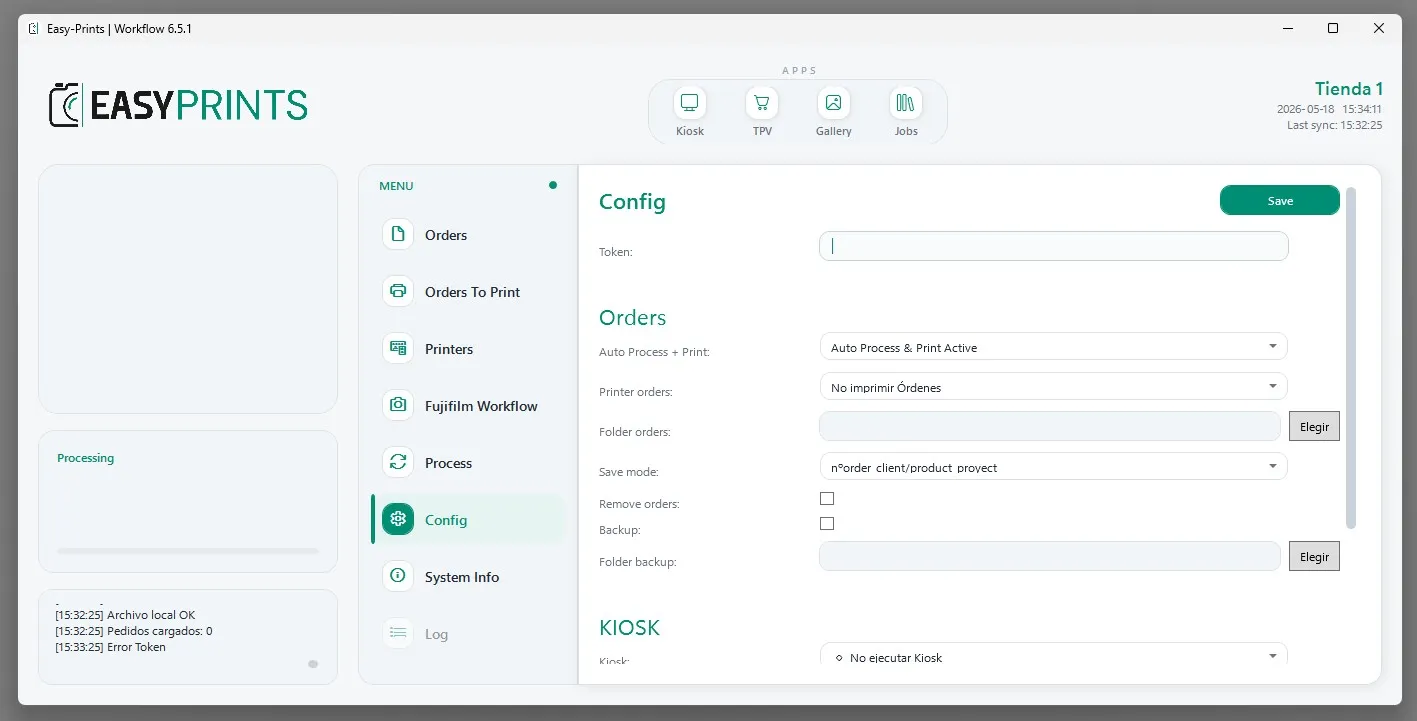
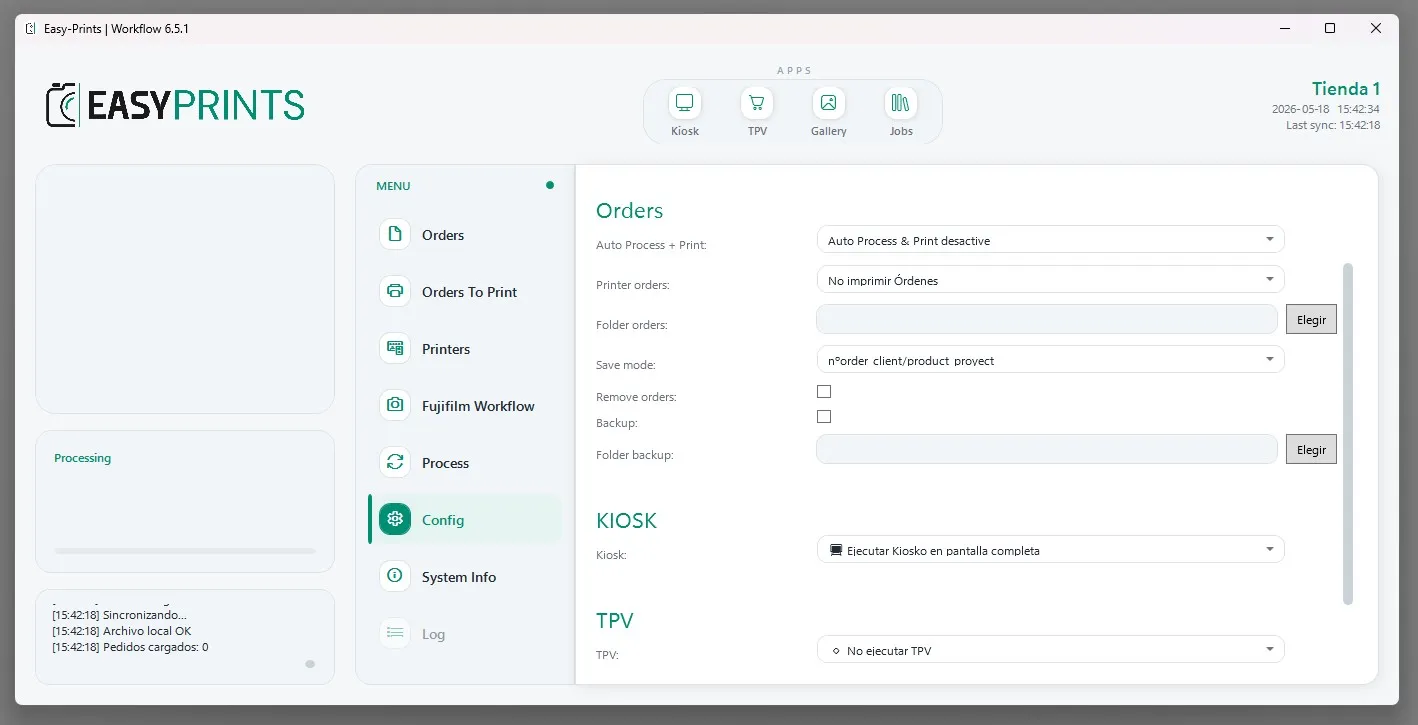
Within the Settings section, enter the same token that was configured on kiosk 1. In the Download and process web orders dropdown menu, select Disabled. In the Kiosk section, specify how you want the program to open when the computer starts. You can configure it to run in full screen, open in a window, or not run.
Step 7
Finally, save the changes and restart the Easy-Prints application. Remember that these steps must be completed on both kiosk 2 and kiosk 3.
Go back to the Help Center or contact Easy-Prints.
← Back to Help Center