
How to install the kiosk in local mode.
The first step is to install the Easy-Prints application on the computer. You must have the printers already installed on your Windows system. Access your…
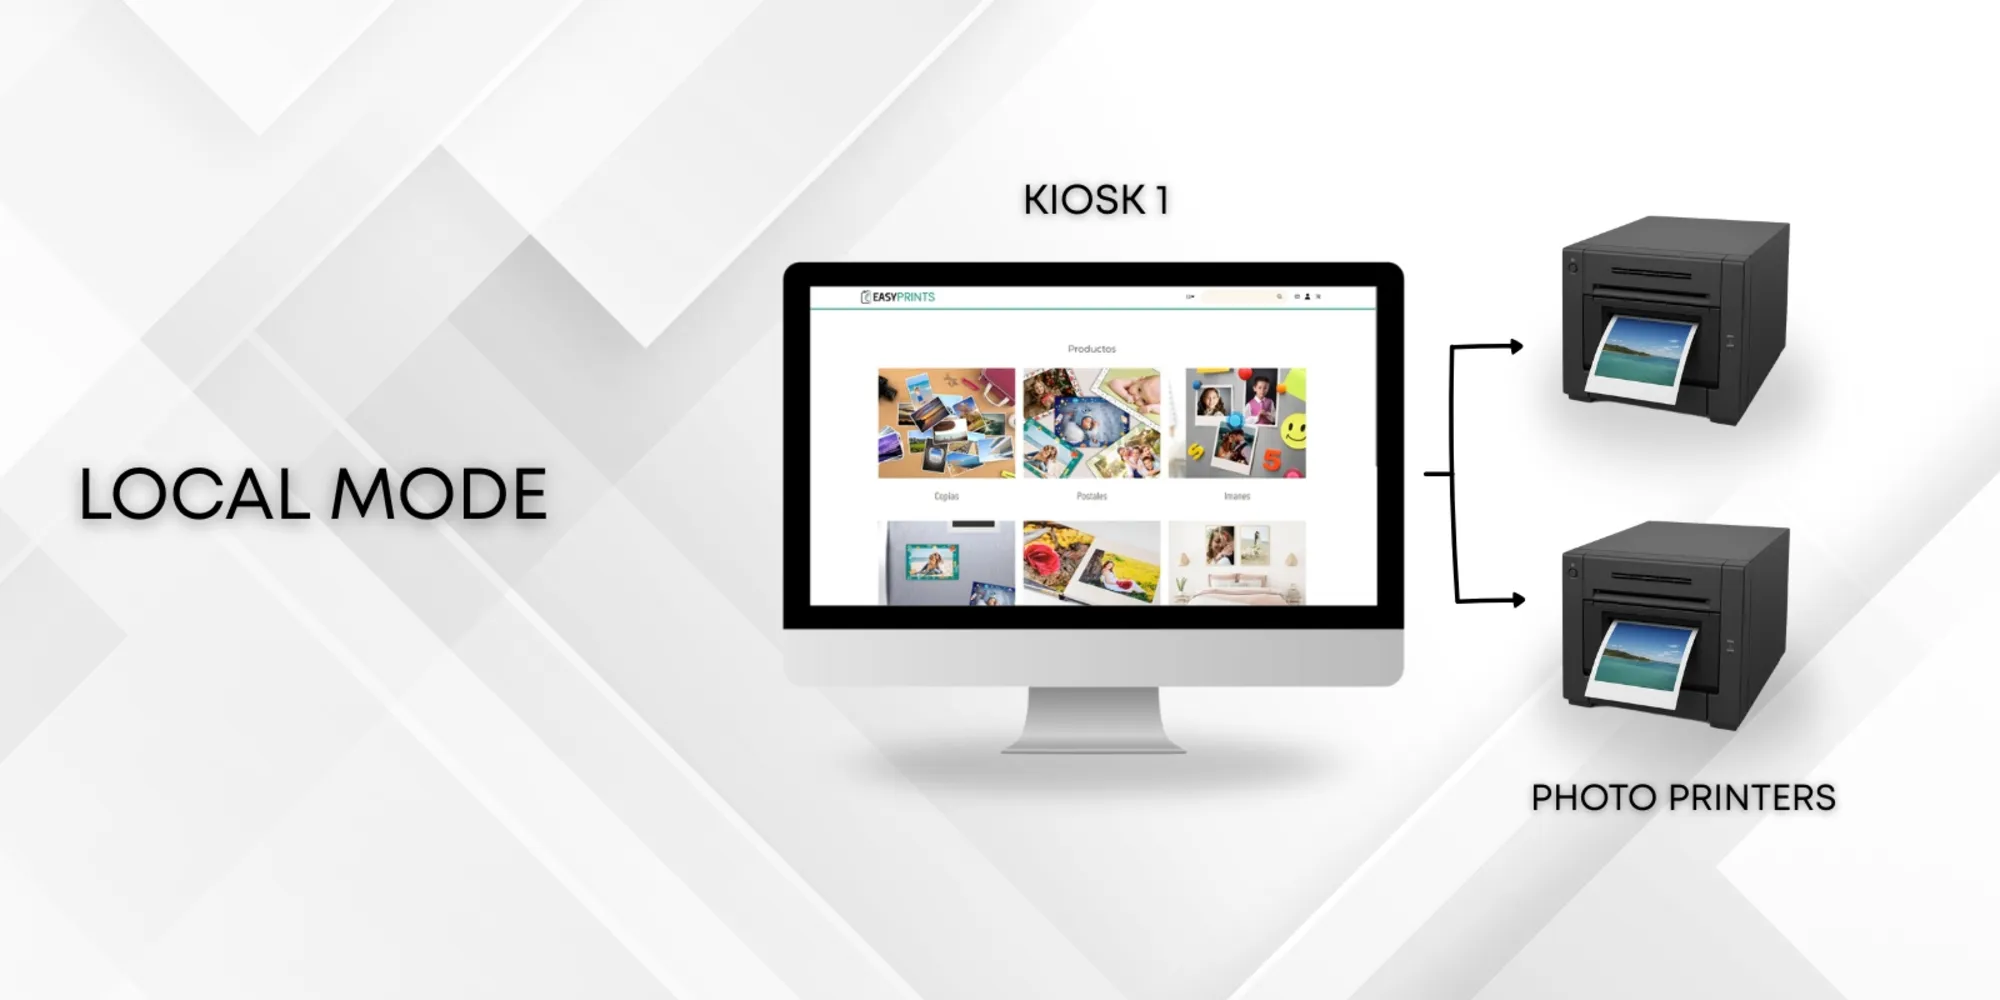
Step 1
The first step is to install the Easy-Prints application on the computer.
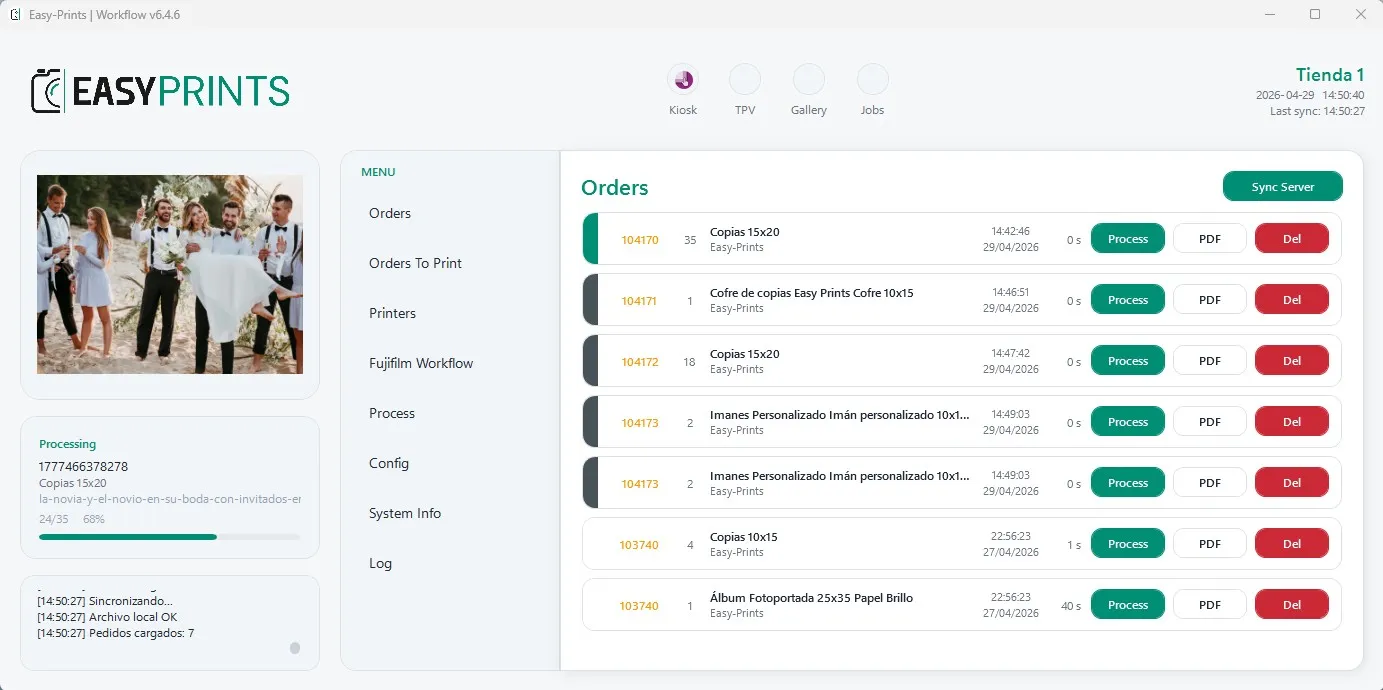
Step 2
You must have the printers already installed on your Windows system.
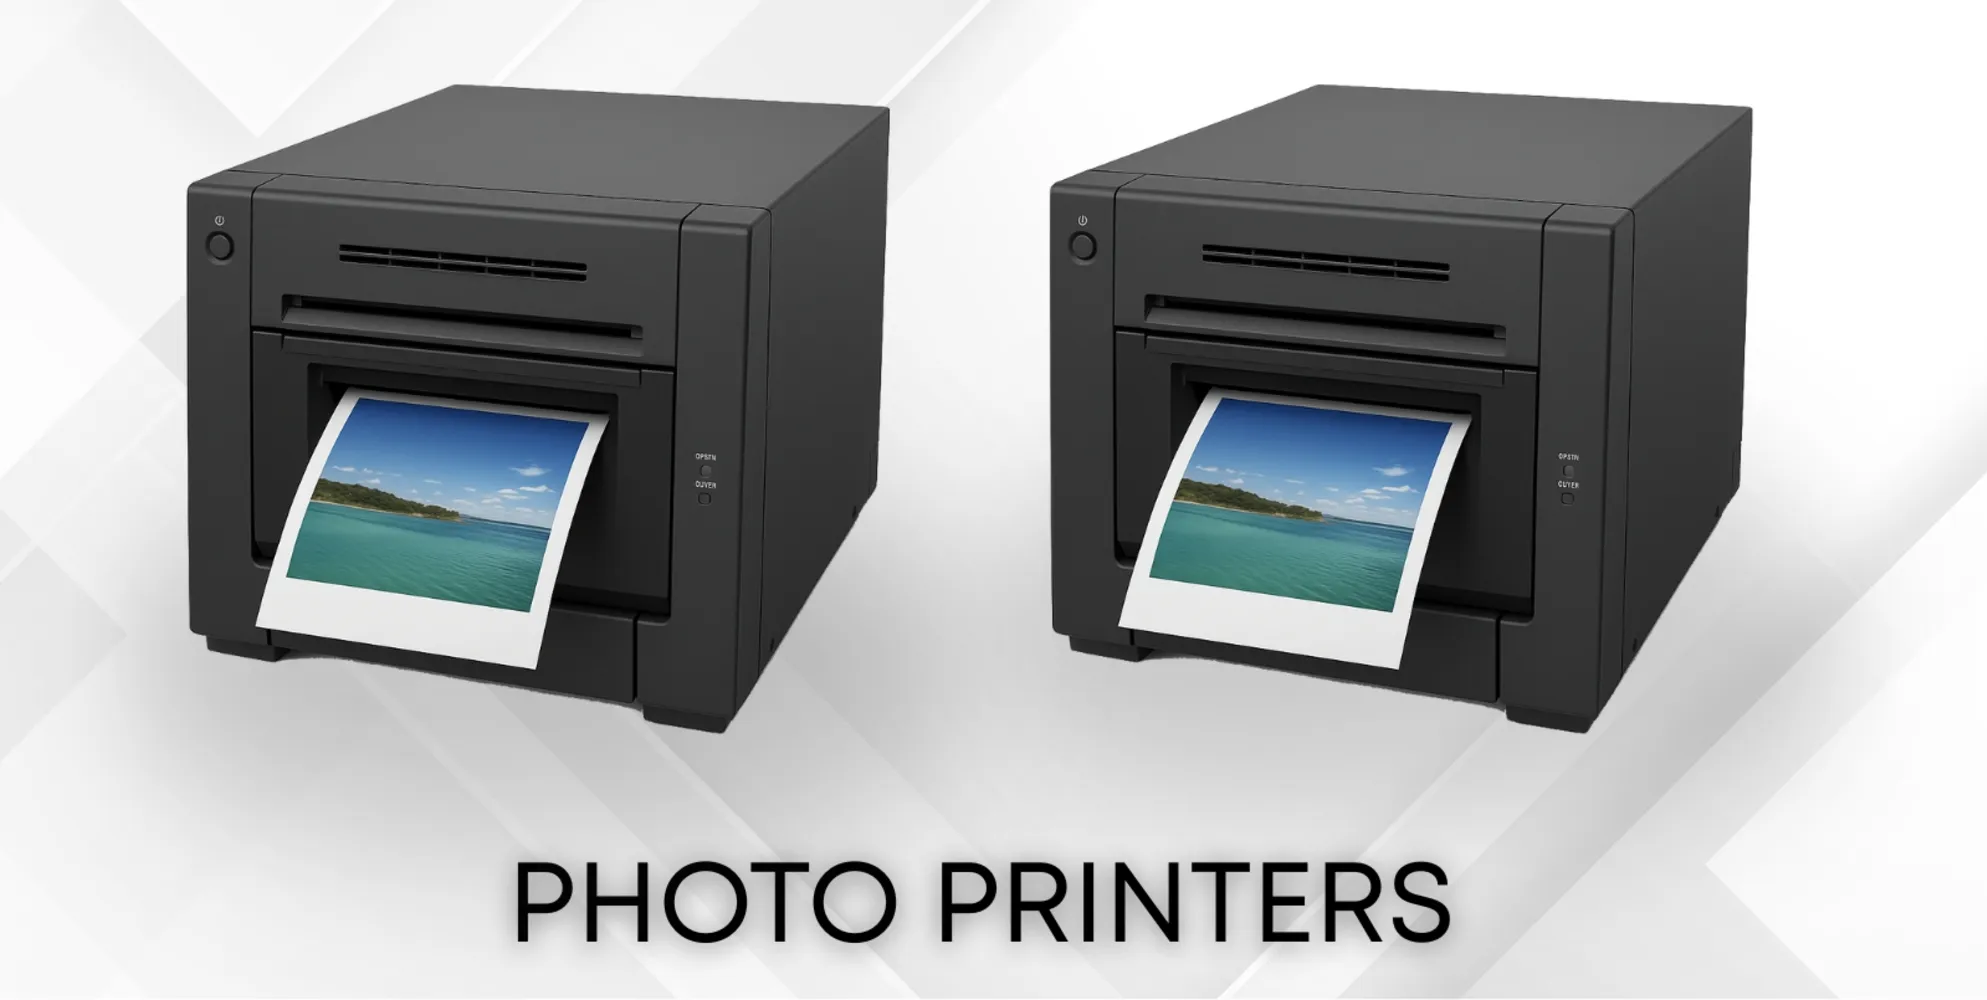
Step 3
Access your Easy-Prints account through www.easy-prints.com/manager. Once inside, go to the Products section in the left-hand menu. In the top bar, open Output mode. Then, click the green + New mode button.
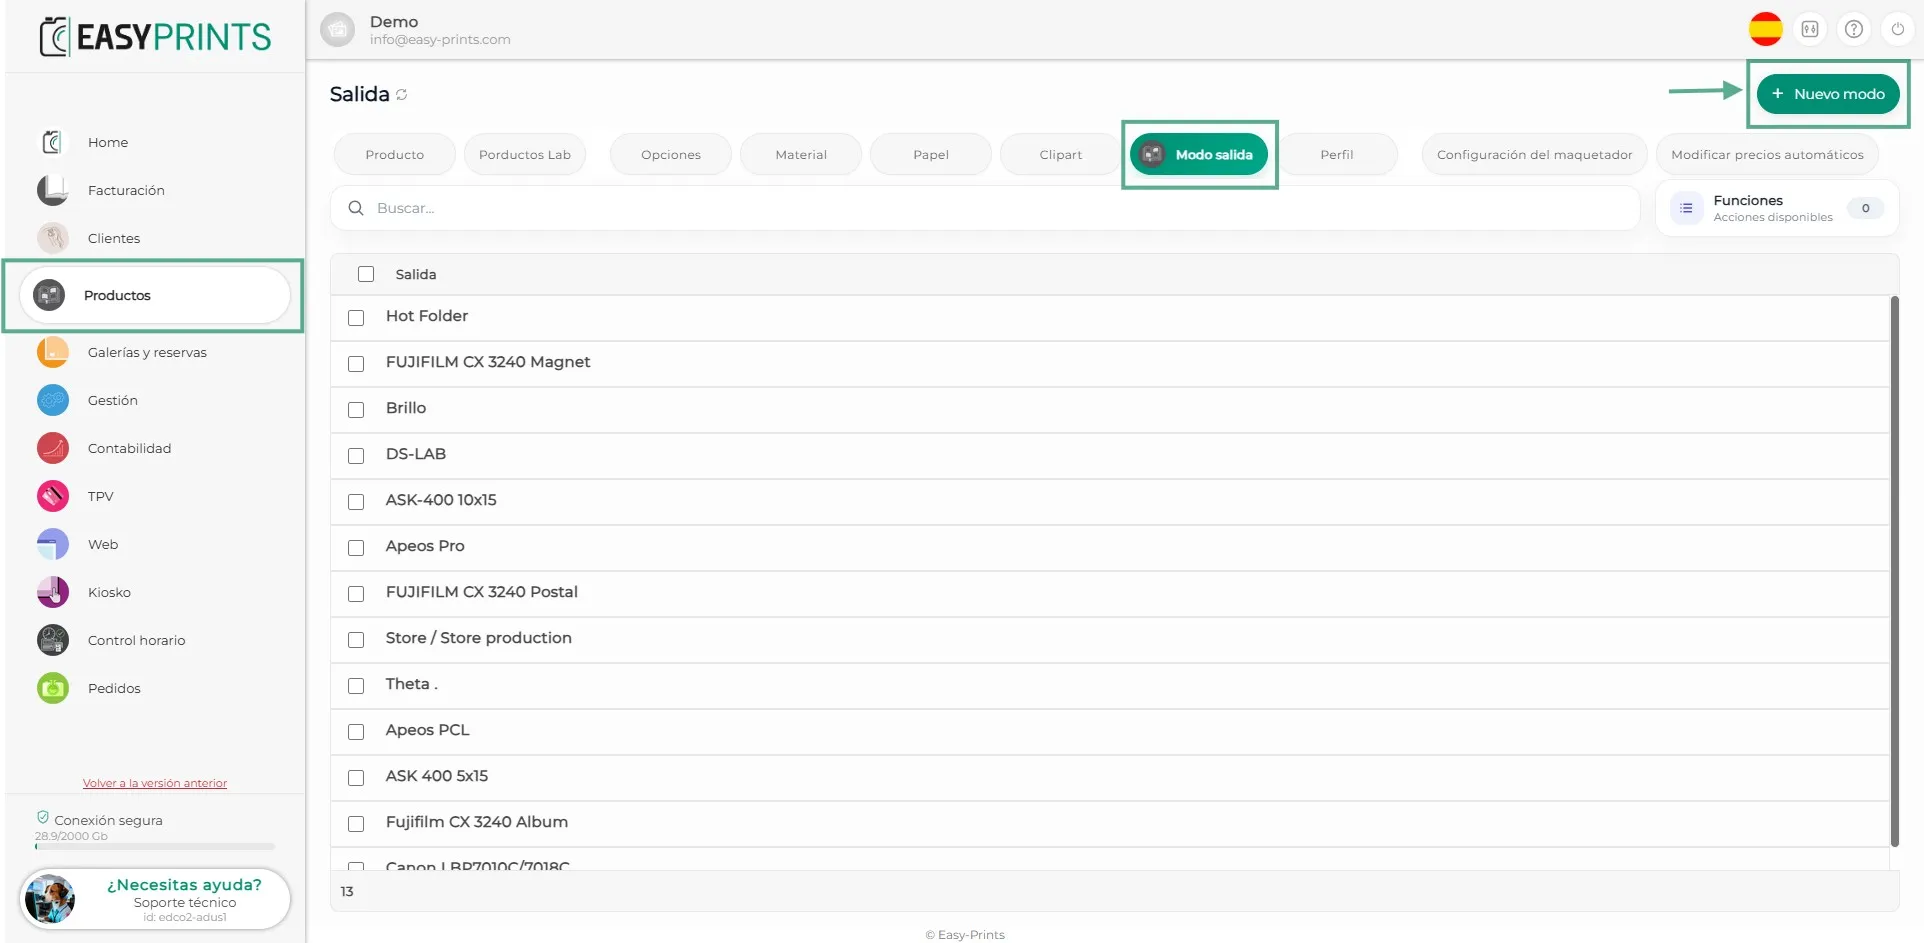
Step 4
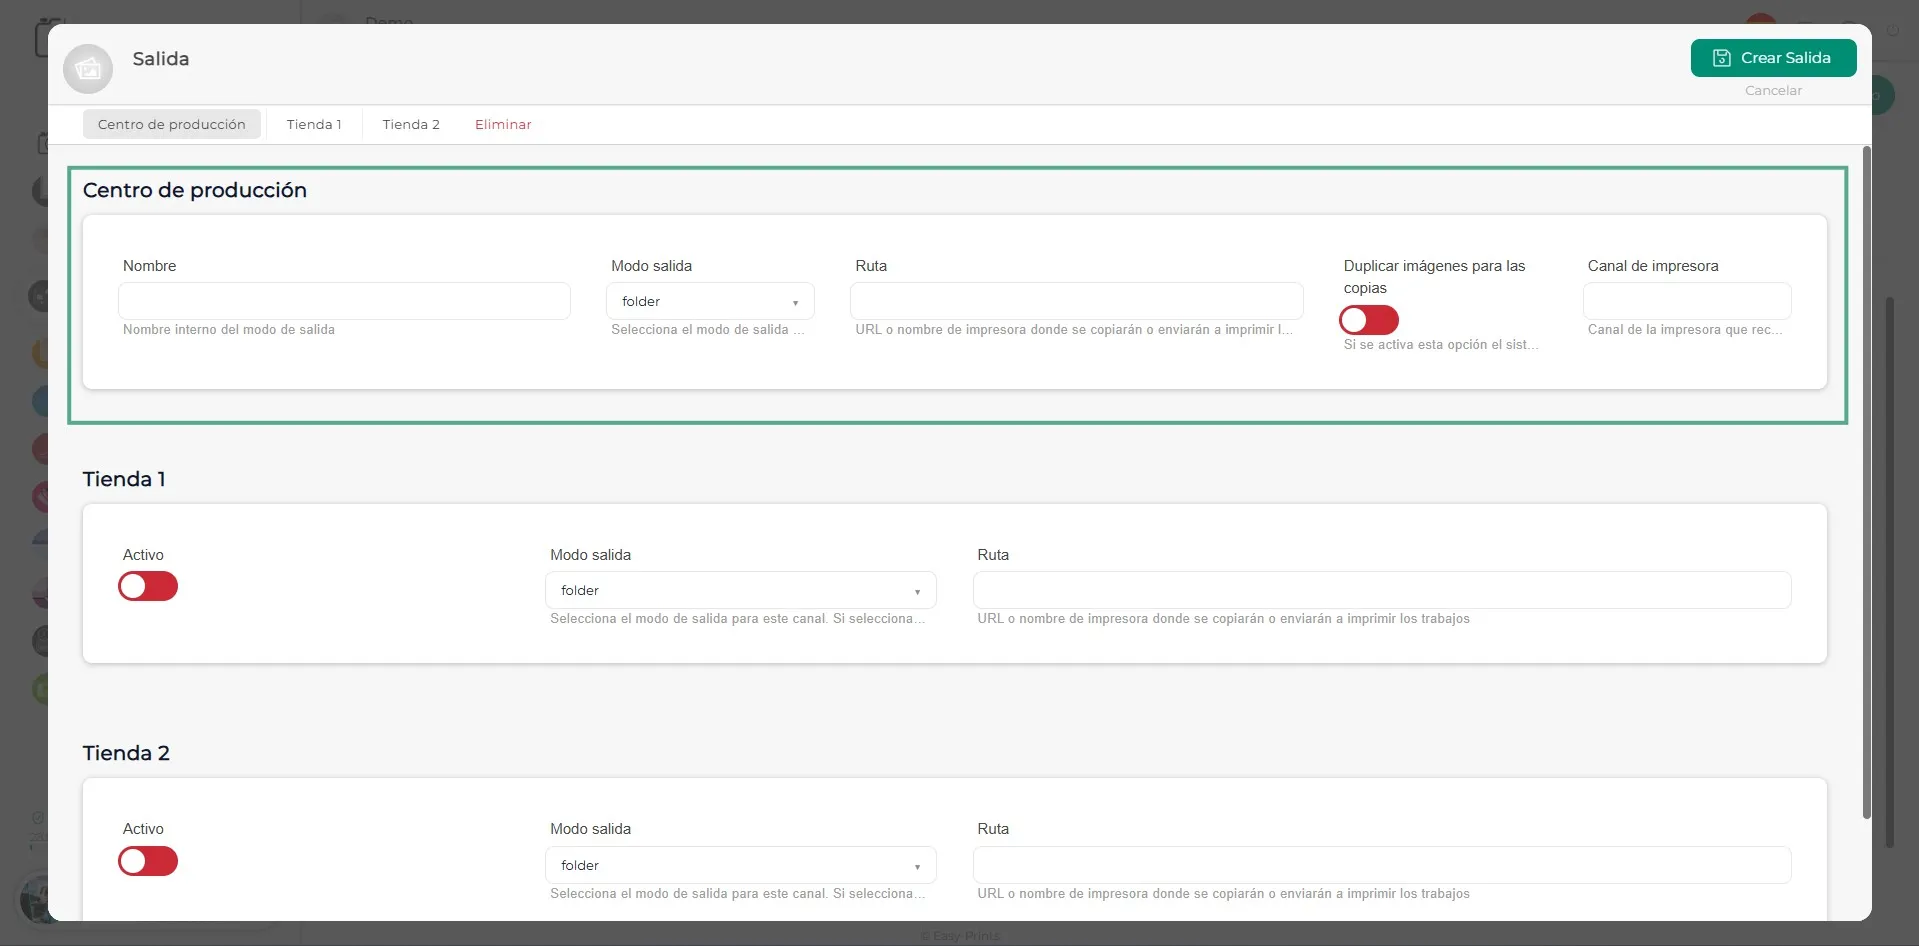
In the new window, complete the blank fields. In both the Name and Path sections, enter the exact name of the printer. In the Output mode section, select the printer you are adding.
Step 5
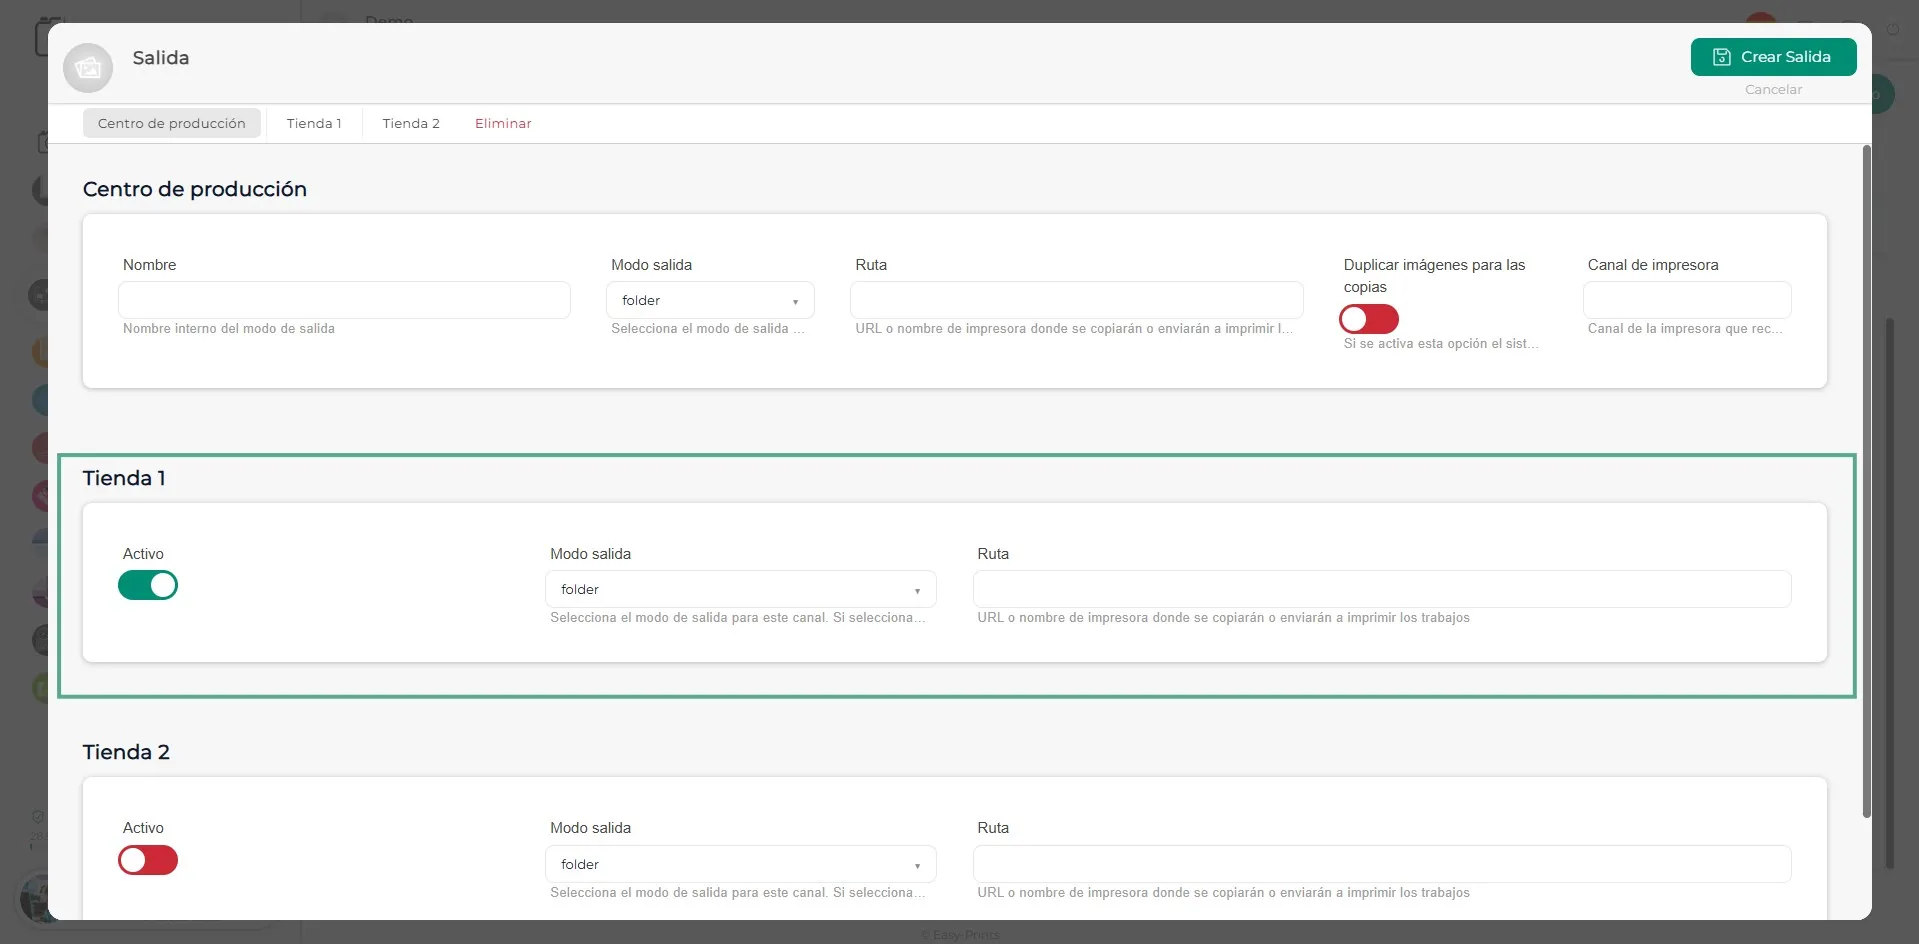
Next, enable the store where the printer is located. Then, select the corresponding printer again in the available fields. To create a store, refer to the Create store manual in the Stores section.
Step 6
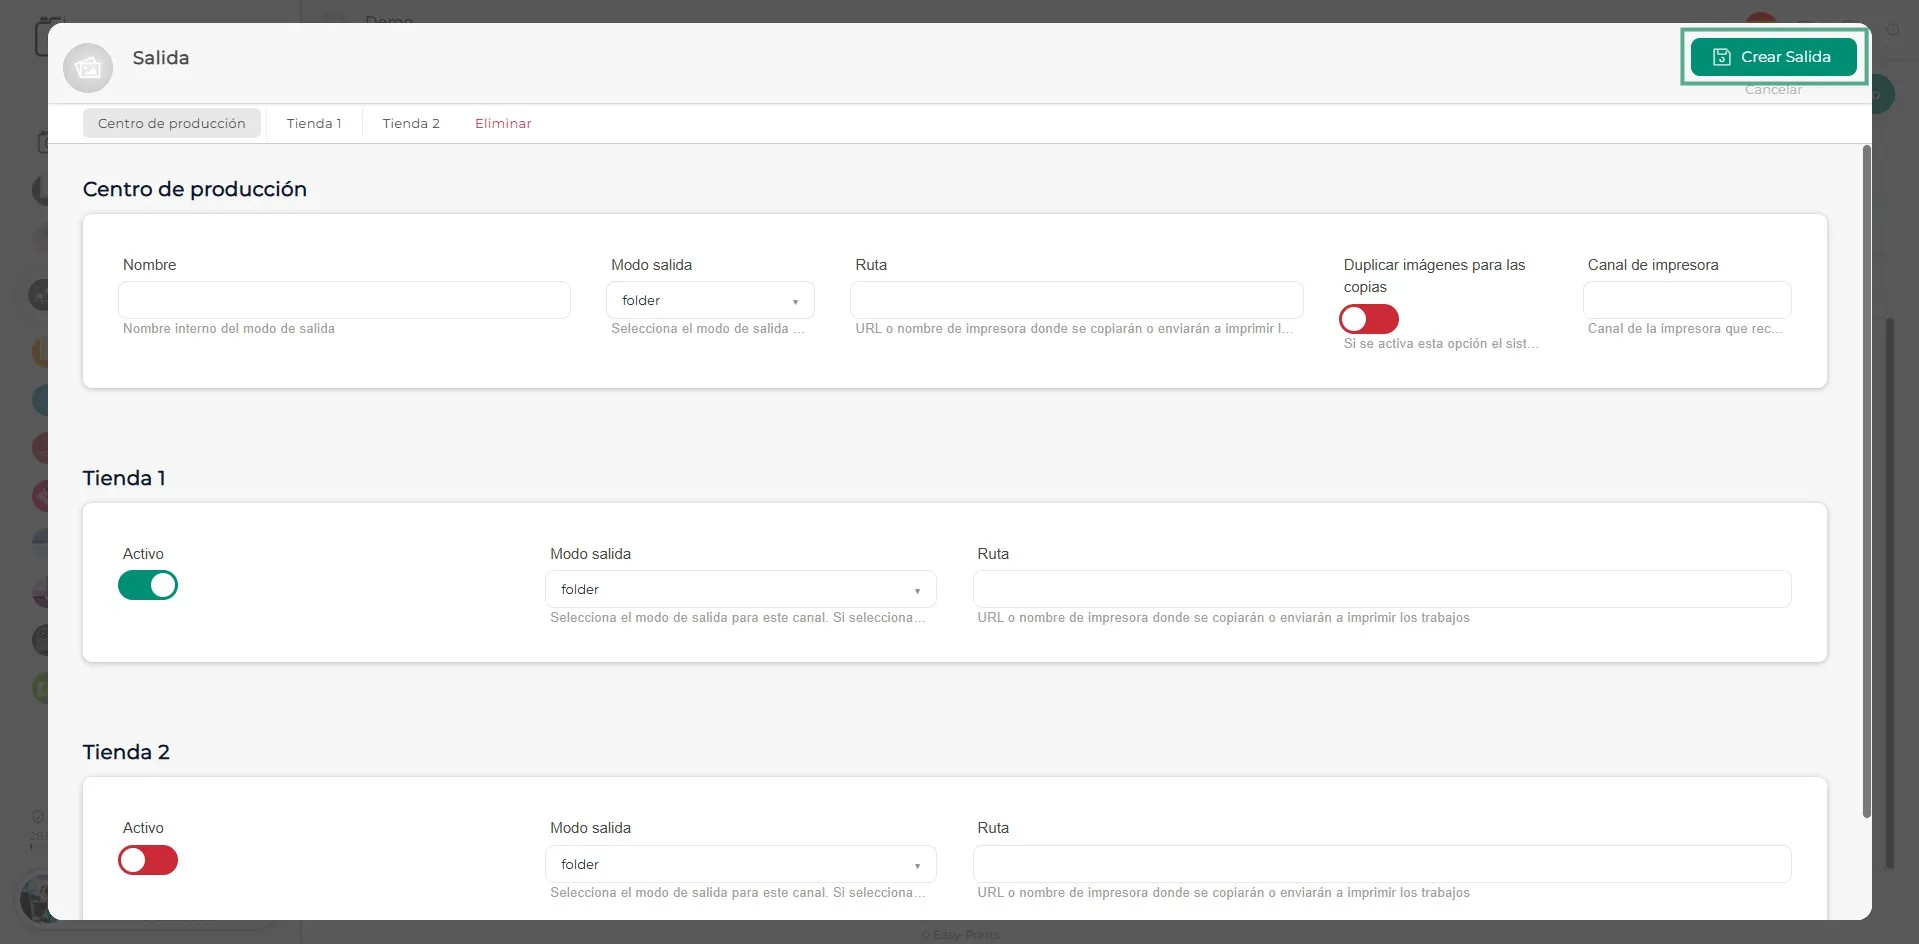
Once the information has been completed, save the changes by clicking the Save button located in the upper-right corner of the screen.
Step 7
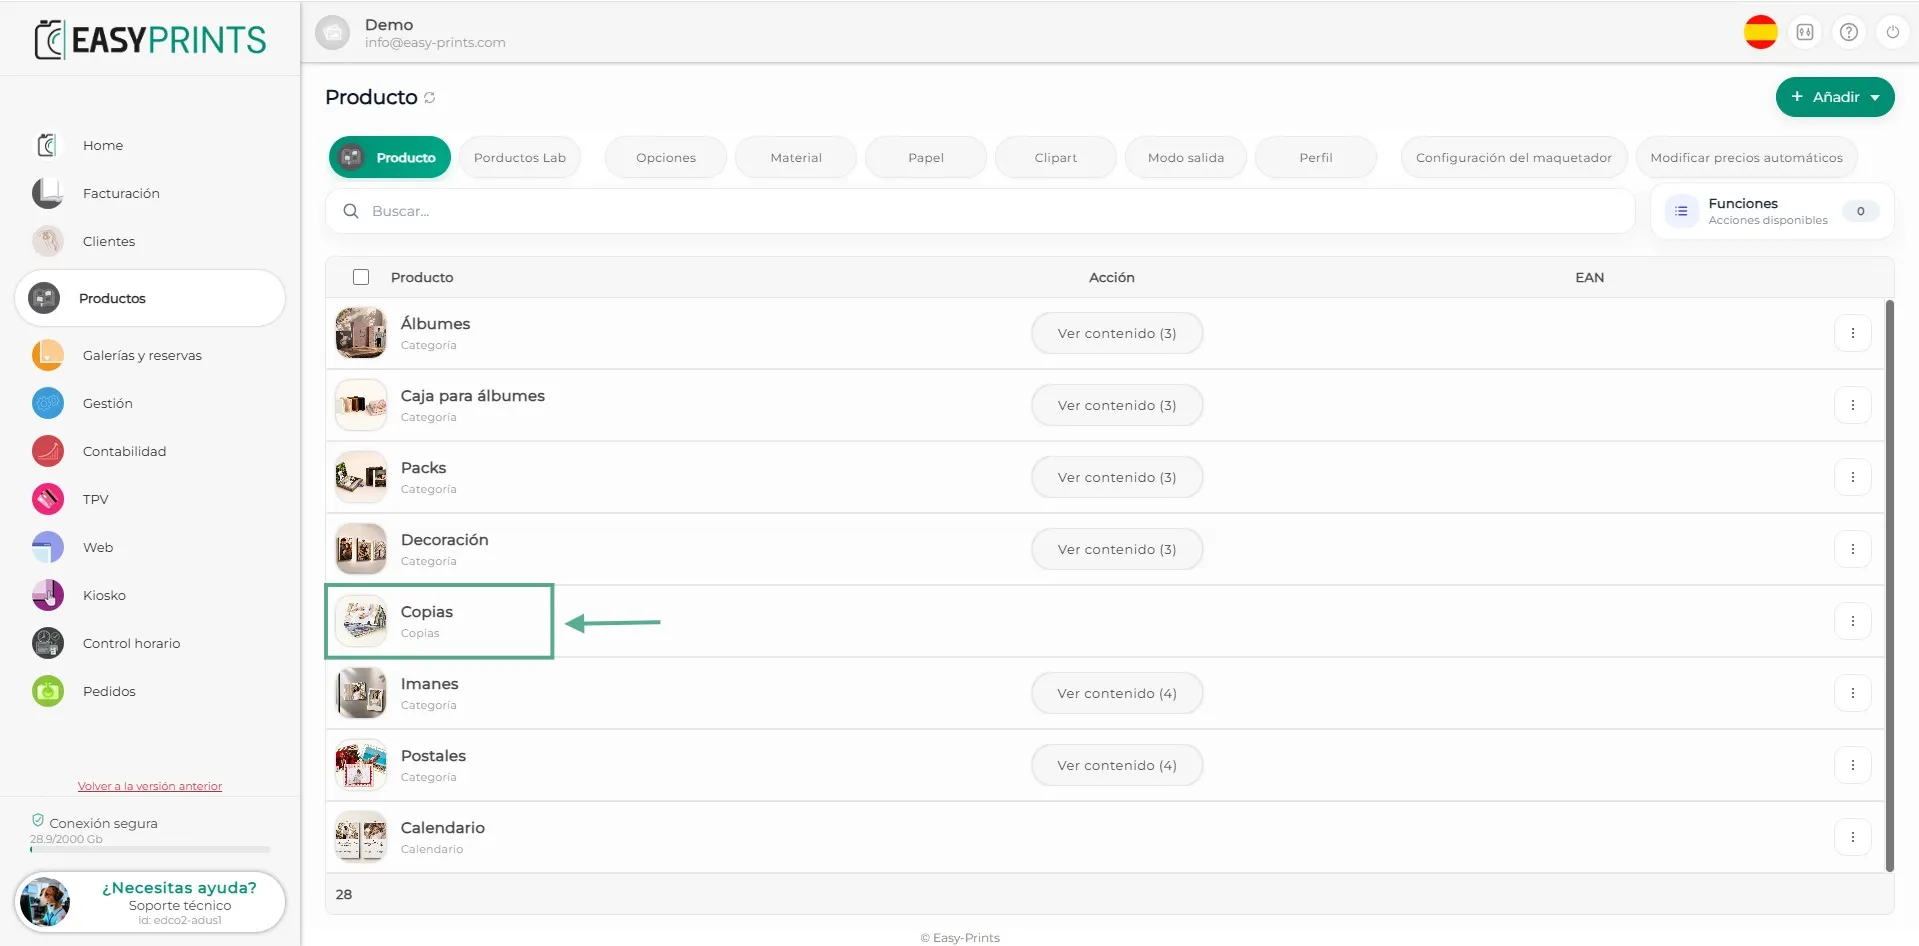
Once the printer has been created, go to the Products section. For each product, you must specify which printer it will be sent to. As an example, we will use the Prints product.
Step 8
Within the product, go to the different available dimensions. In this case, we will use the 10 × 15 size as an example.
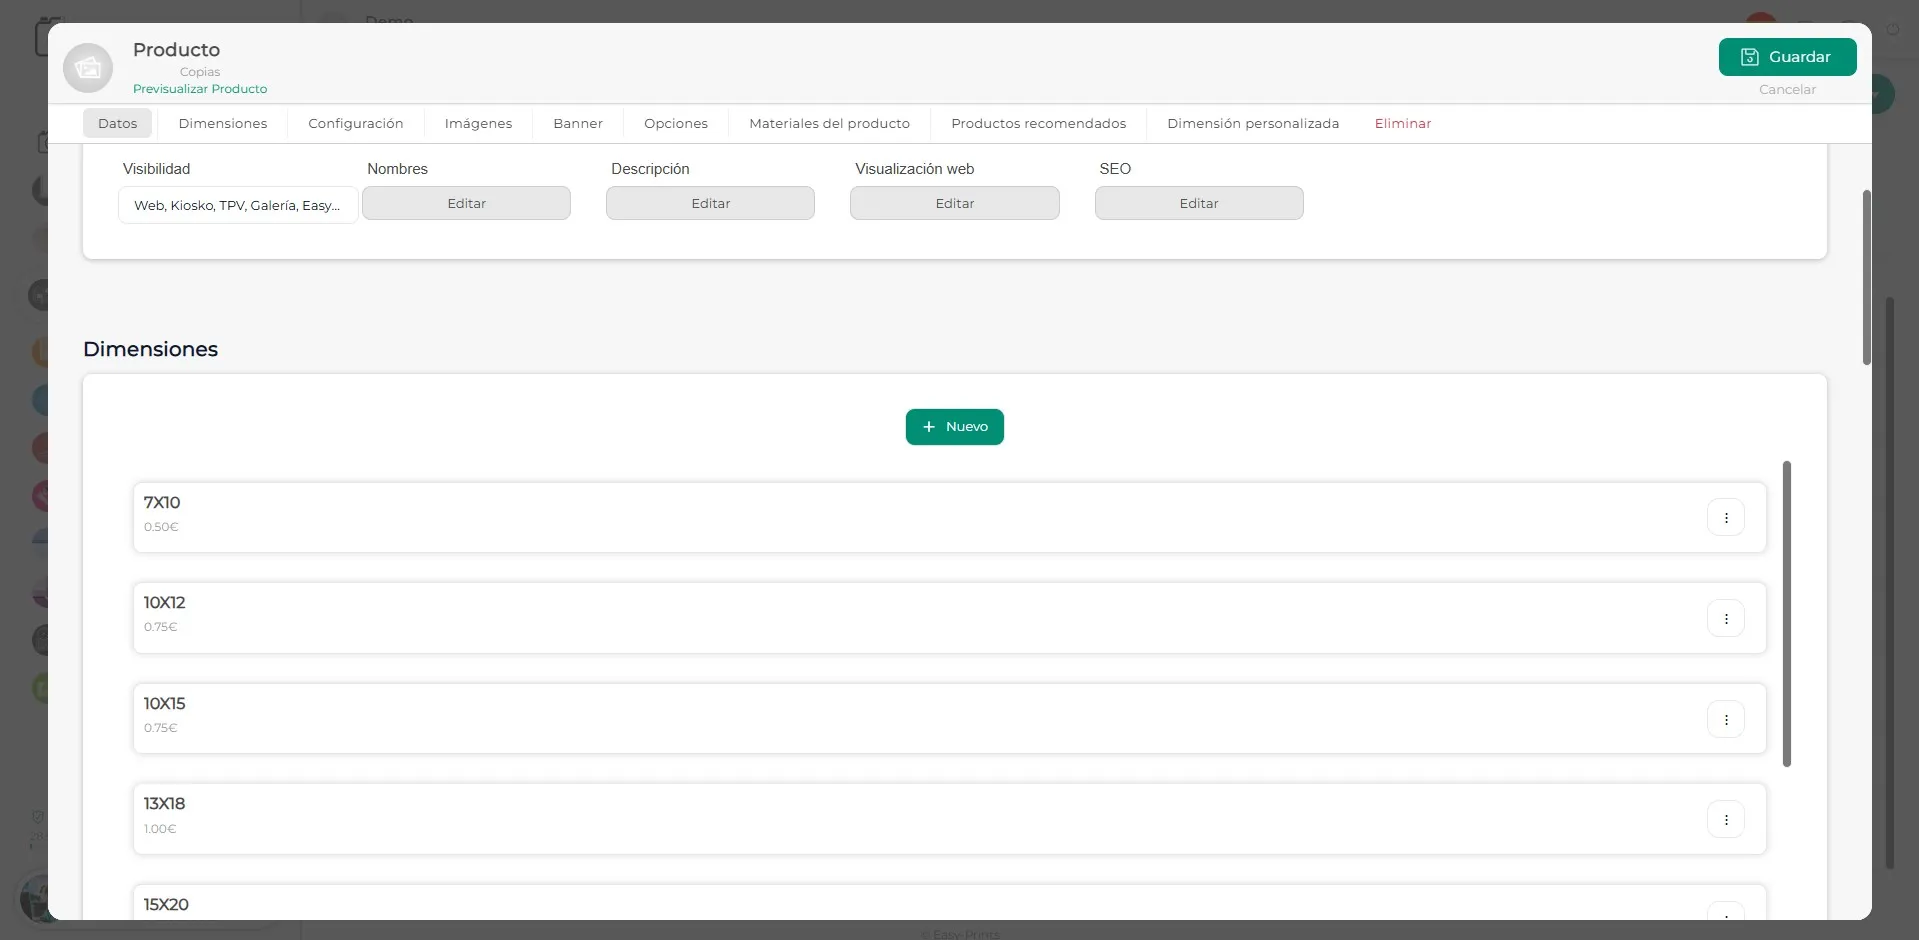
Step 9
In the Processing rules section, under Output mode, select the printer created earlier. Once the product has been configured, save the changes.
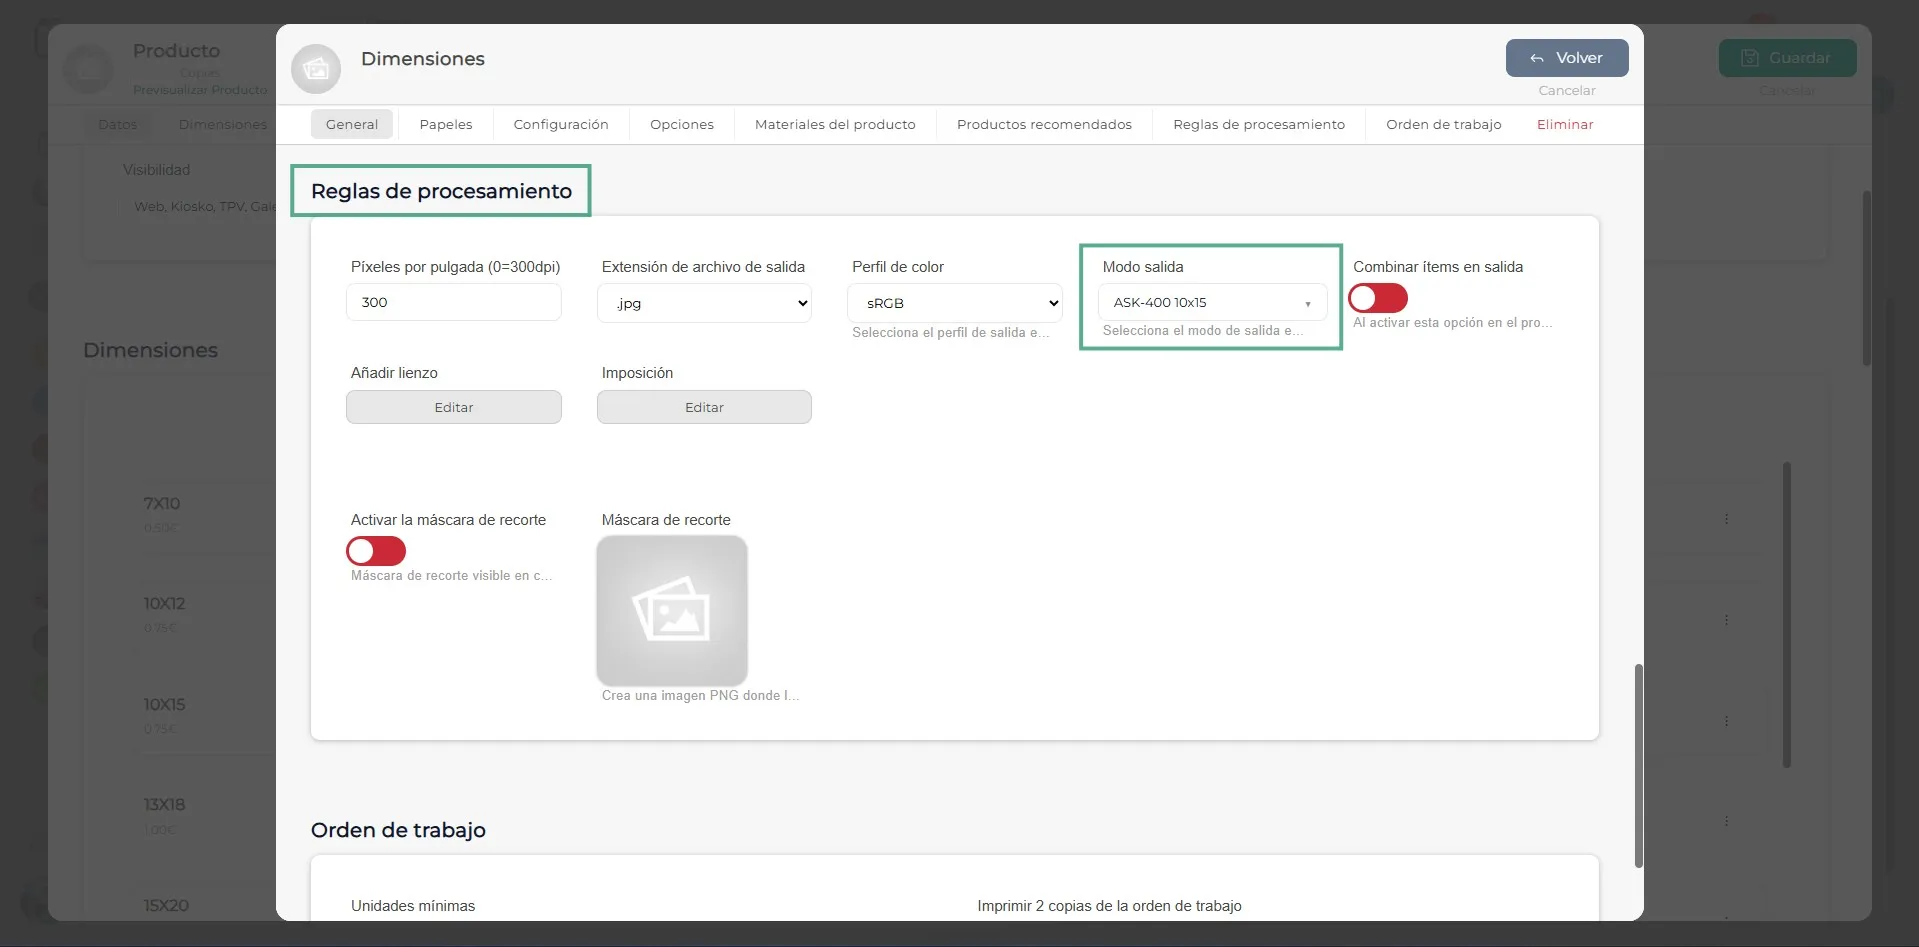
Step 10
To apply the changes, close and reopen the Easy-Prints application. This will ensure that the output mode is updated correctly.
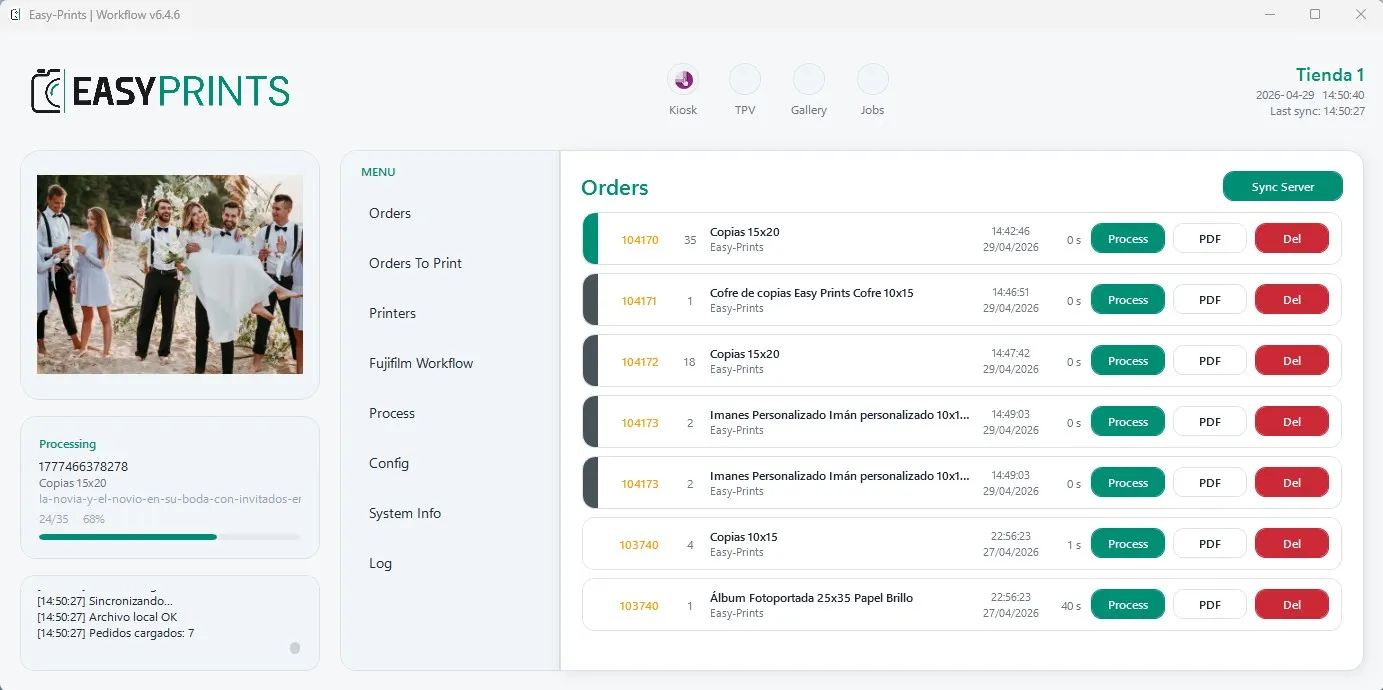
Step 11
Once the Easy-Prints application has been restarted, go to the Printers section to configure it.
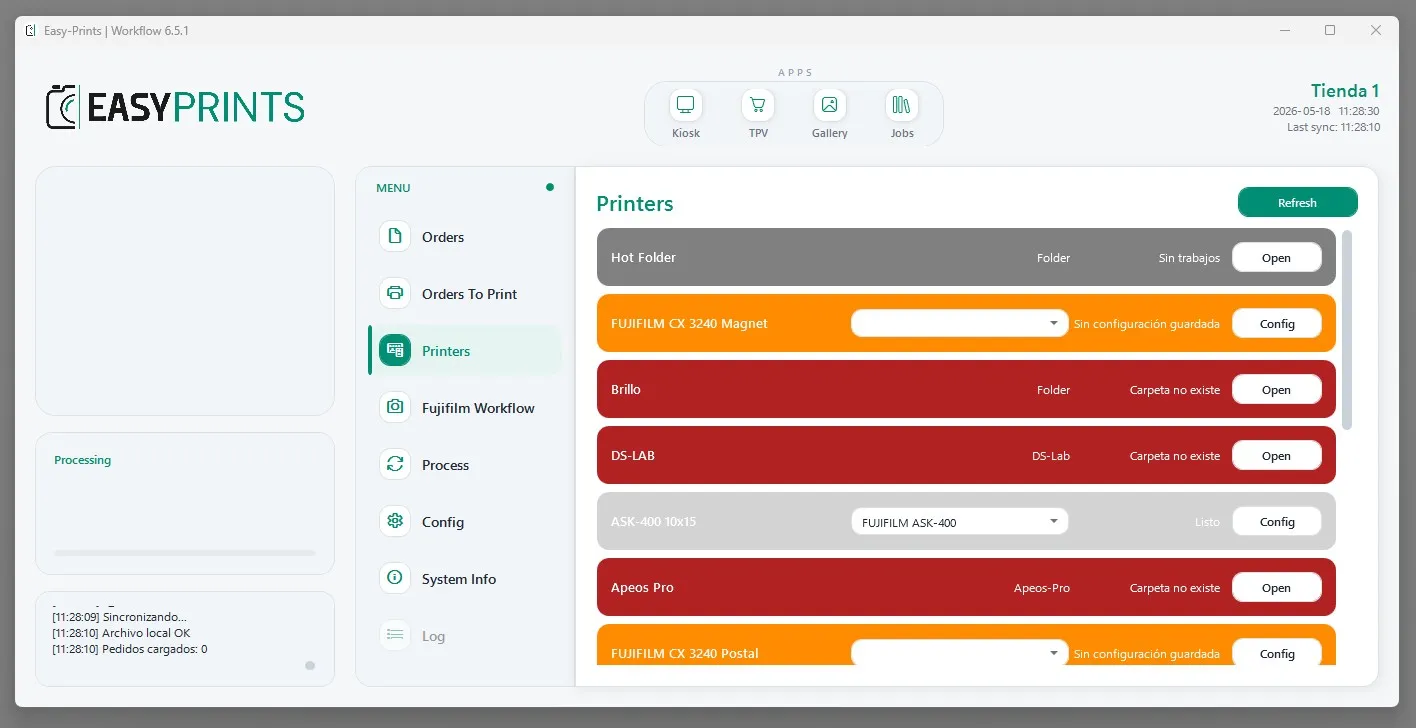
Step 12
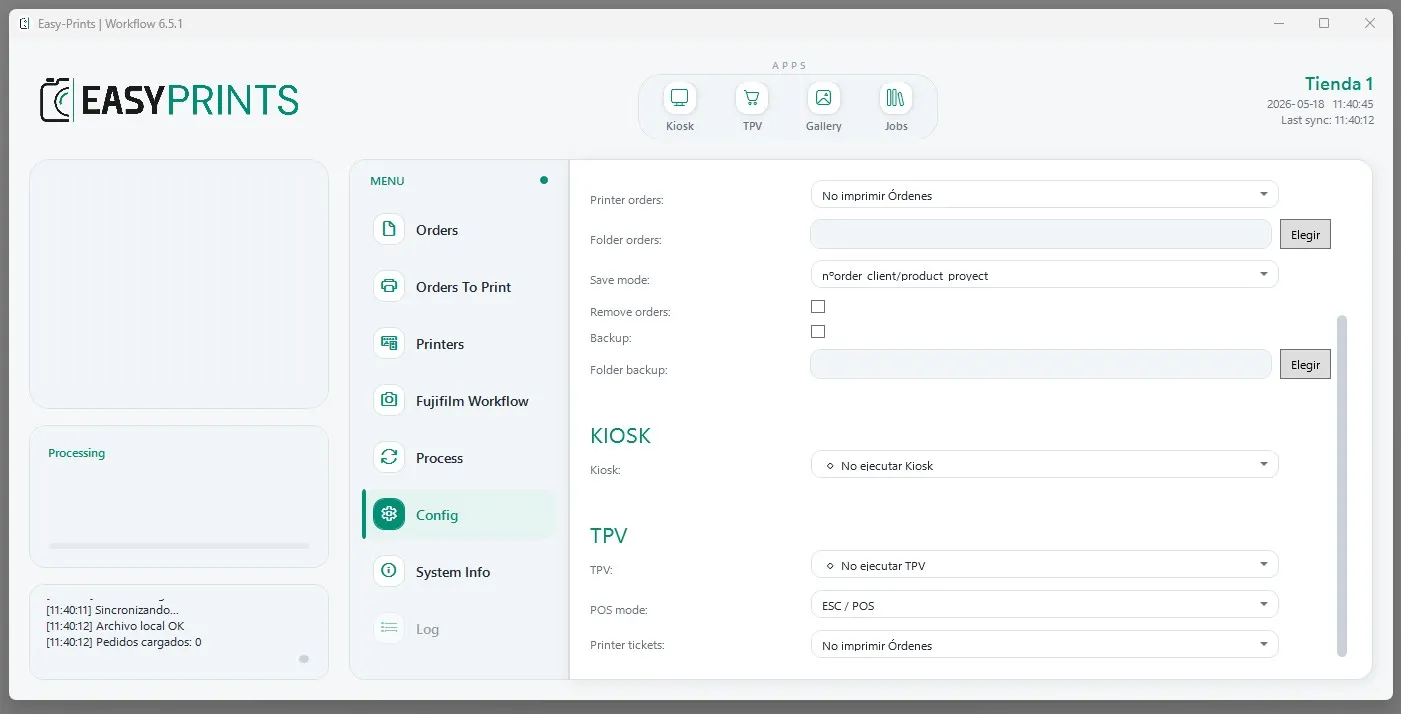
Once the printer has been configured, go to the Settings section of the Easy-Prints application and specify how you want the kiosk to run.
Step 13
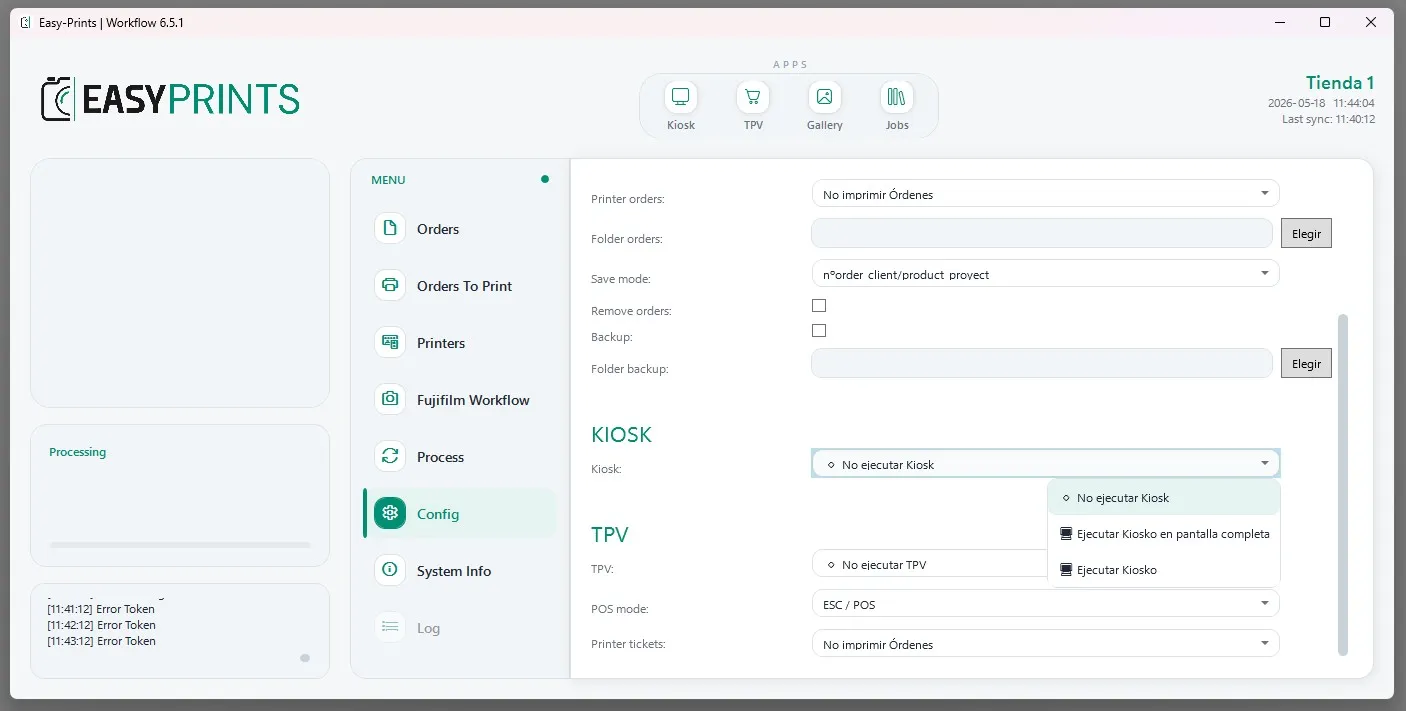
In the Kiosk dropdown menu, you can choose how you want the program to open. Three options are available: 1. Do not run the kiosk. 2. Run the kiosk in full screen. 3. Run the kiosk in a window.
Step 14
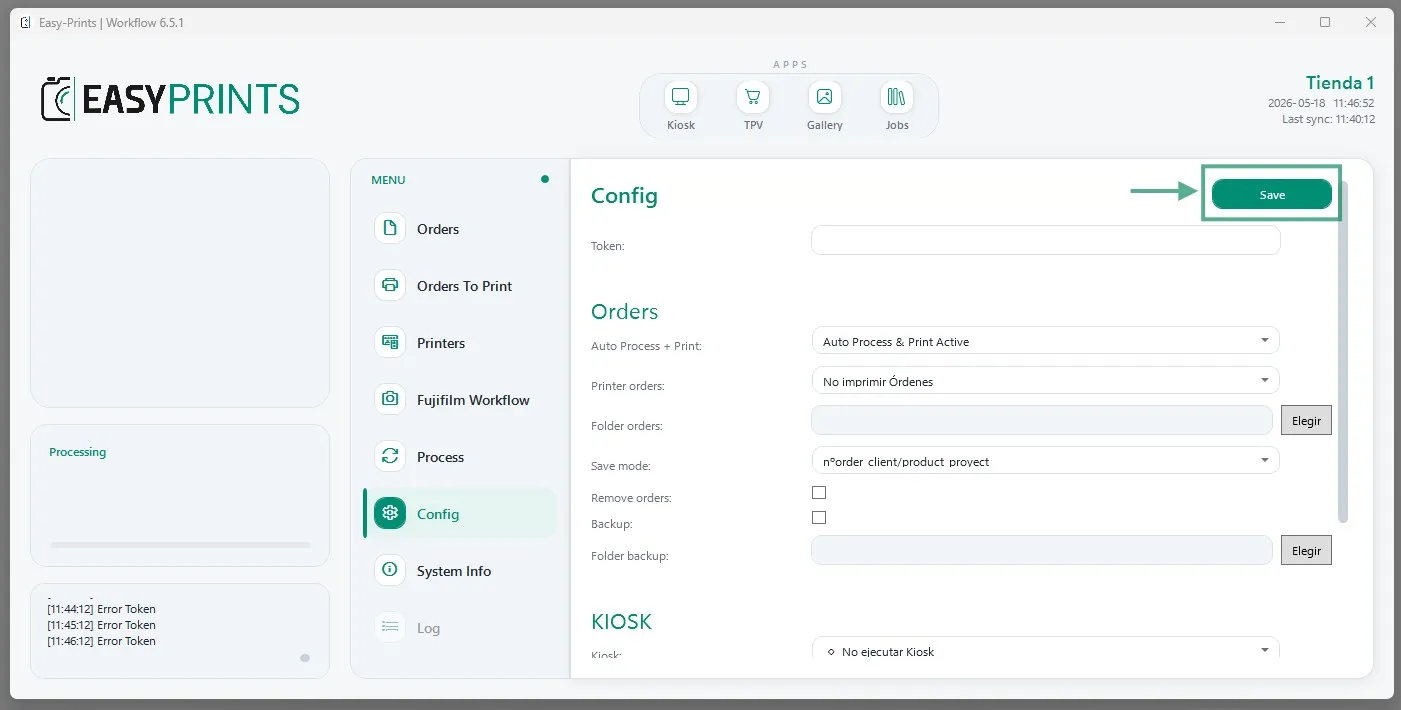
Finally, make sure to click the Save button to keep the changes.
Go back to the Help Center or contact Easy-Prints.
← Back to Help Center