
How to add a material
Go to the Products section located in the left menu. Within Products, in the top navigation bar, you will find the Material option. Click on it. In the top…
Step 1
Go to the Products section located in the left menu.
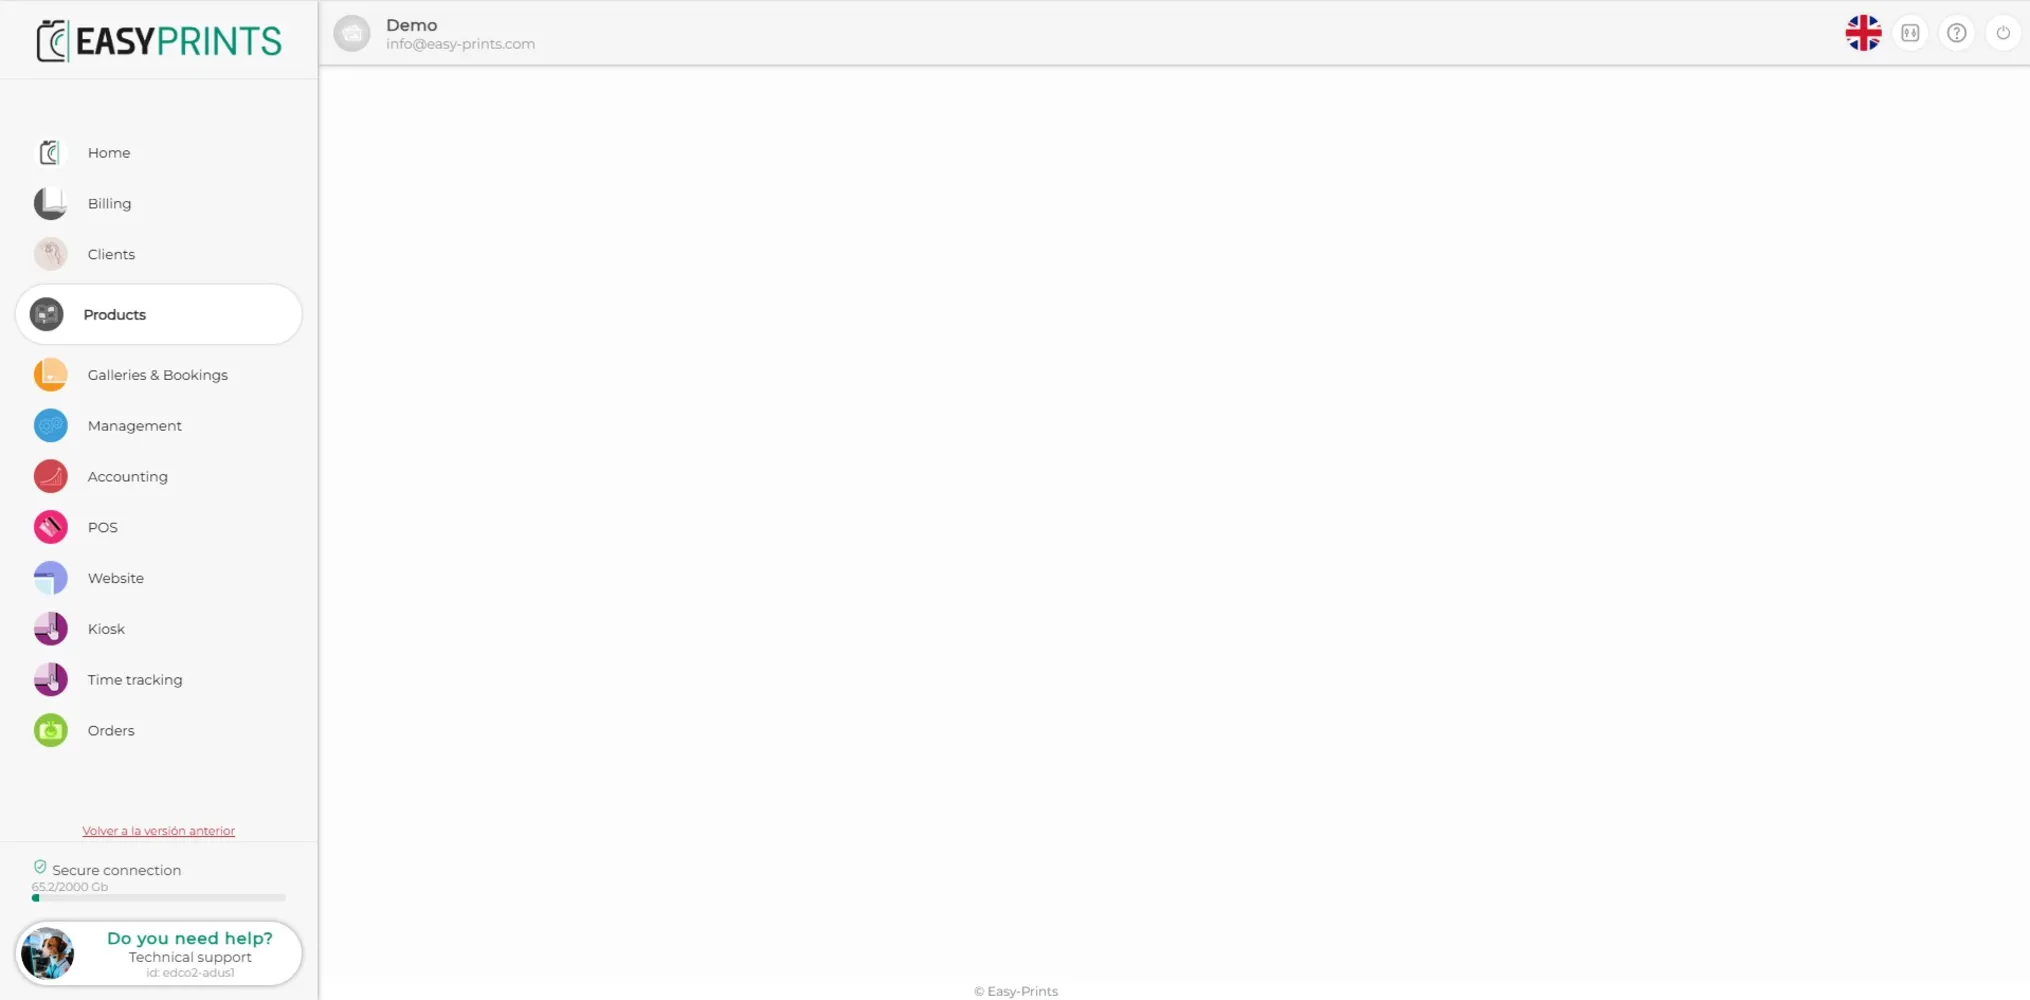
Step 2
Within Products, in the top navigation bar, you will find the Material option. Click on it.
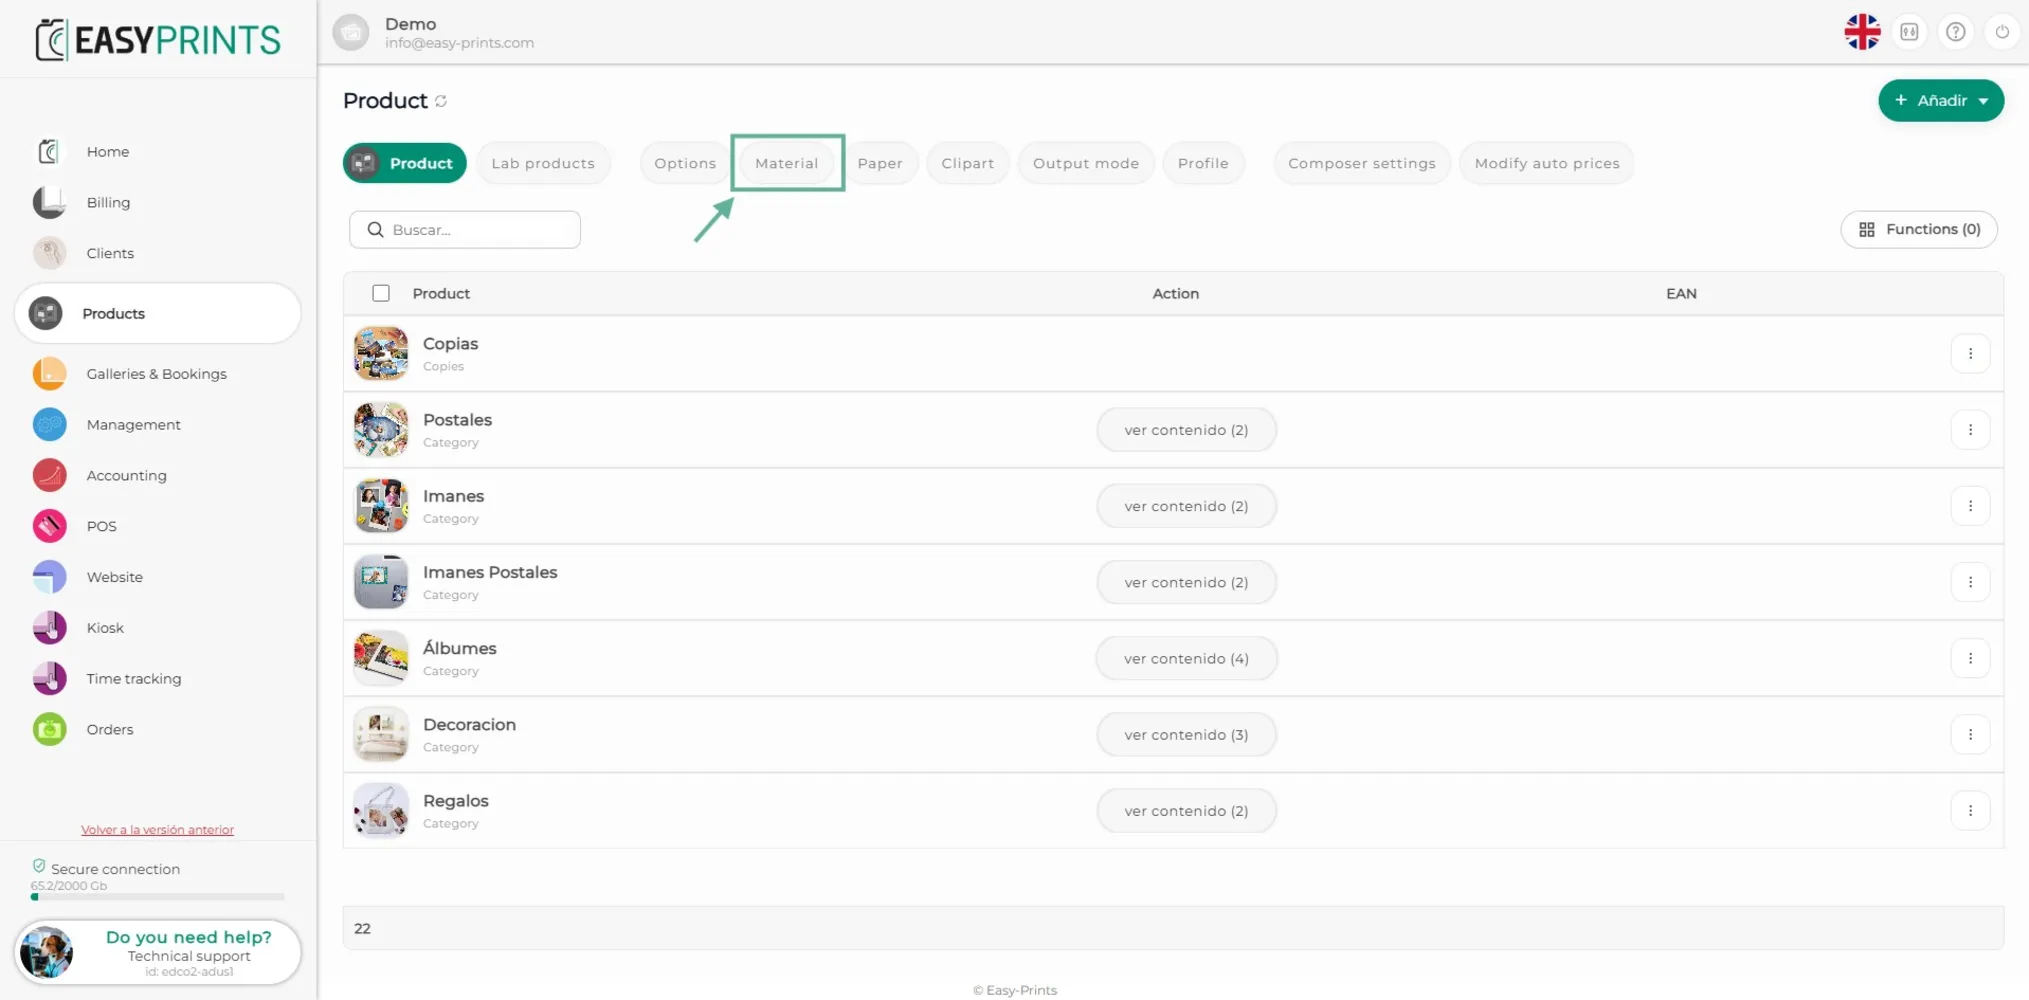
Step 3
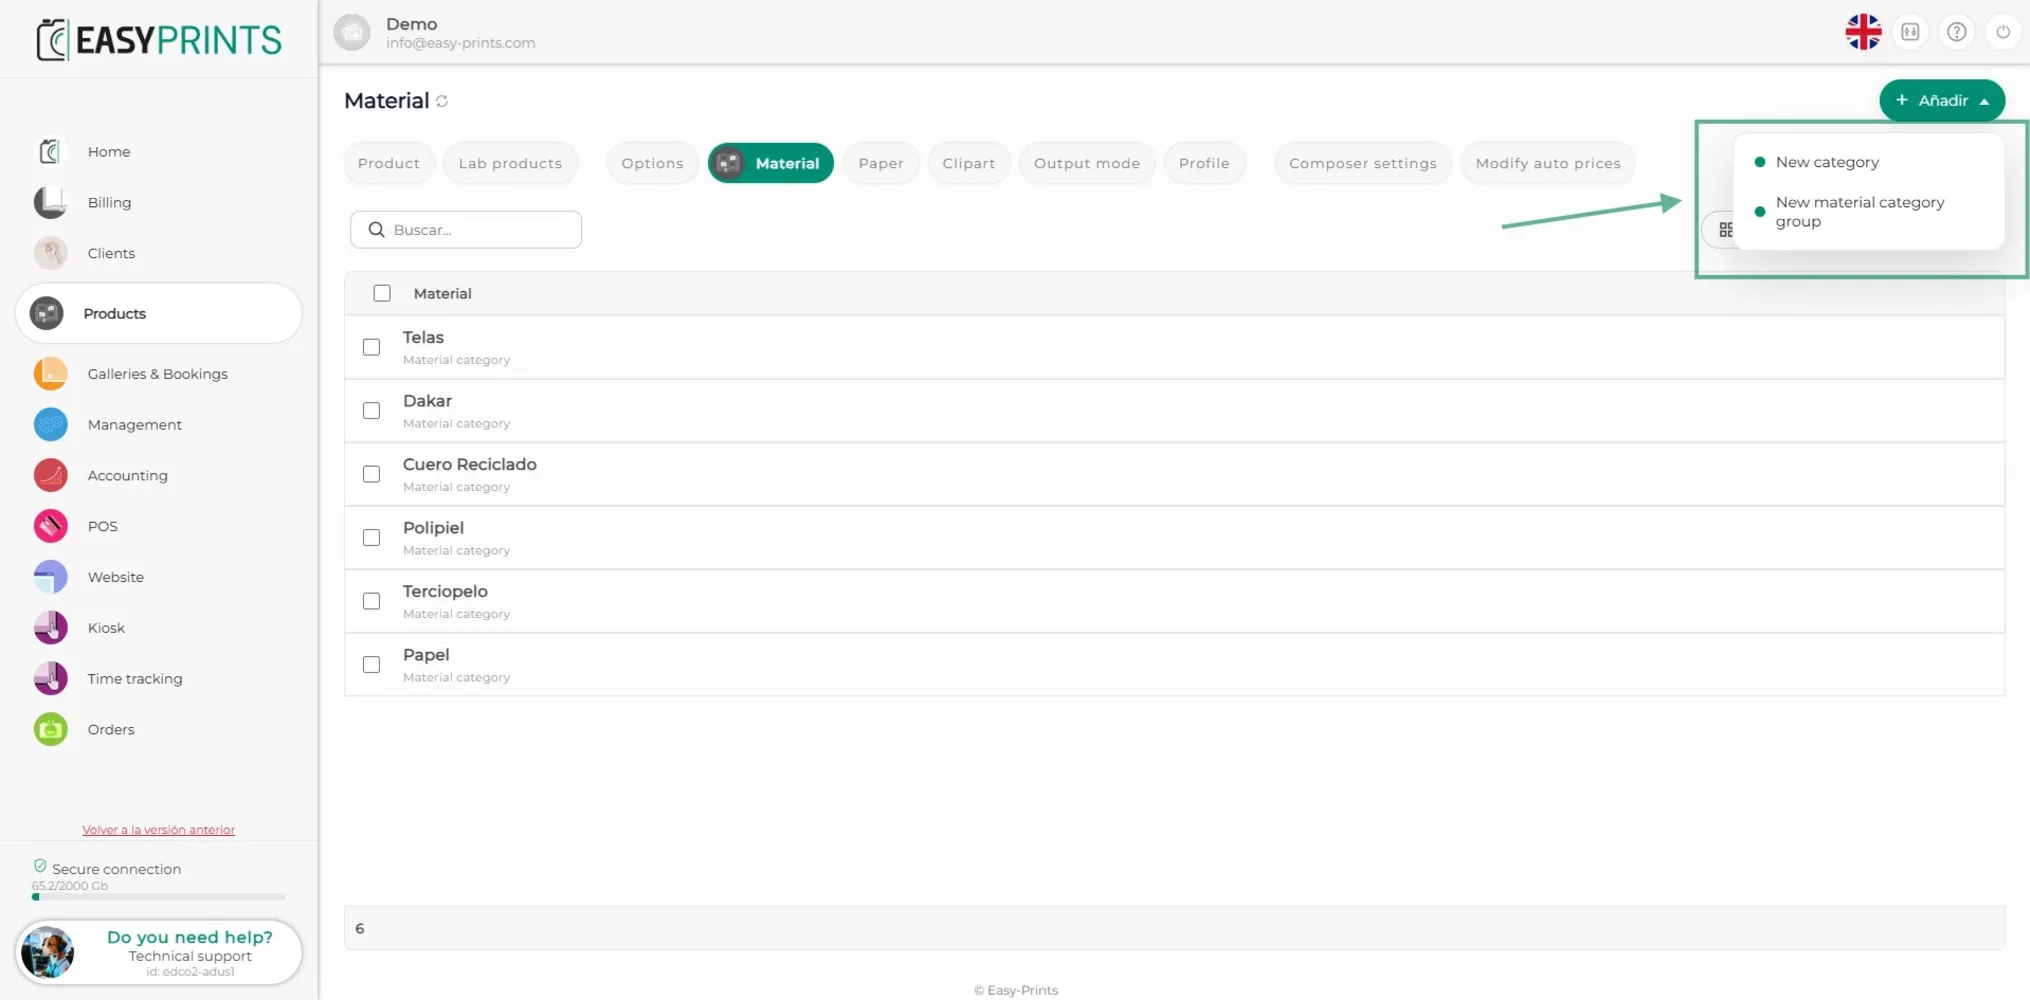
In the top right corner, you will find the green + Add button. Click on it.
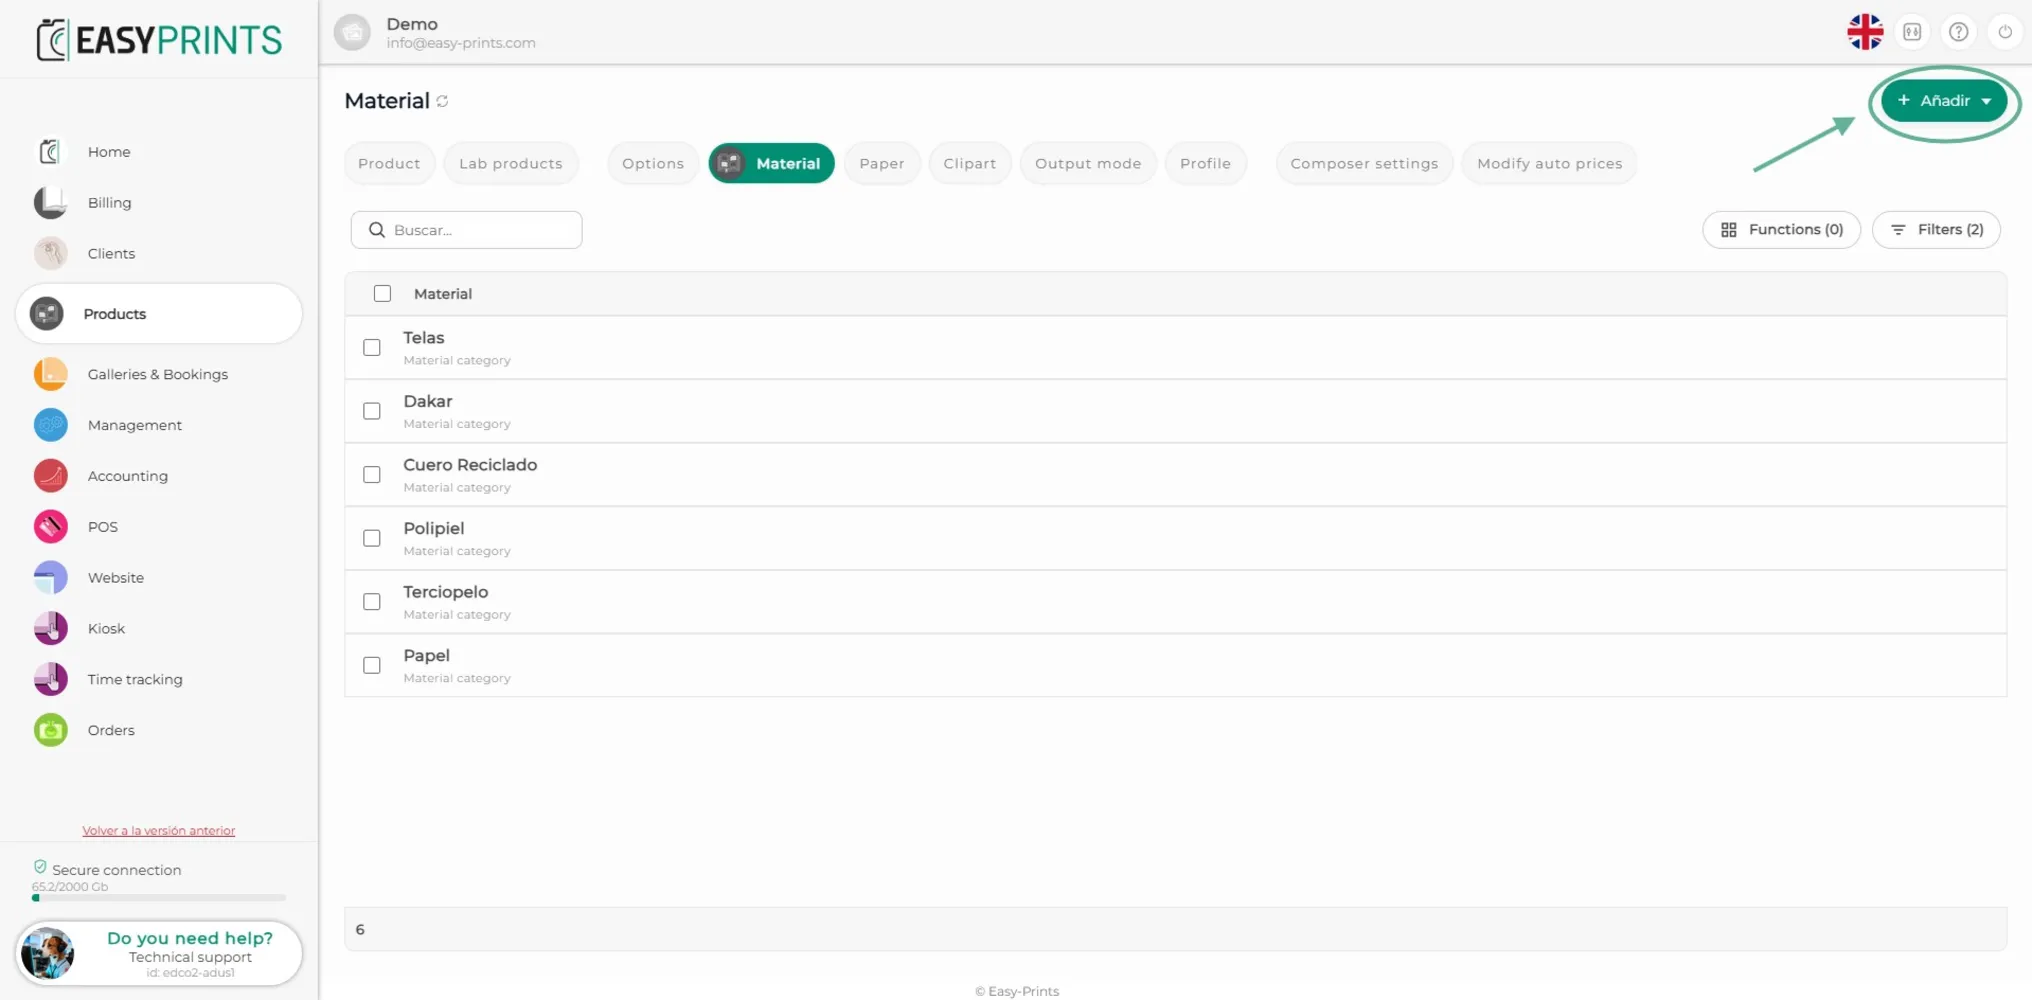
Step 4
In the dropdown menu, two options are displayed: New category or New material category group. Click on the first option, New category.
Step 5
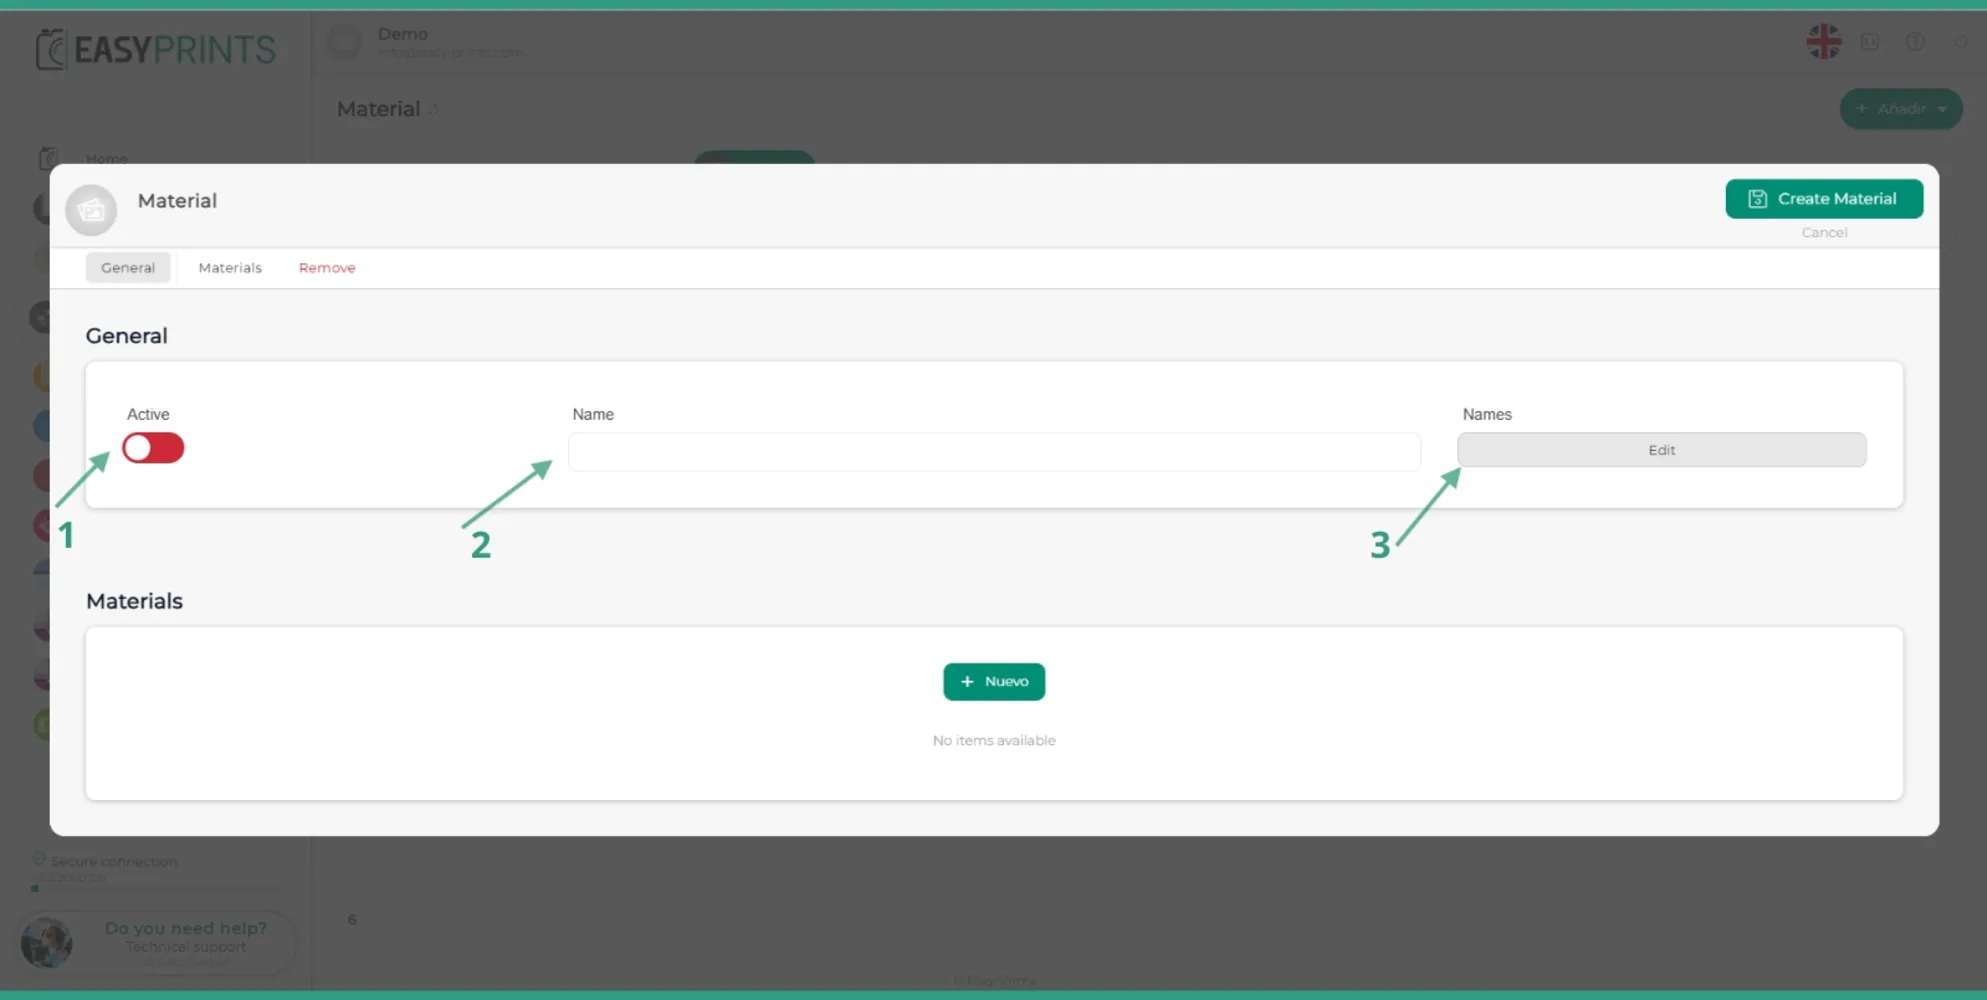
In the new window, make sure to activate the material category. Then, in the Data section, enter the internal name of the material. In the Names section, enter the material name in the different languages enabled on the website.
Step 6
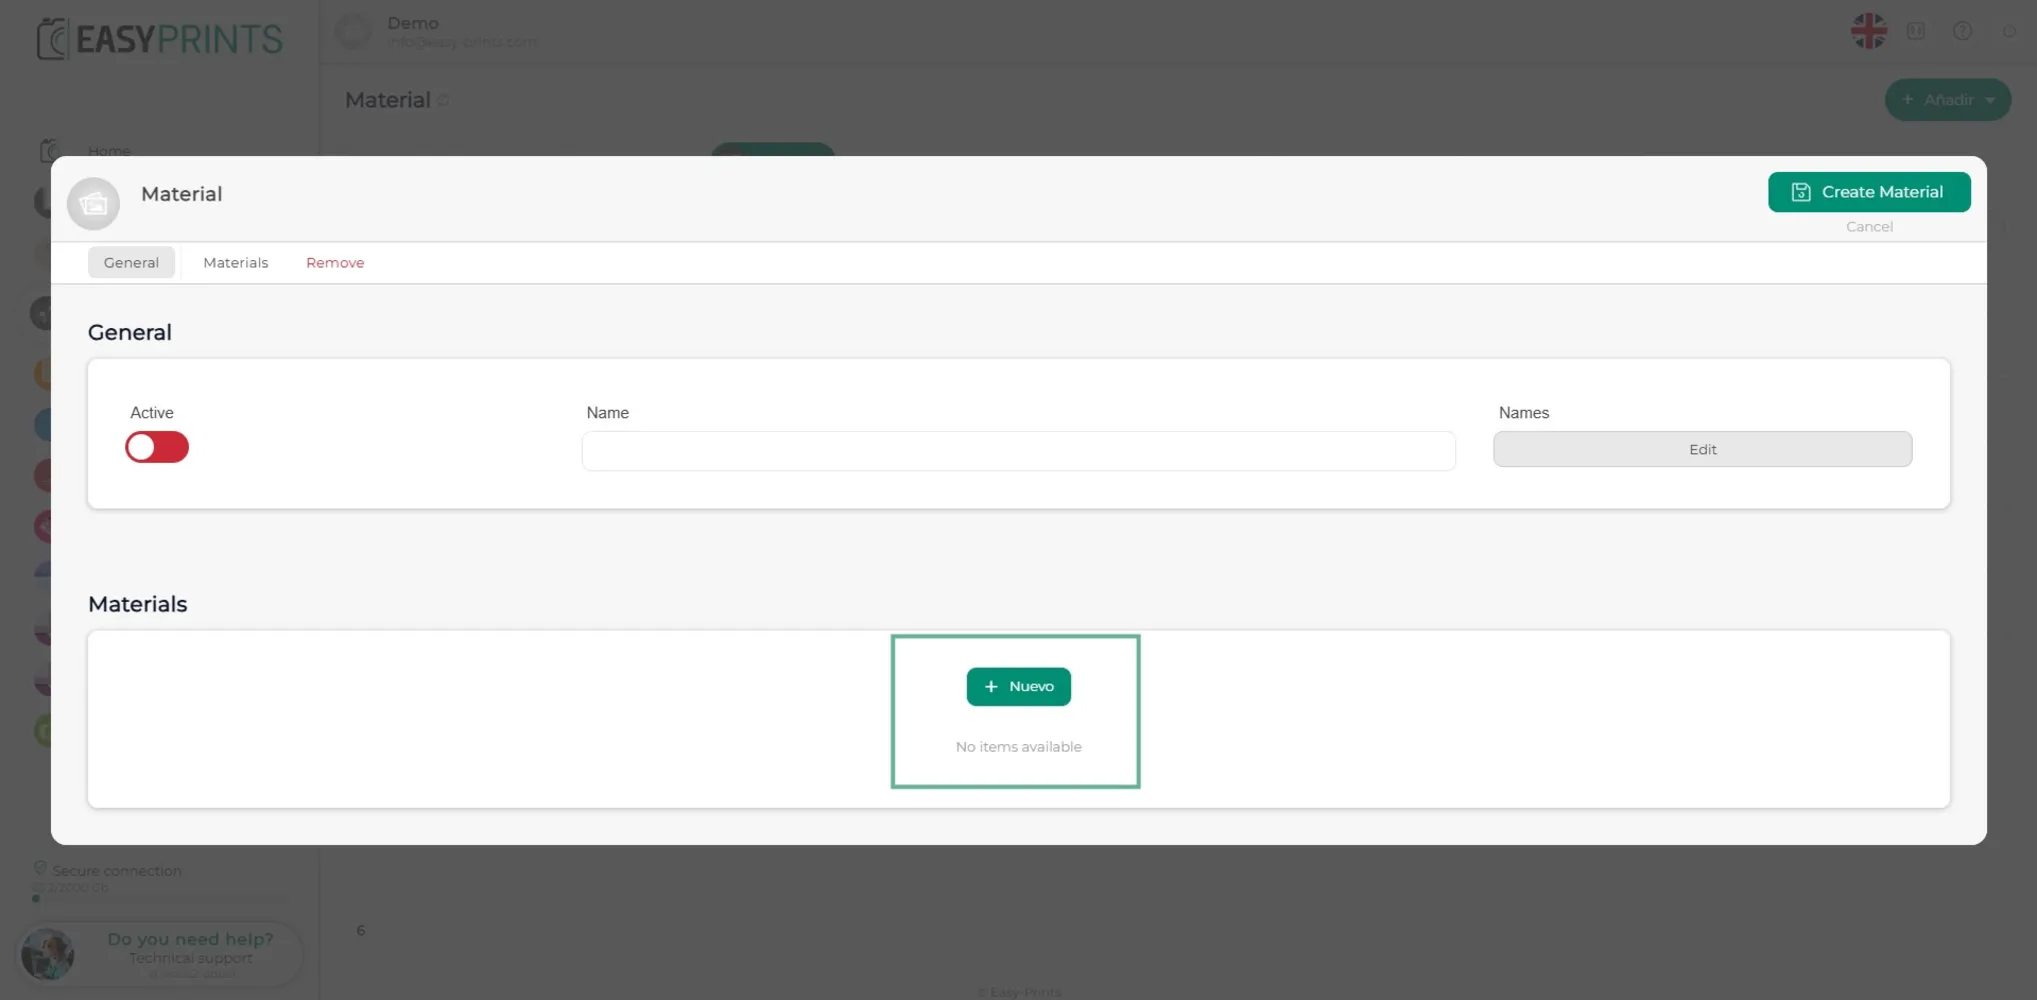
To add materials to the category, click the green + New button.
Step 7
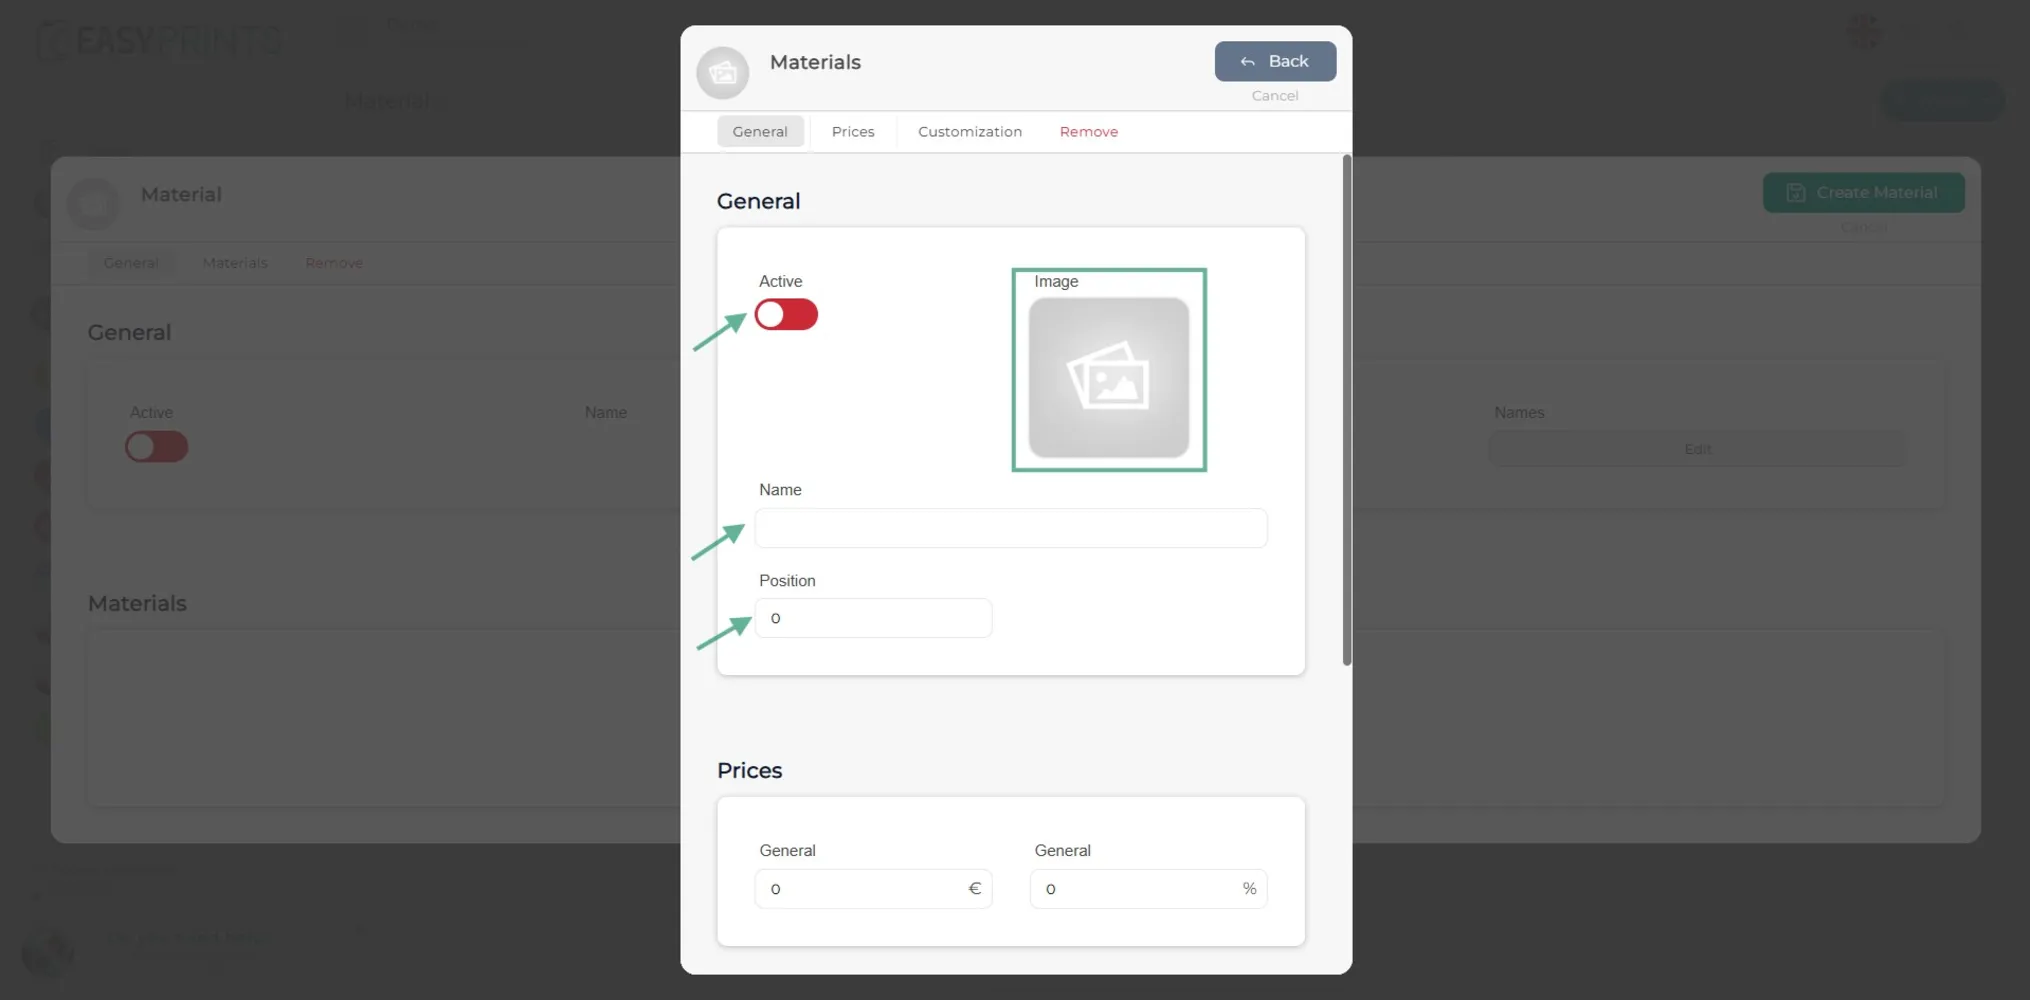
In the new window, enable the material, add the corresponding image, and specify the name and the position in which it should appear within the category.
Step 8
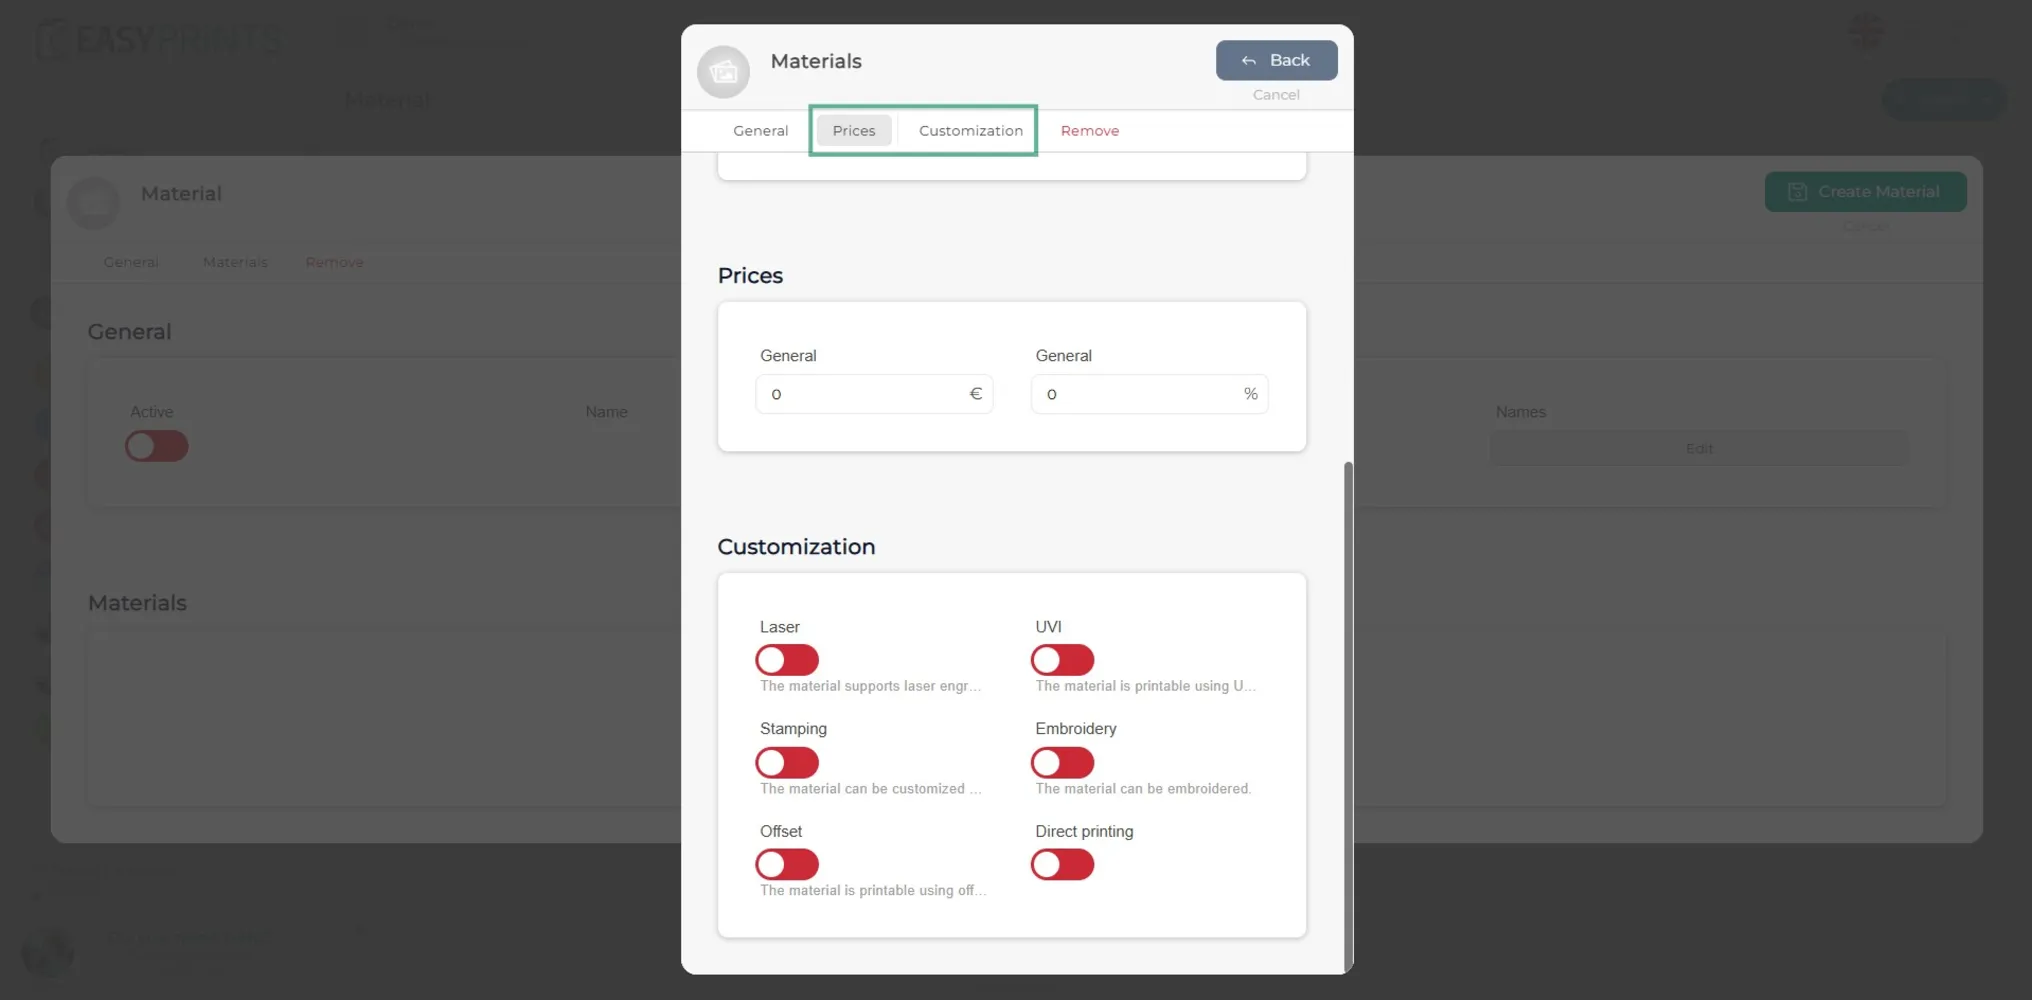
In the Pricing and customization section, indicate whether the material has an additional cost. If not, it will remain at a cost of 0. In the Customization section, you can enable whether the material allows engraving based on the type of customization. If this option is not enabled, the user will not be able to add any logo to that material.
Step 9
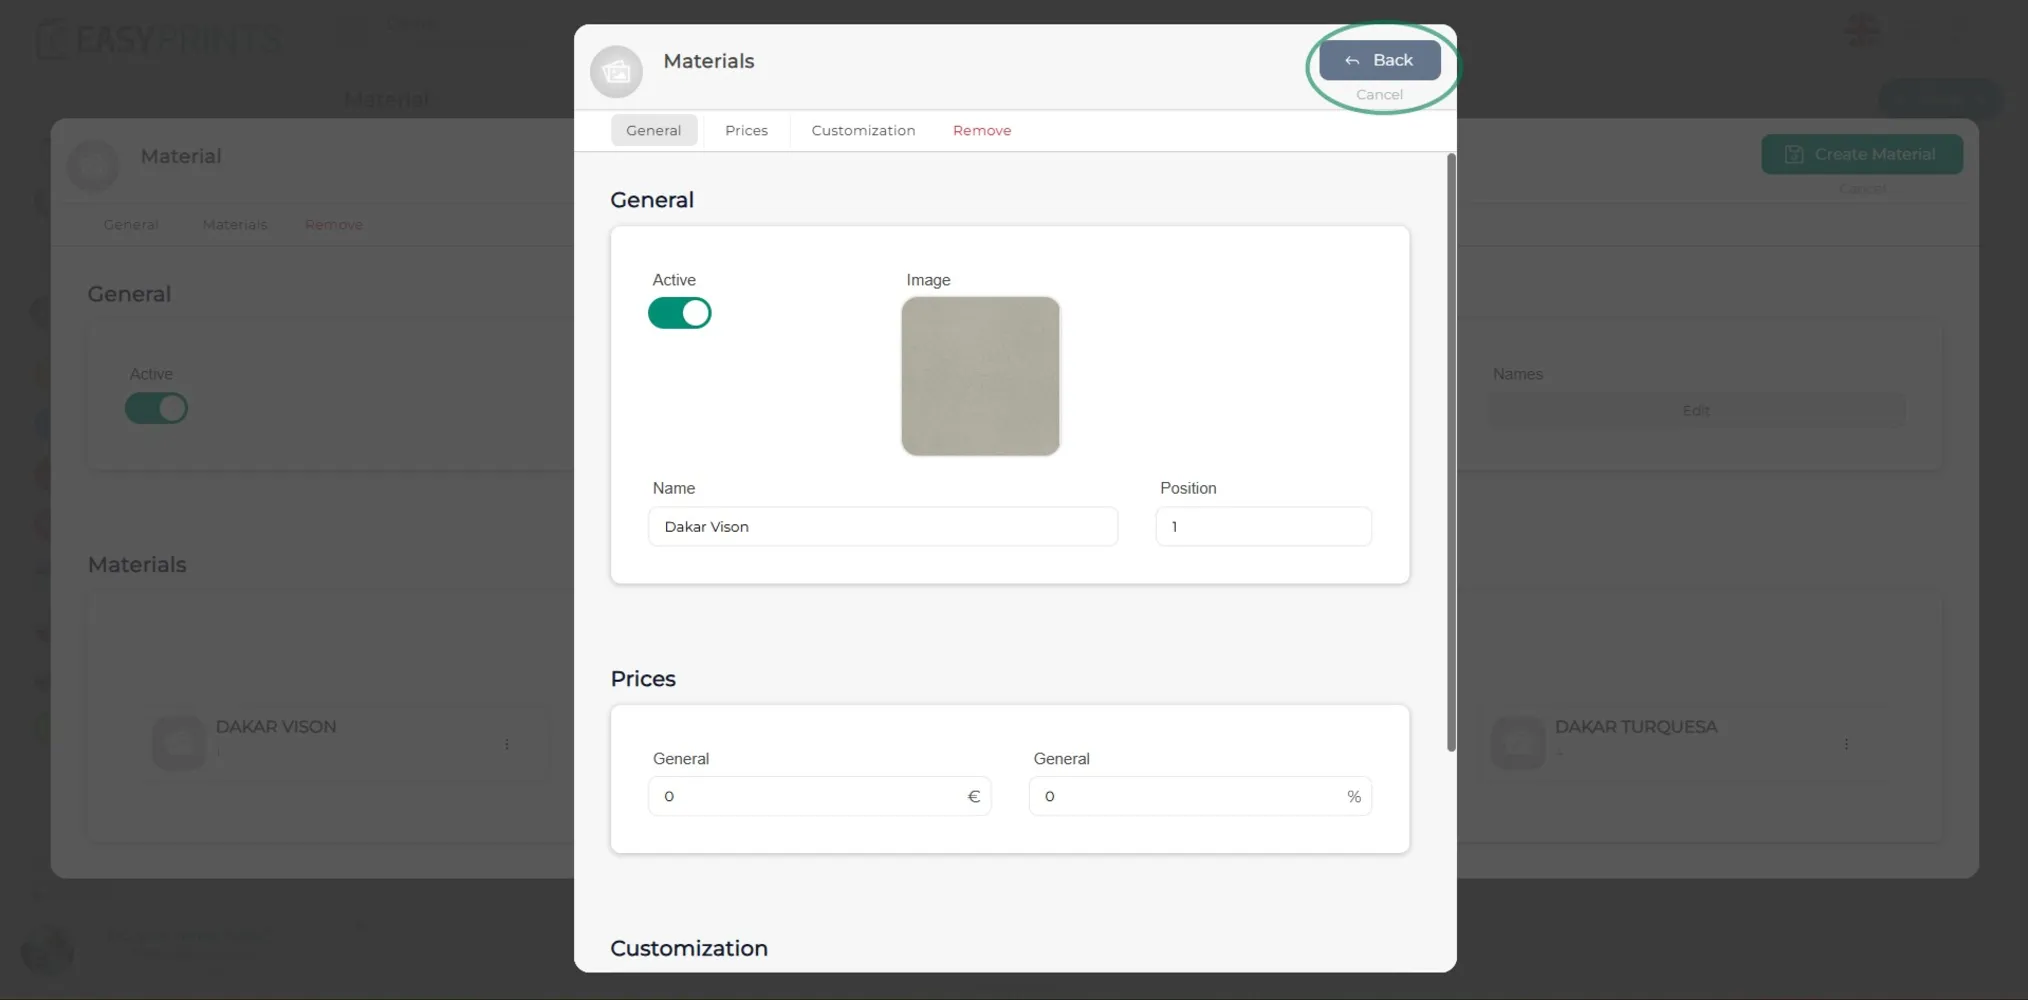
Once the fields have been completed, click on Back.
Step 10
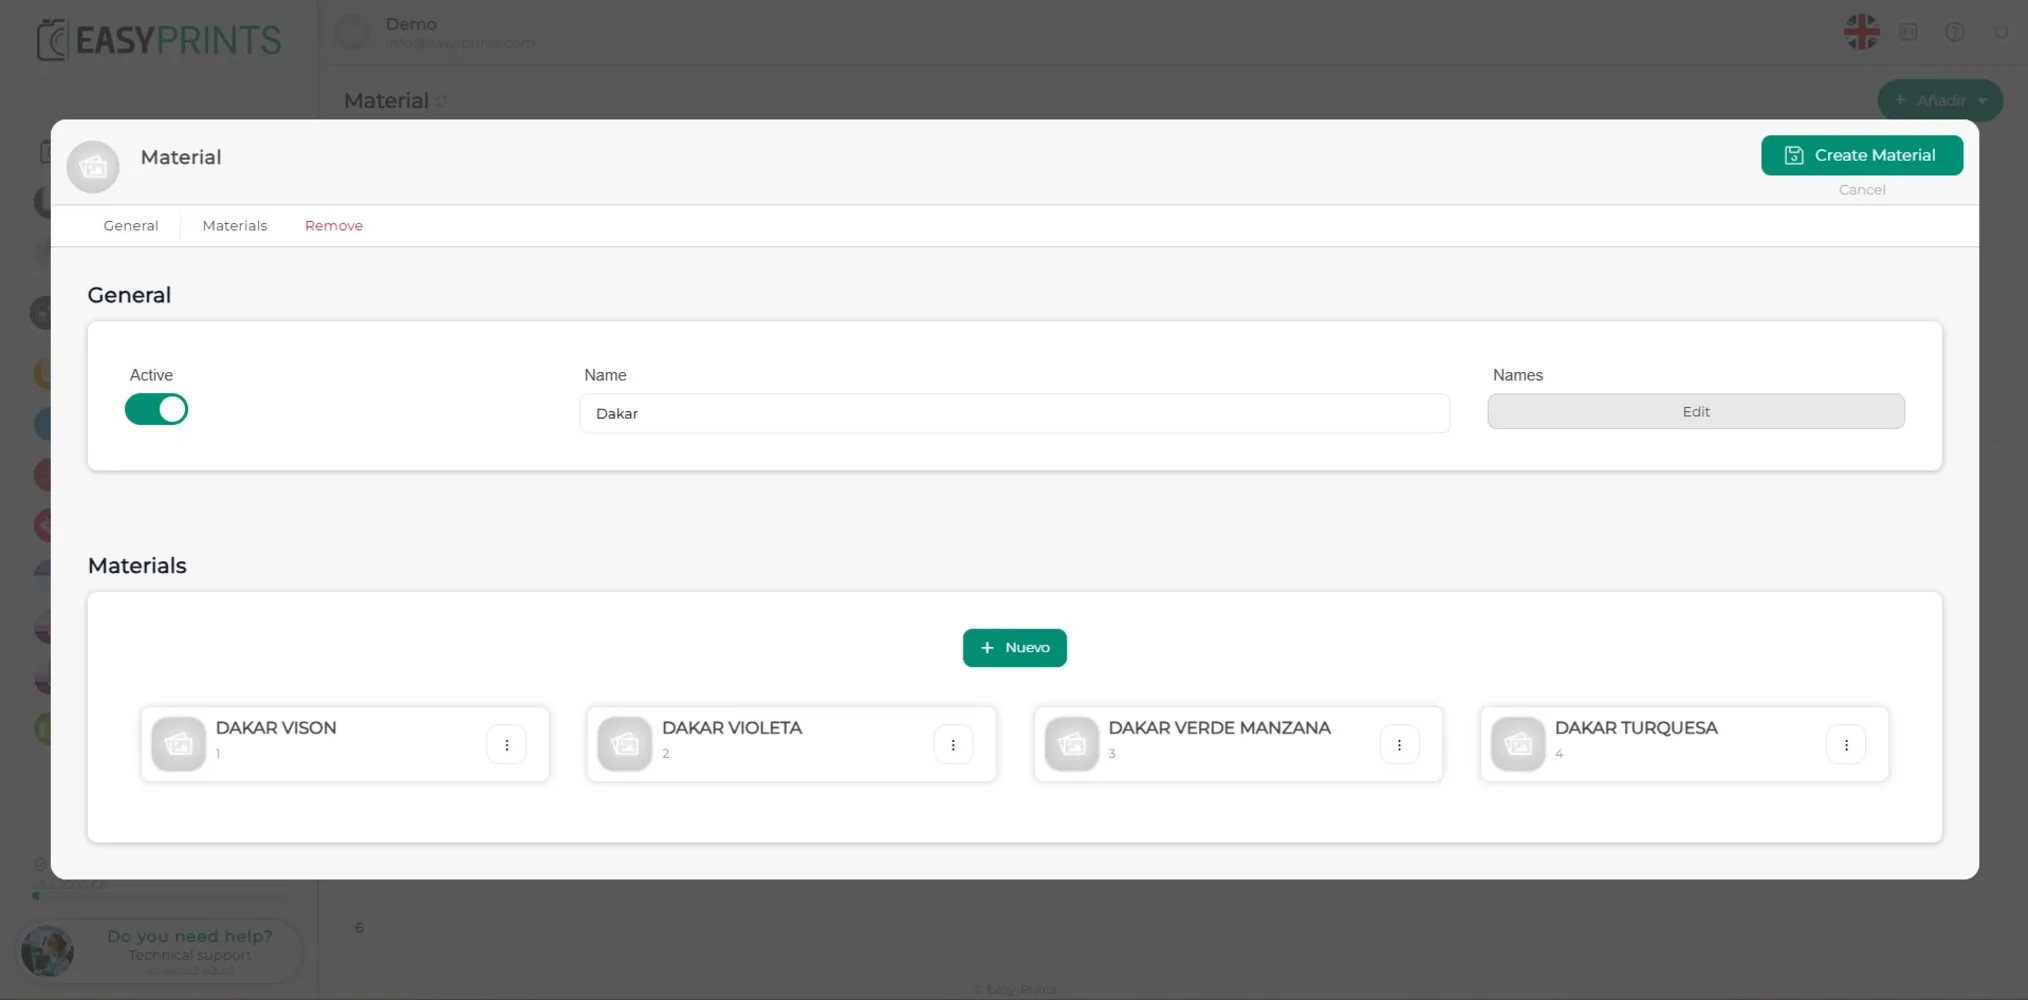
Add the materials in that category by repeating steps 6 to 9.
Step 11
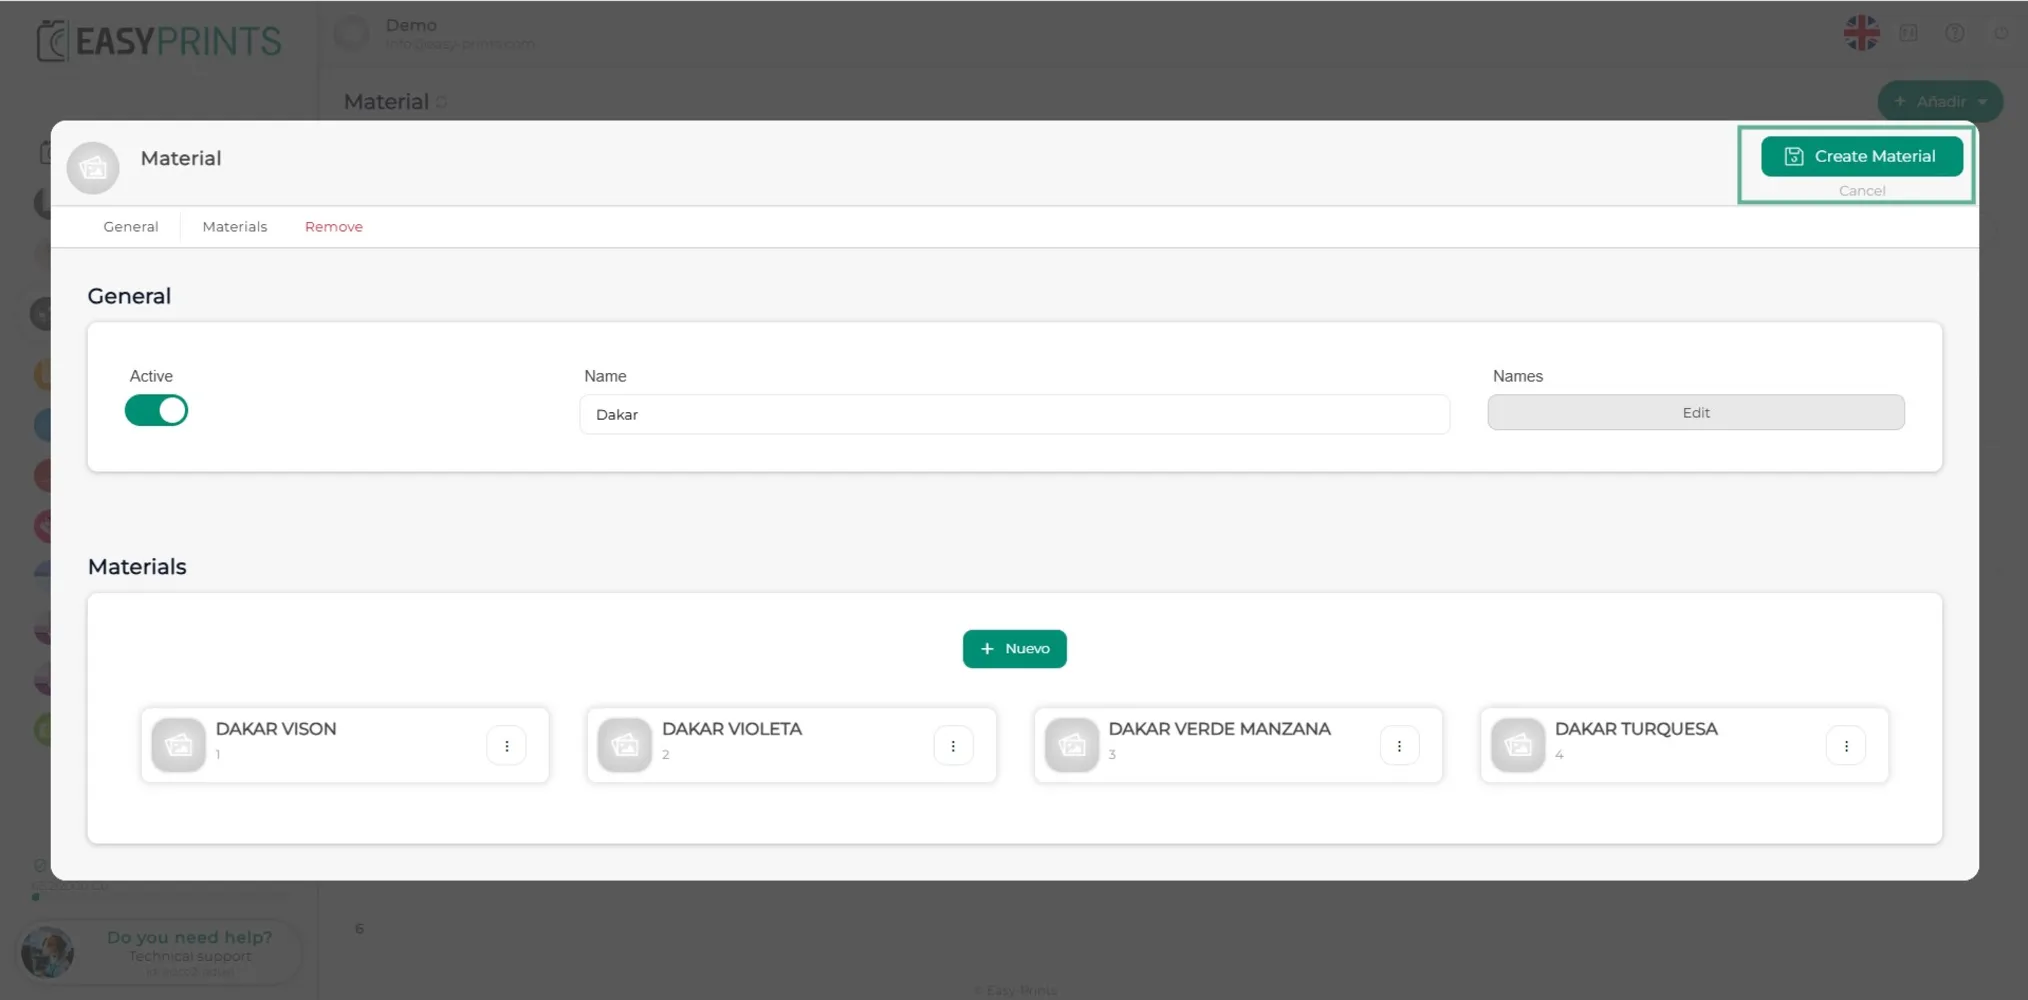
Finalment, fes clic al botó Desar, situat a la part superior dreta.
Go back to the Help Center or contact Easy-Prints.
← Back to Help Center