
Image delivery format settings for the laboratory
To configure the image delivery format for a product, you must first access the corresponding product. Once inside, select the dimension you want to confi…
Step 1
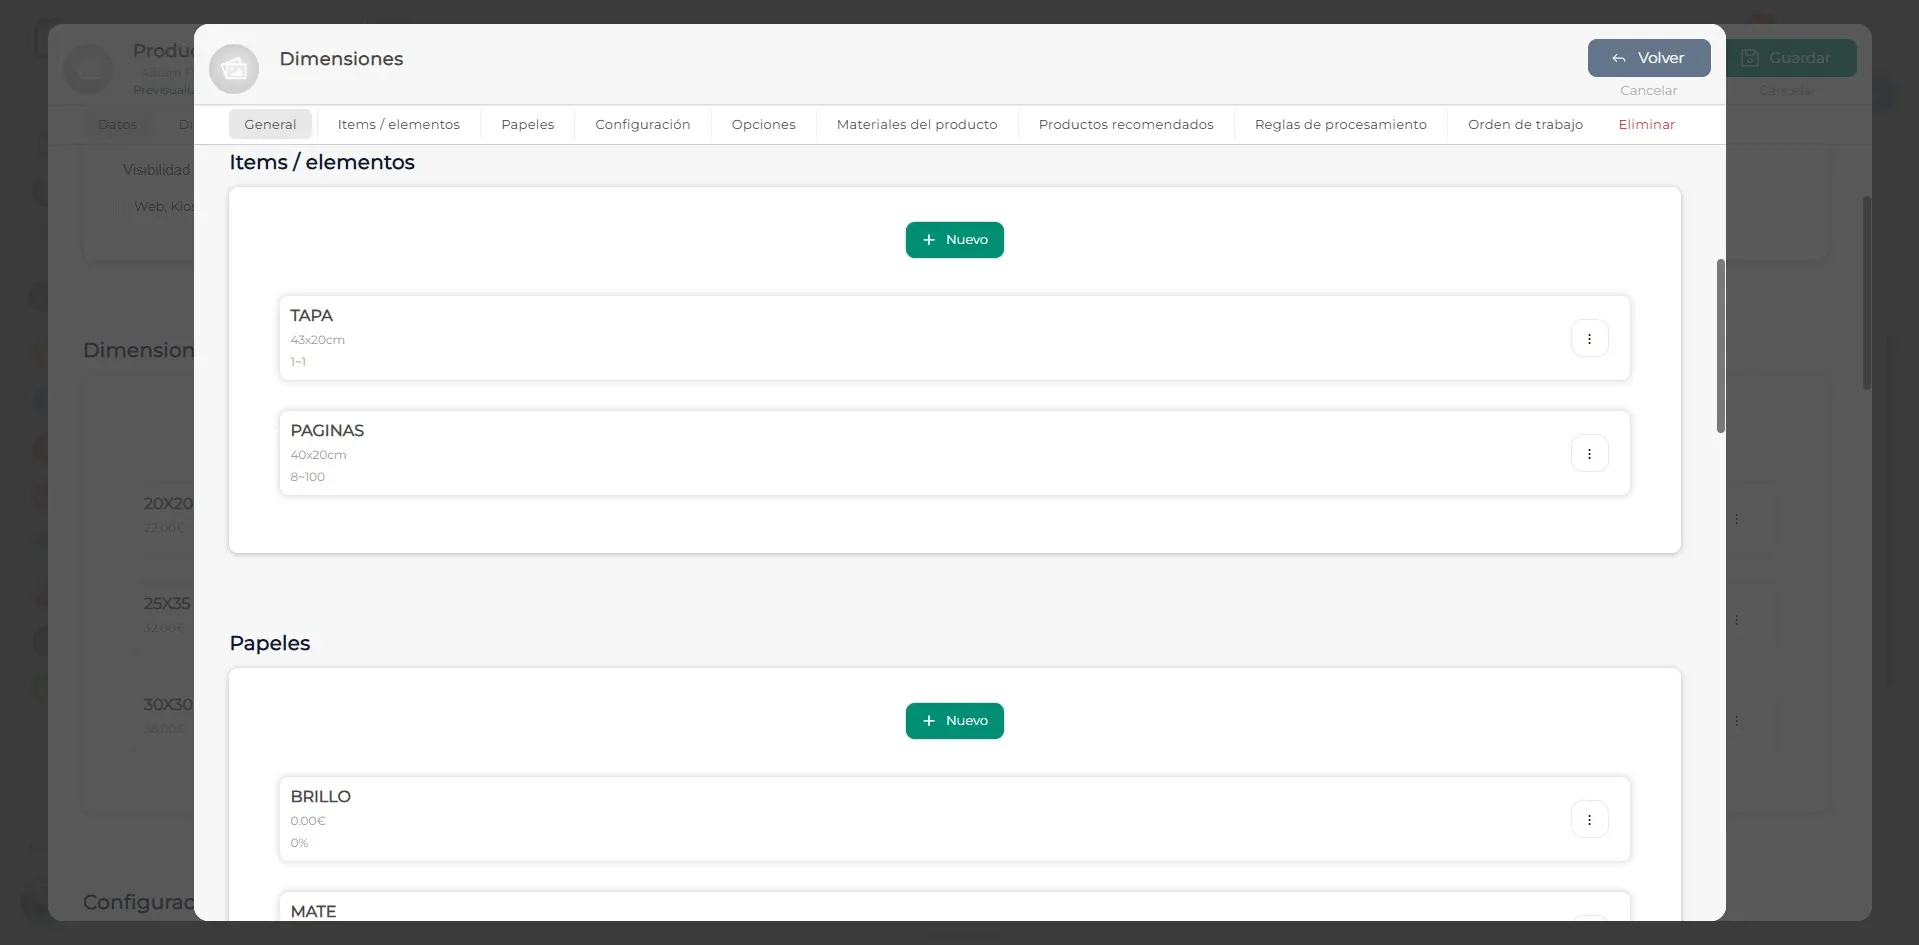
To configure the image delivery format for a product, you must first access the corresponding product. Once inside, select the dimension you want to configure, if the product has several dimensions available. Then, go to the Items section, as shown in the image.
Step 2
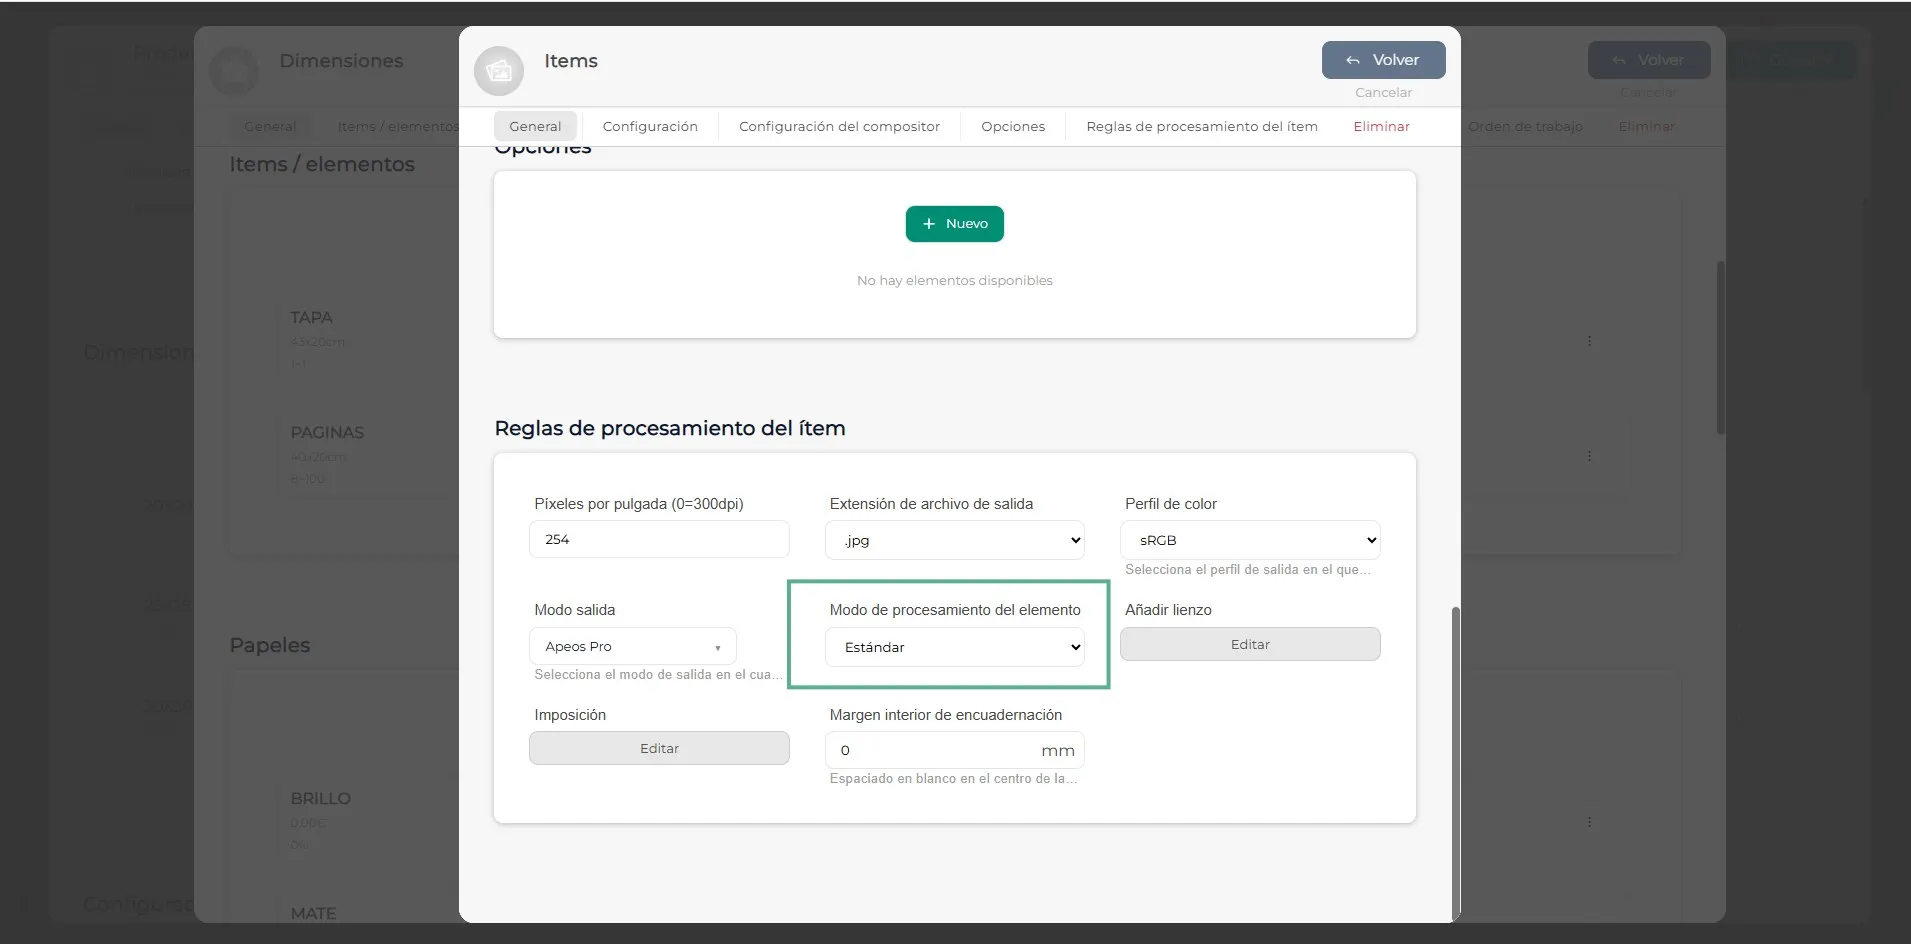
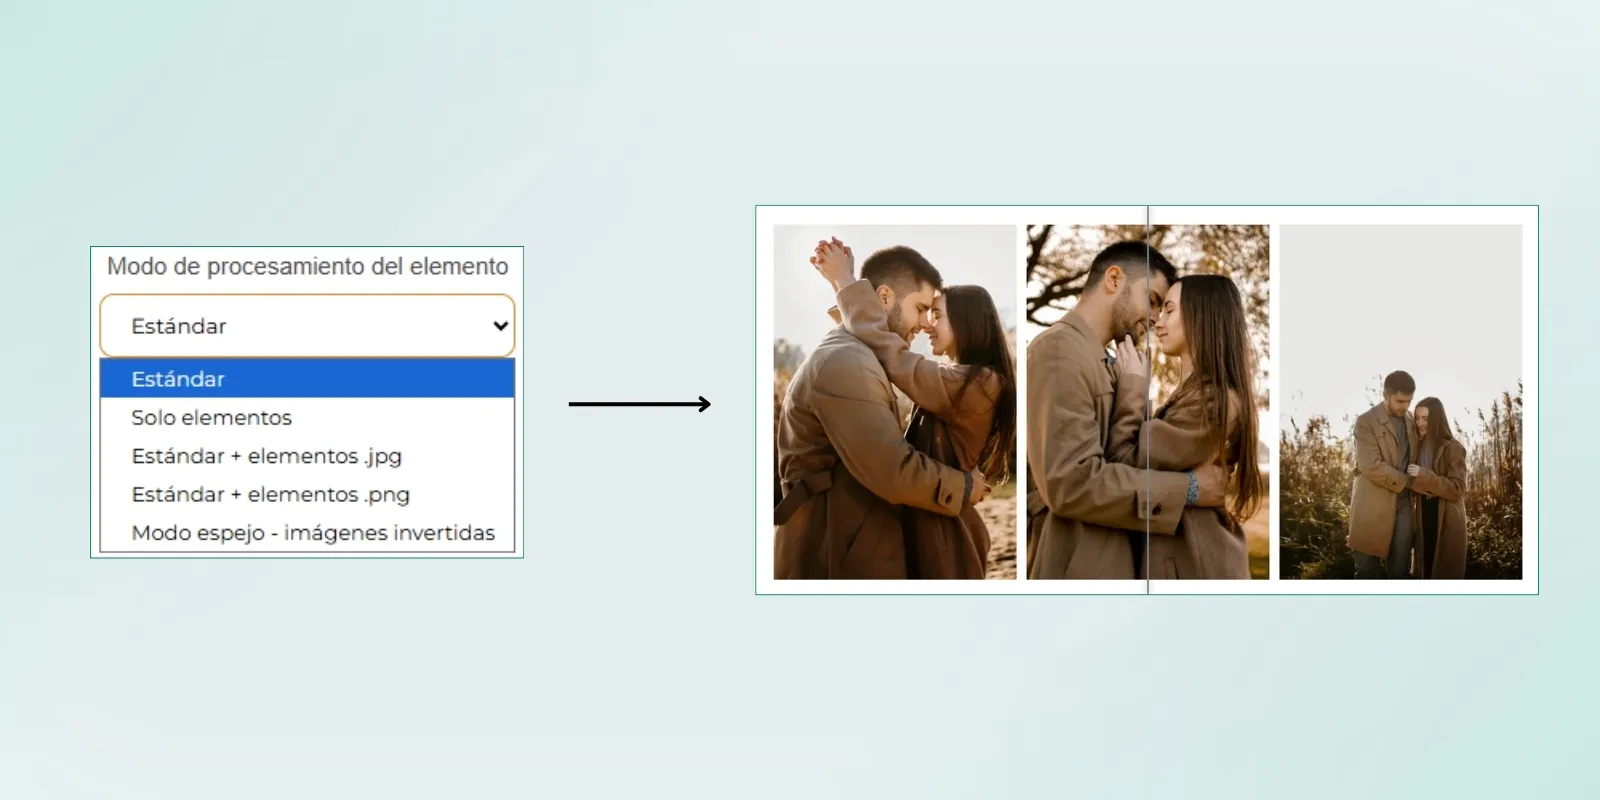
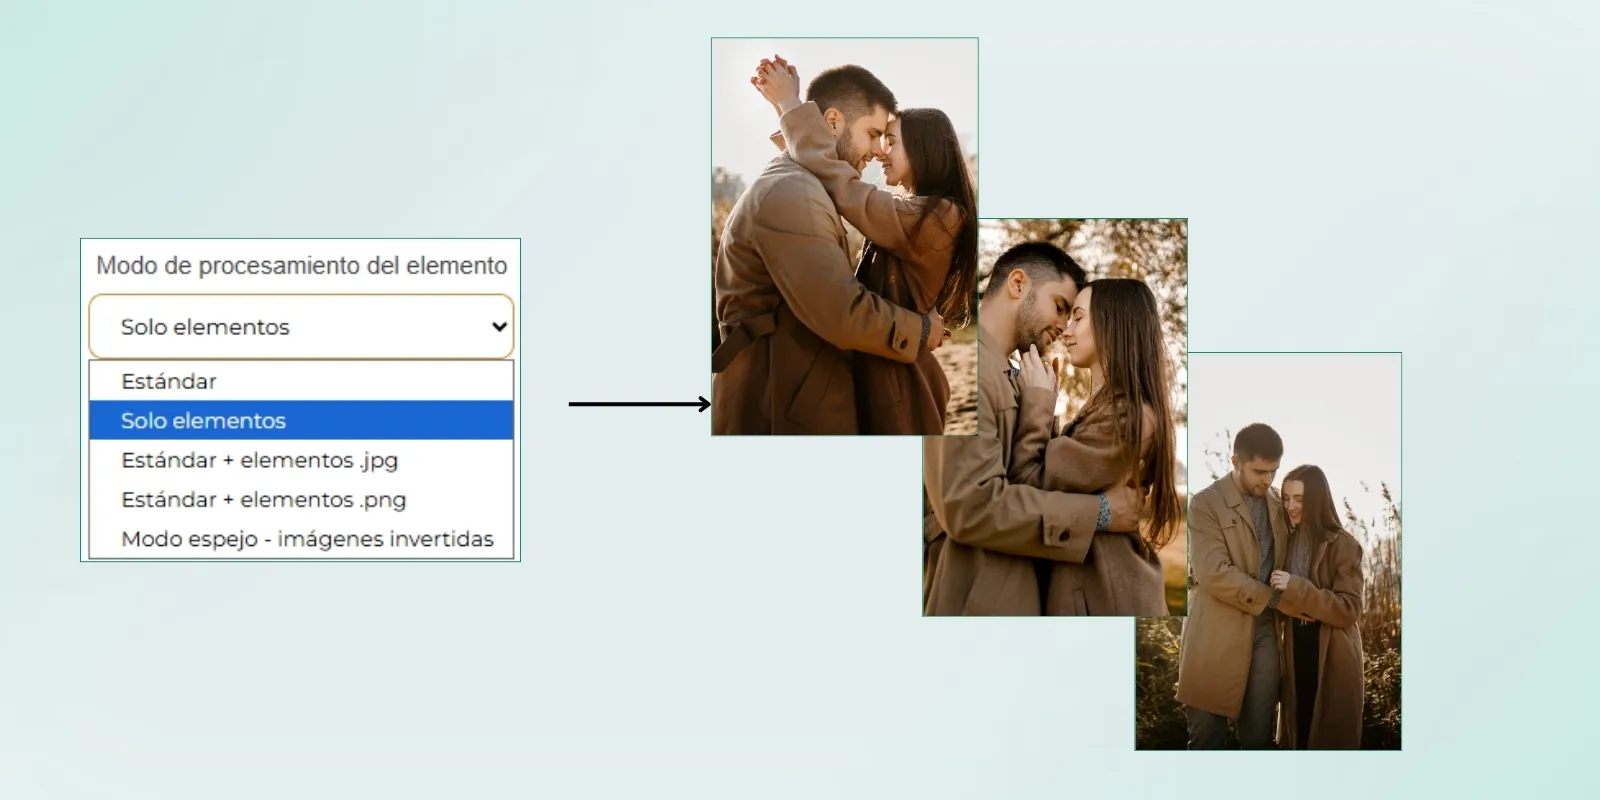
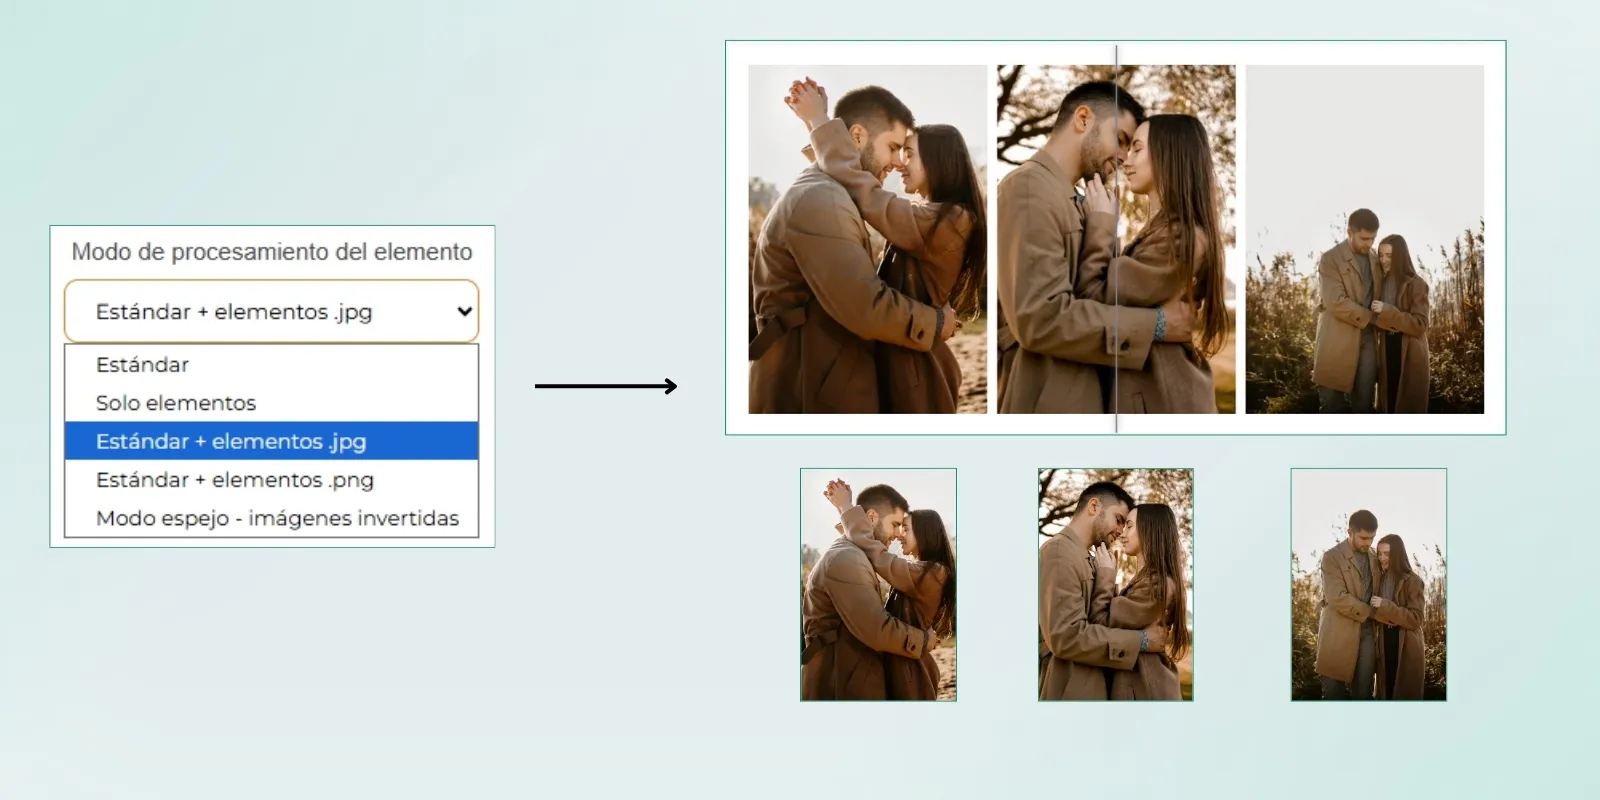
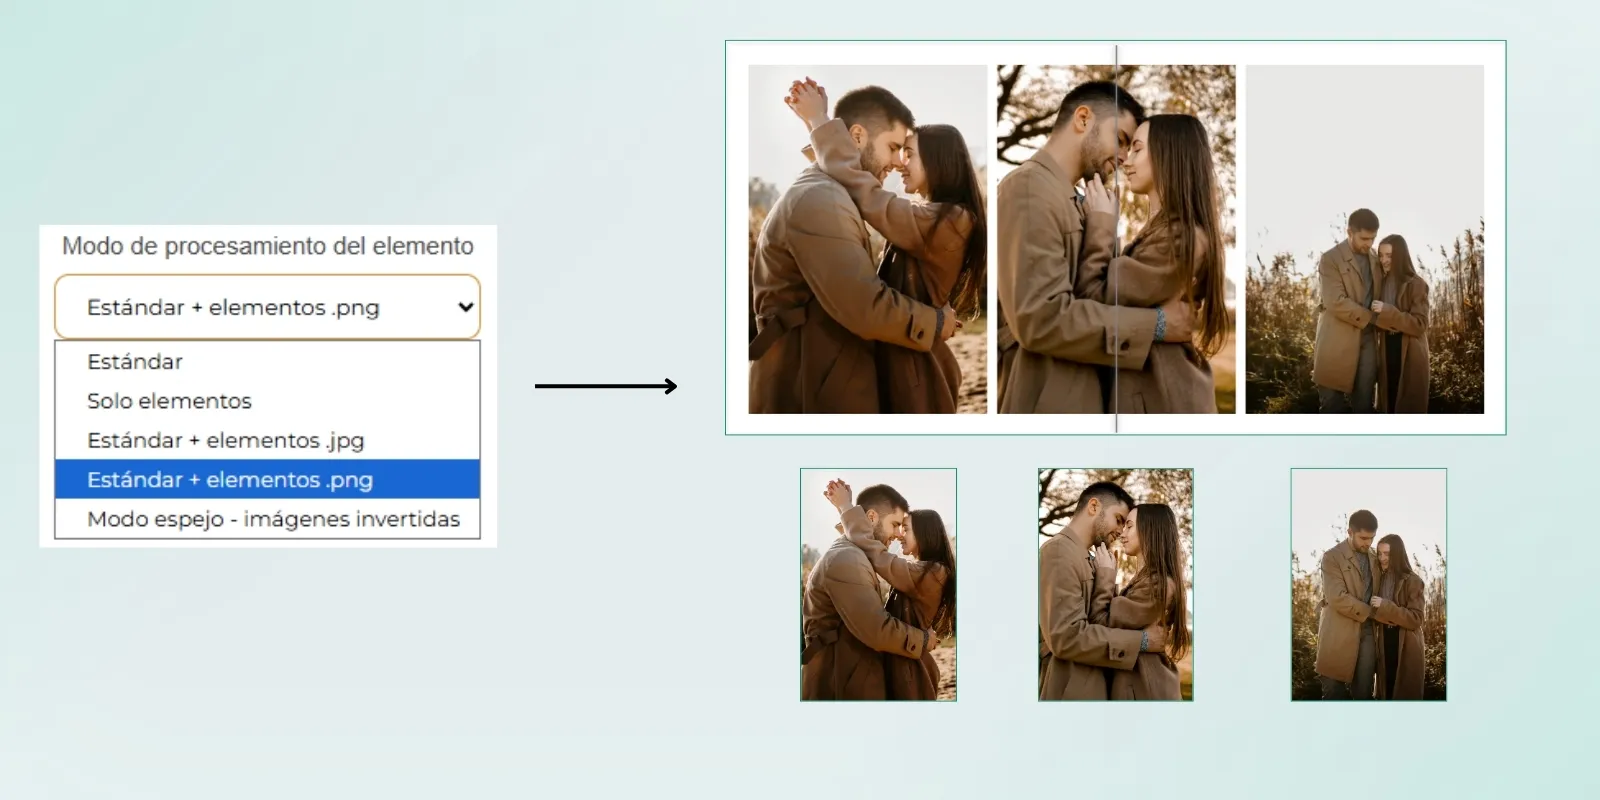
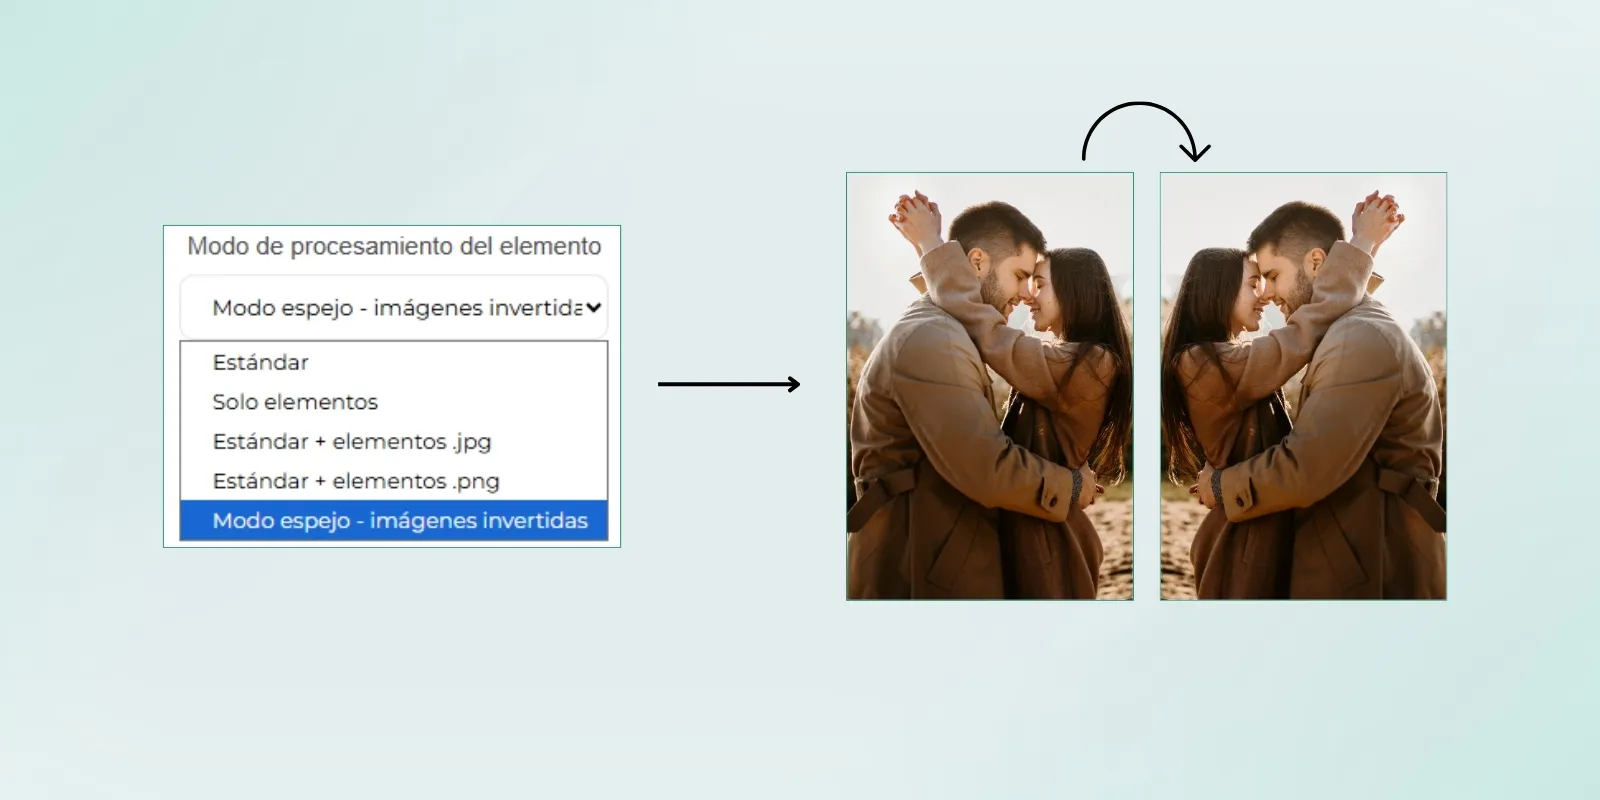
Once inside the item, go to the Processing rules section. In the Element processing mode dropdown, you must select one of the five available options: Standard, Element only, Standard + element .jpg, Standard + element .png or Mirror mode - Reversed images. Below, we will explain what each of these options consists of.
Step 3
The Standard processing mode generates the final file exactly as it comes from the layout editor, preserving the composition created by the customer. This option sends the laboratory the image already laid out and ready for production, with all elements positioned according to the design created by the customer.
Step 4
In the Element only processing mode, only the images that have been placed within the product will be sent to the laboratory. These images will be sent individually, without being altered, laid out, or used to generate a final composition of the design created by the customer.
Step 5
In the Standard + element .jpg processing mode, both the final laid-out image and the individual images used within the layout will be generated inside the order folder. This way, the laboratory will receive the final file ready for production and, in addition, an individual copy in .jpg format of each image placed in the design.
Step 6
In the Standard + element .png processing mode, both the final laid-out image and the individual images used within the layout will be generated inside the order folder. This way, the laboratory will receive the final file ready for production and, in addition, an individual copy in .png format of each image placed in the design.
Step 7
In the Mirror mode - Reversed images processing mode, the software automatically flips the design in mirror mode before sending it to production. This mode is especially used for products that require sublimation, as it allows the image to be correctly oriented once it has been transferred to the final product.
Step 8
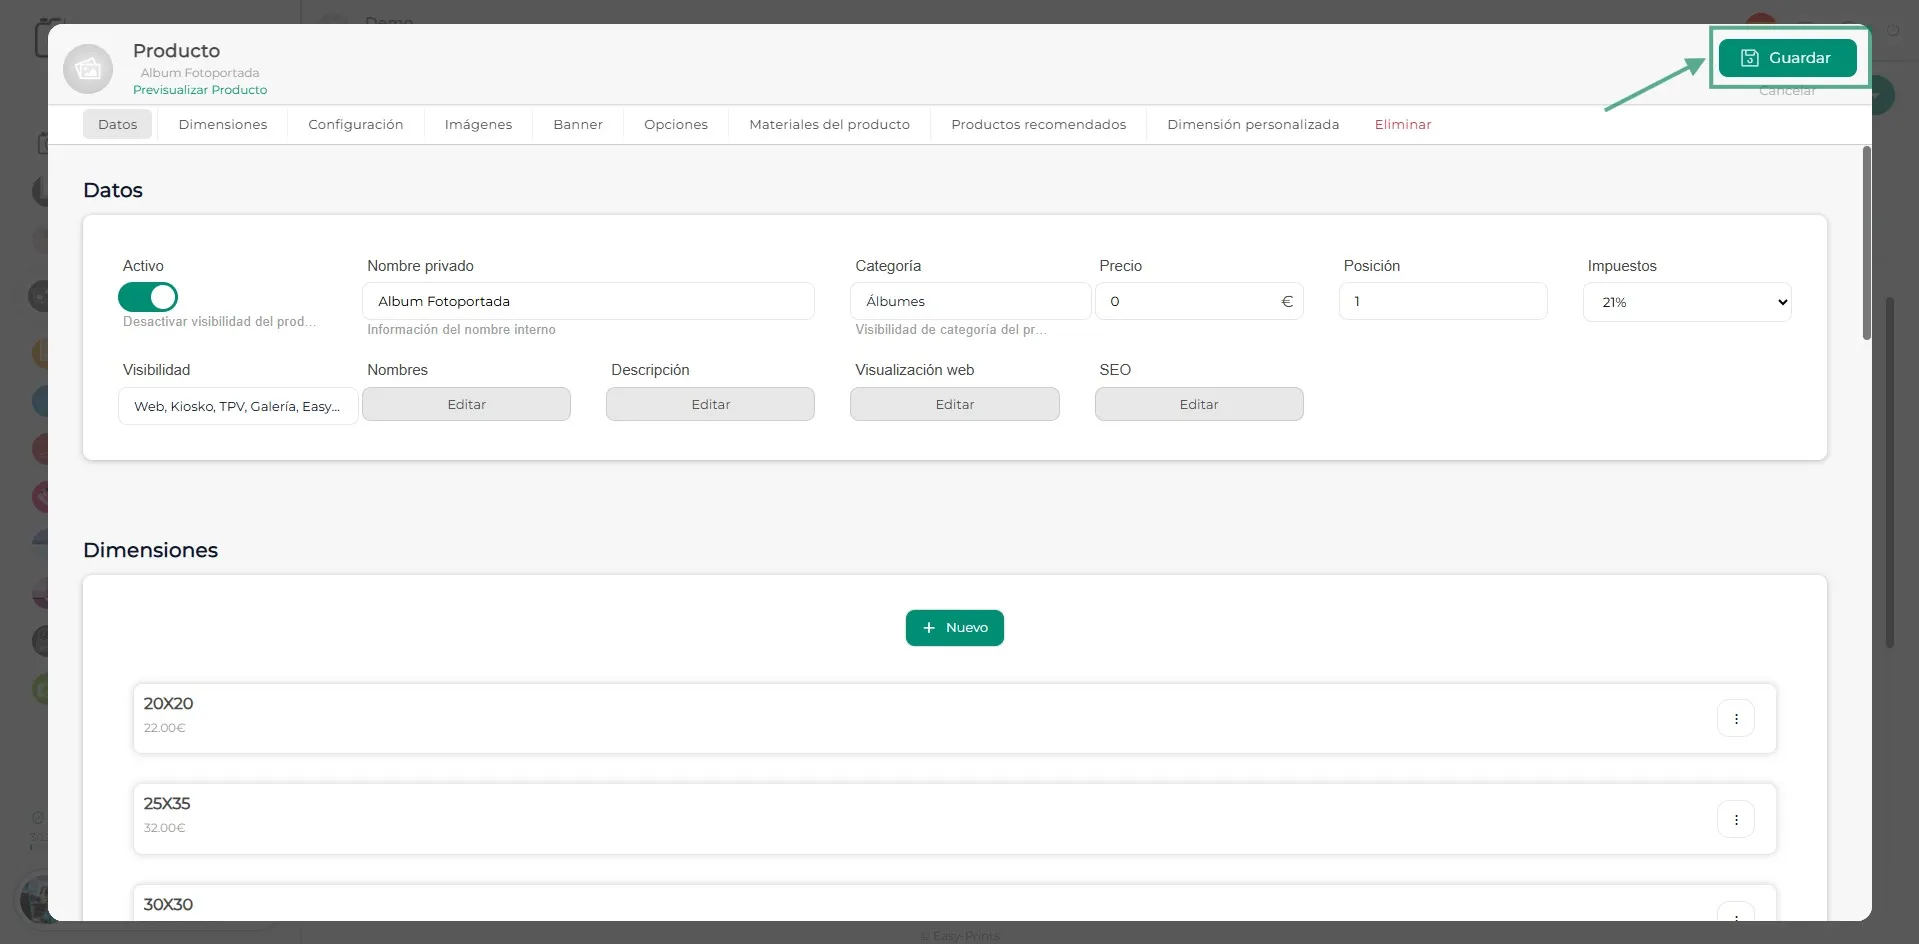
Finally, once the changes have been made, make sure to save them correctly. To do this, click the Back button and then click the green Save button to apply the configuration.
Go back to the Help Center or contact Easy-Prints.
← Back to Help Center