
How to create standard products
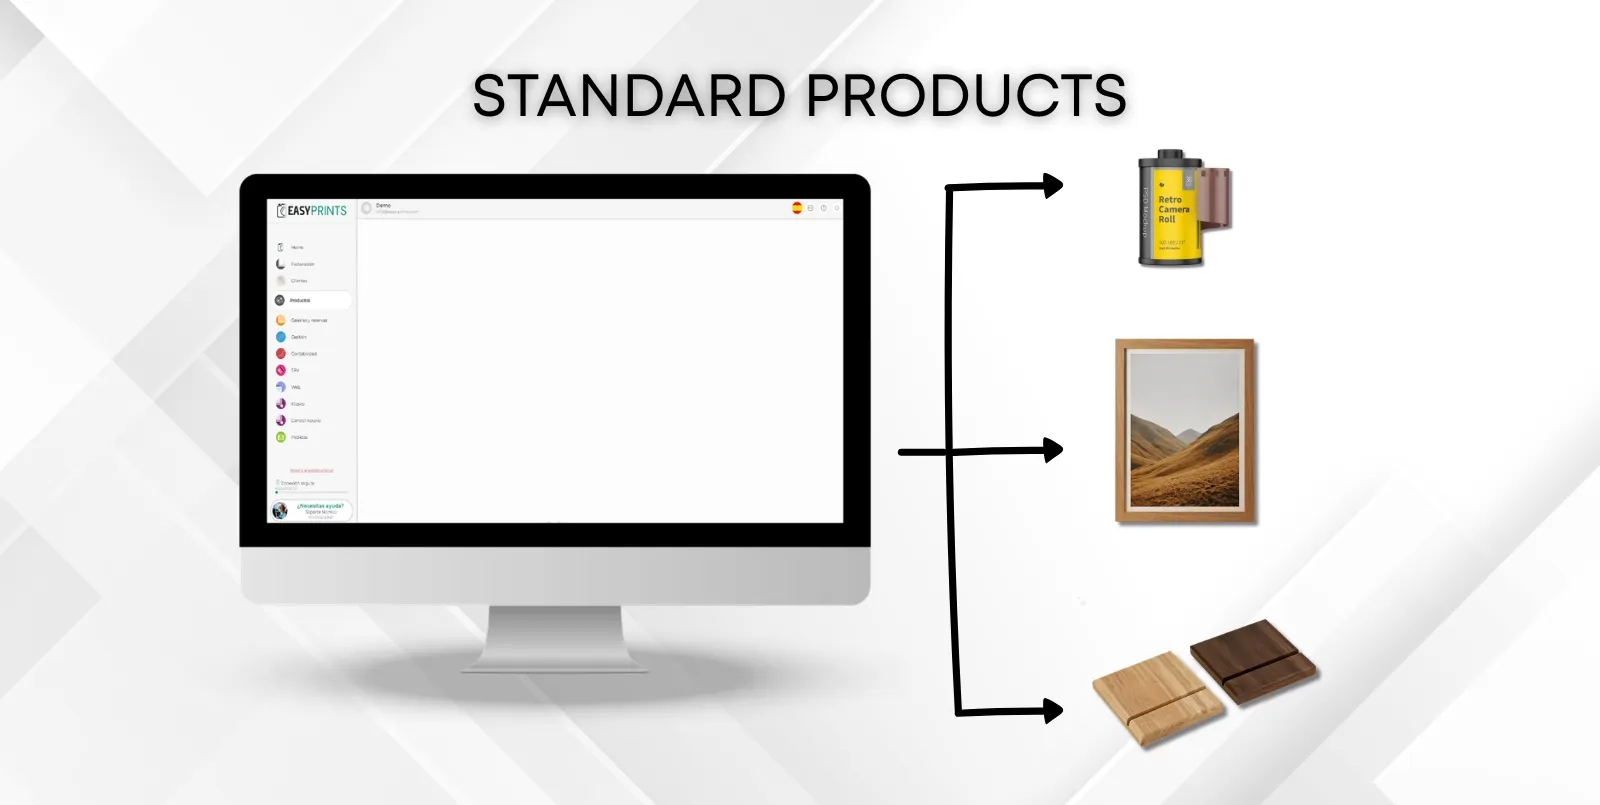
To create a standard product, go to the Products category from the left-hand menu. Once inside, navigate again to the Products section located in the top b…
Step 1
To create a standard product, go to the Products category from the left-hand menu. Once inside, navigate again to the Products section located in the top button bar, as shown in the image.
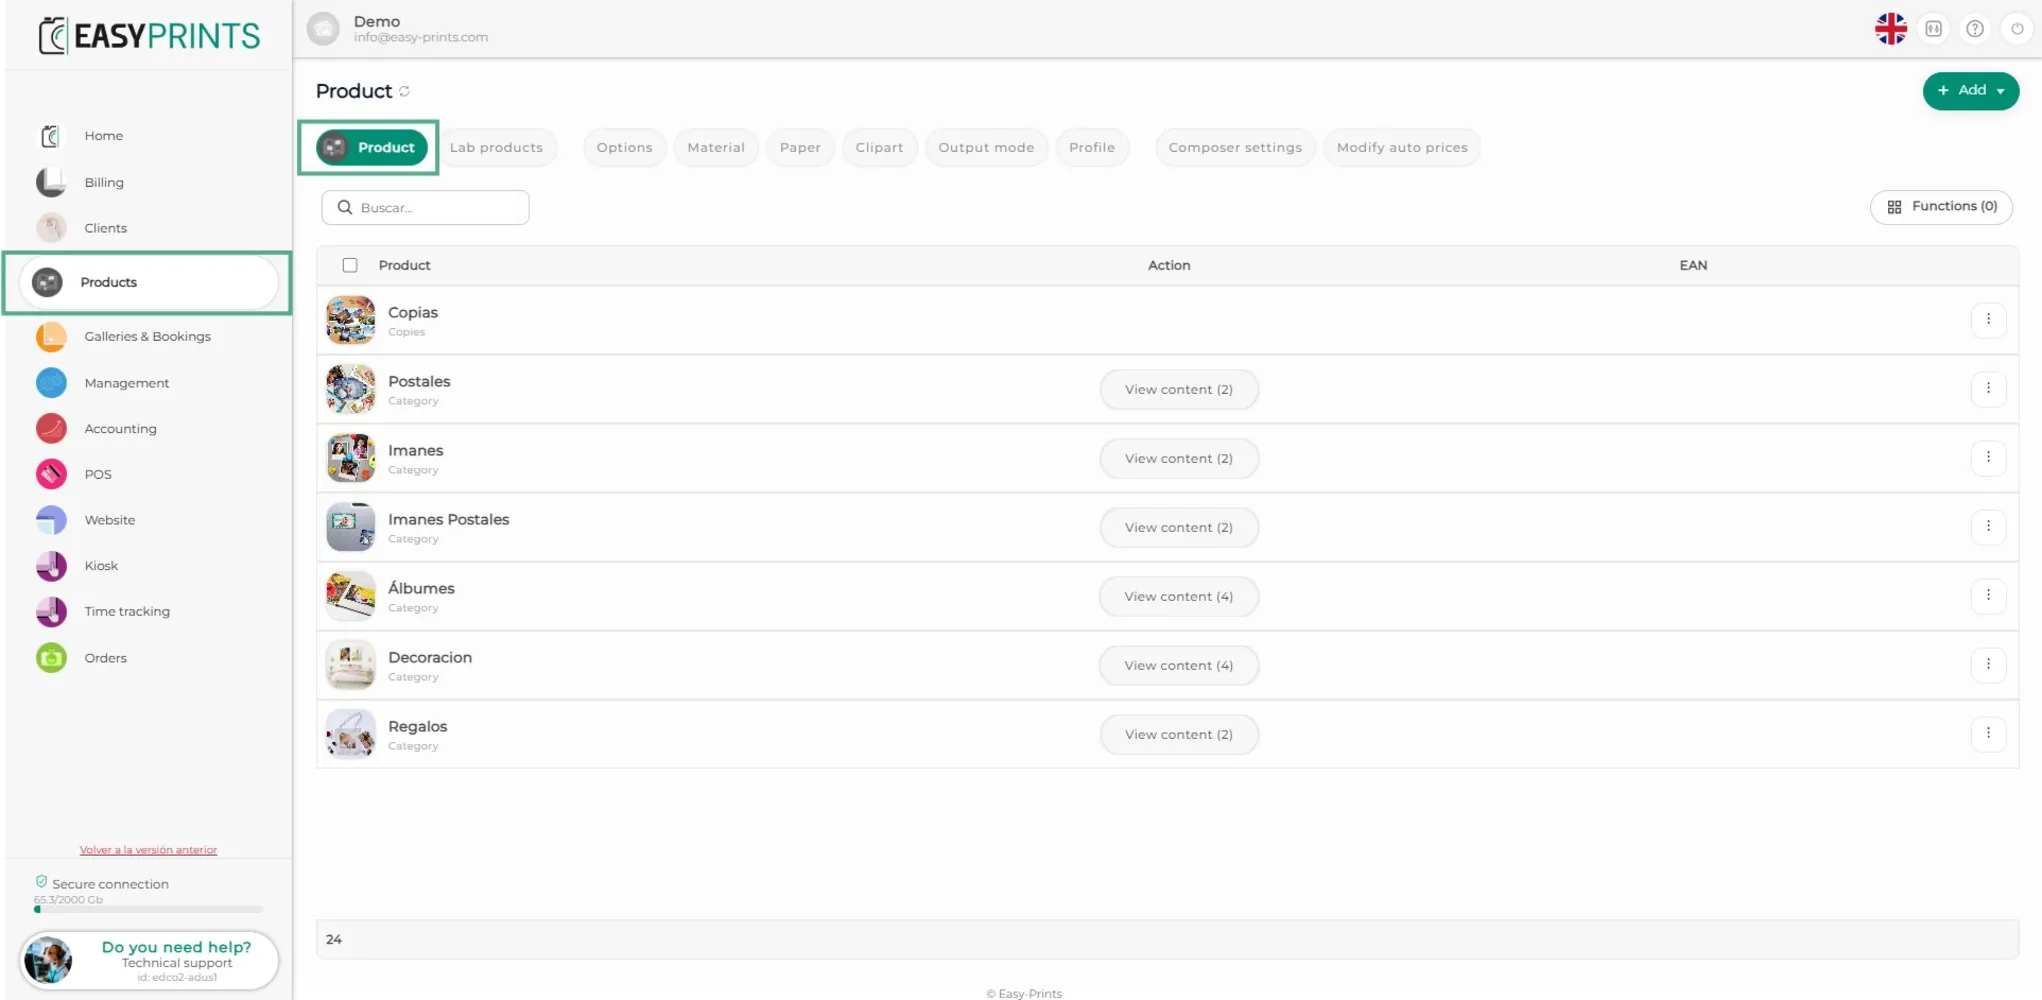
Step 2
In the top right corner, you will find the green + New button; when you click on it, a dropdown menu will open where you must select the New product option.
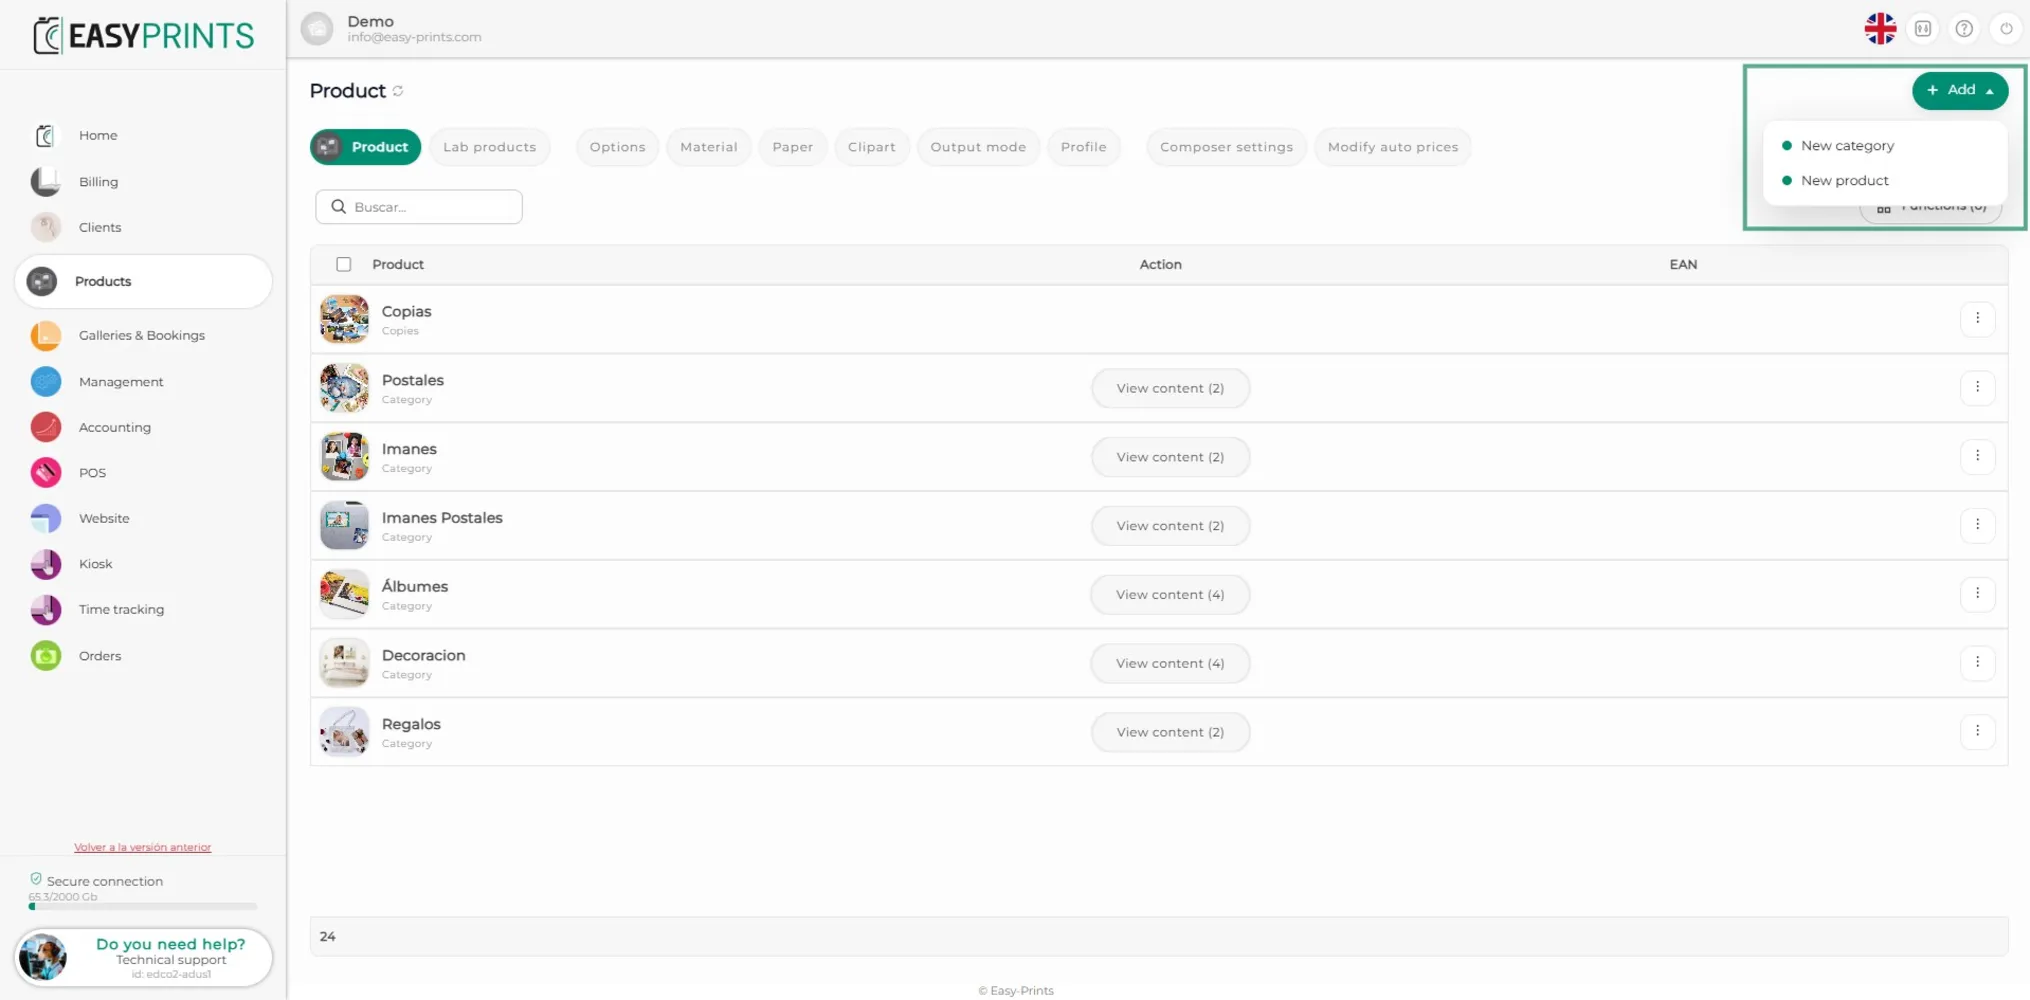
Step 3
In the new window, select the Standard option.
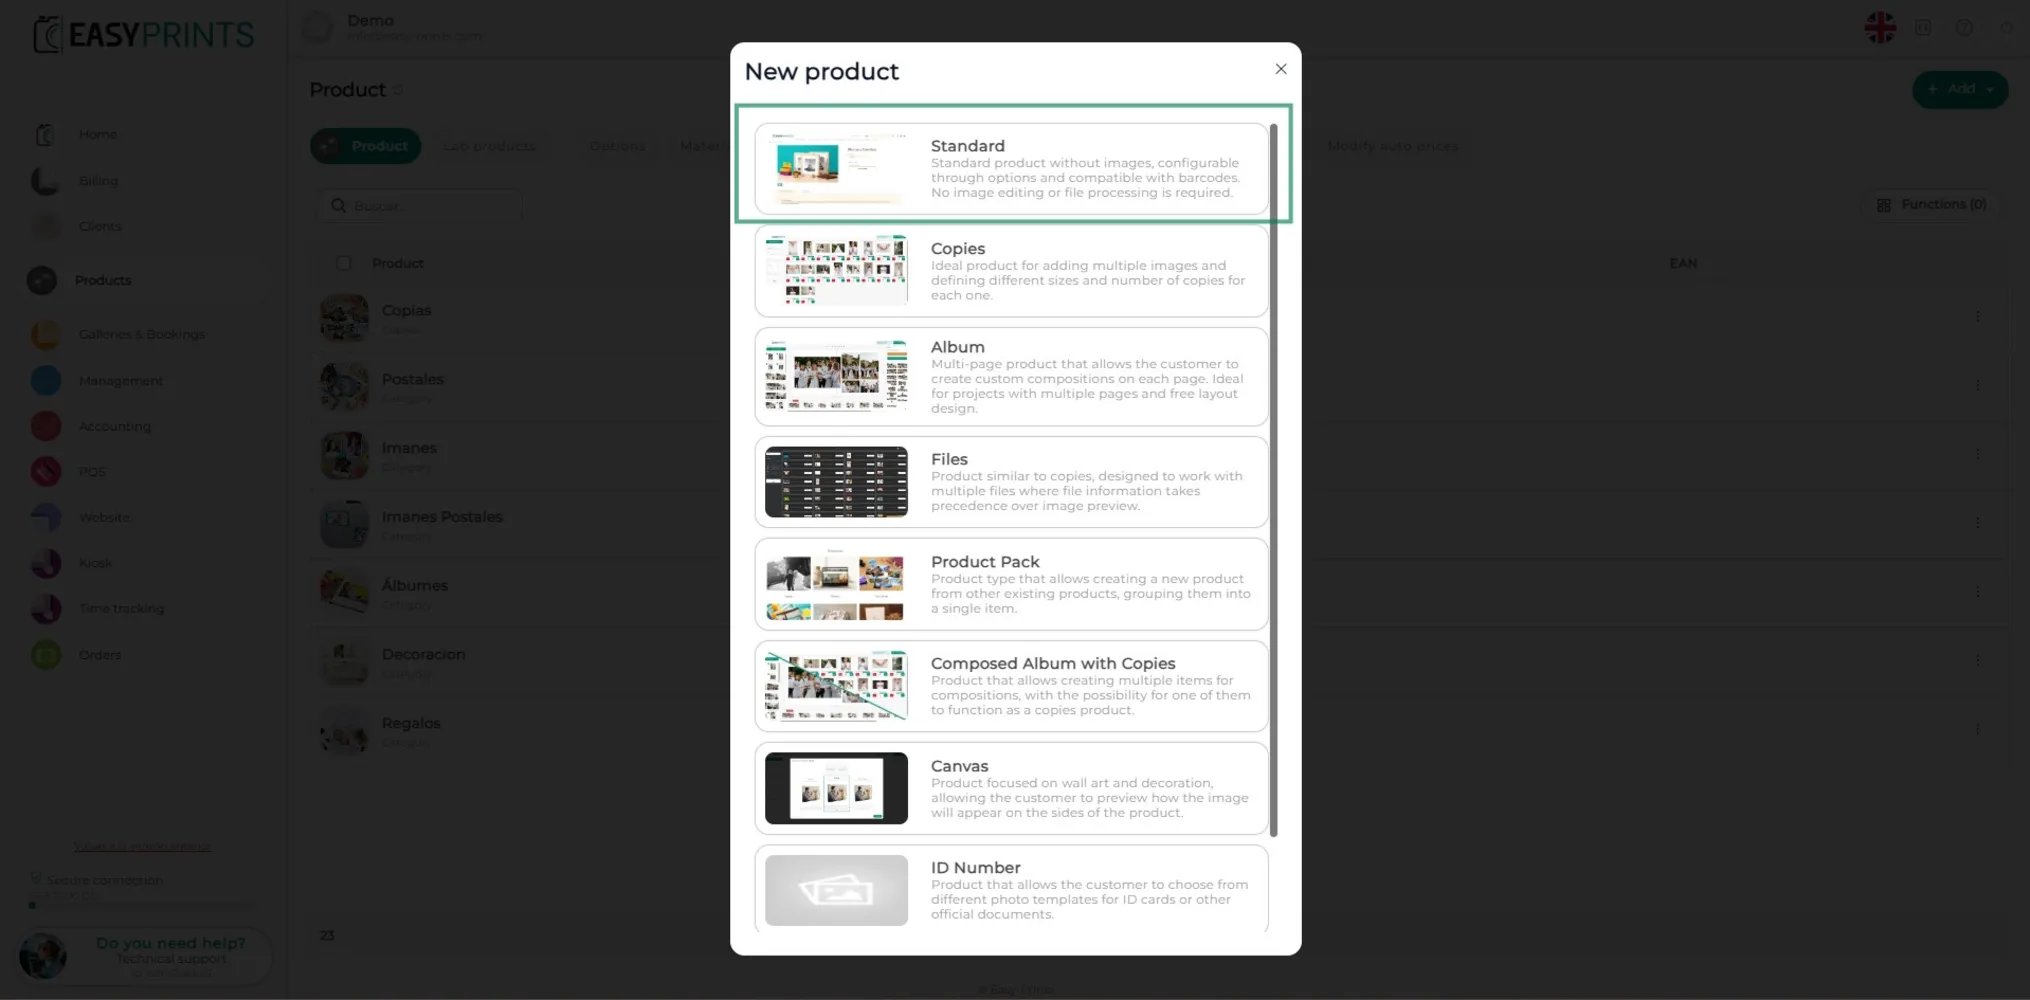
Step 4
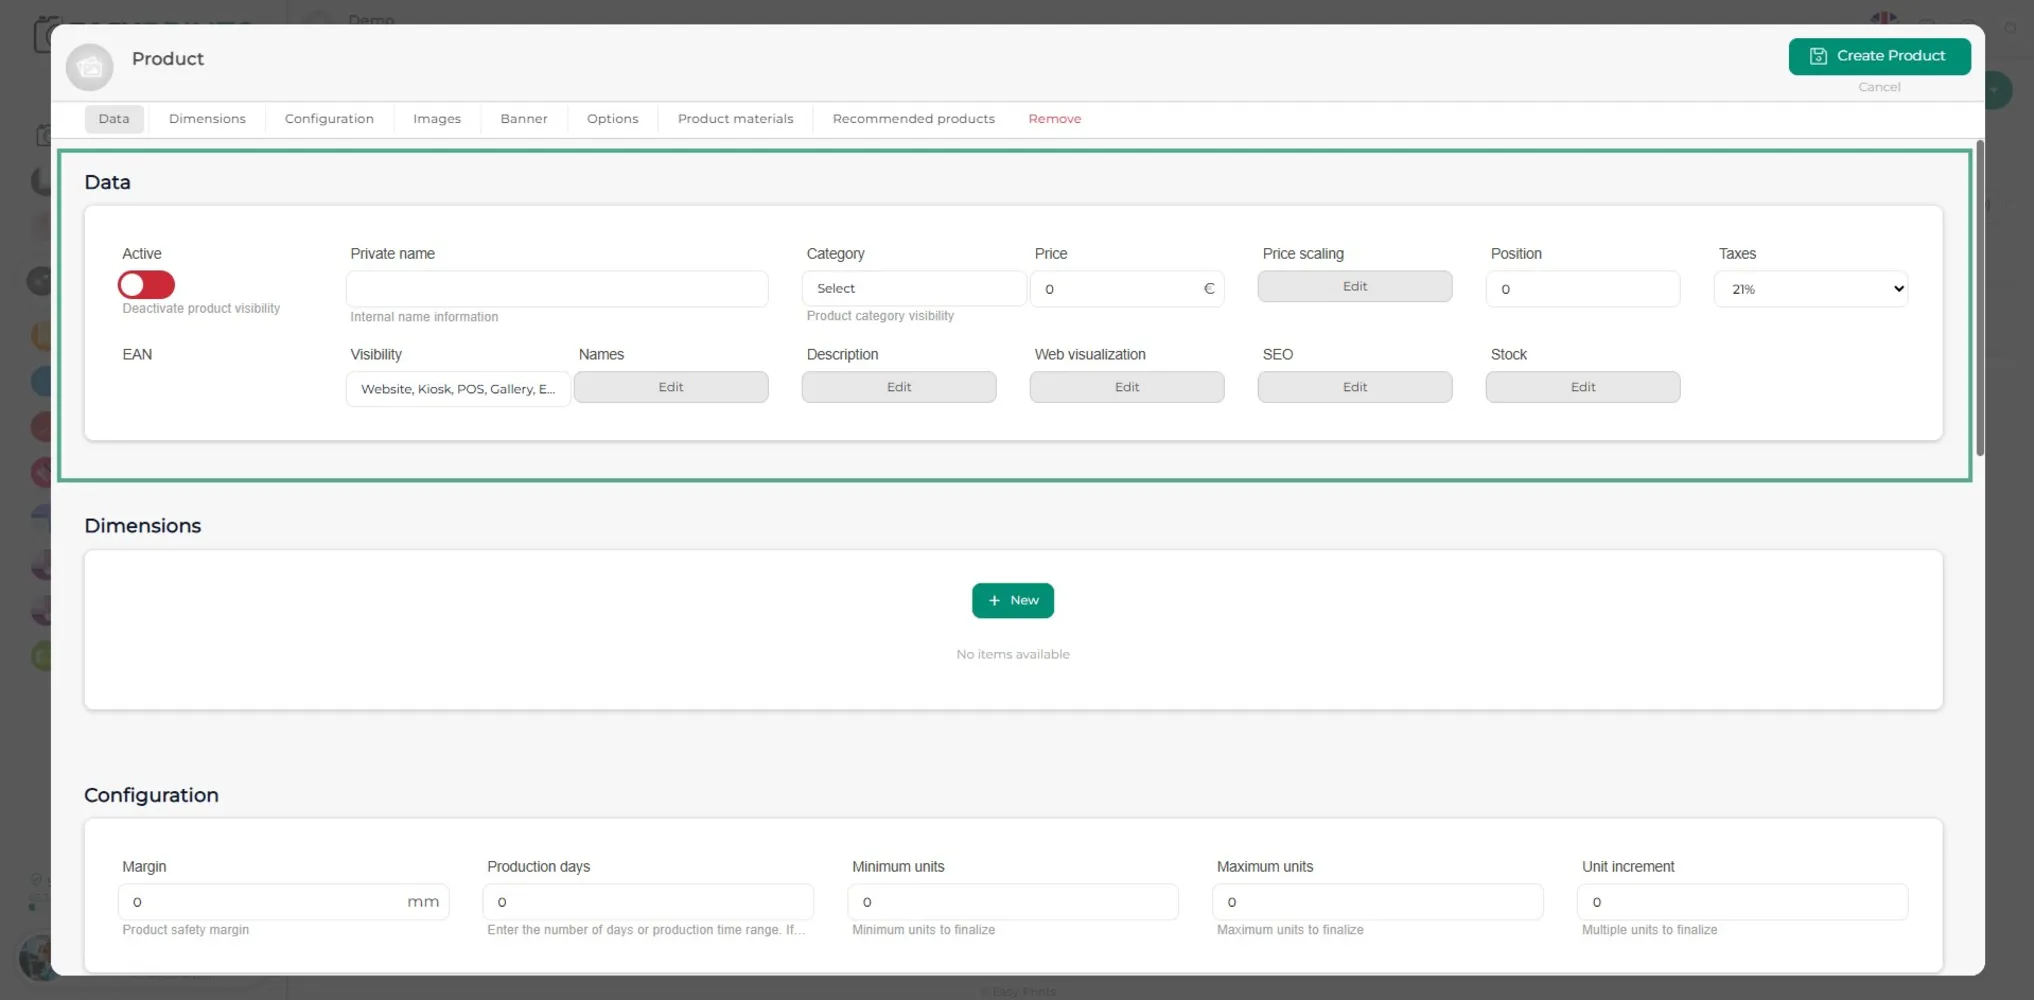
In the product window, you must complete the relevant product details, making sure to activate the product so it can be displayed on the website. You will need to specify the internal product name and its category, as well as the name shown to the customer and its description. You must also define the product price (including price scaling if necessary) and its position.
Step 5
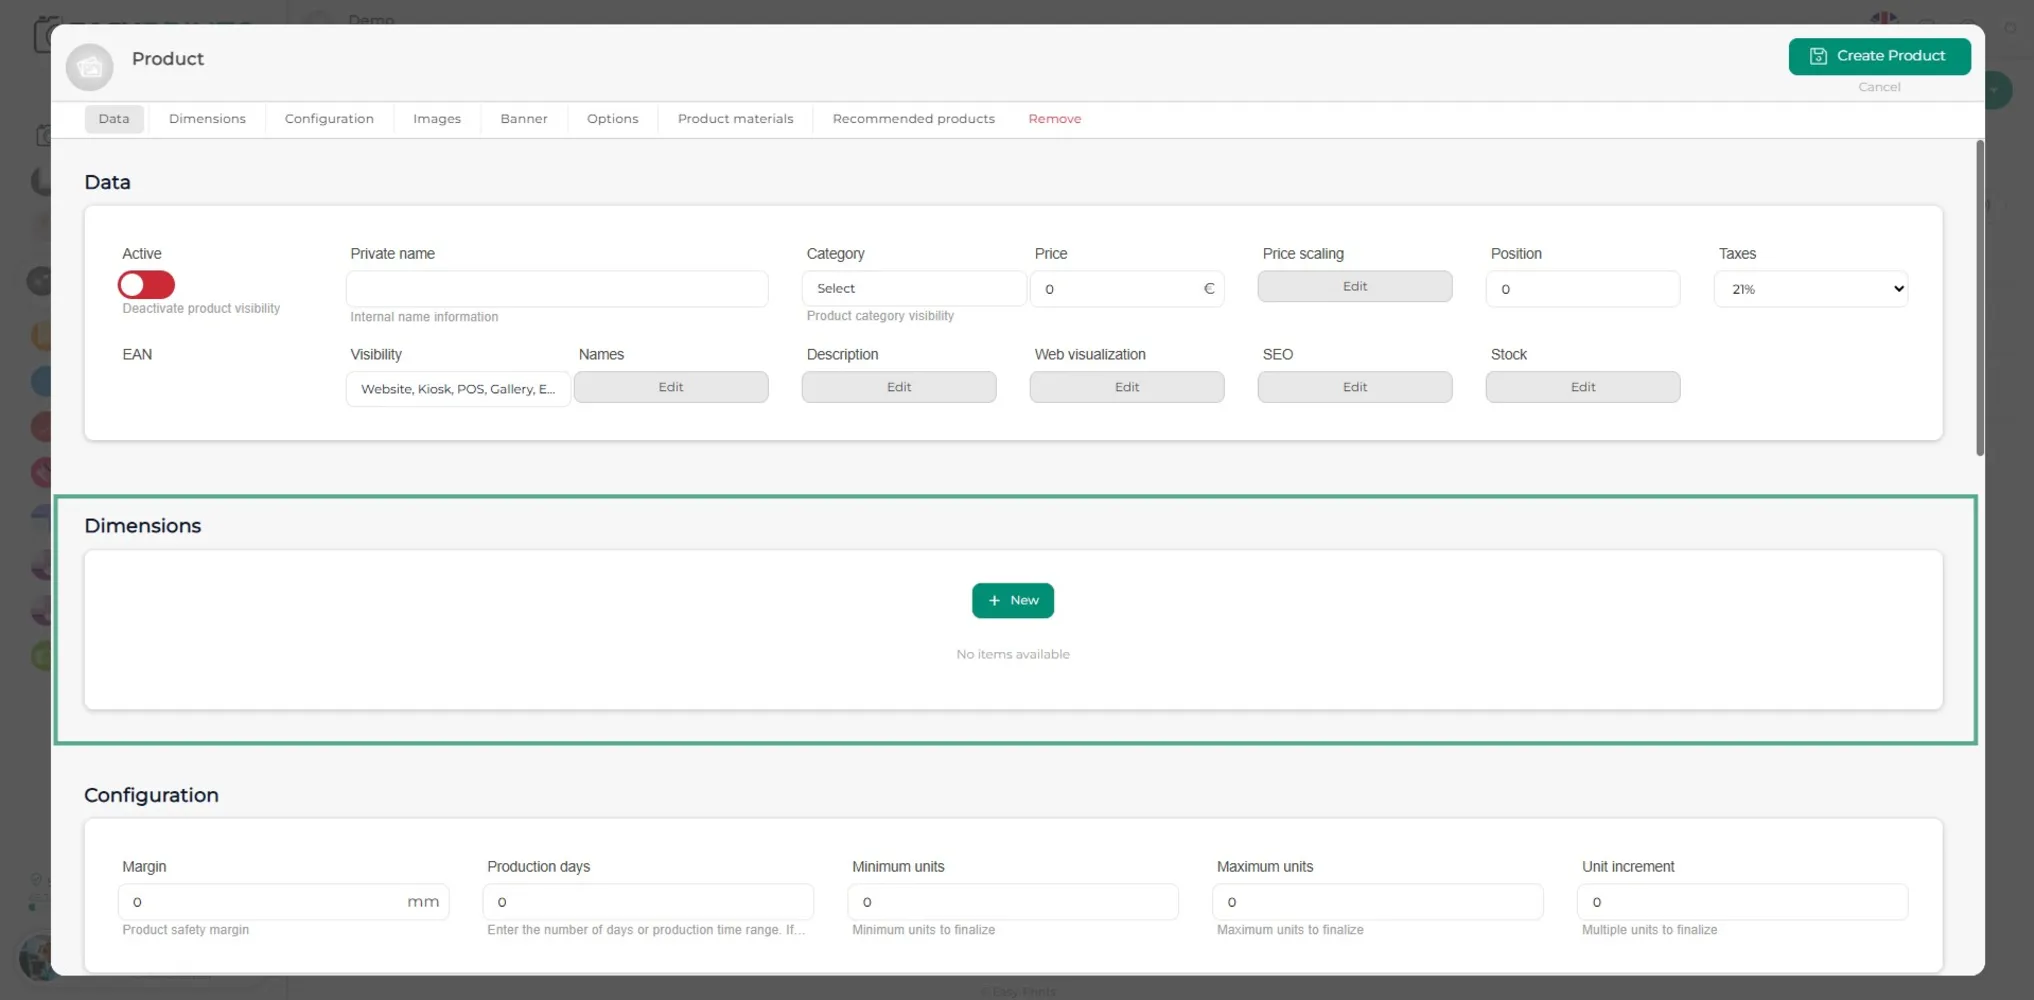
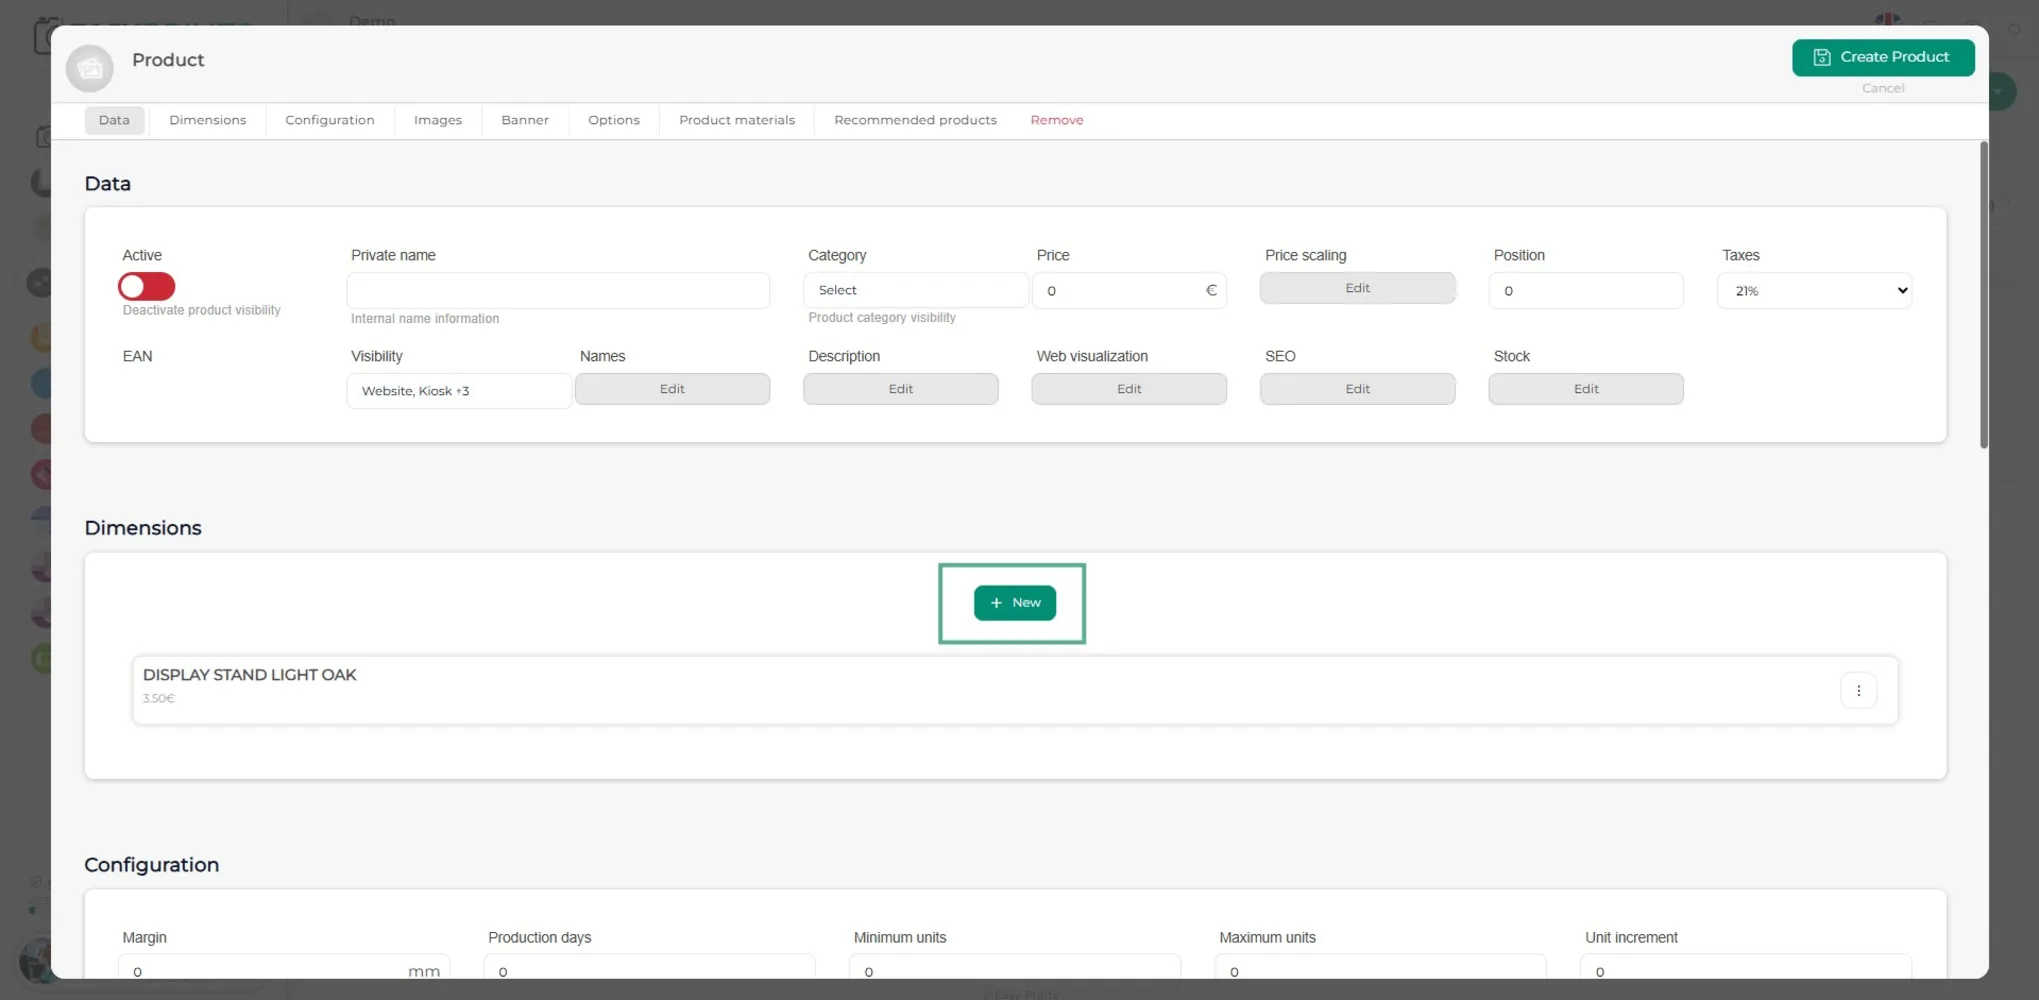
In the Dimensions section, you must enter the product with its different sizes, colors, or variants by clicking the green + New button. For example, in Stands, specify the different sizes and/or colors.
Step 6
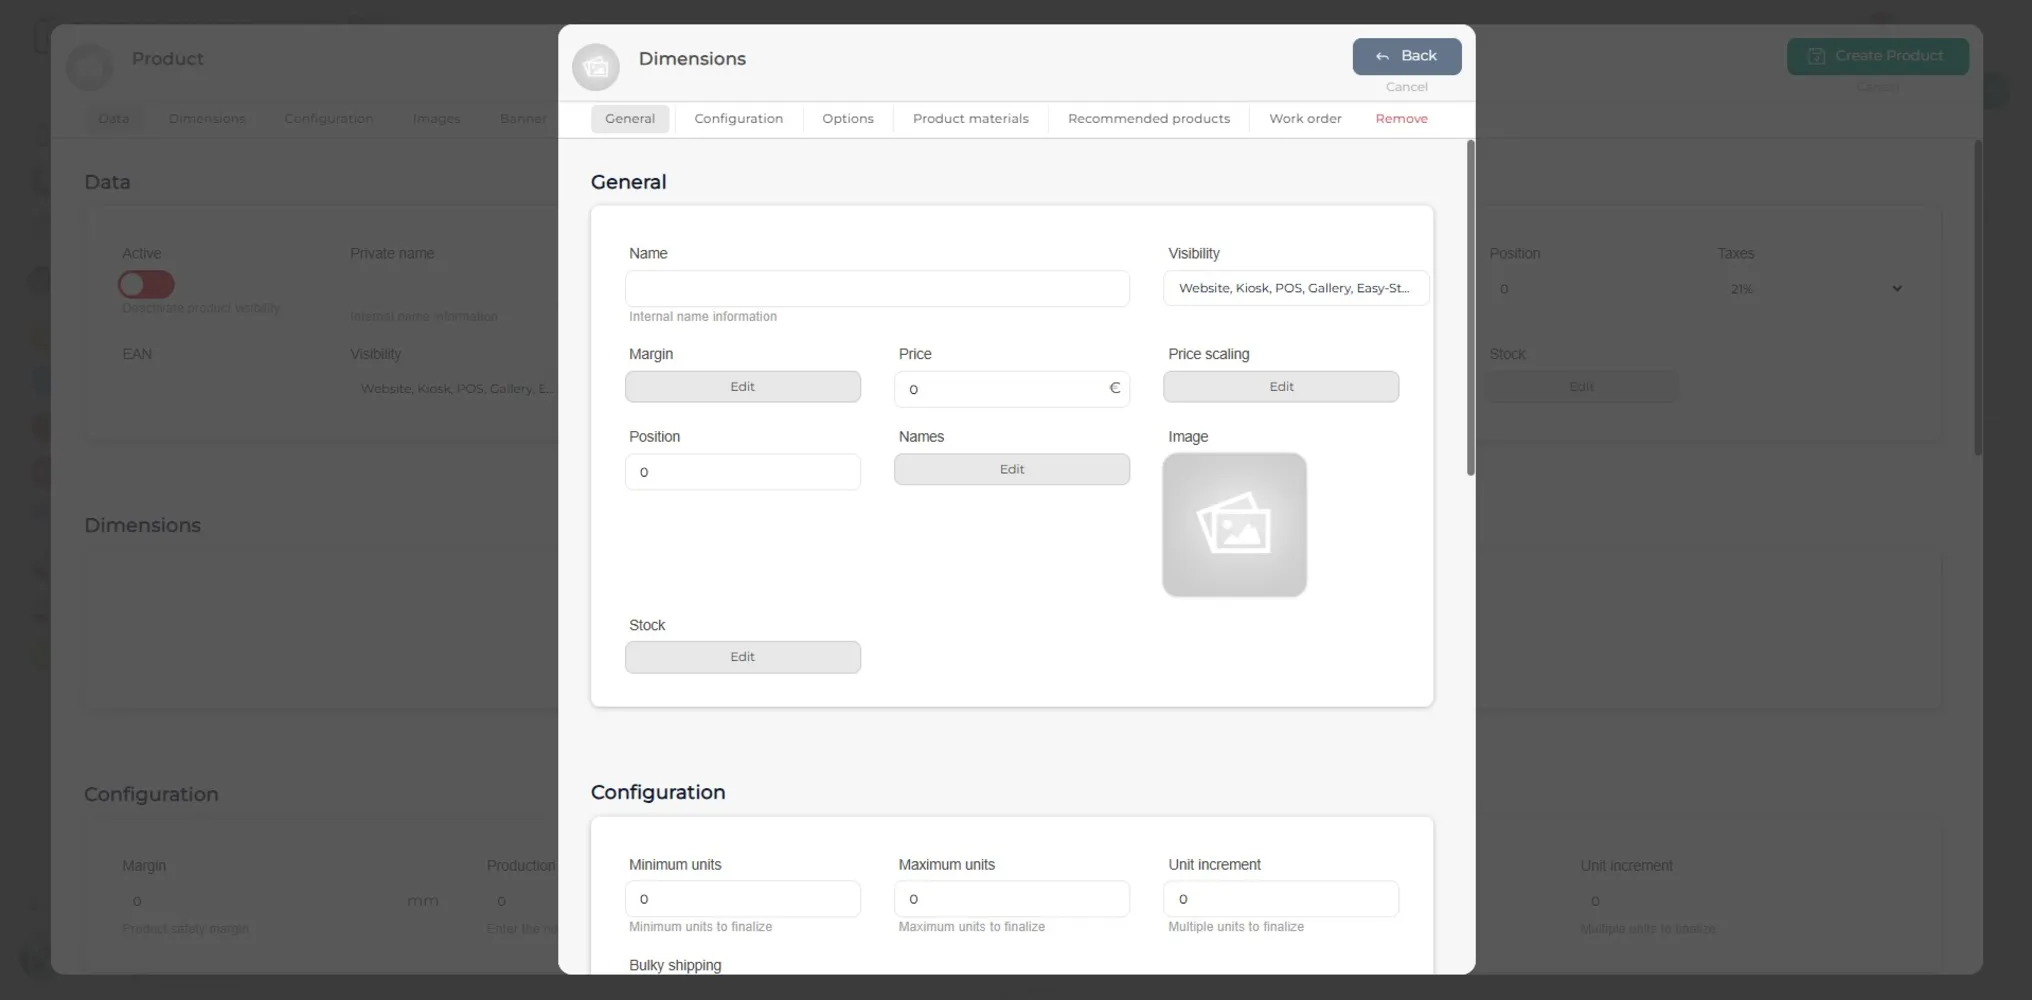
By clicking the green + New button, a new window will open. In it, make sure to complete the blank fields in the General section. You can also indicate whether the product has stock or not.
Step 7
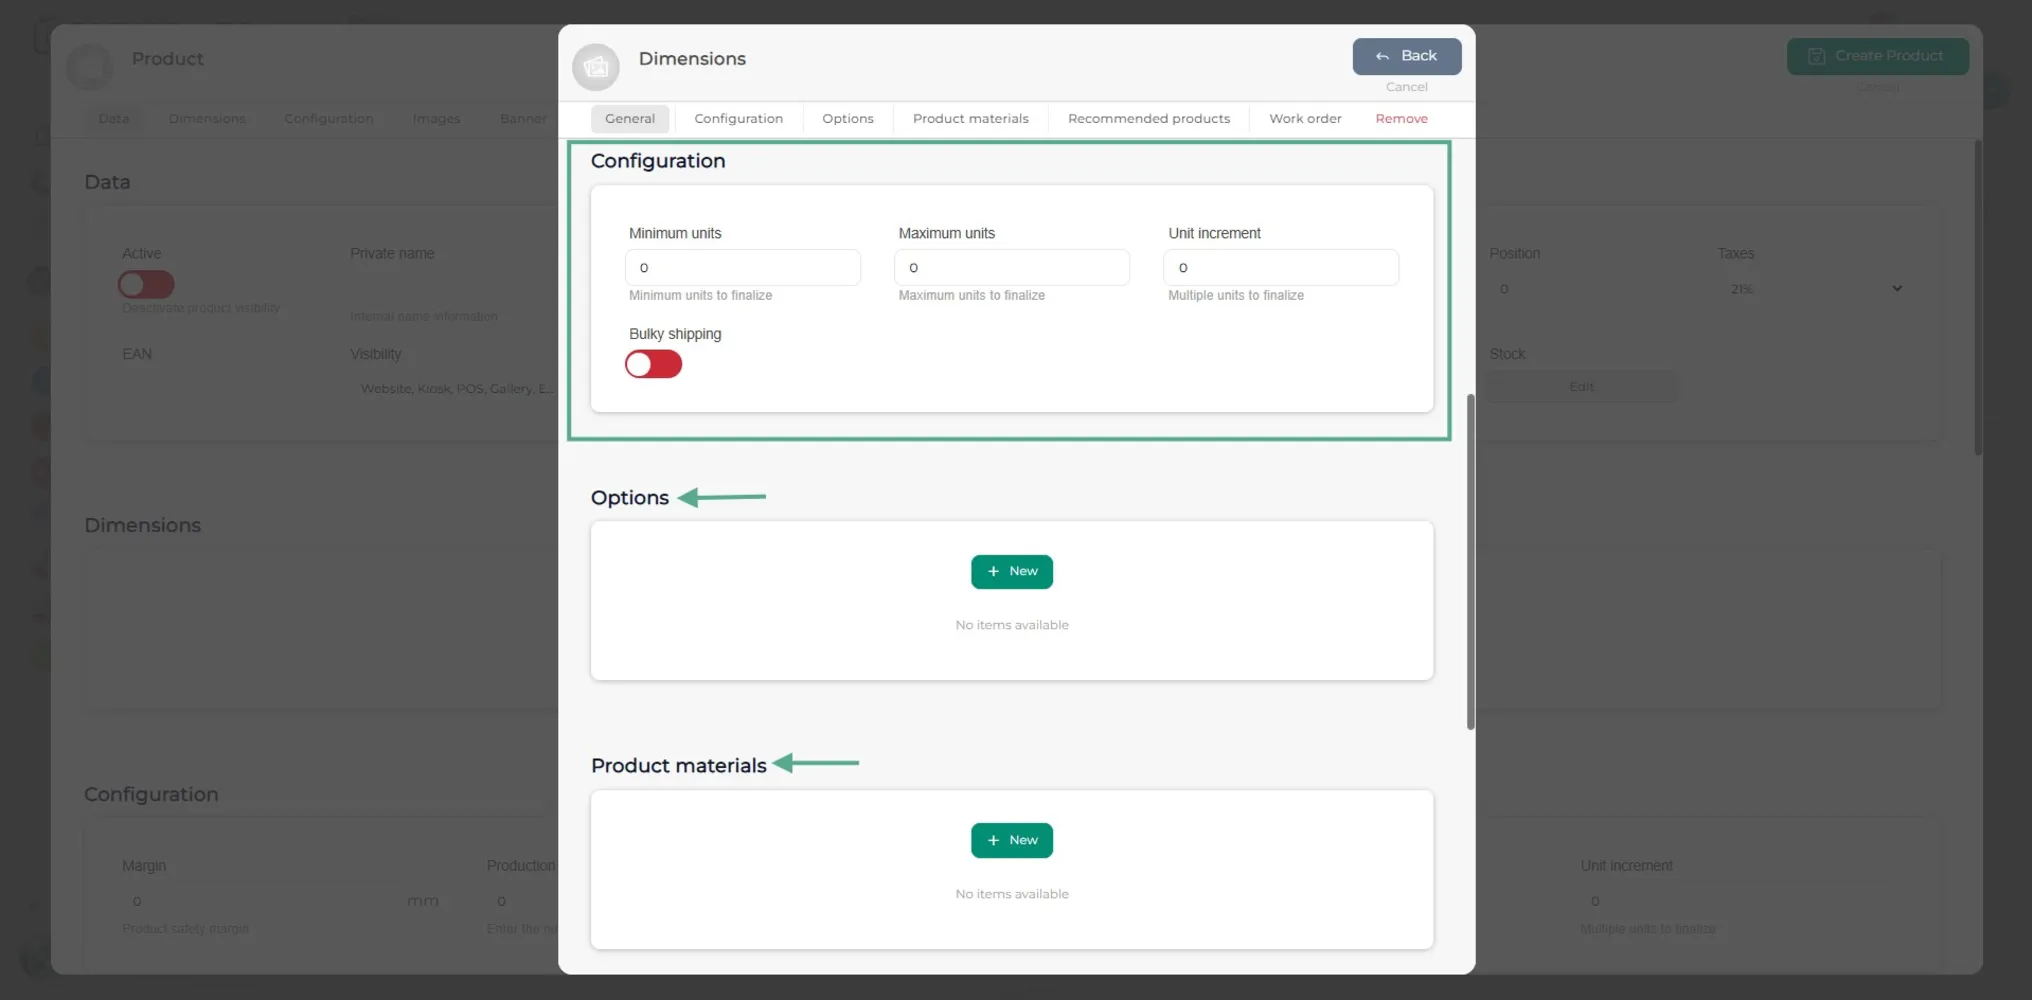
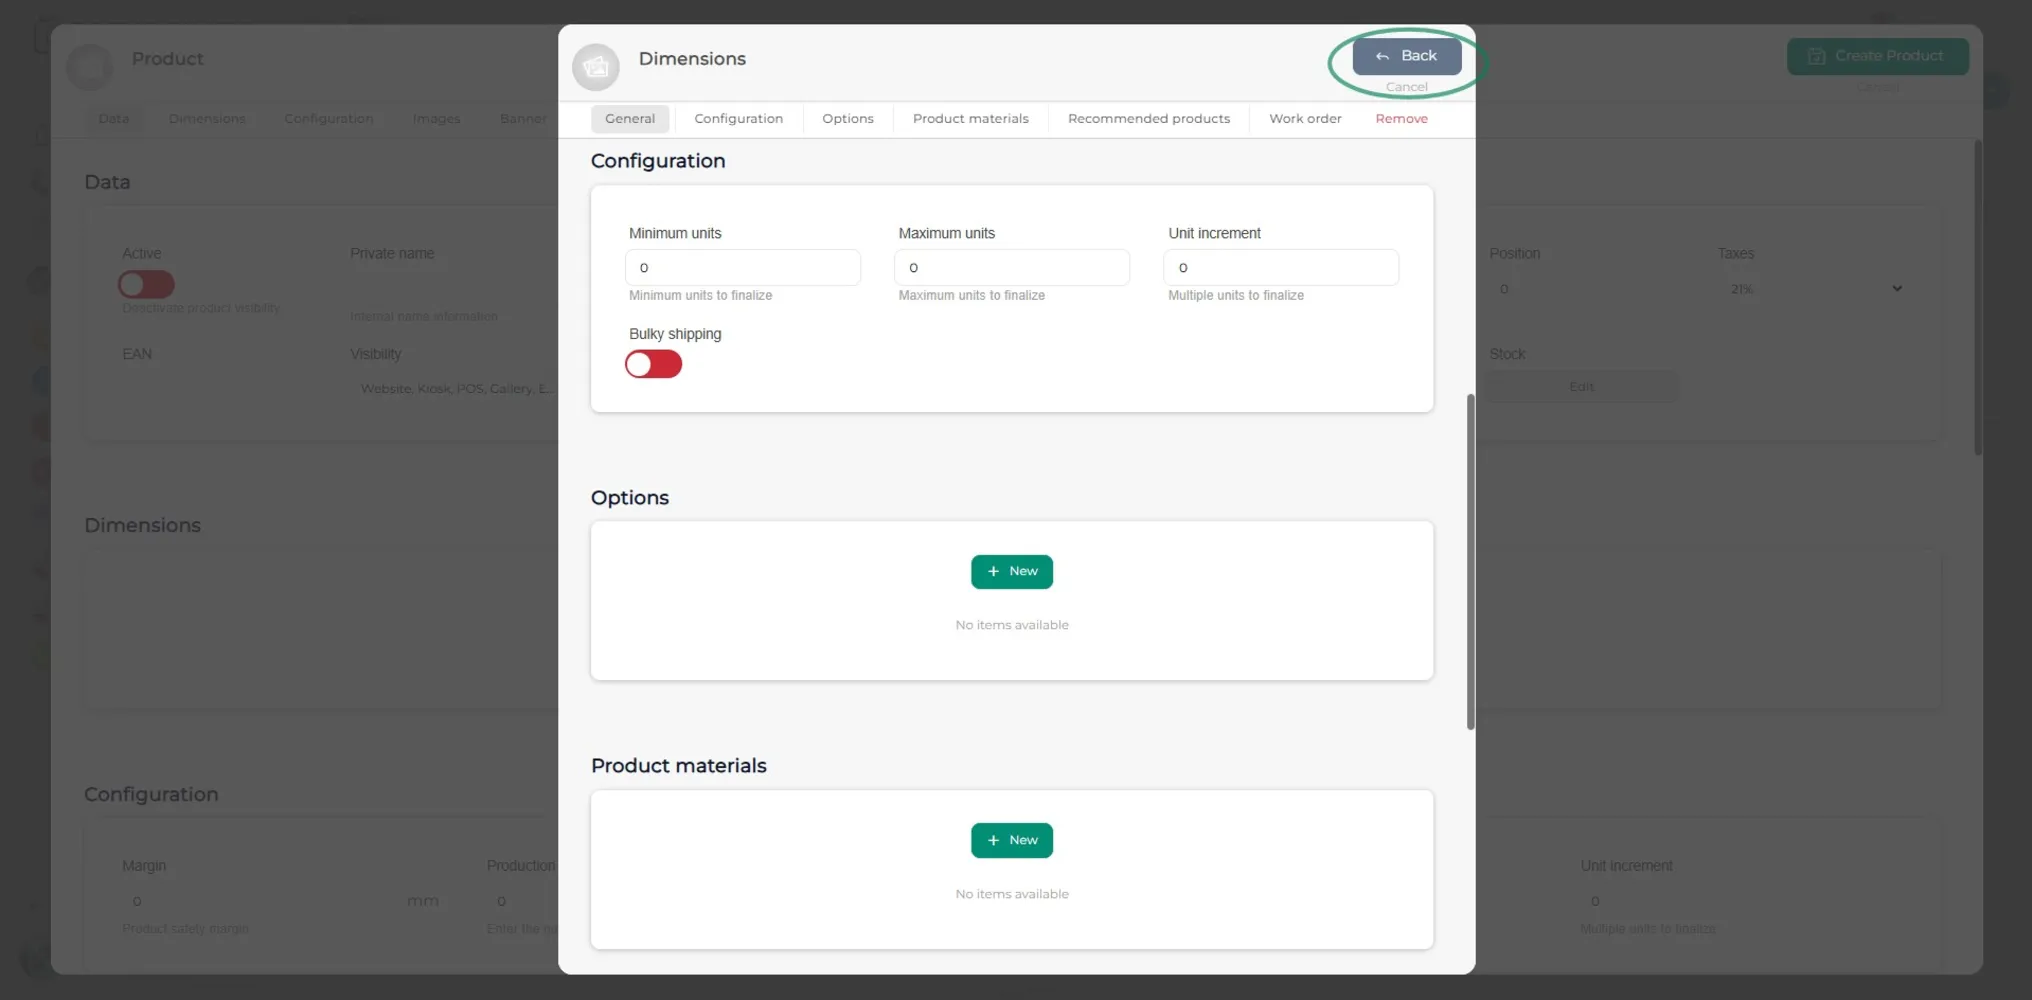
In the Configuration section, you must specify the minimum and maximum units and, if required, the unit increment. If necessary, you can also add options or materials within the dimension.
Step 8
Click the Back button located at the top of the window.
Step 9
Add as many dimensions as needed.
Step 10
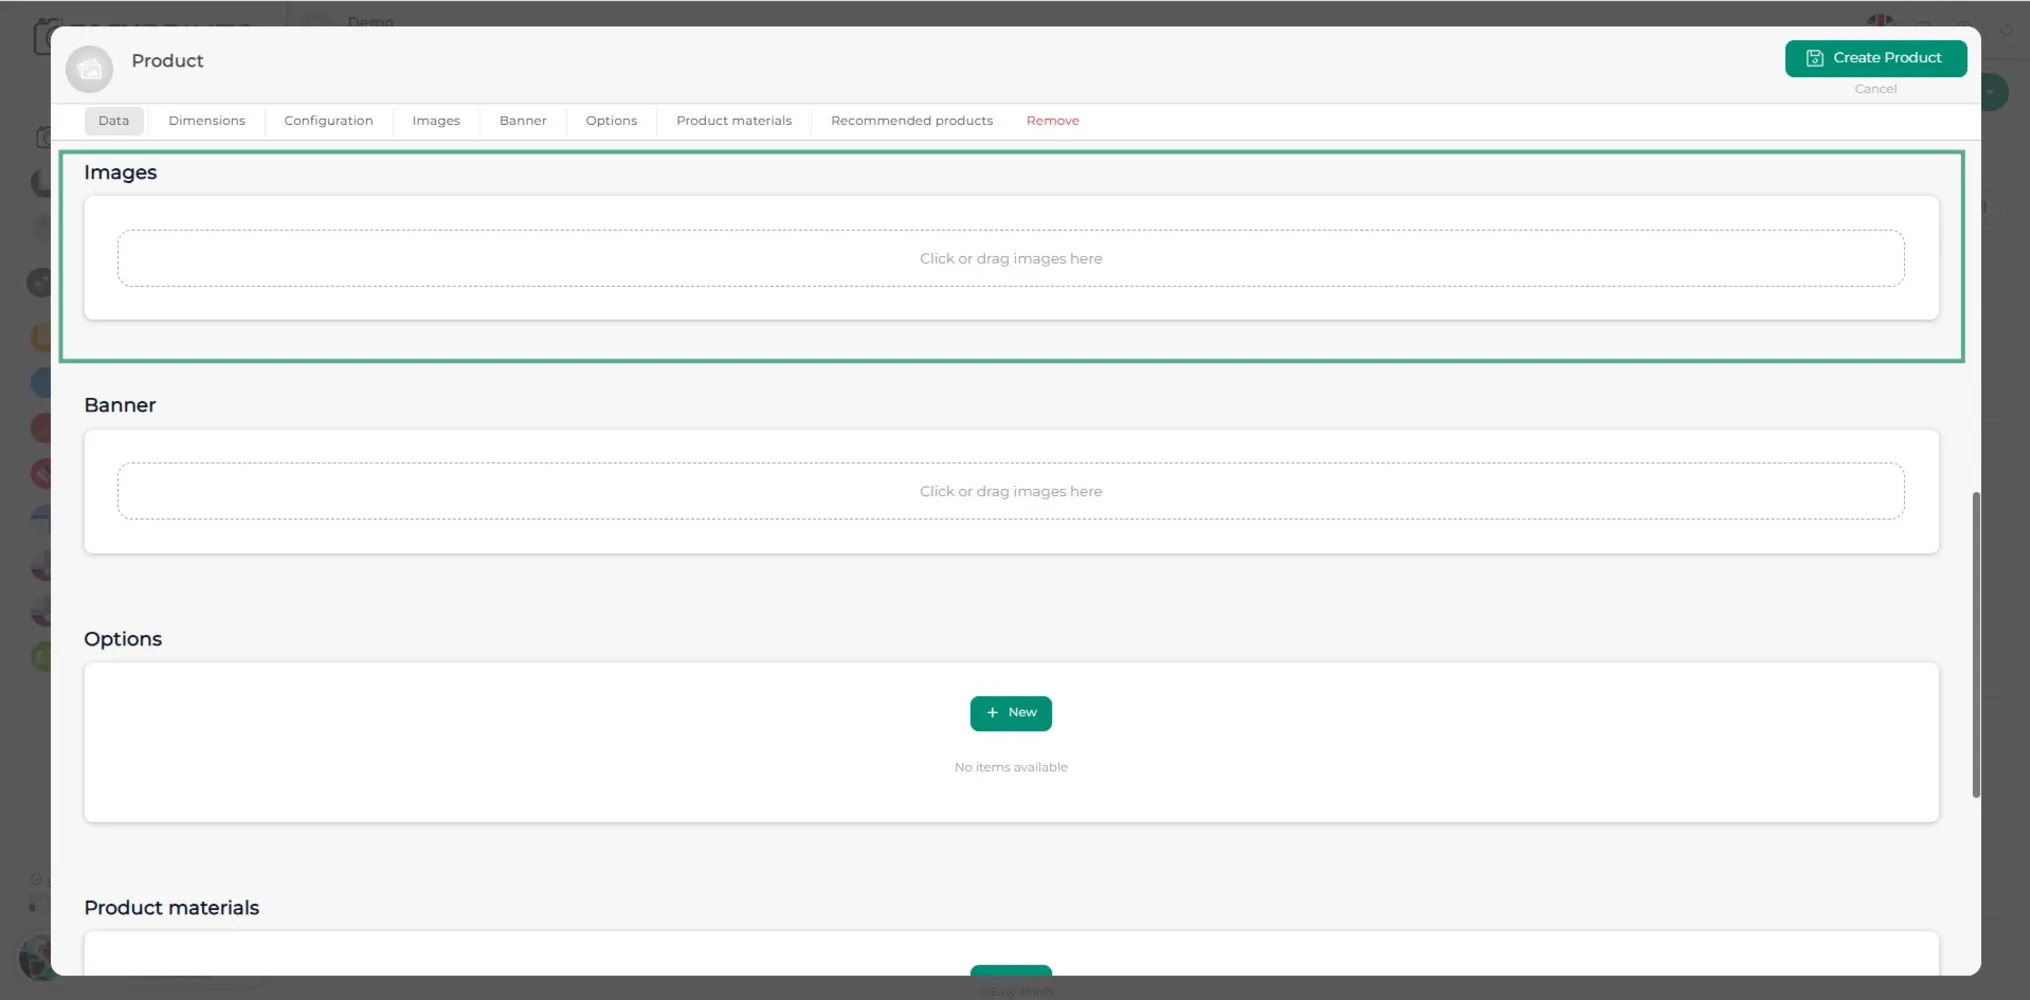
Upload the product photos by clicking on the gray box, as indicated. To add a banner (optional), follow the same process.
Step 11
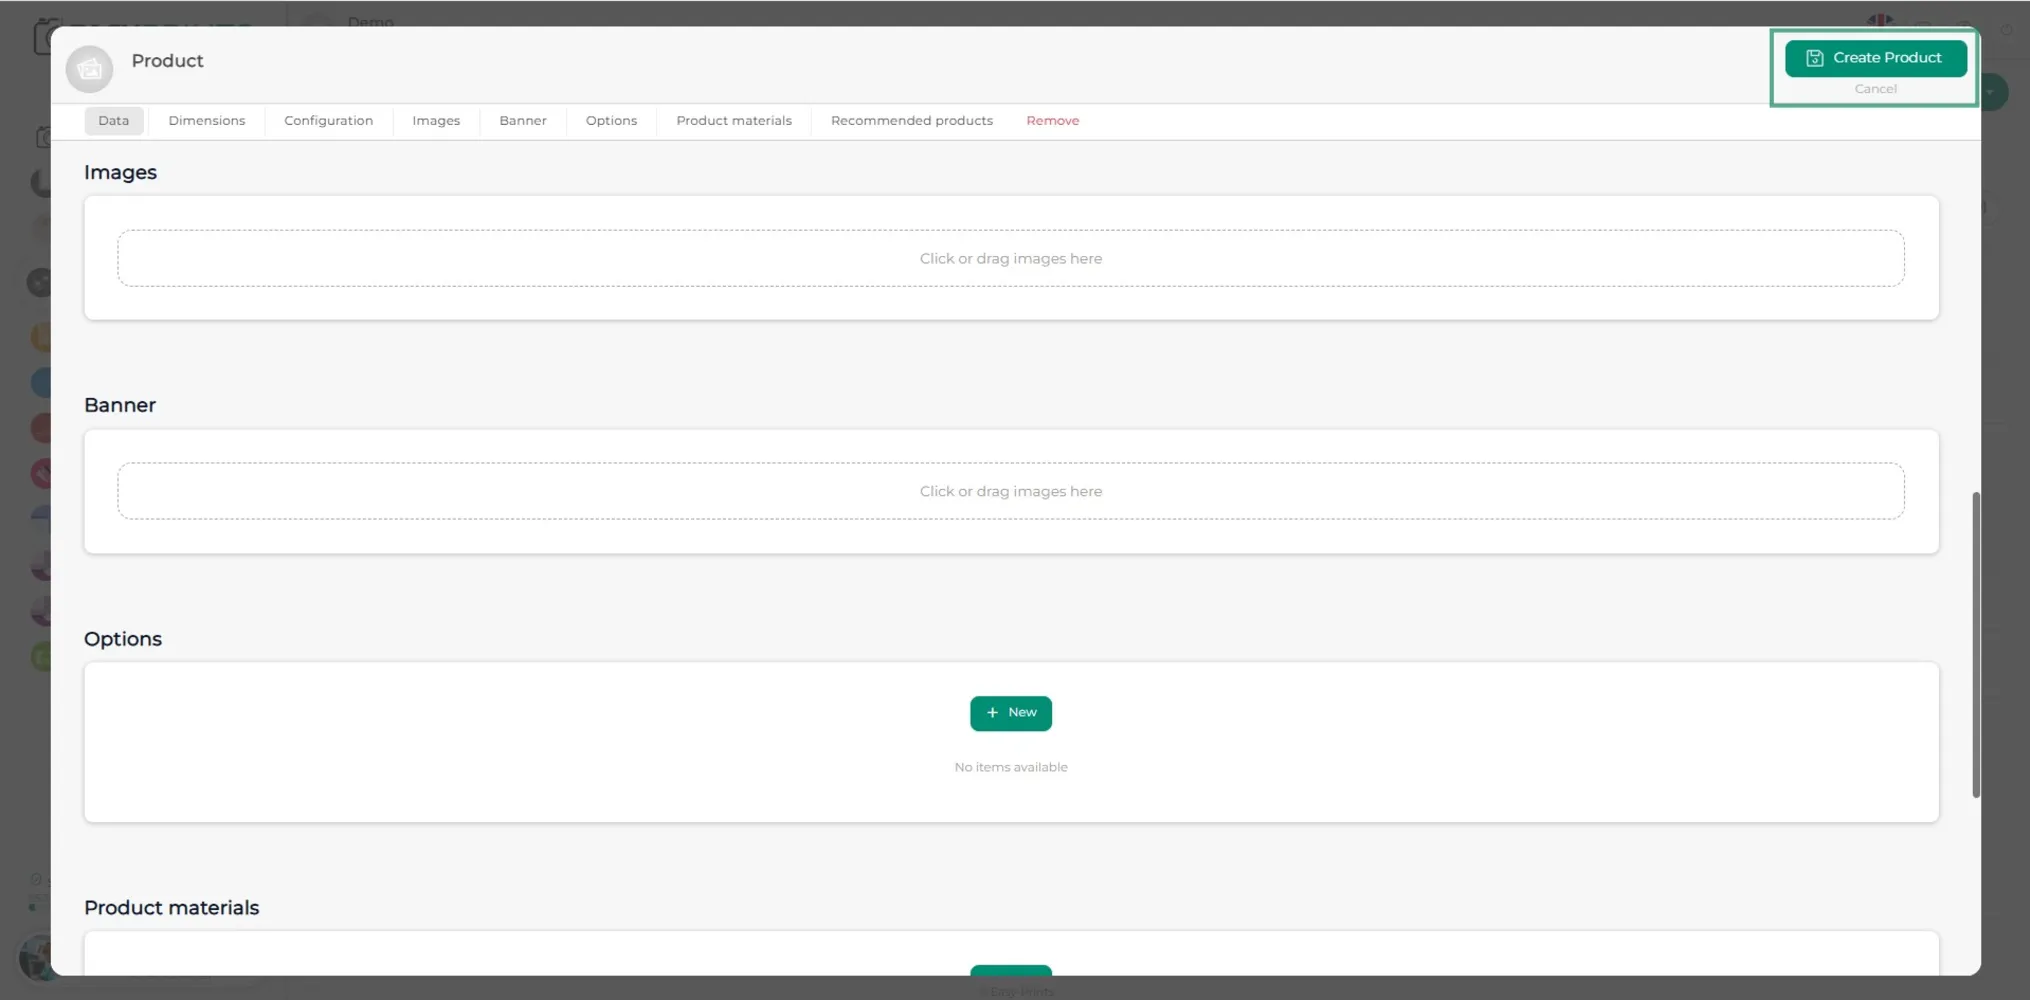
Finally, click the green Create product button located at the top right of the window.
Go back to the Help Center or contact Easy-Prints.
← Back to Help Center