
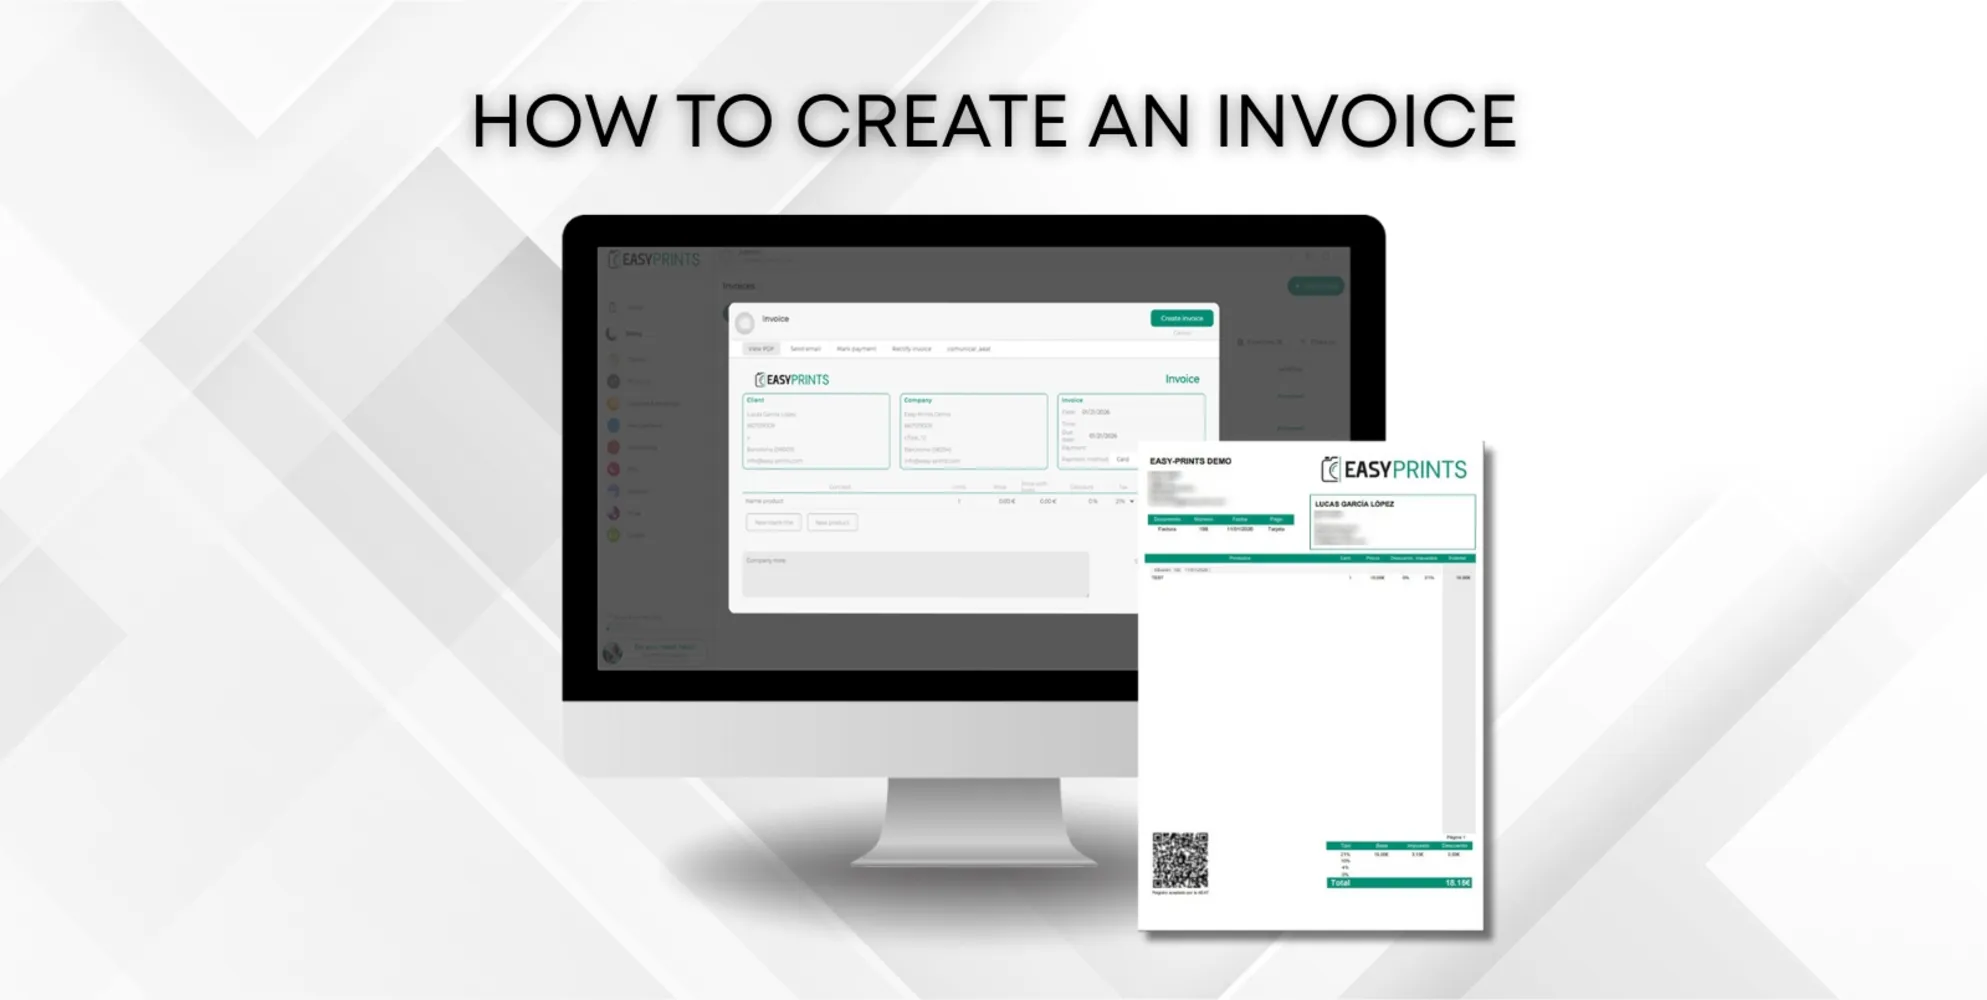
How to create an invoice
Go to the Billing section in the left menu. Within Billing, in the top category bar, go to the Invoices section and click the green Create invoice button l…
Step 1
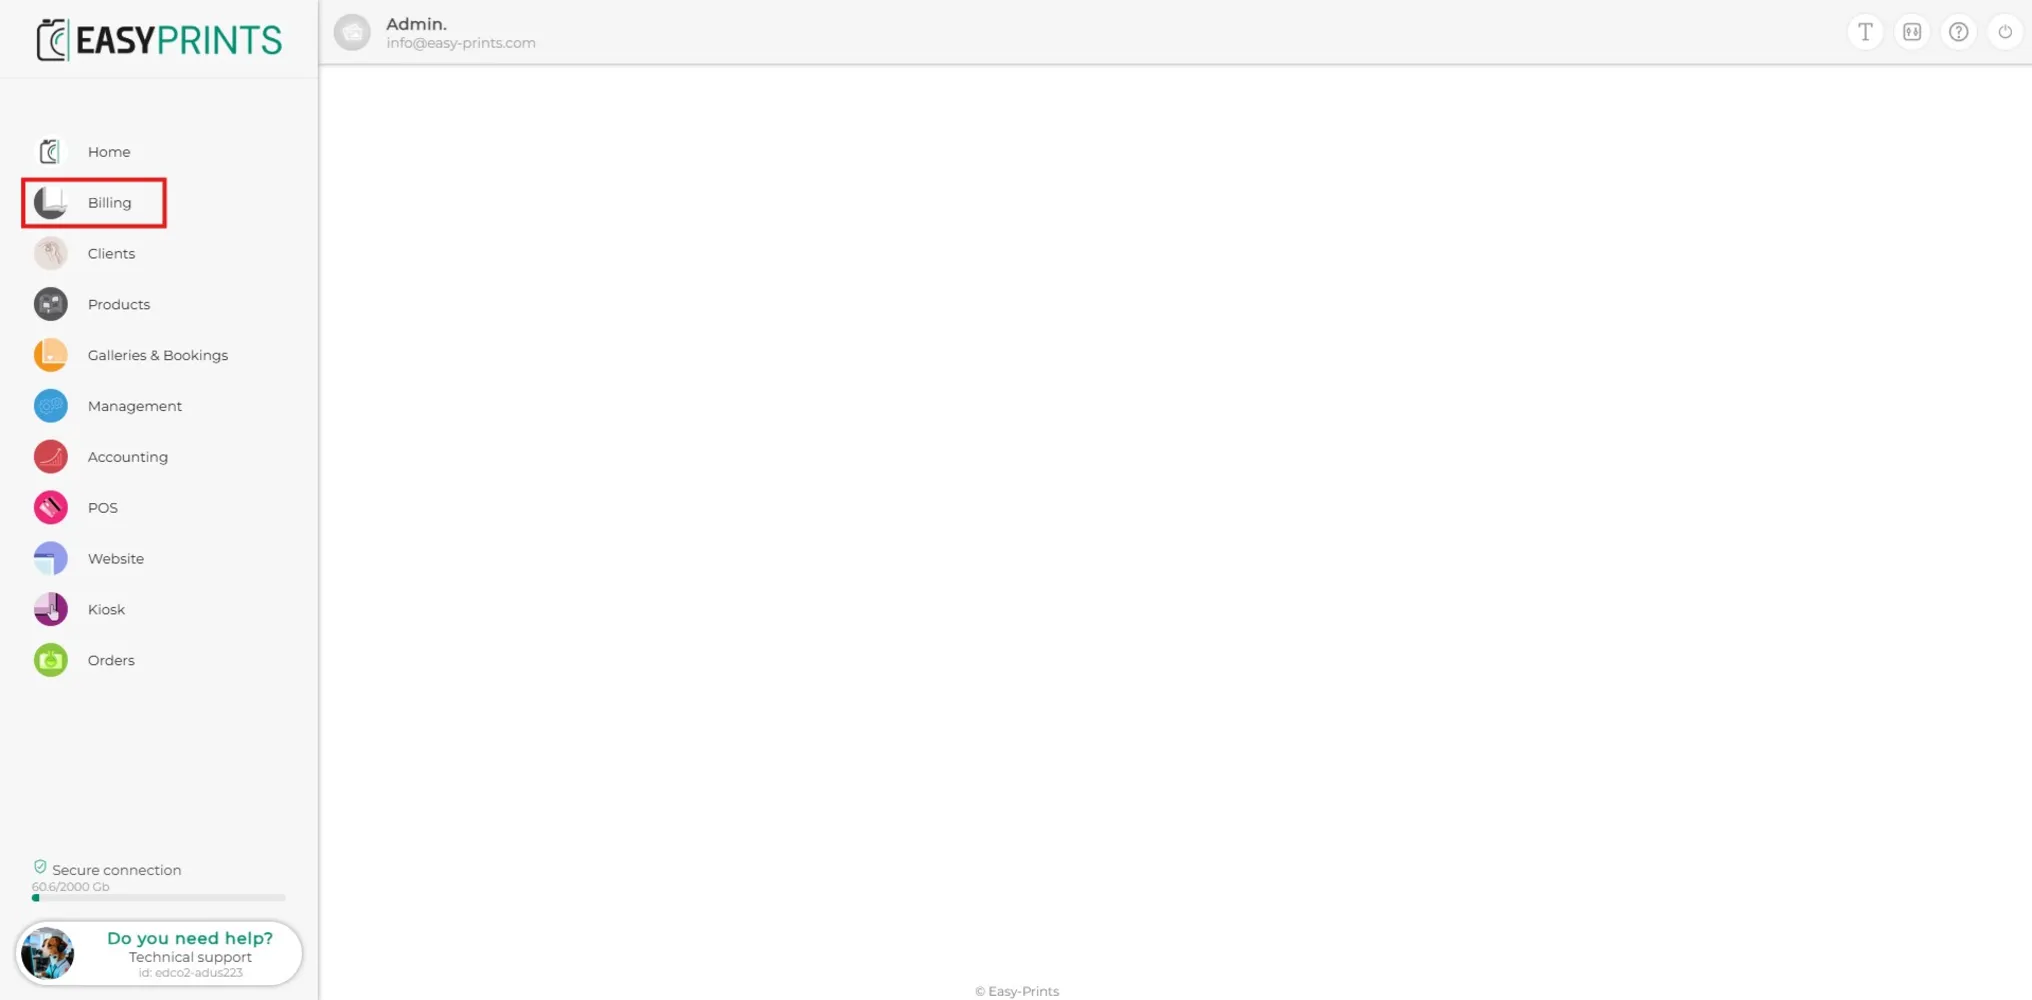
Go to the Billing section in the left menu.
Step 2
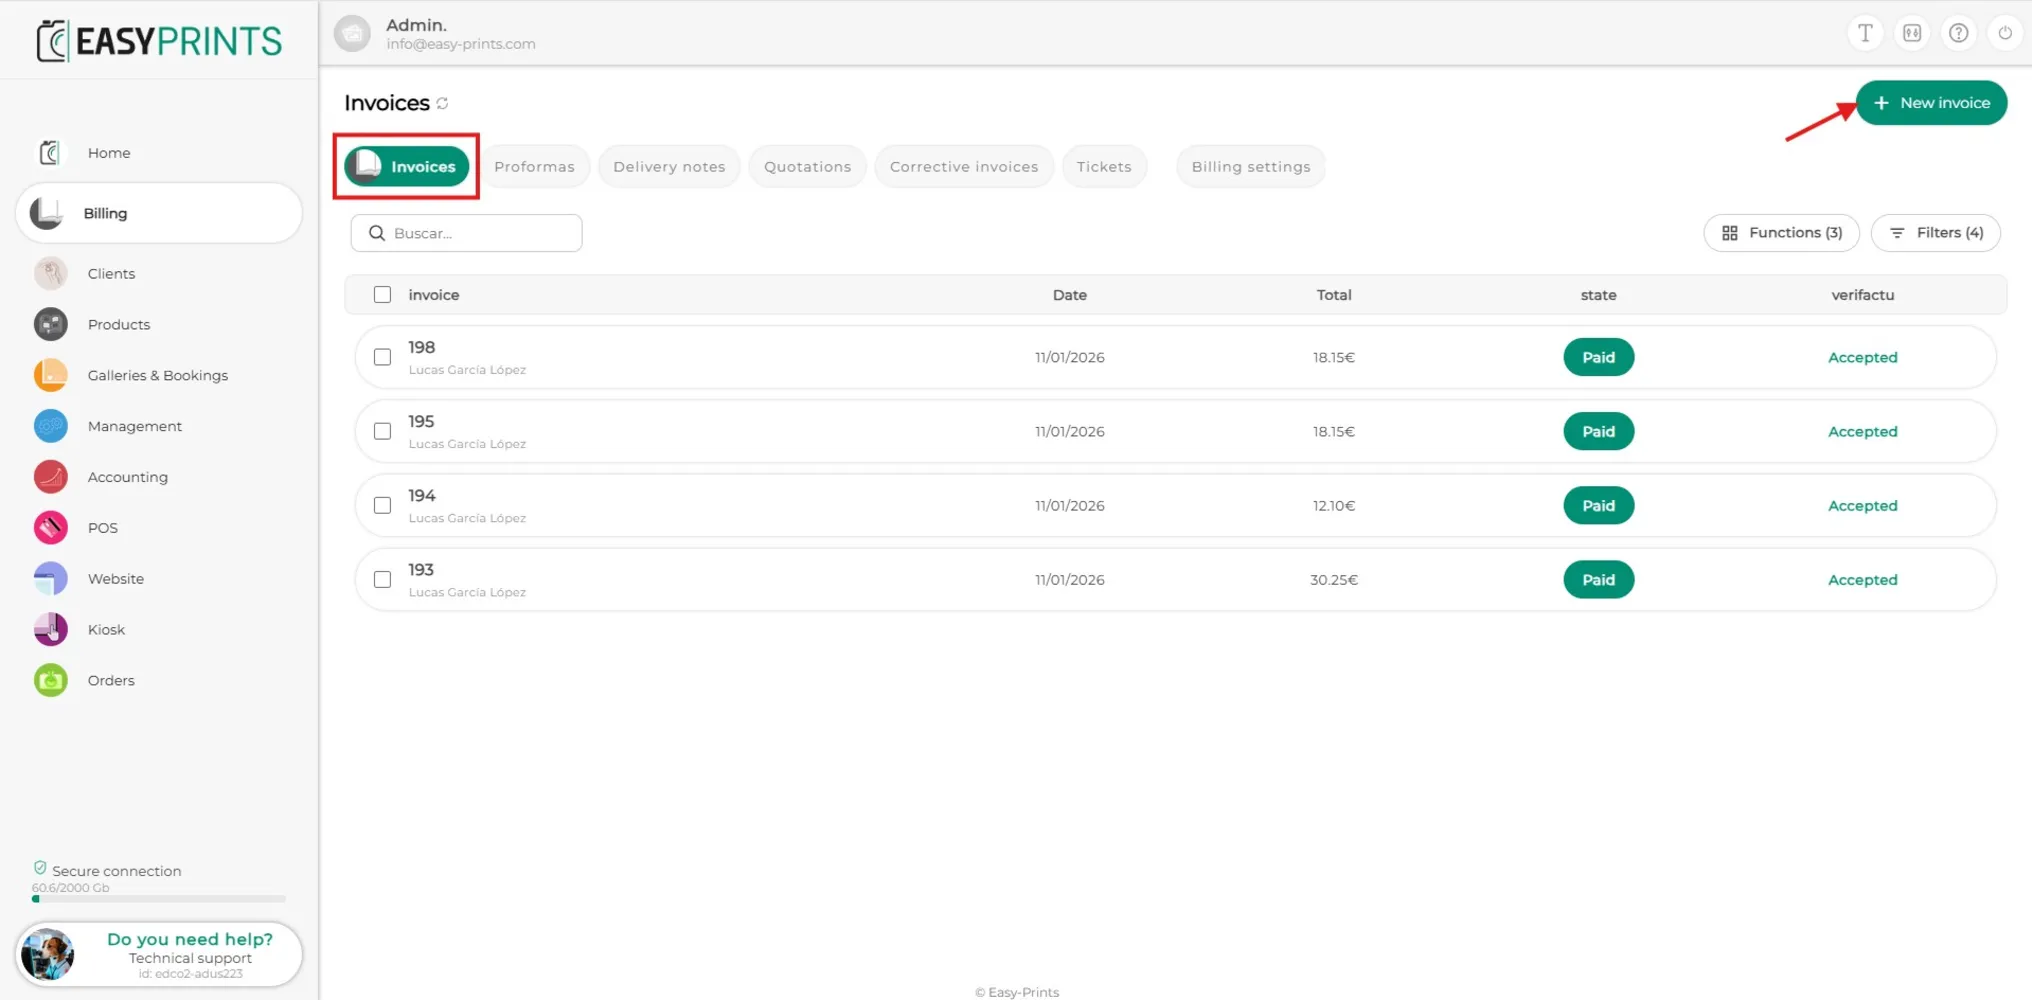
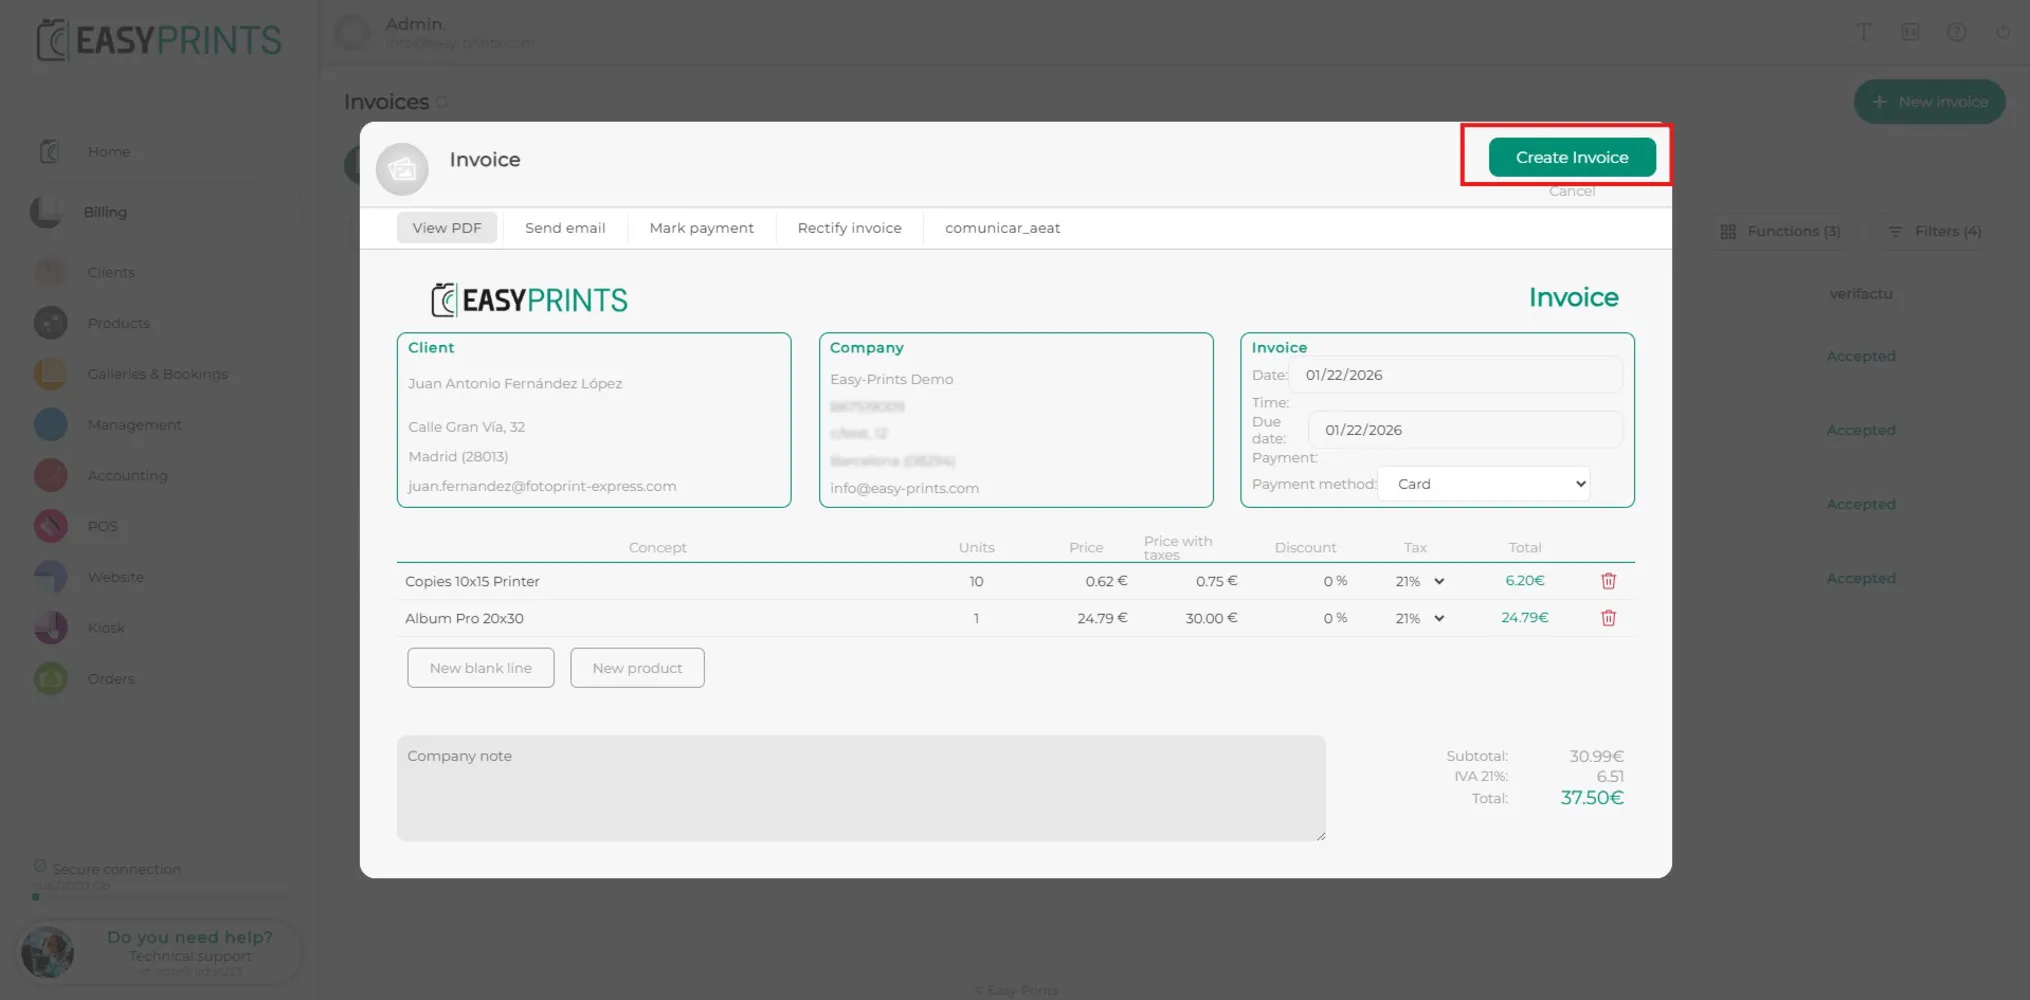
Within Billing, in the top category bar, go to the Invoices section and click the green Create invoice button located at the top of the screen.
Step 3
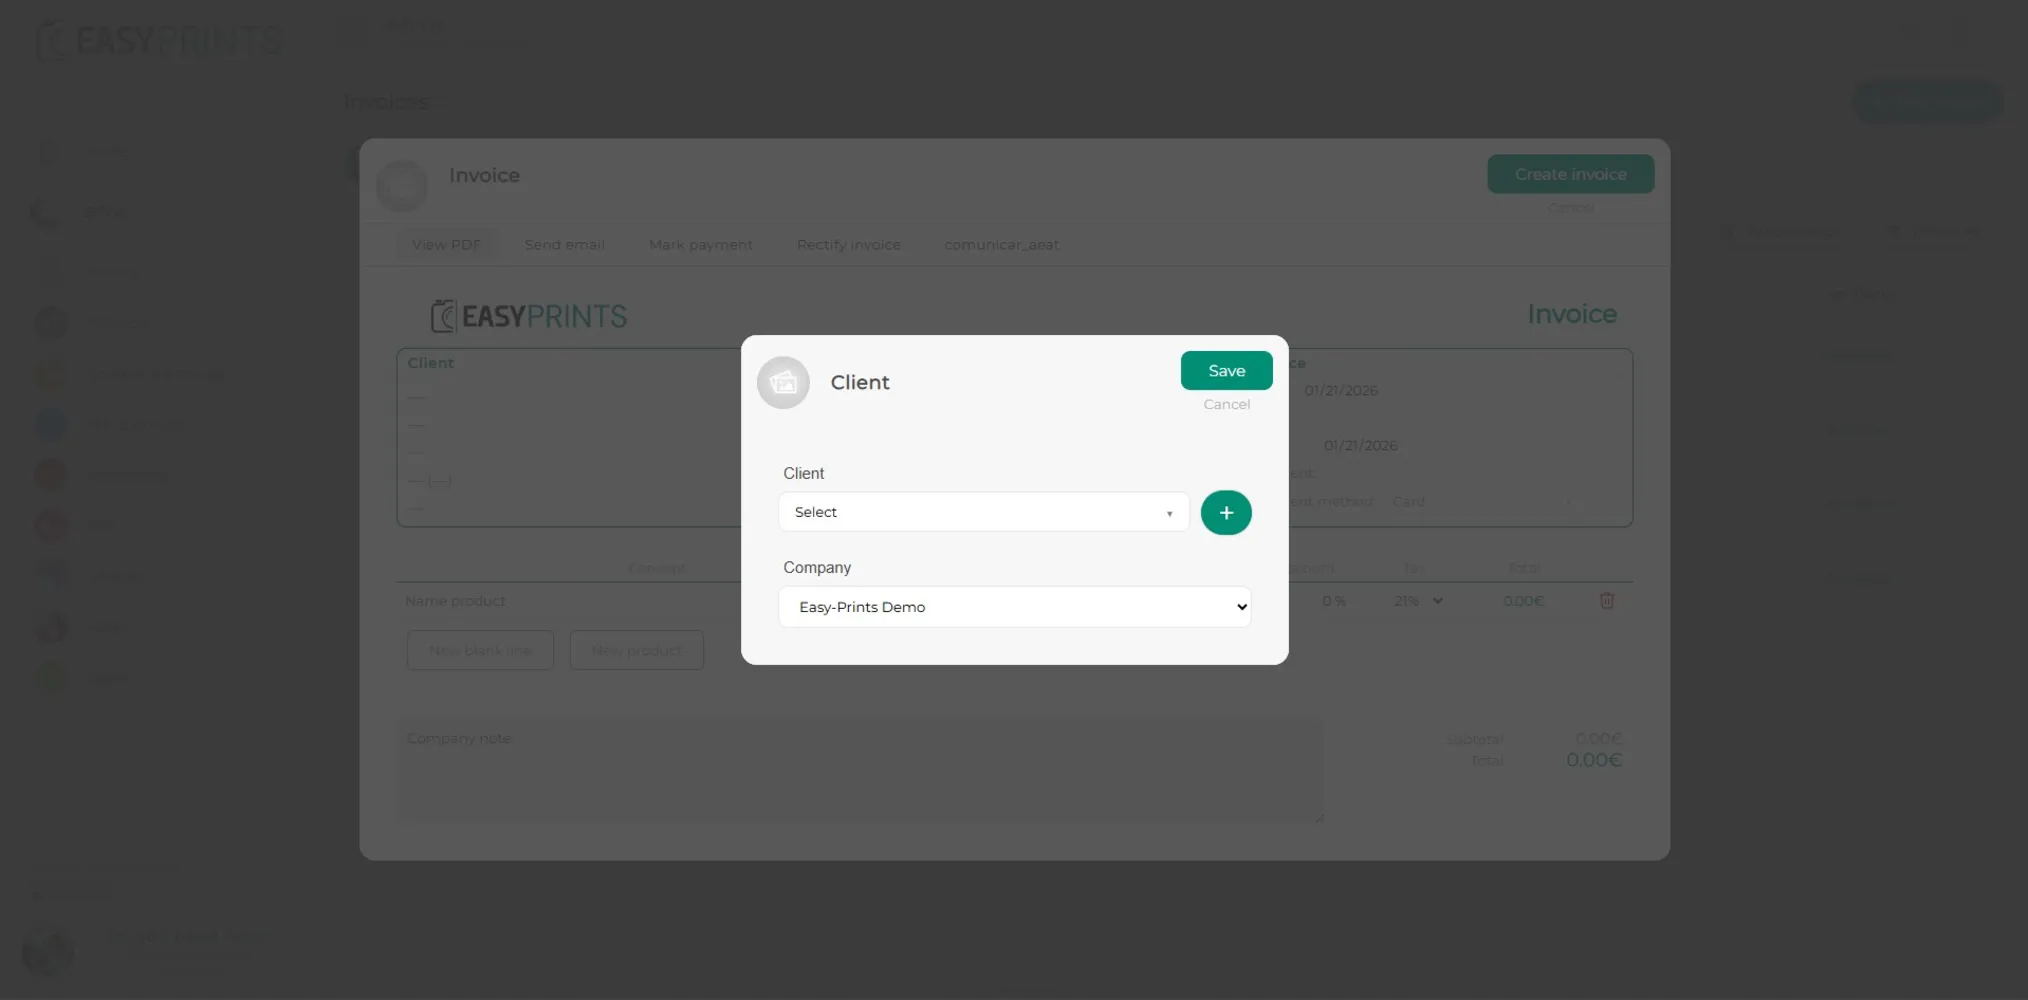
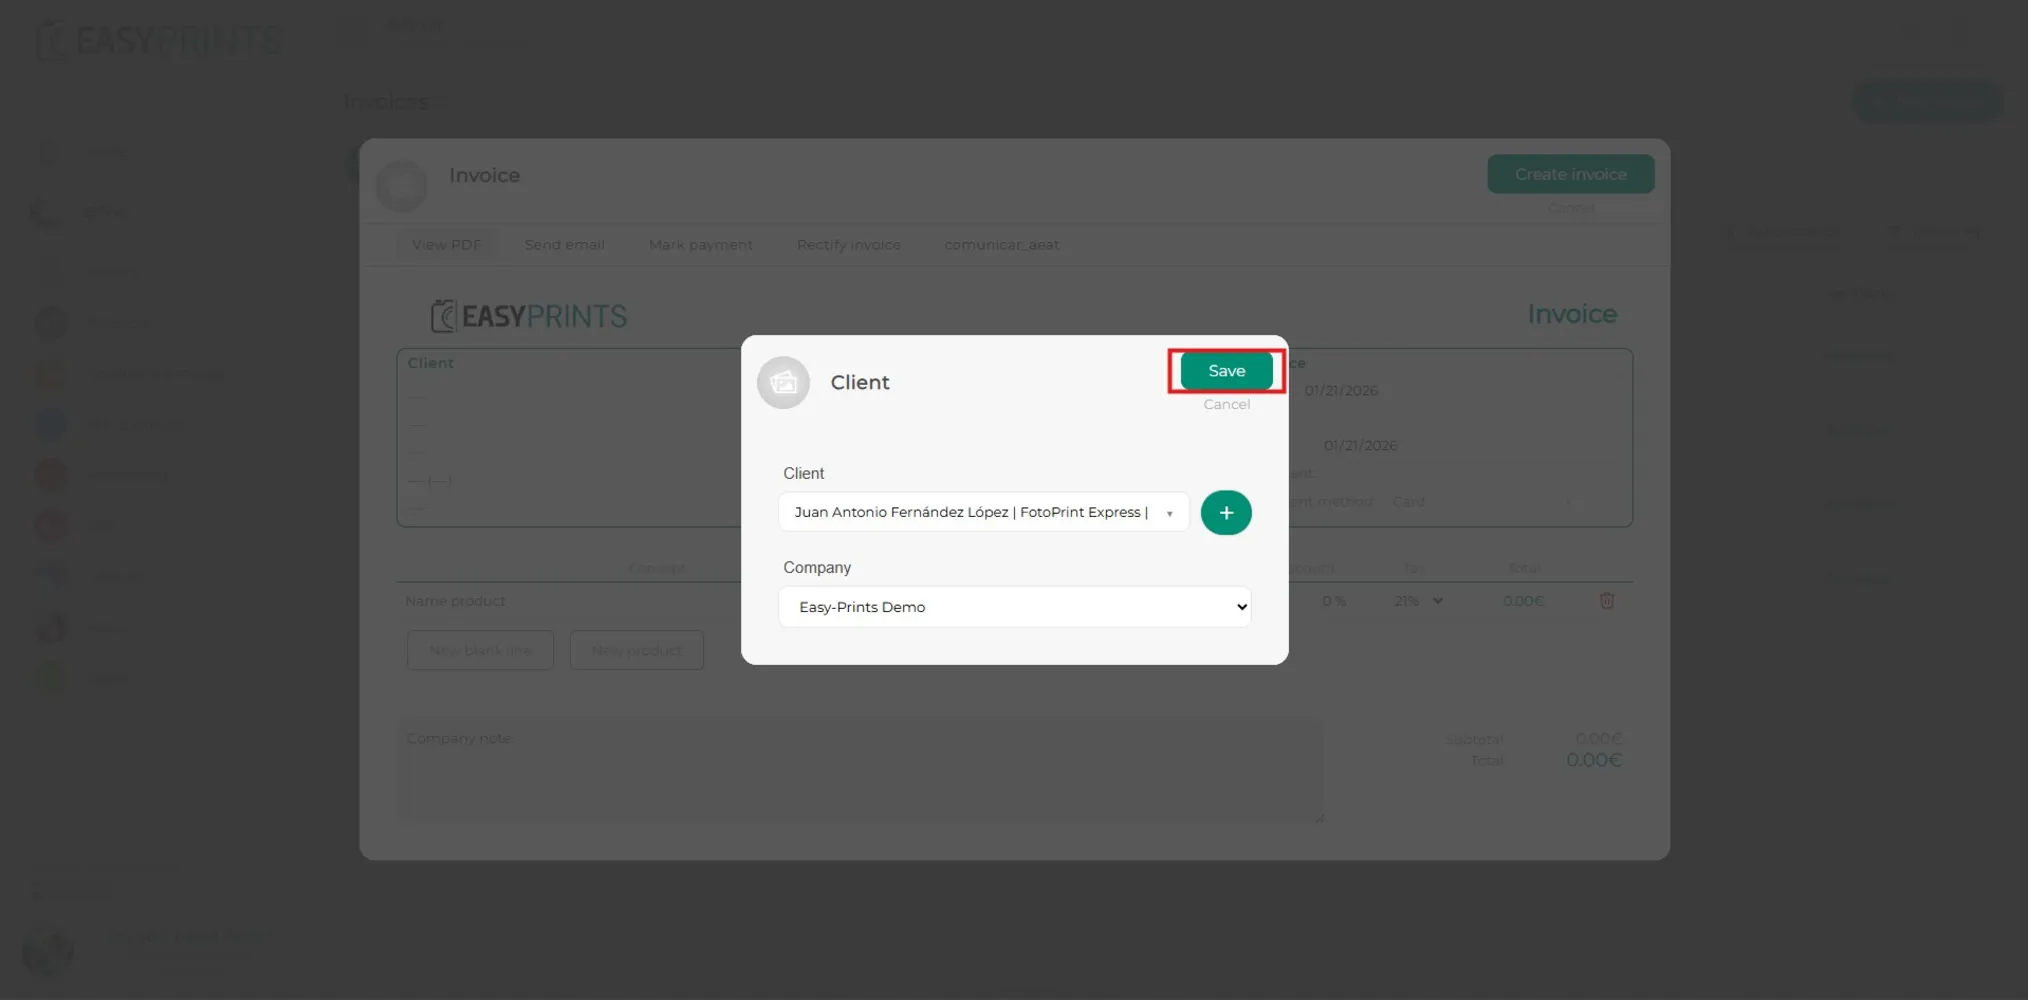
In the new window, you must specify the customer (already registered) and the issuing company of the invoice (your company). If the customer is not registered, you can click the green round + button to register a new customer.
Step 4
To continue, click the green Save button.
Step 5
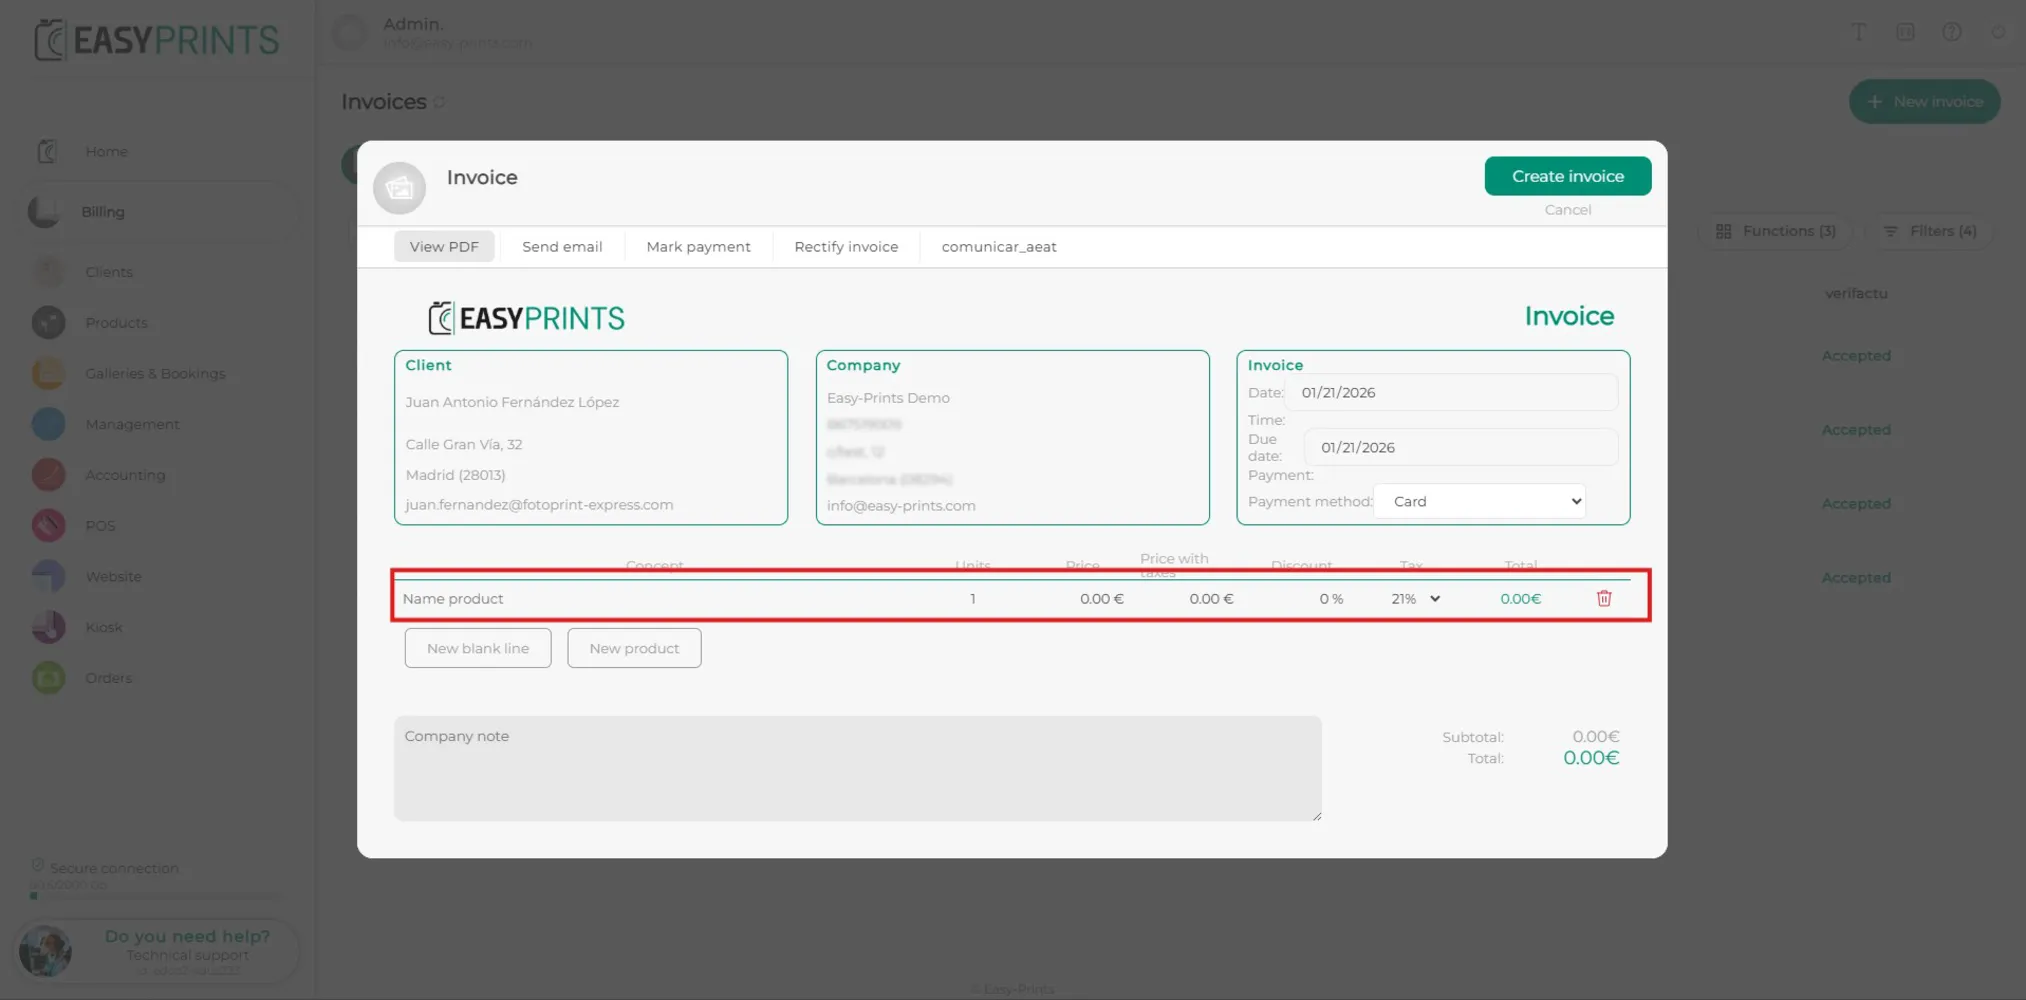
In the current window, you must include the items or products that will be invoiced to the customer.
Step 6
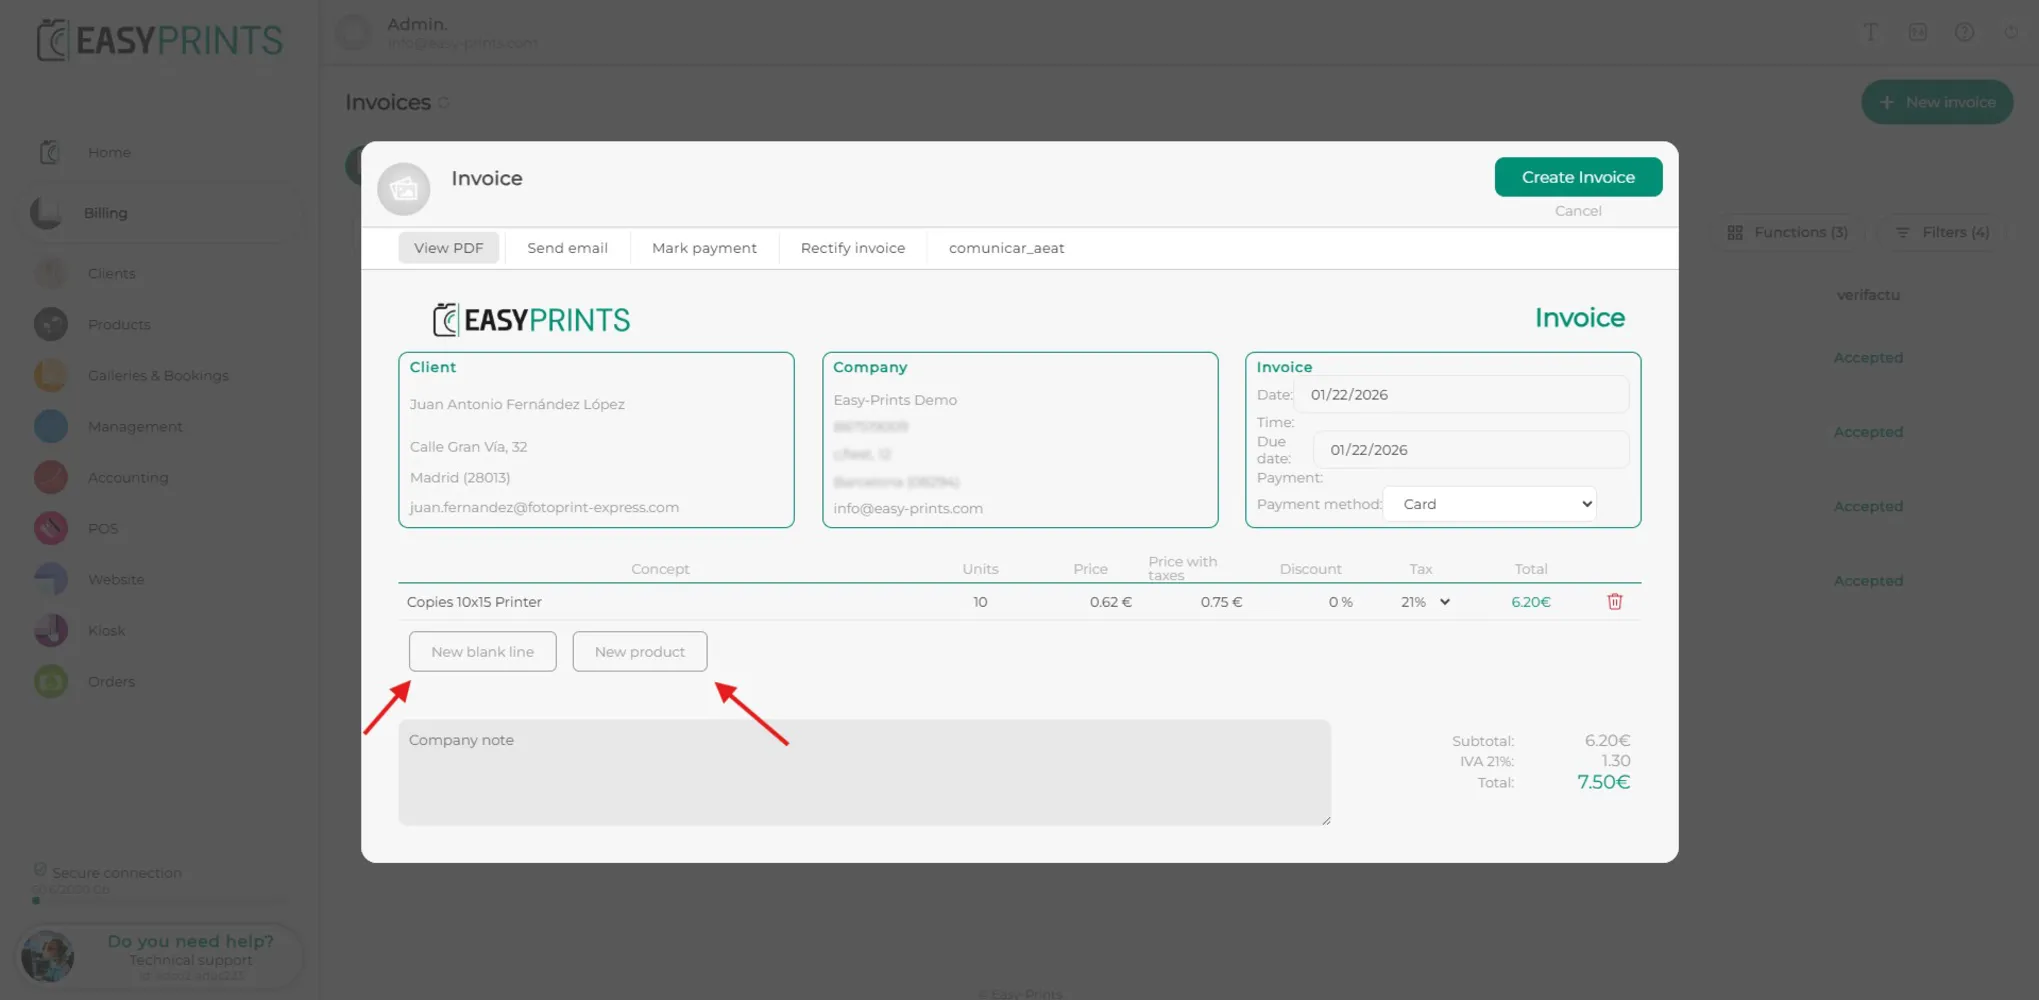
To add new products to the invoice, you can do it in two ways using the buttons shown in the image: New blank line (you will need to enter the data manually) or New product (you can search for it in your catalog).
Step 7
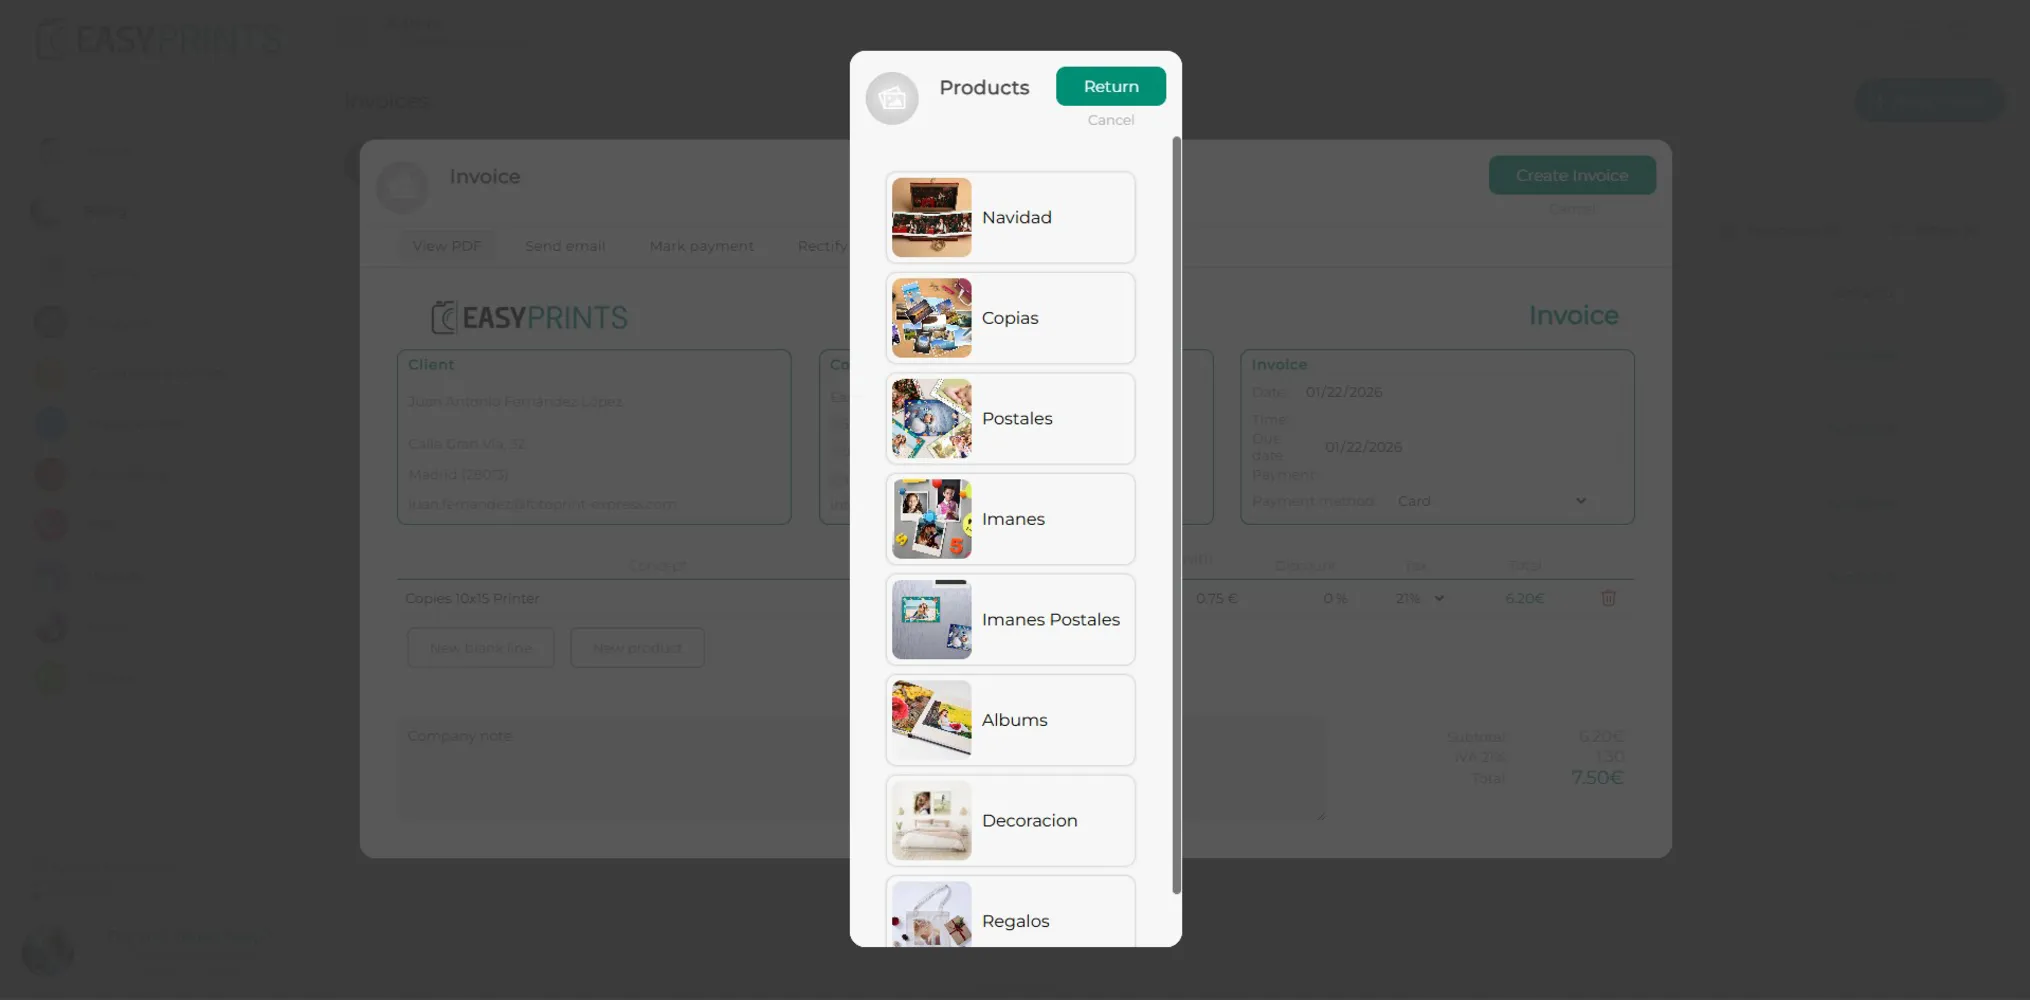
In the New product option, you can search your product catalog as follows. The price configured in your catalog will be applied automatically. Then, you must manually enter the product quantity.
Step 8
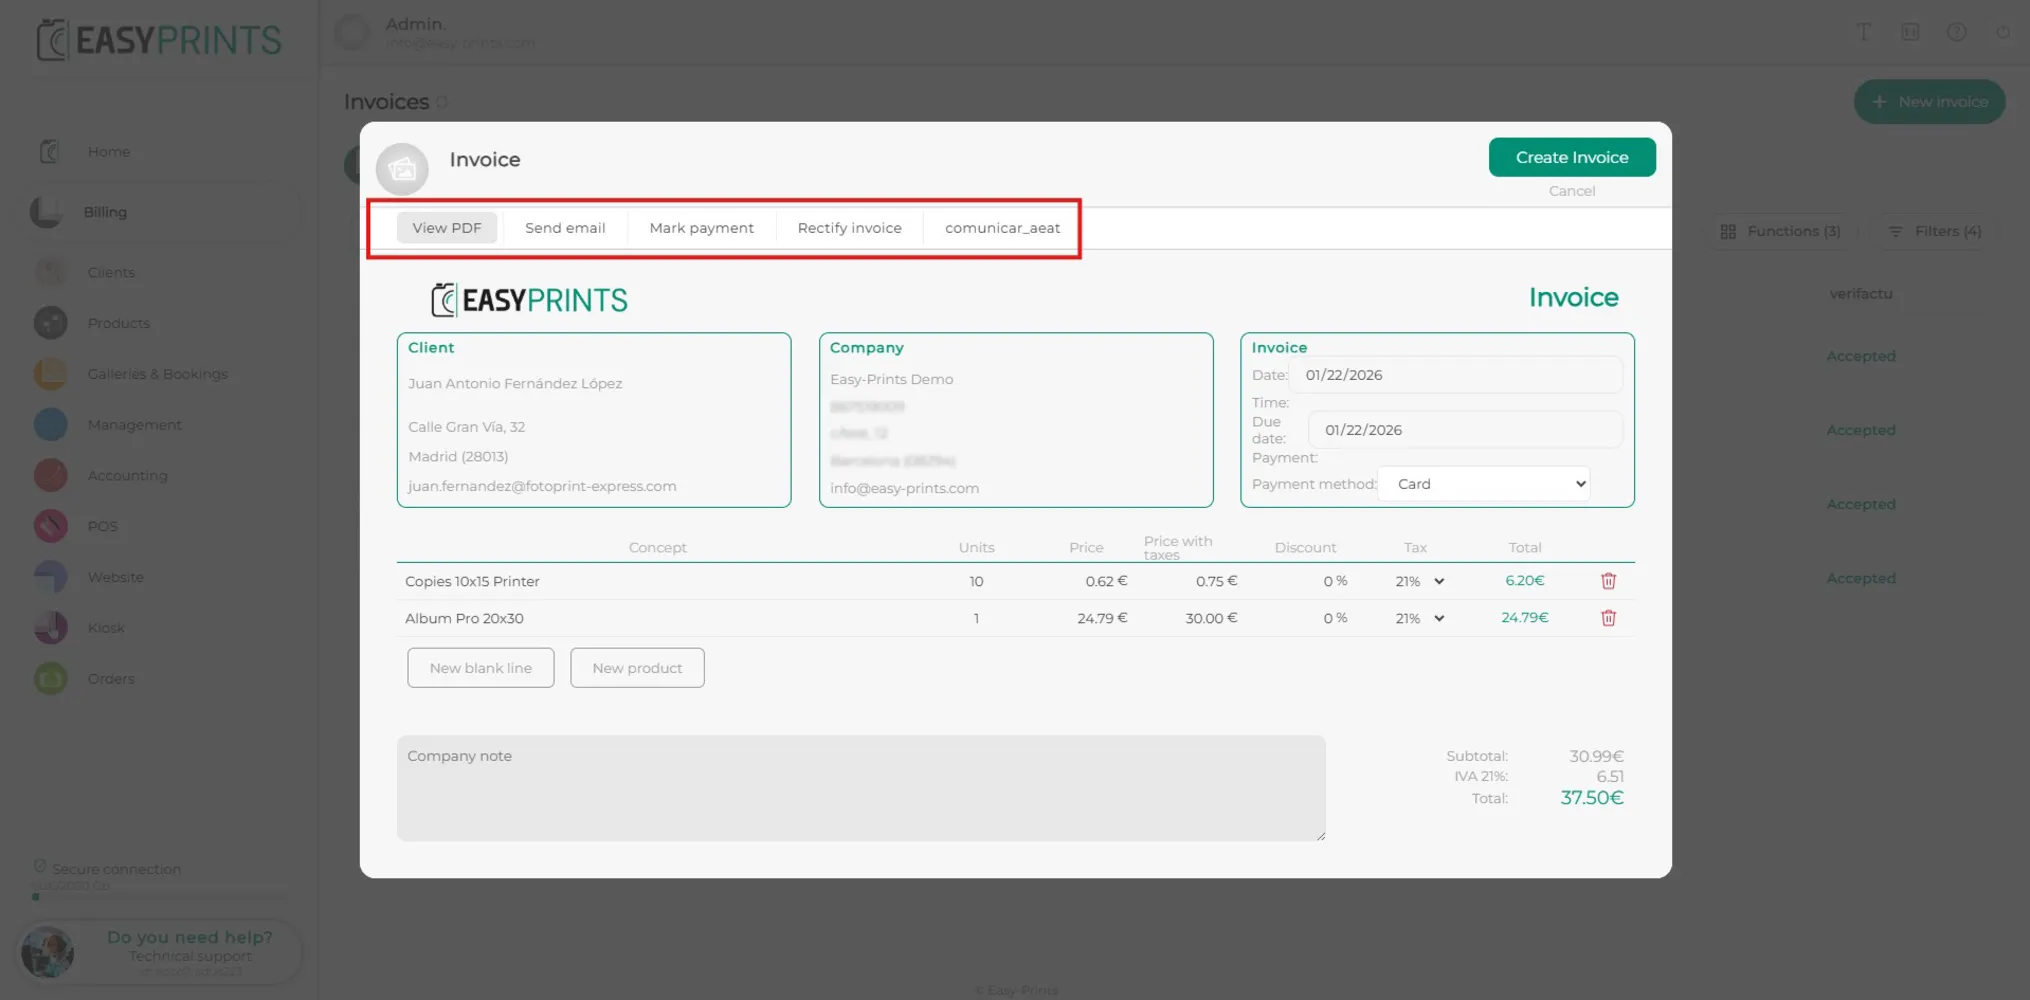
At the top of the window, you will find several options: view the invoice PDF, send the invoice by email, mark as paid, send payment link, and fiscal communication.
Step 9
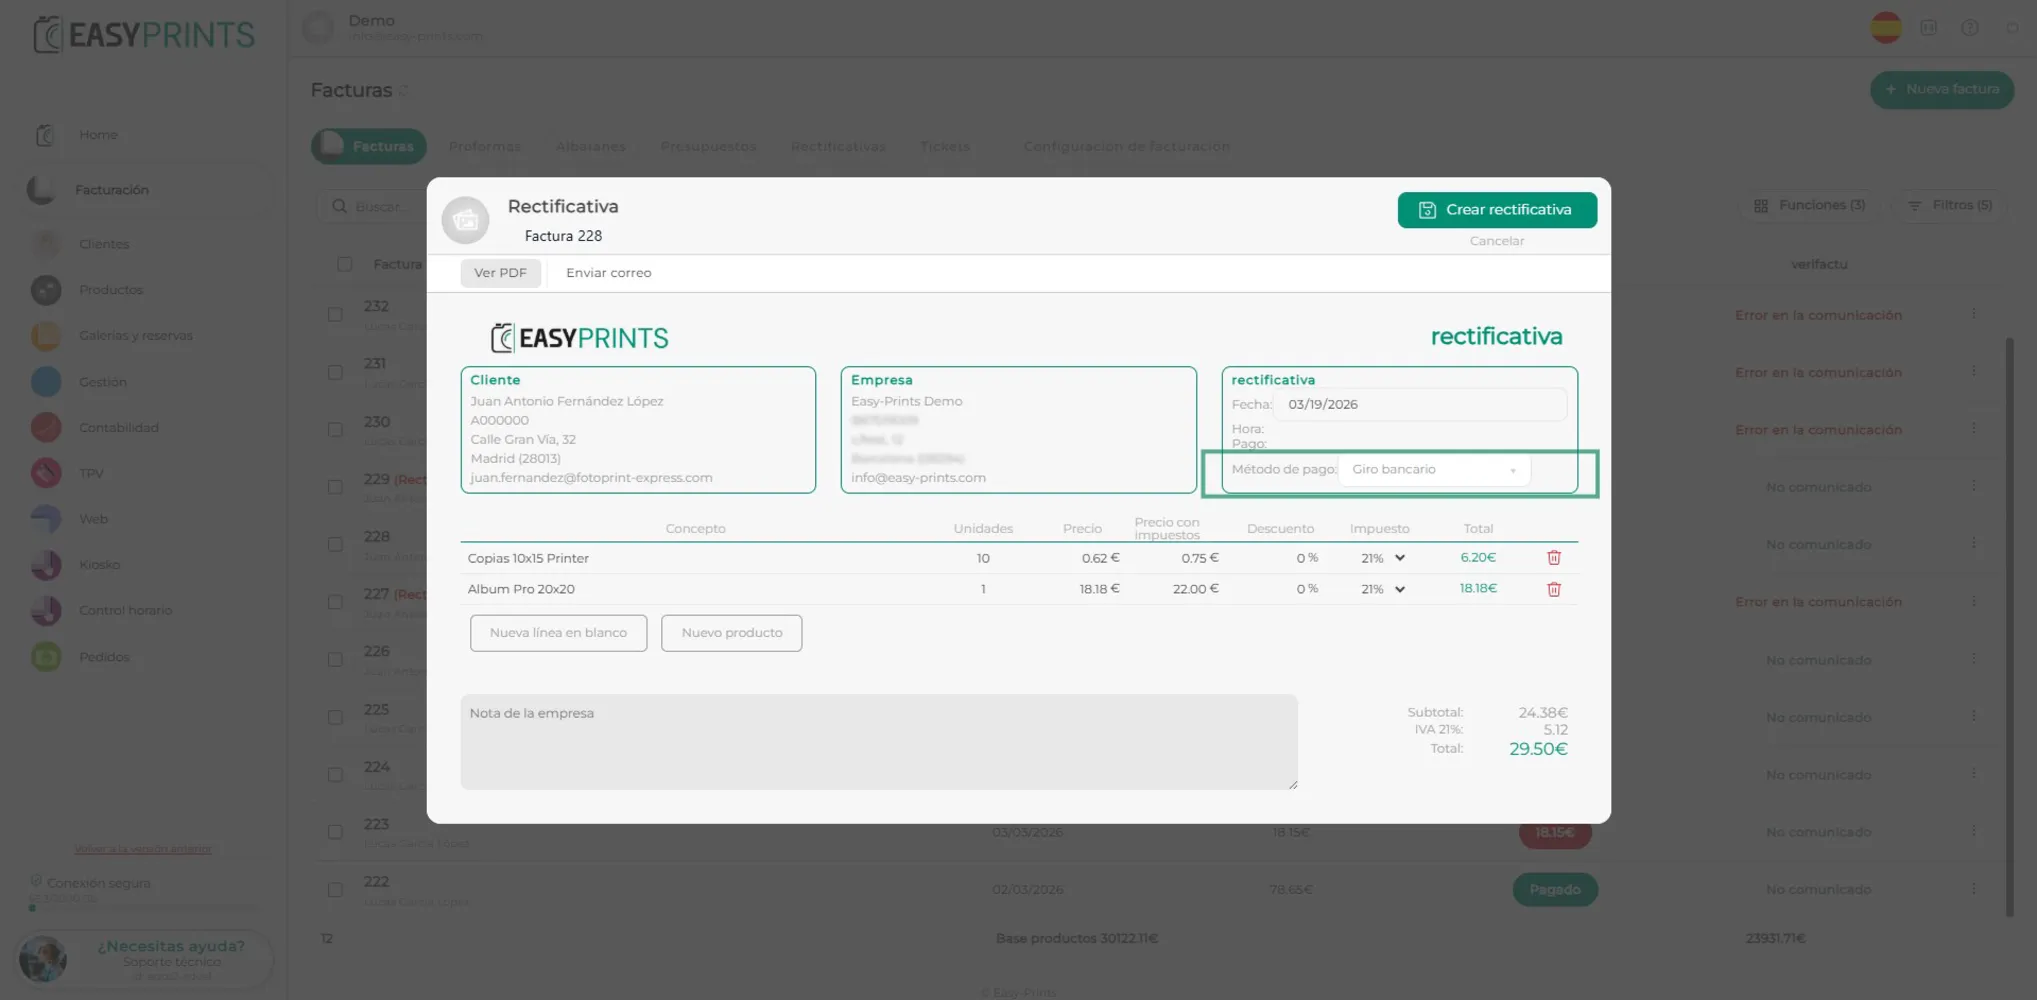
Indicate the payment method that will be used to charge the invoice to the customer.
Step 10
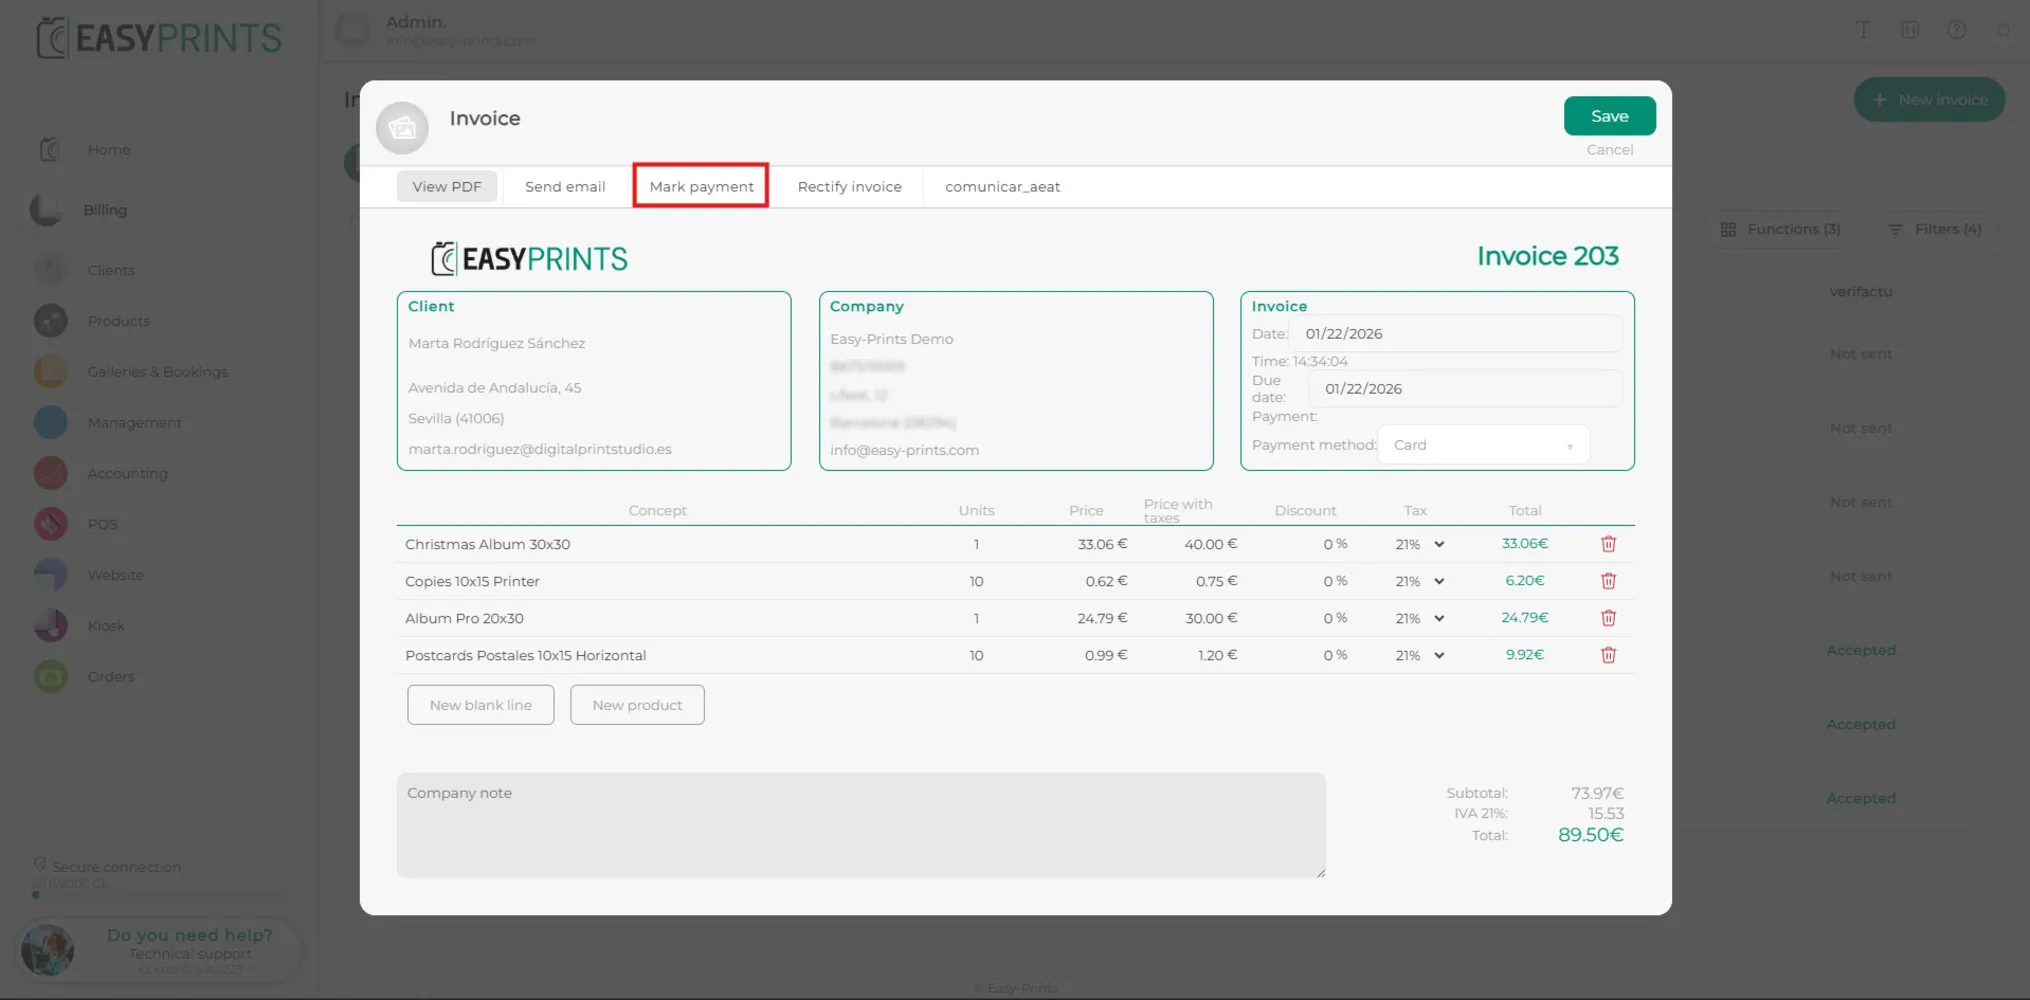
If you want to mark that the customer has paid part of the invoice, click the Mark payment button.
Step 11
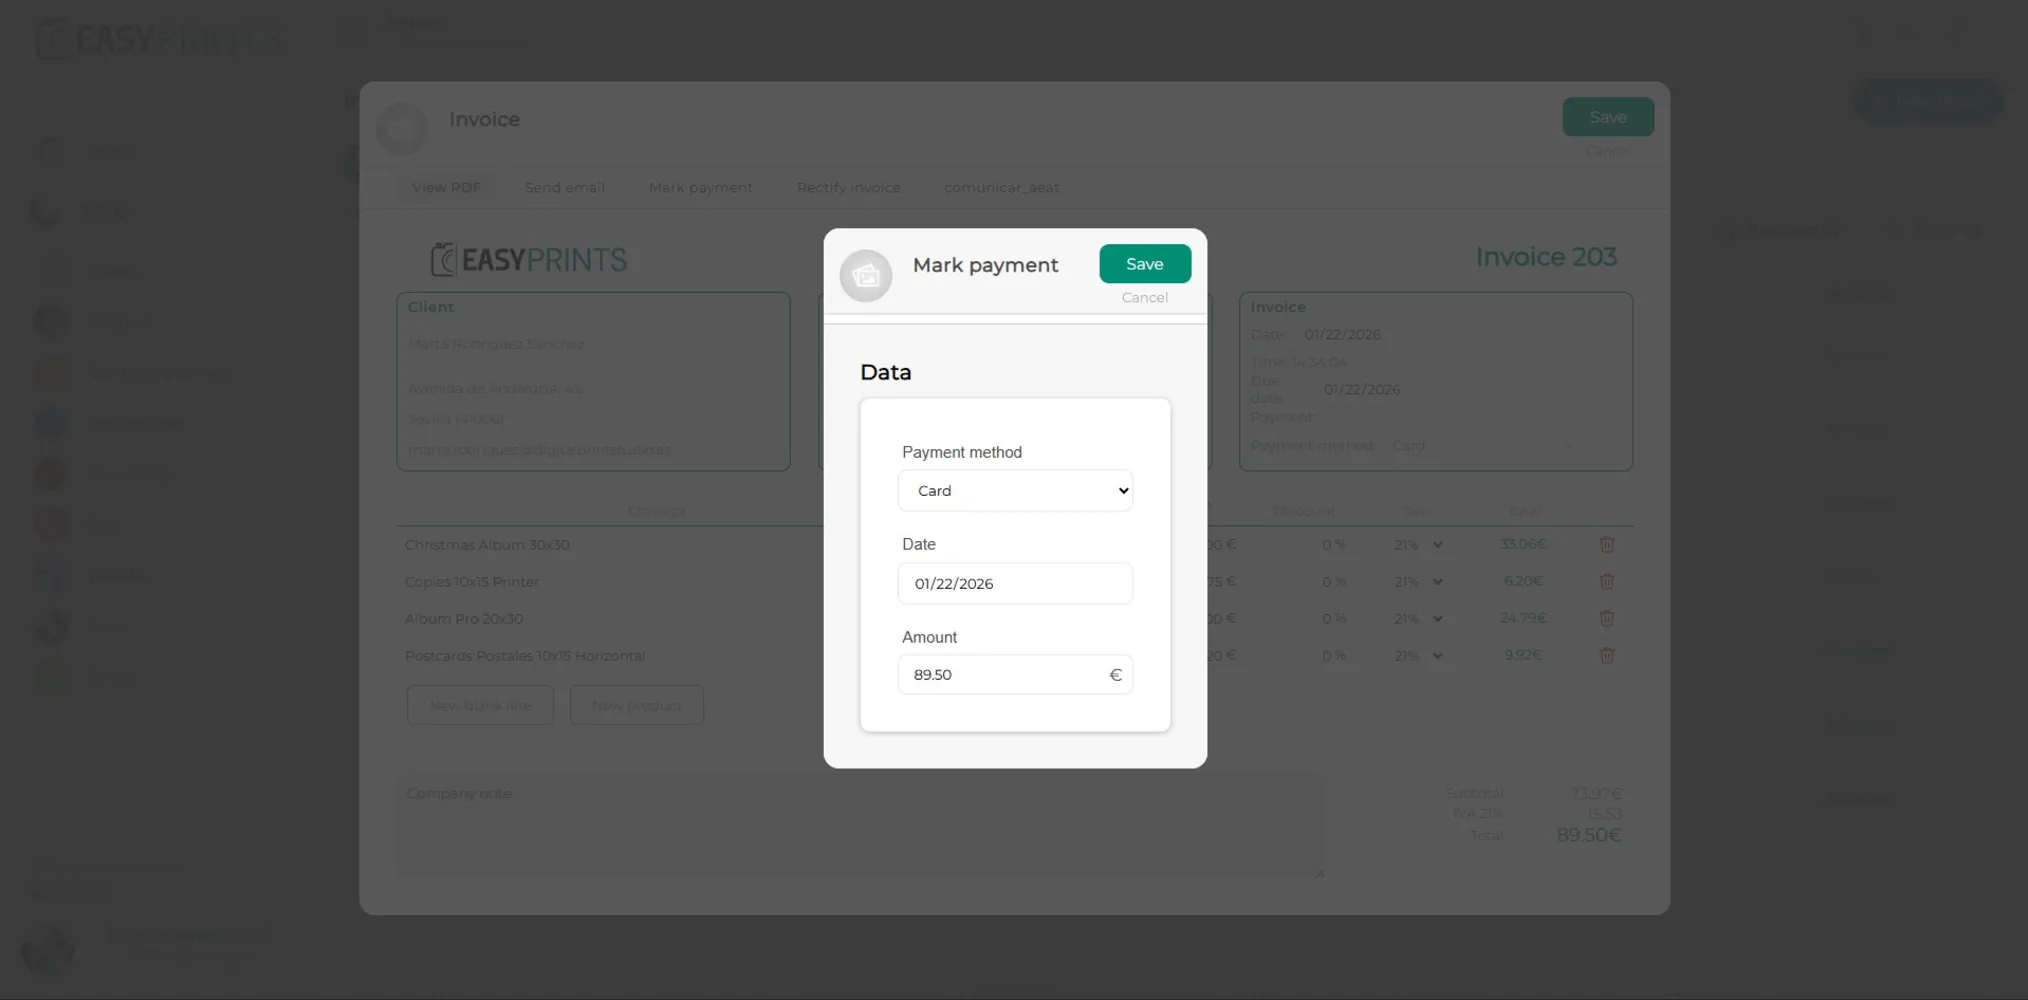
In the new window, you can indicate the payment method used, the date, and the amount. The amount can be full or partial. Once finished, click Save.
Step 12
Once the invoice has been created, click the green Save button located at the top of the window.
Step 13
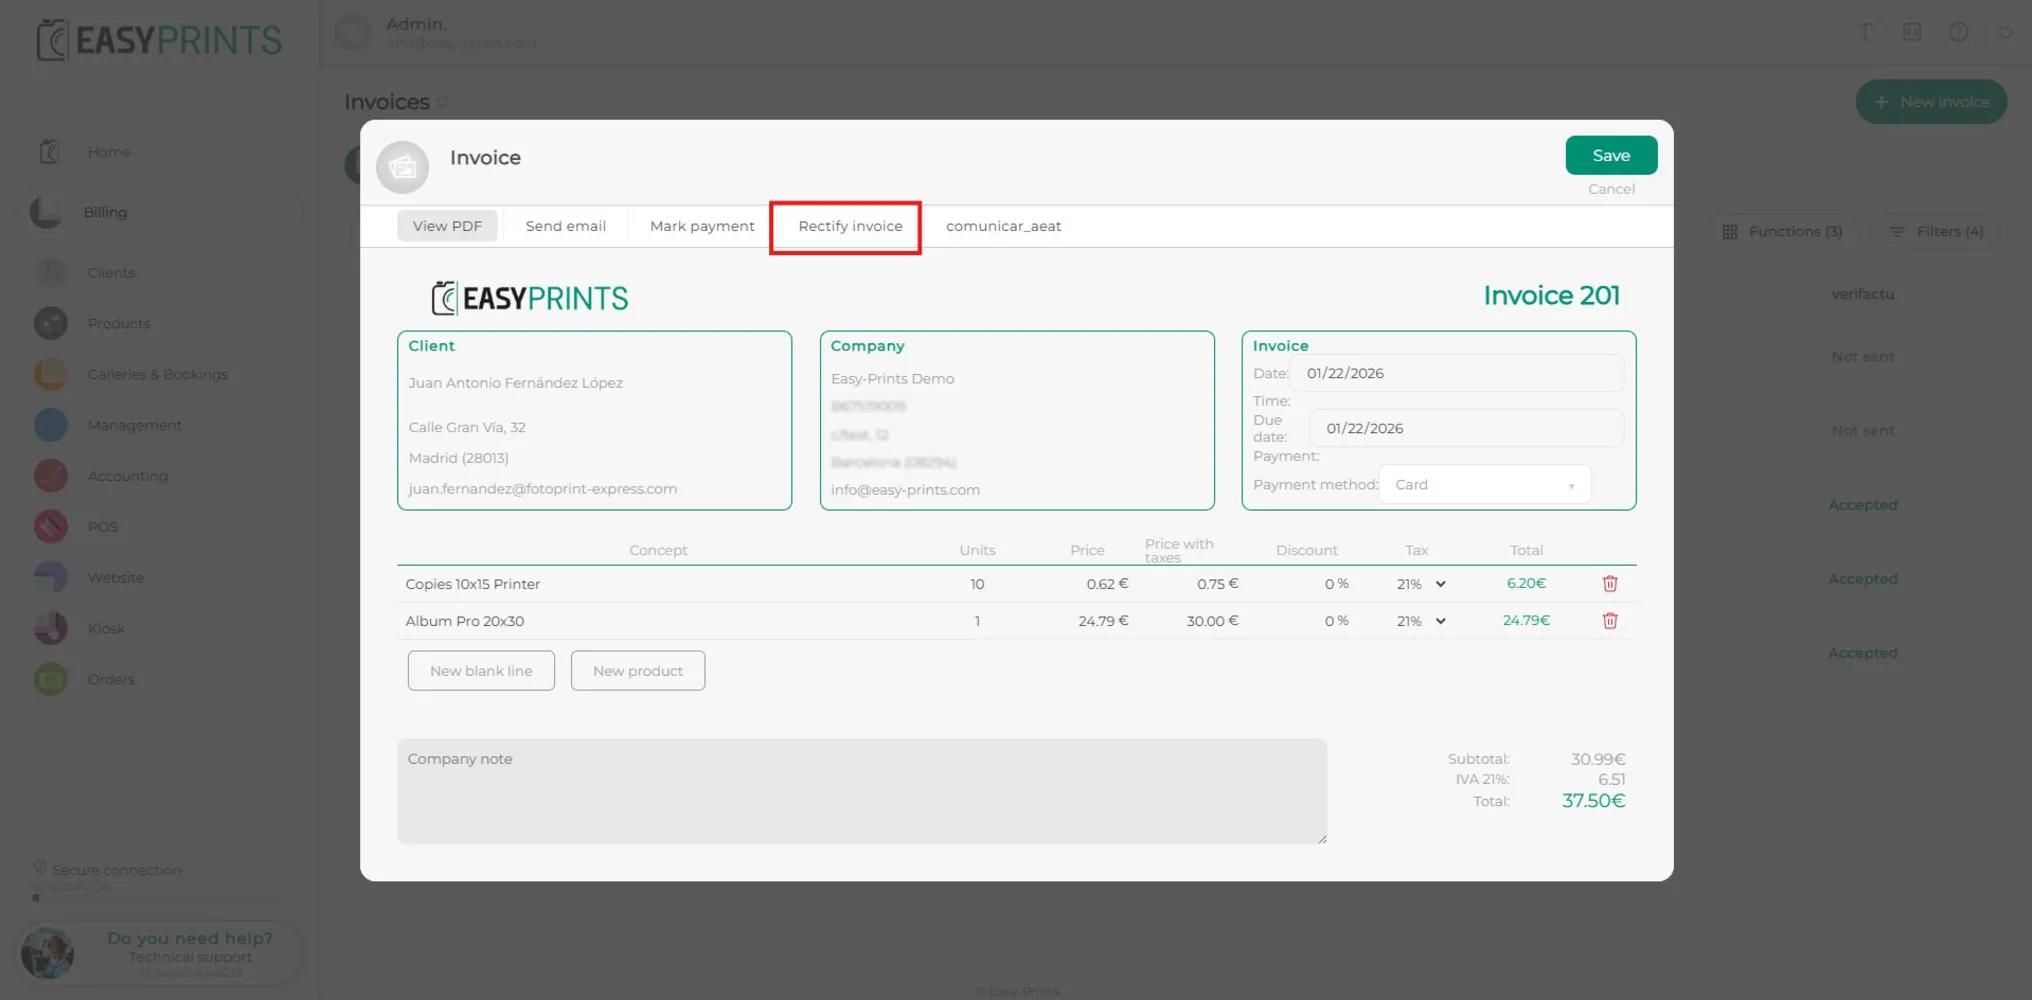
If you want to correct an invoice, click on the created invoice and, at the top, you will find the Correct invoice option. Once corrected, save the invoice.
Go back to the Help Center or contact Easy-Prints.
← Back to Help Center