
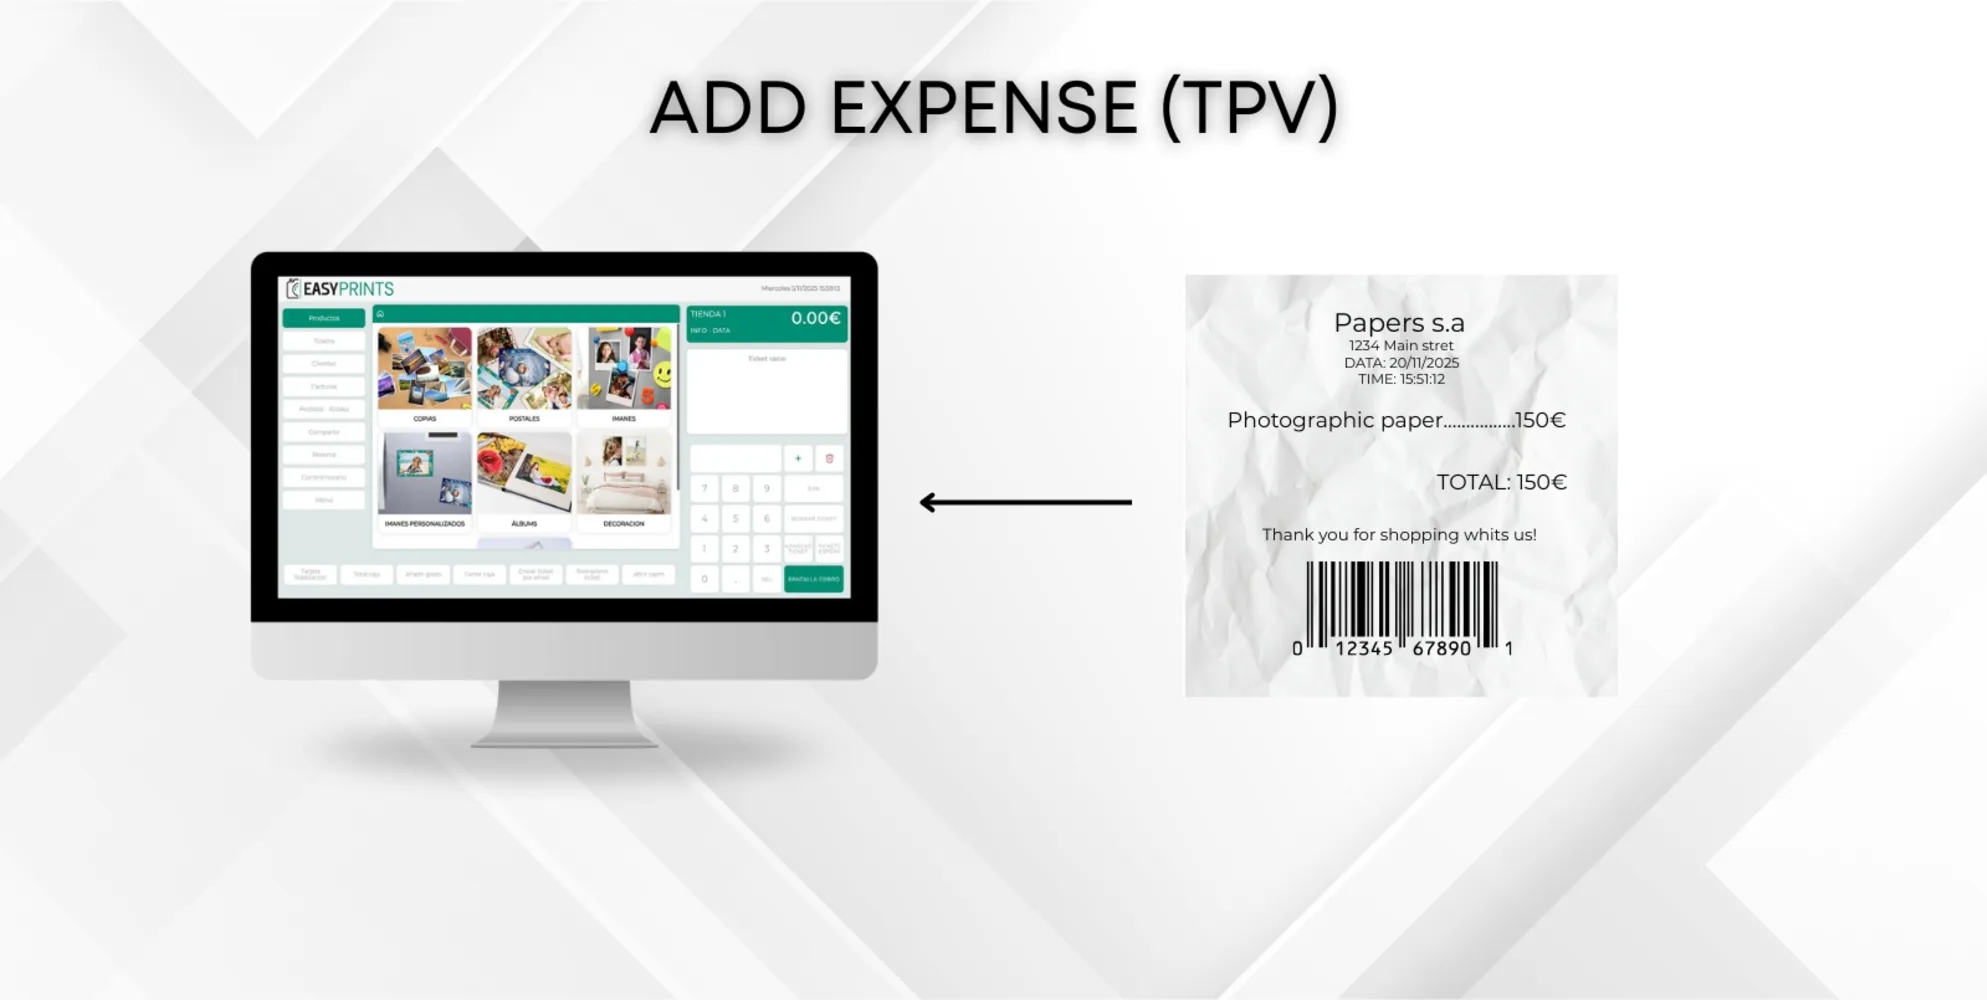
How to add an expense in the POS
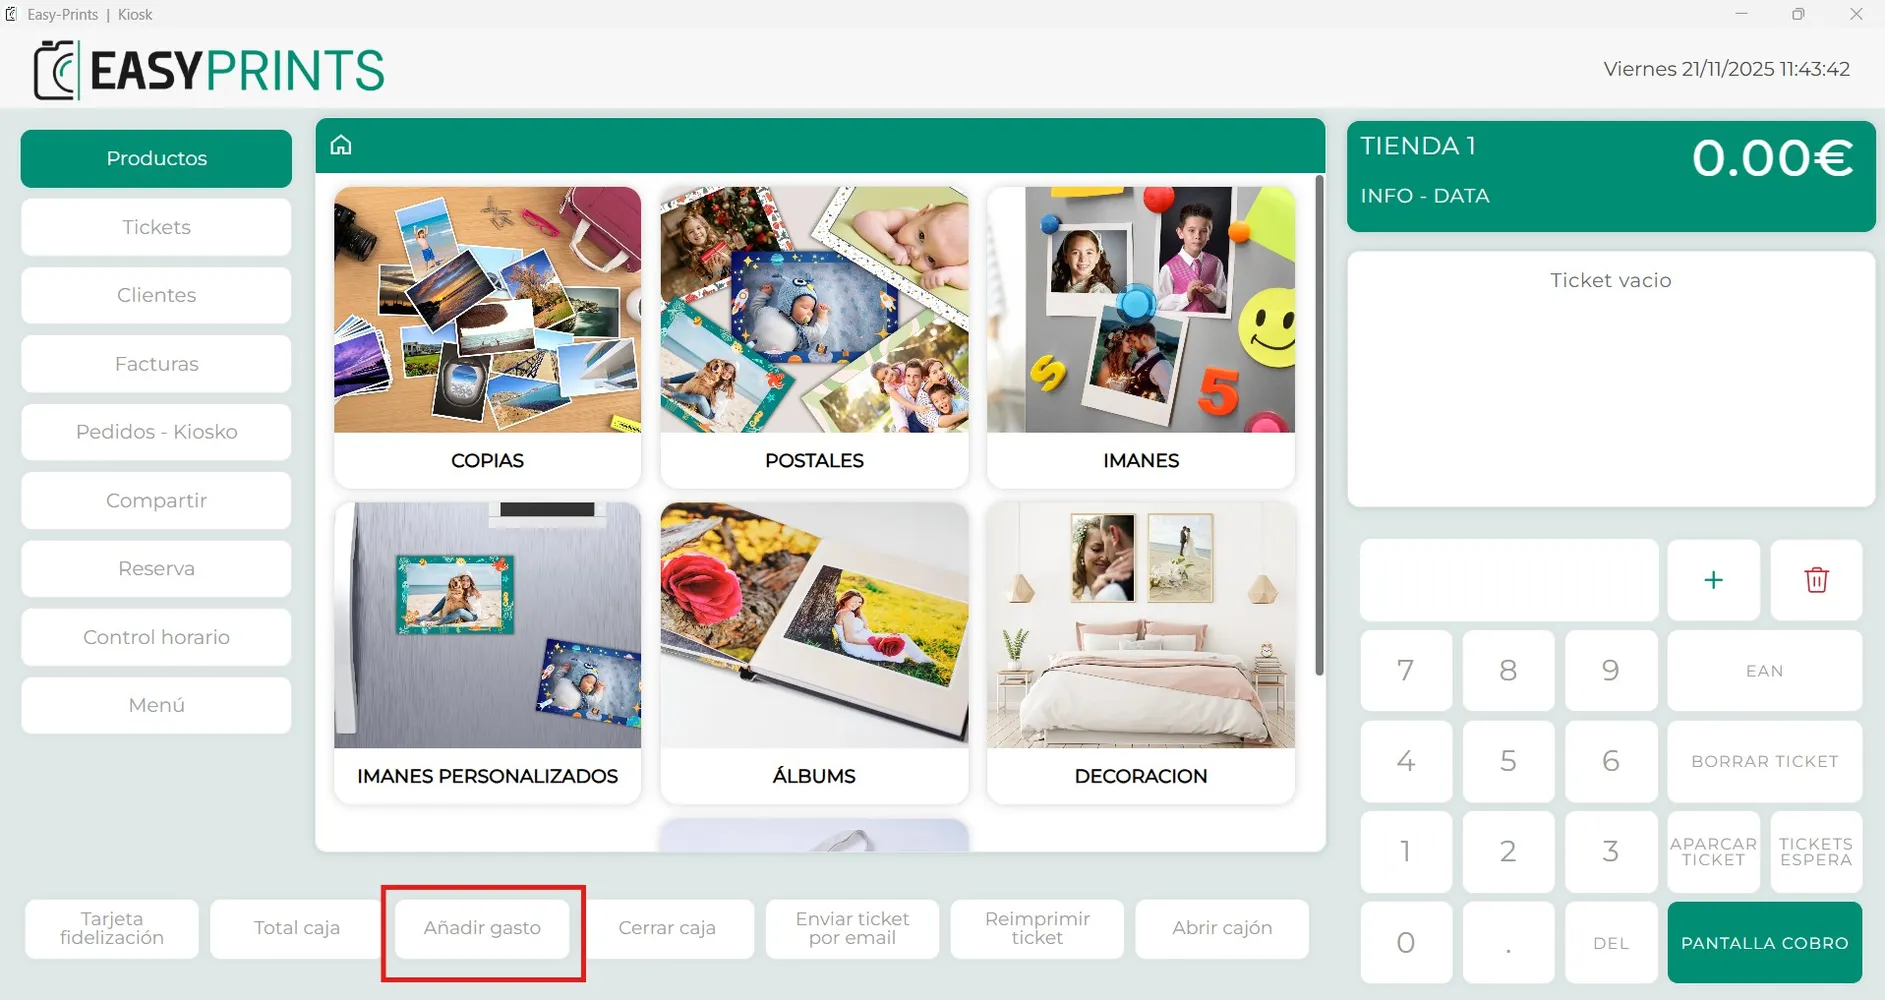
At the bottom of the screen, we can see several buttons. The third one from the left is the “Add Expense” button, as shown in the image. A new window will…
Step 1
At the bottom of the screen, we can see several buttons. The third one from the left is the “Add Expense” button, as shown in the image.
Step 2
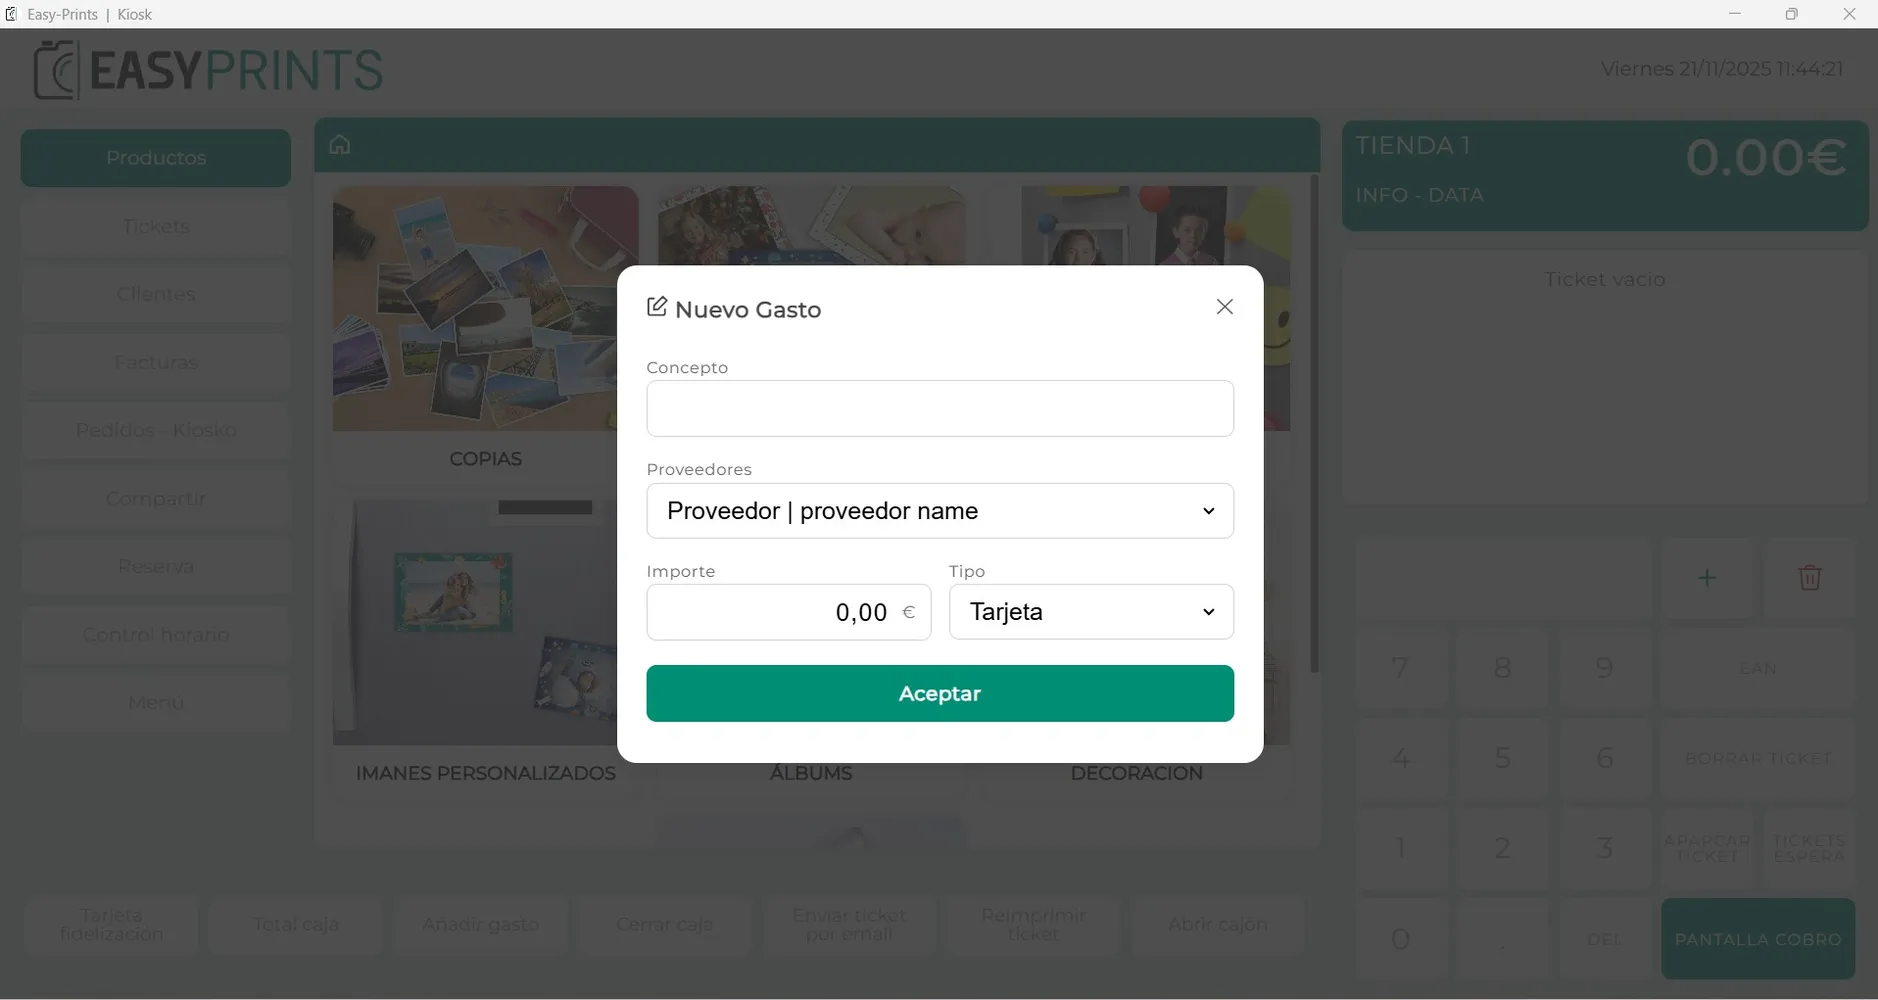
A new window will open. In it, you must complete the empty fields. You will need to correctly specify the description of the expense and the supplier it belongs to. If the supplier you need is not available, you must add it first from the administration panel (make sure the person responsible for the panel keeps the supplier list up to date; otherwise, it will not appear). You must also enter the amount of the expense and select the payment method used.
Step 3
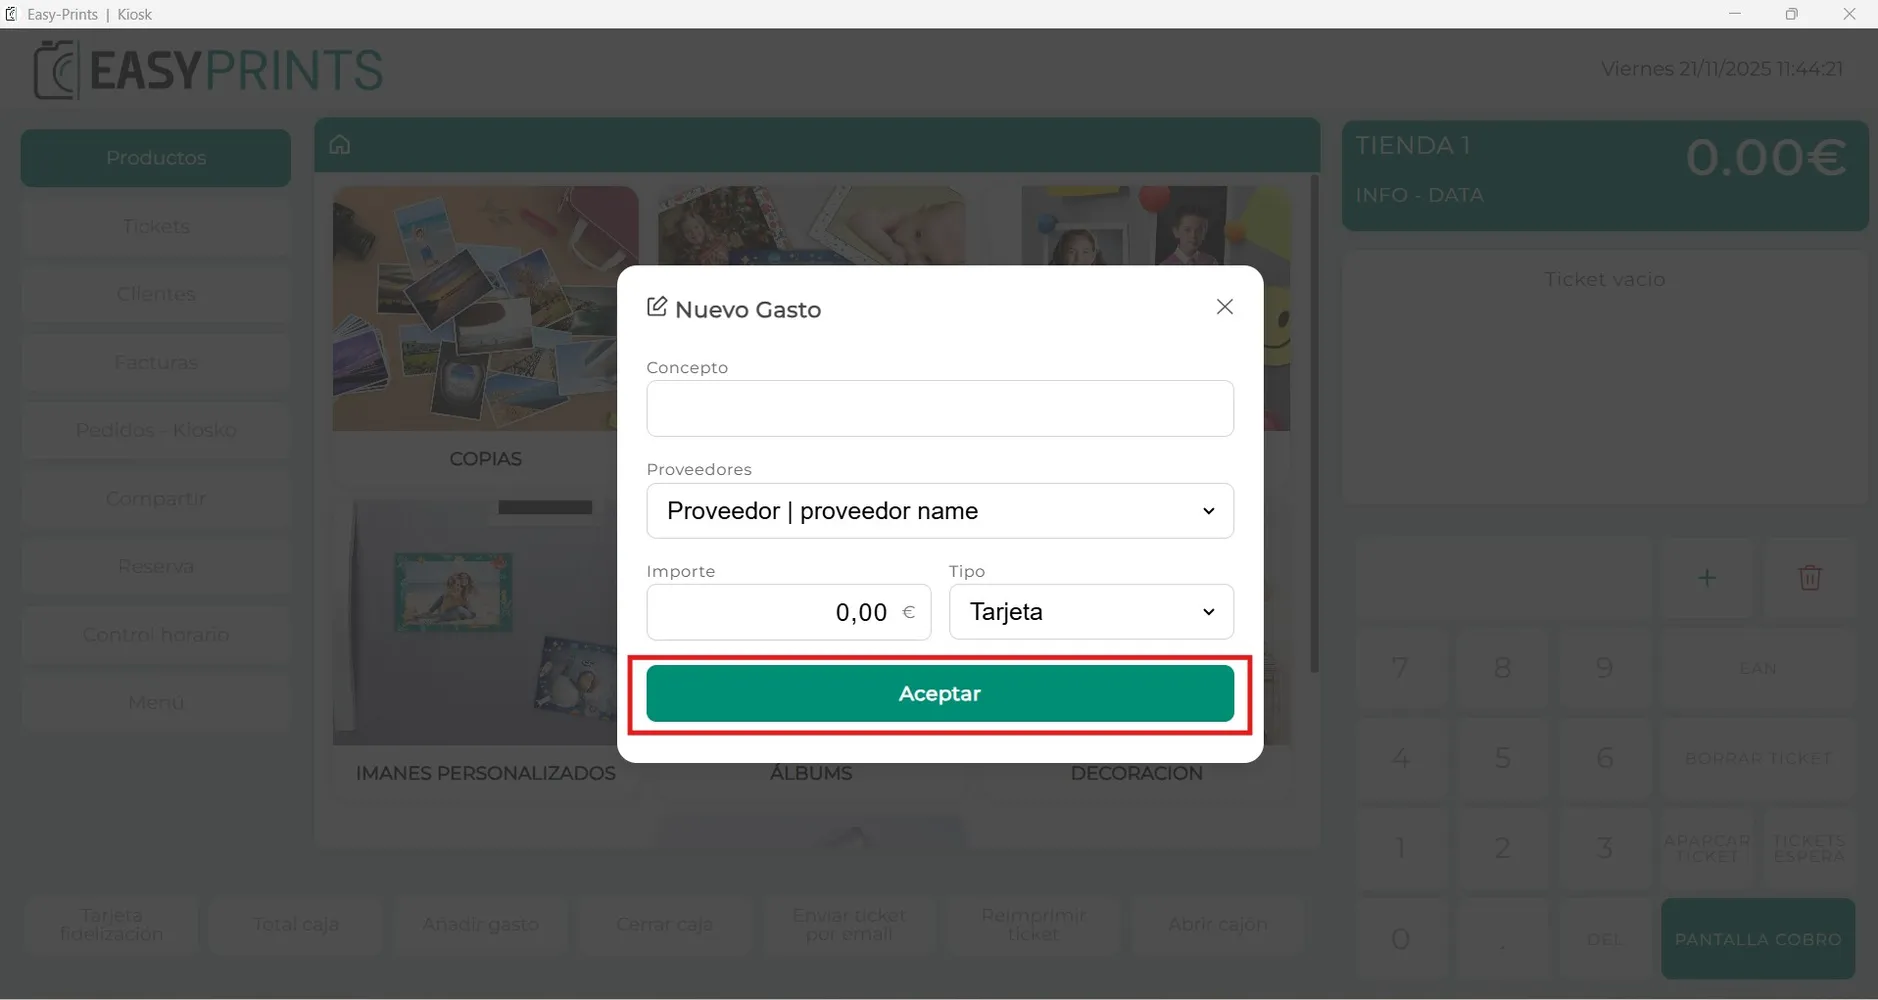
Once all fields have been completed, you must click “Accept” for the expense to be correctly registered in the POS.
Go back to the Help Center or contact Easy-Prints.
← Back to Help Center